sewalong

The Collins Top Sew-along : Finishing up (sewing button and tacking the facing)

collins_sewing_button_1

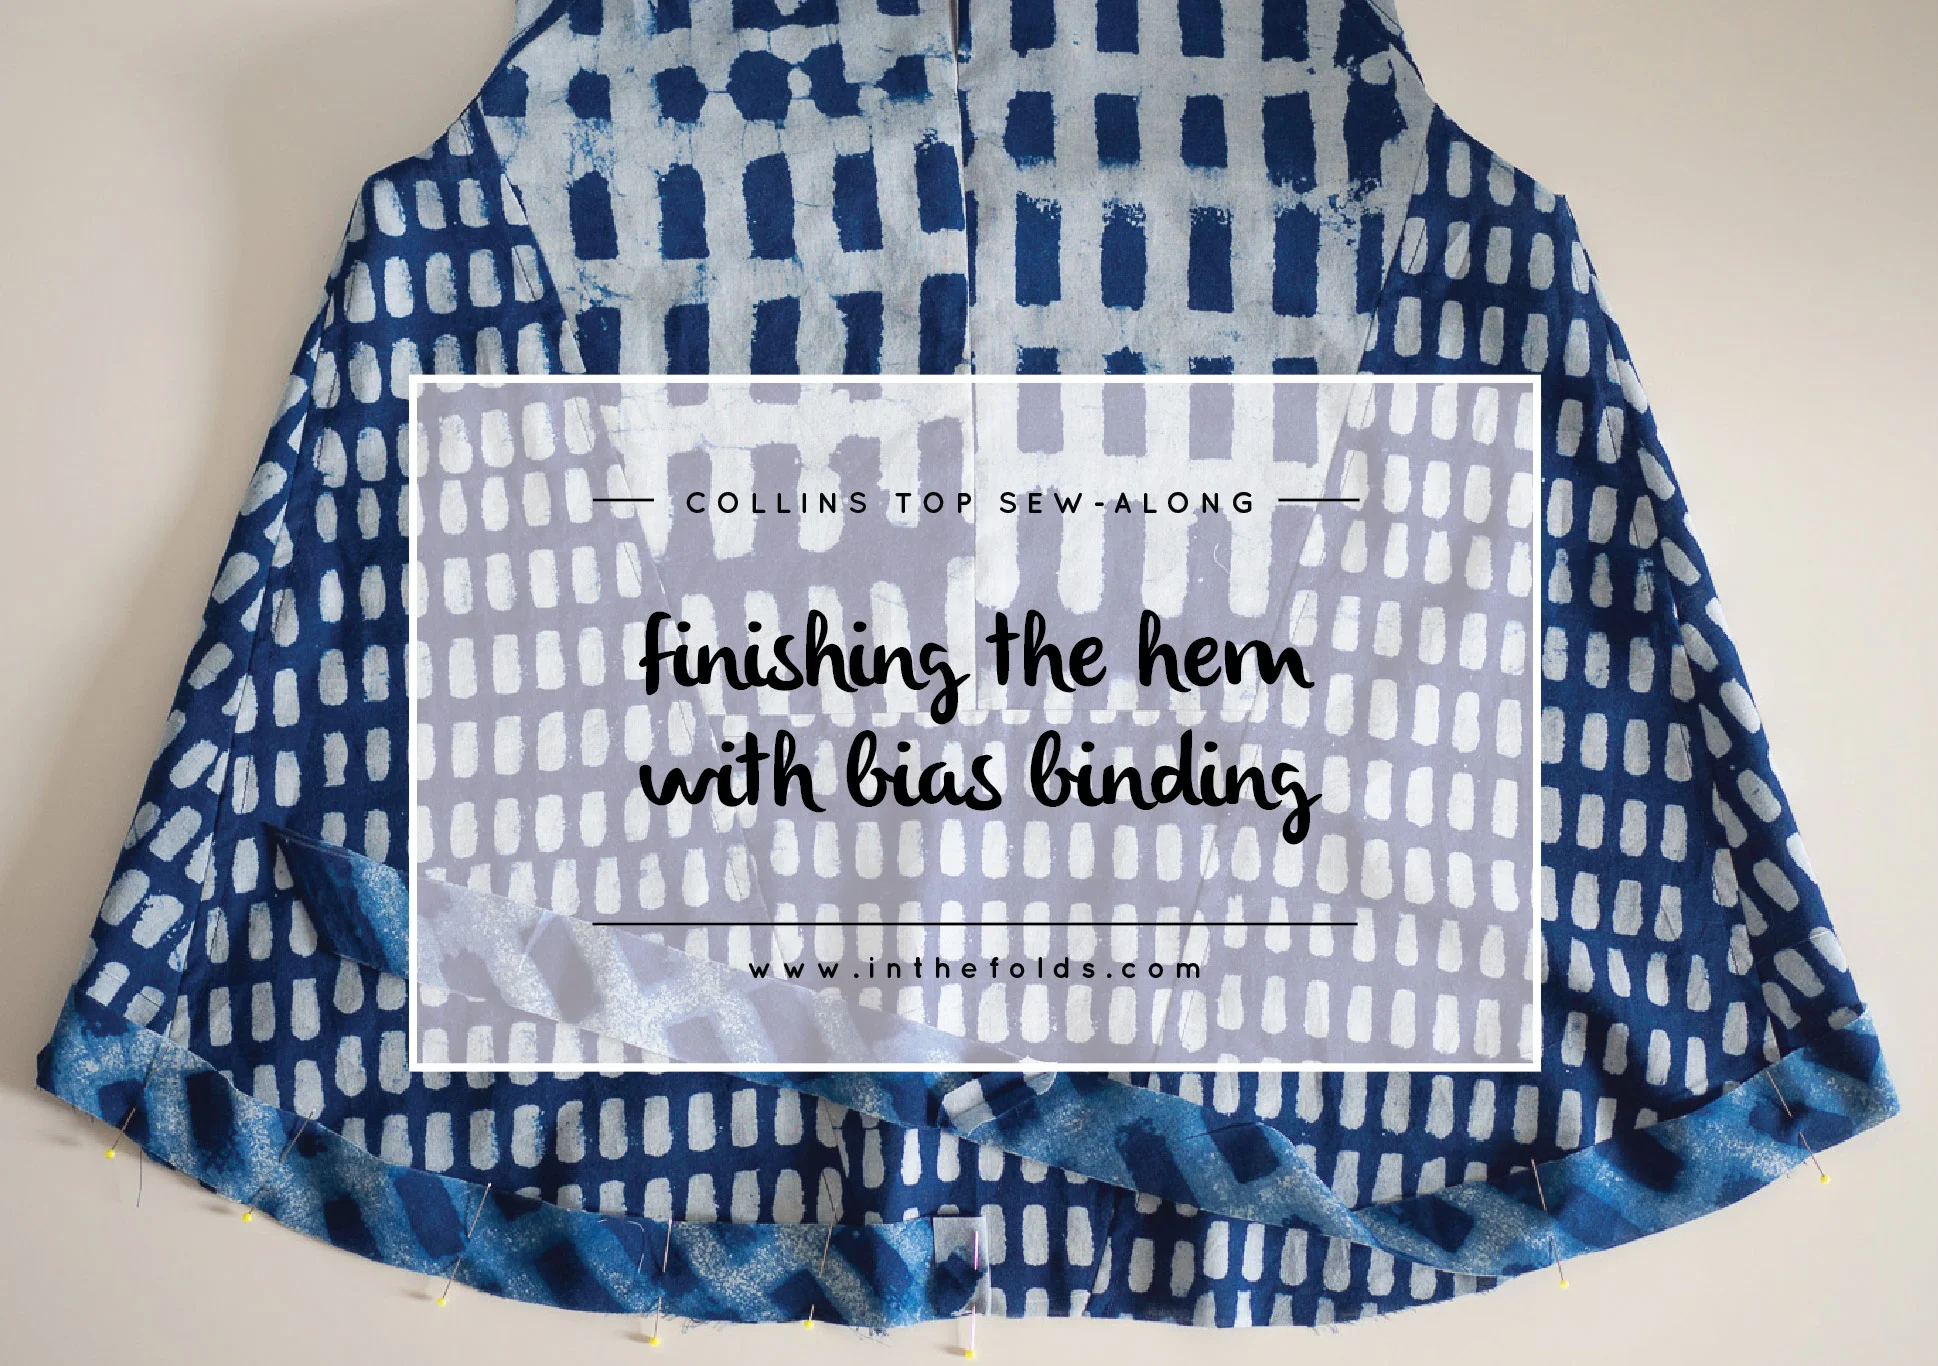
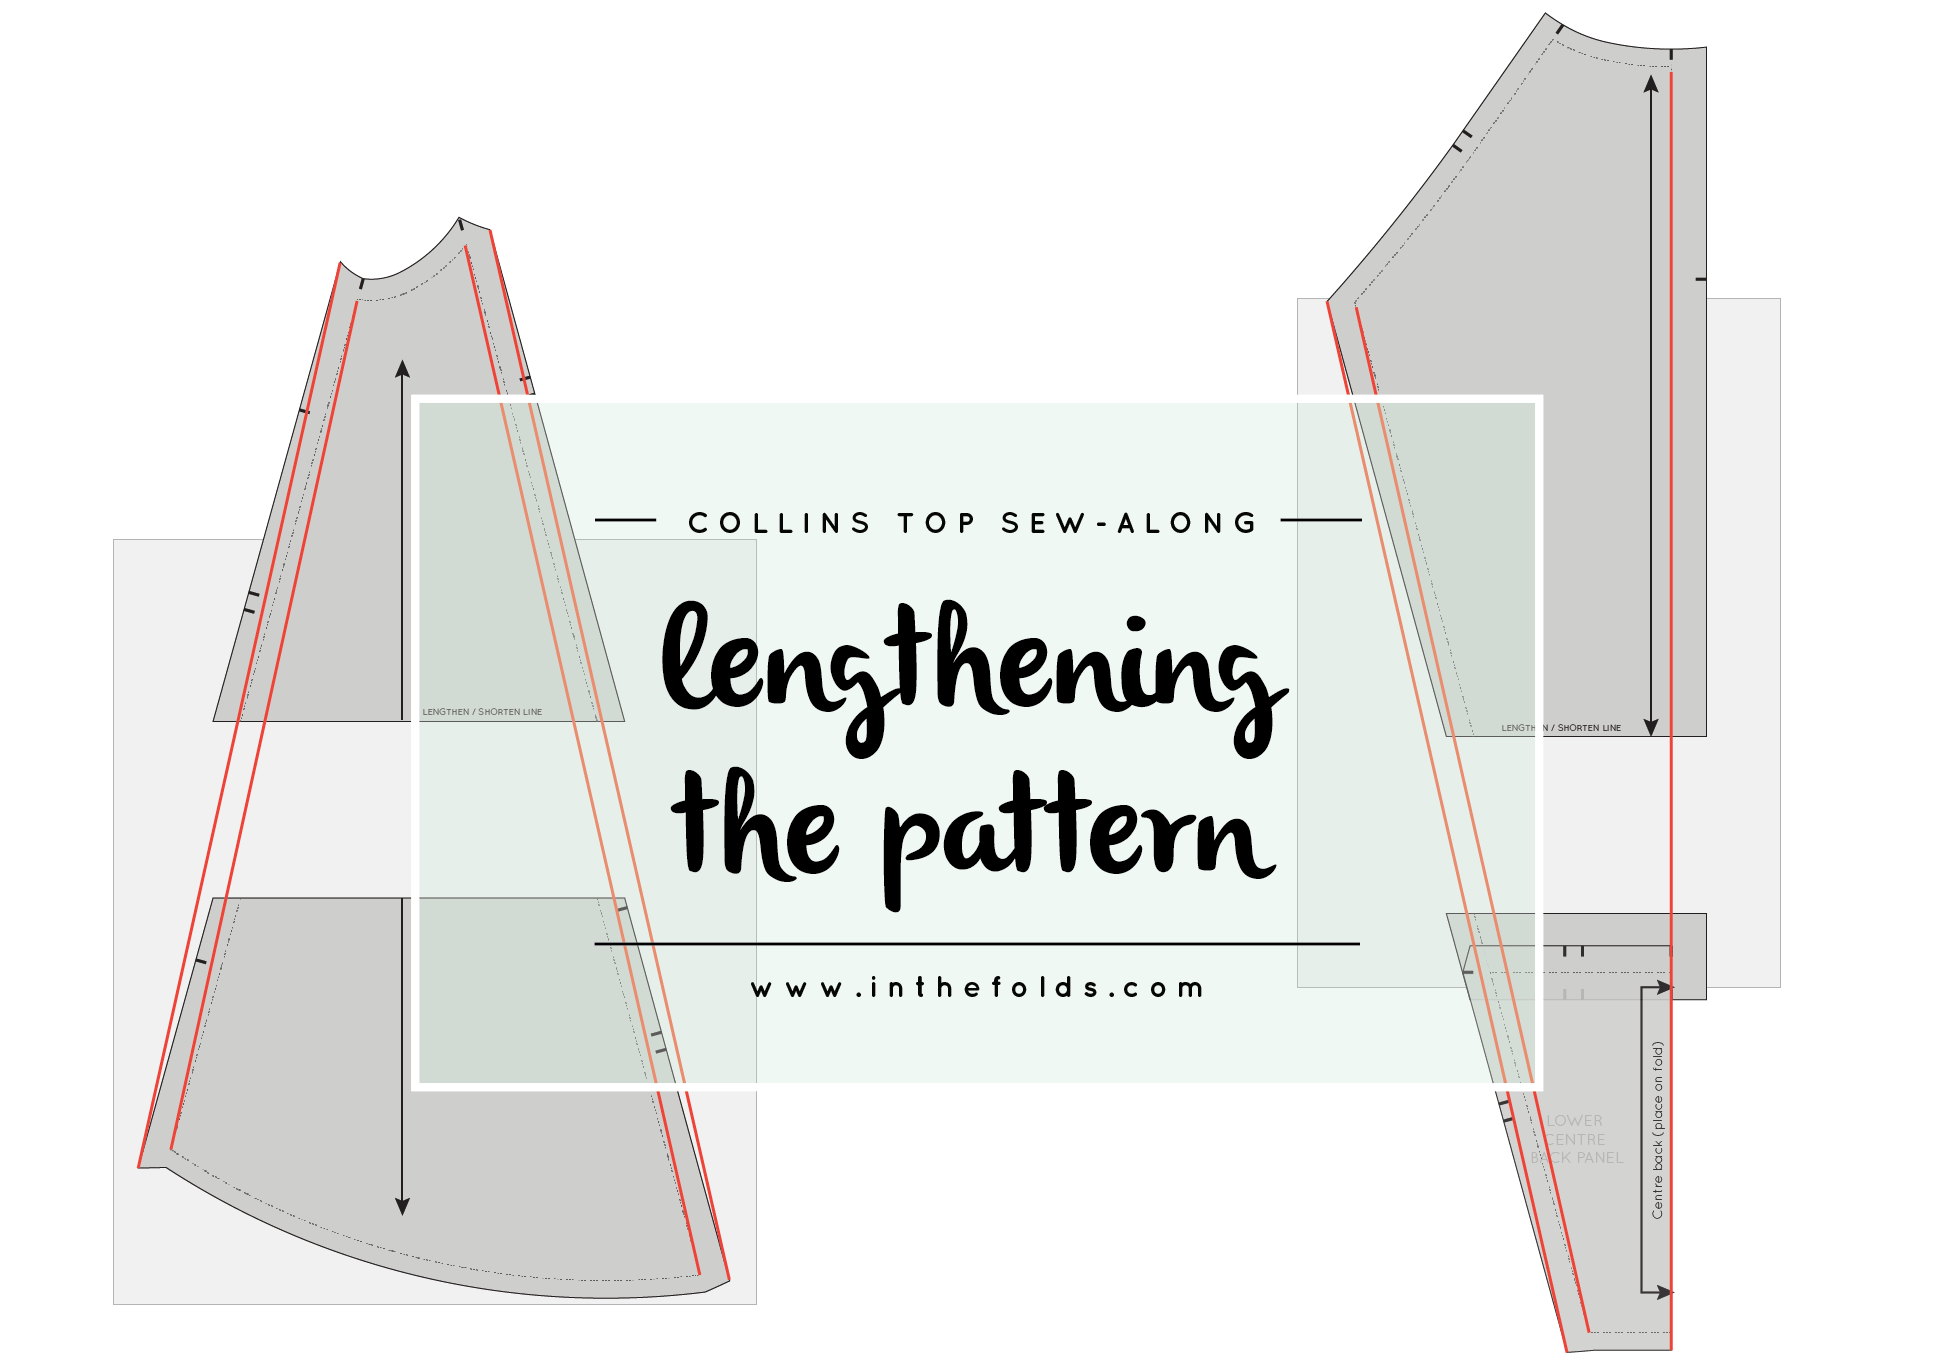
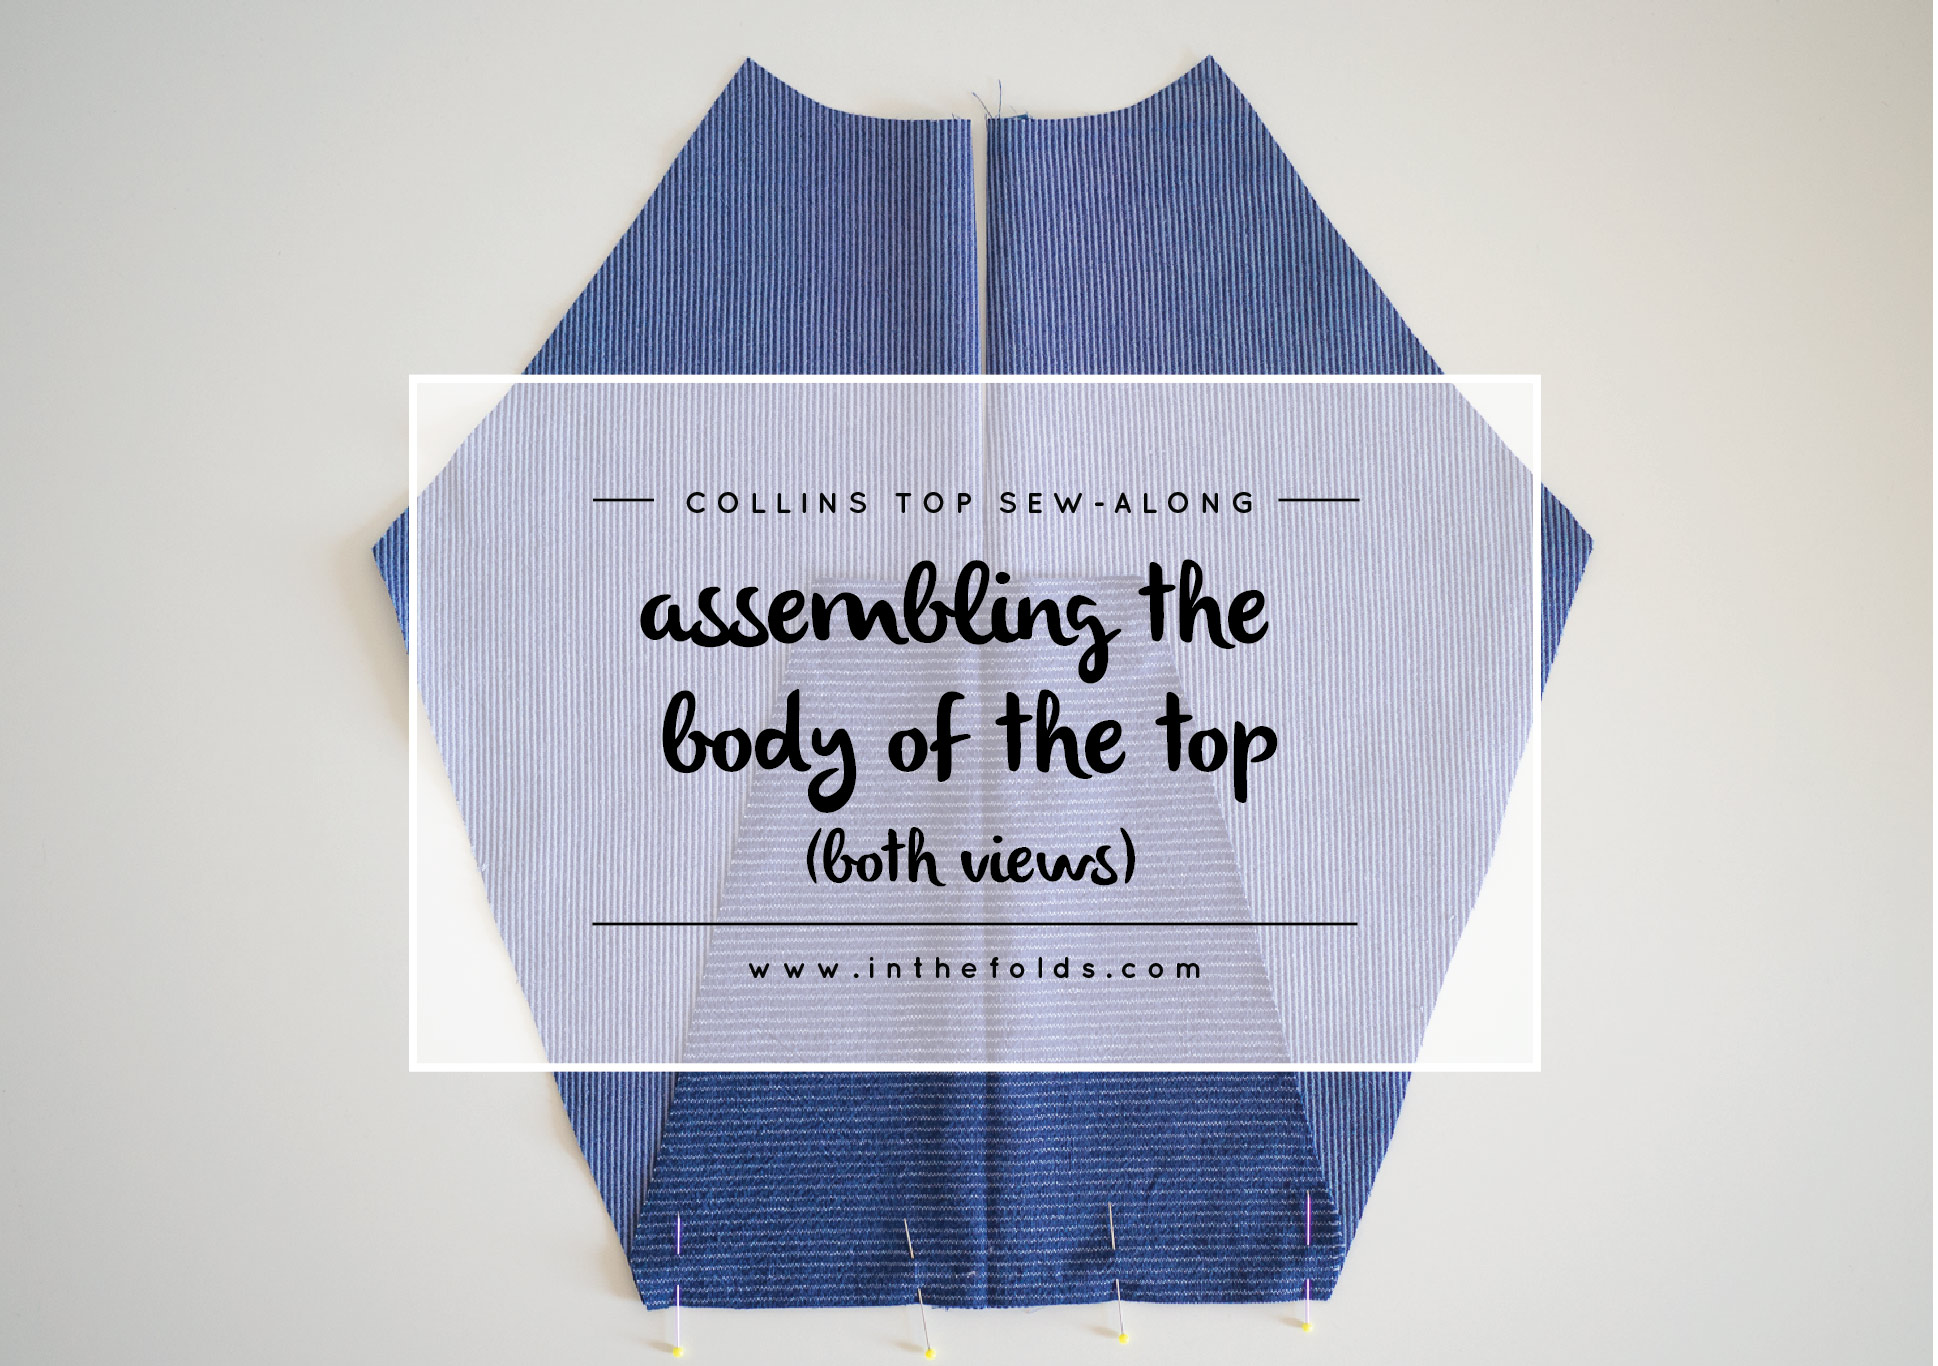
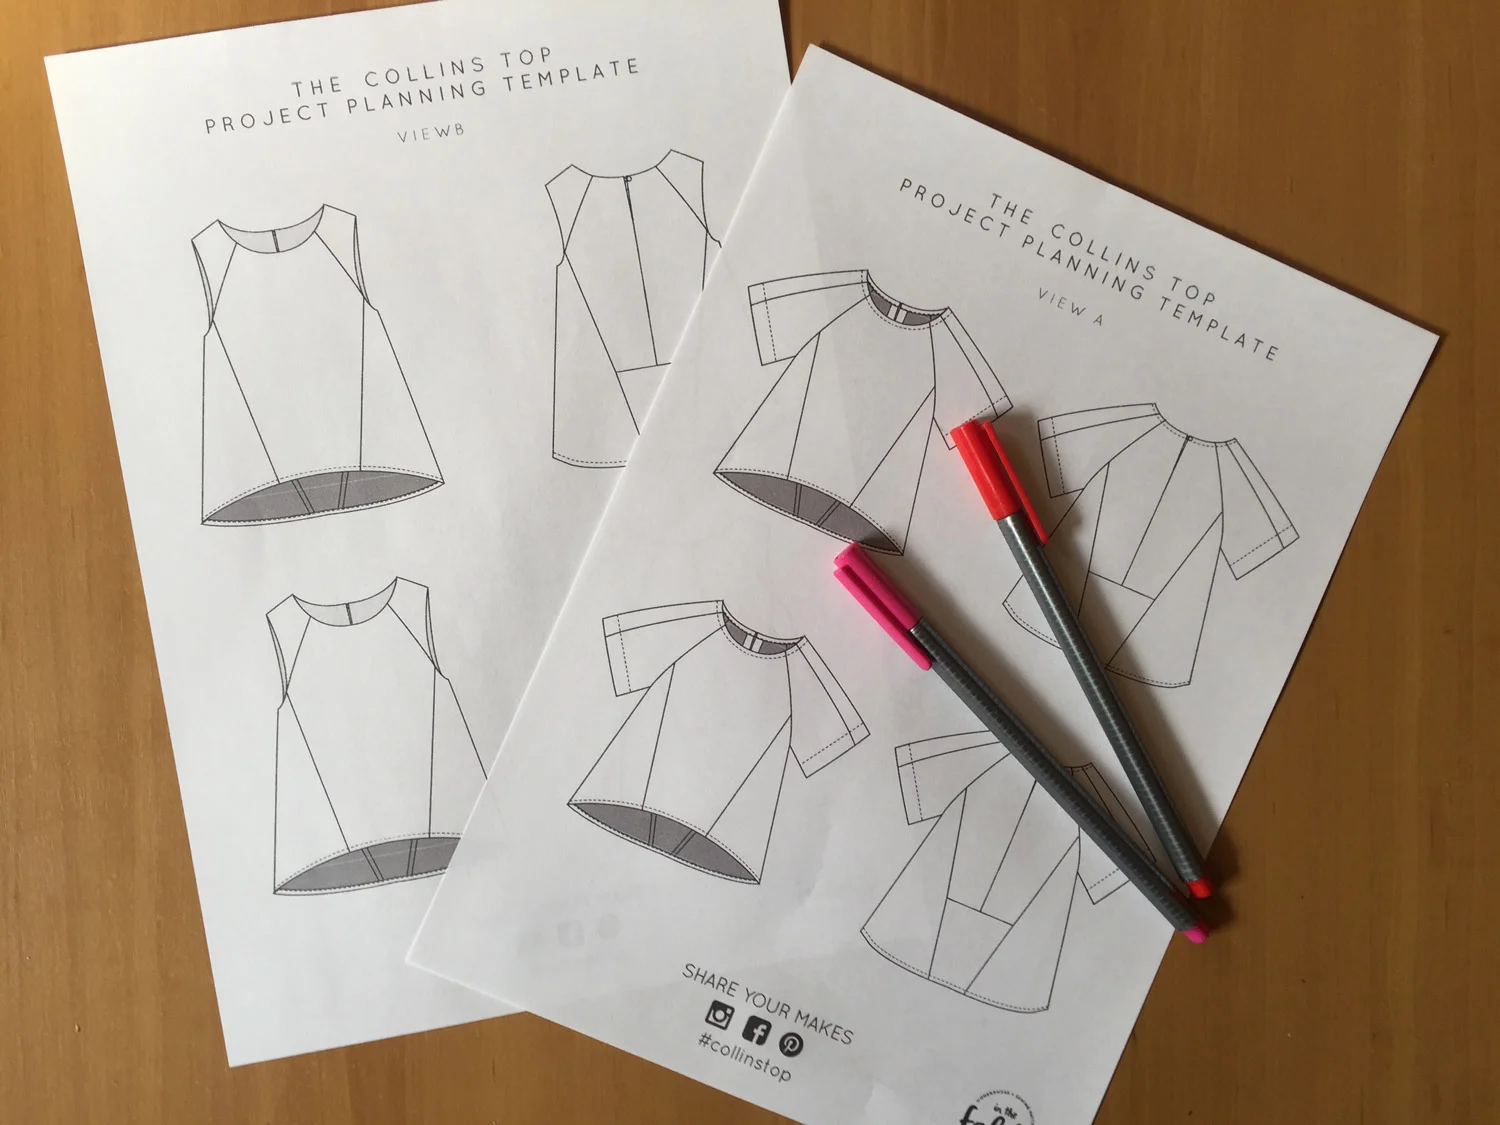
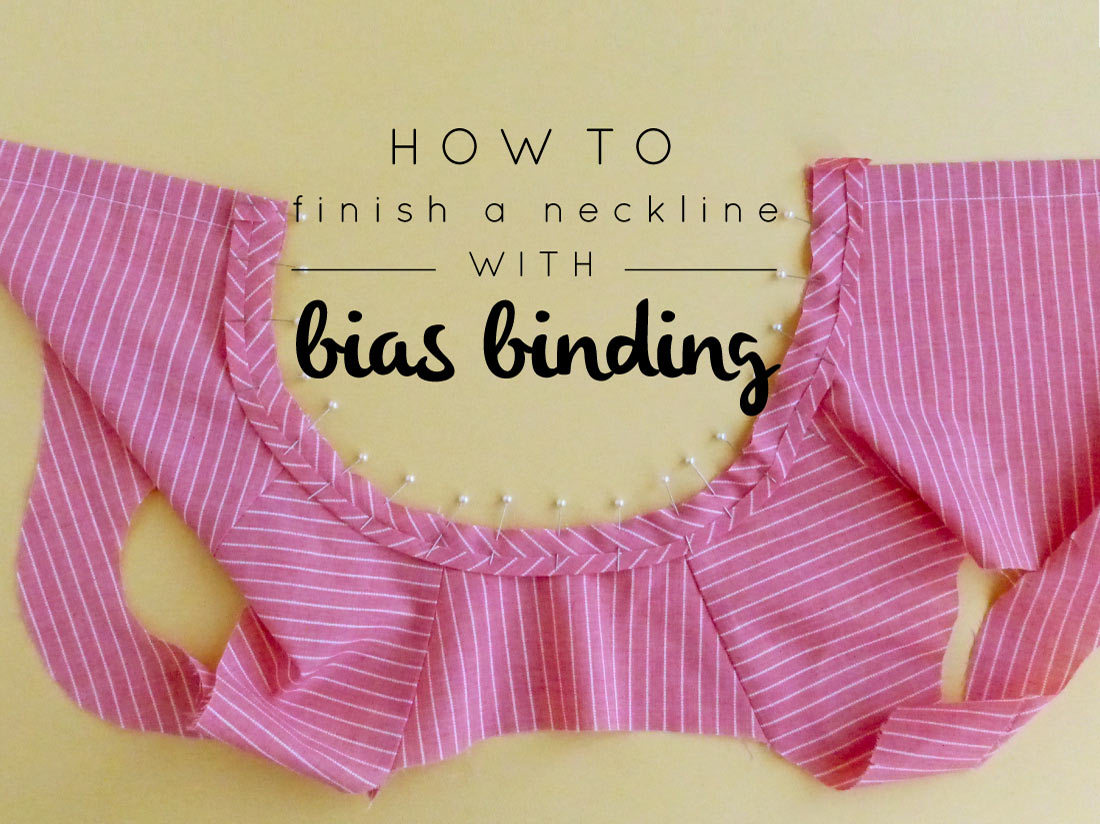
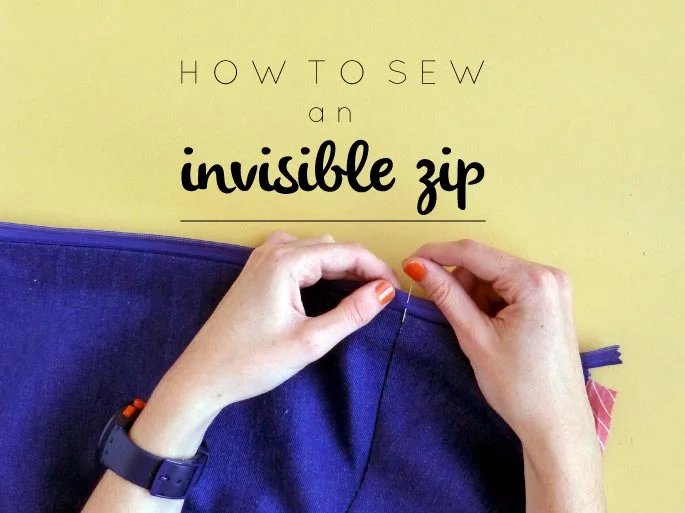
Today we have made it to the final post in the Collins Top Sew-along! For a full round-up of all the posts in the series, you can have a look here. I must say it is a huge relief to be done. Although this time I received a lot of help with it, by having someone take the photos for me (fin out more about that here), it is still a huge amount of work to put a sew-along together.

In today's post, we'll be finishing of View B (the sleeveless version) by sewing the button in place and hand tacking the all-in-one facing in place (in my opinion, when it comes to clothing there is nothing more annoying than a facing that keeps flipping up from the inside of the garment).
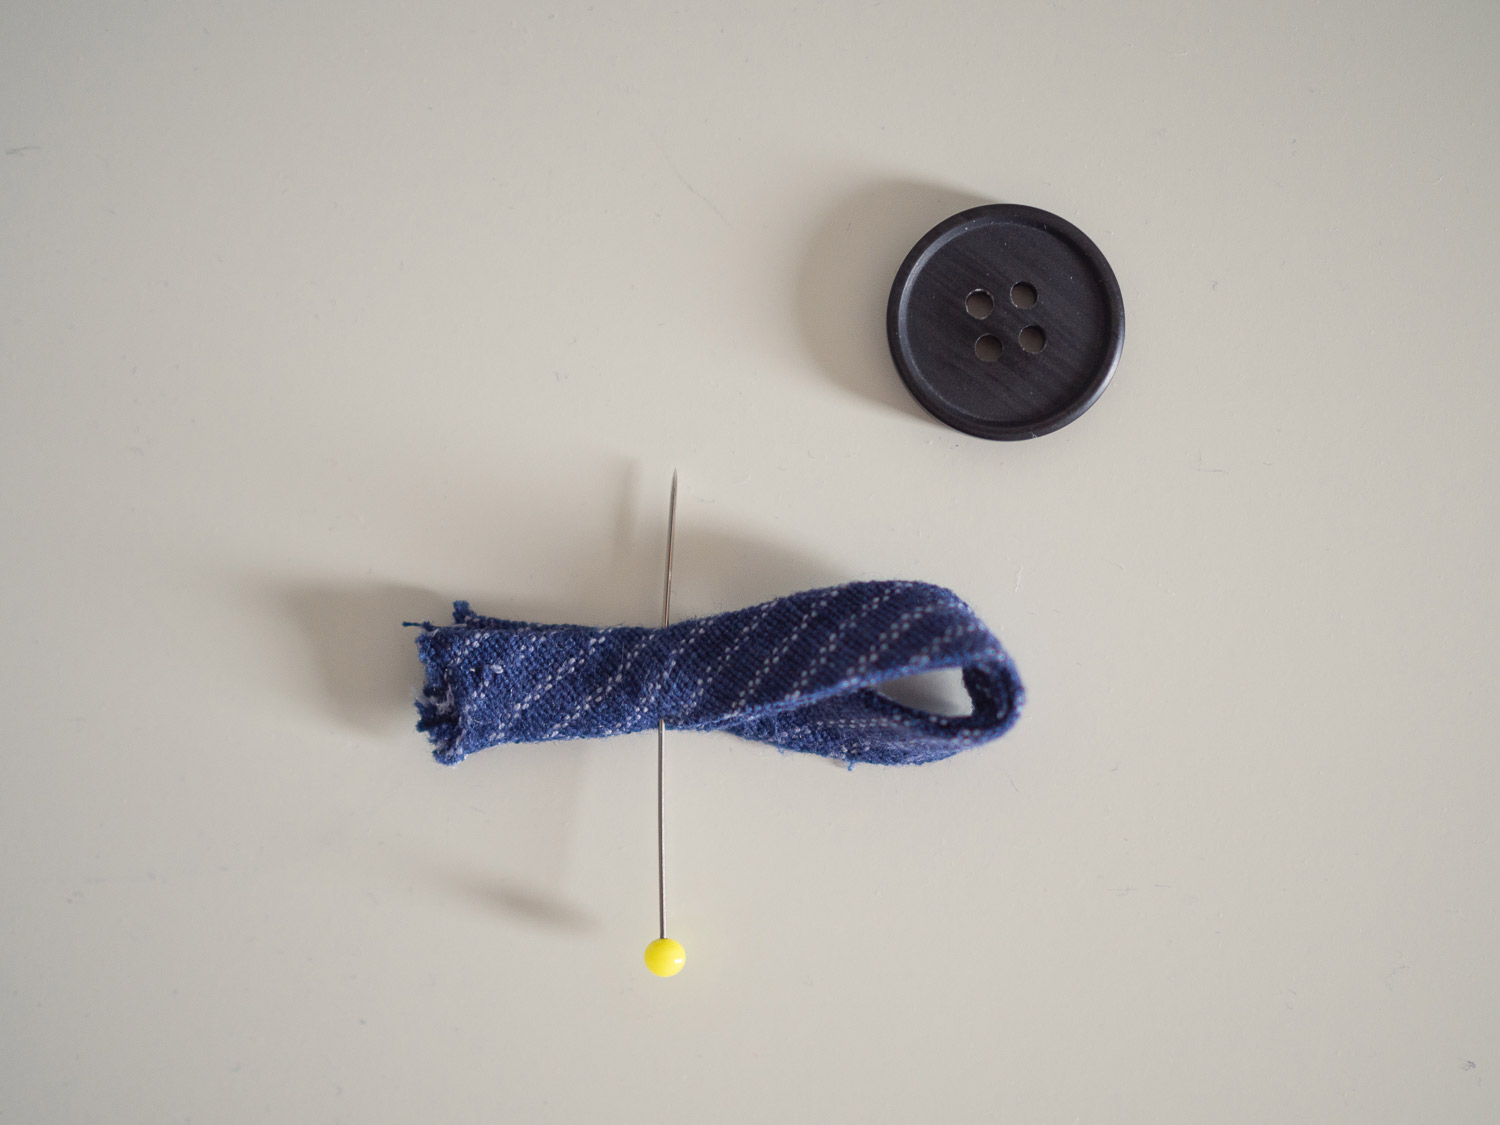

Position button

collins_sewing_button_2

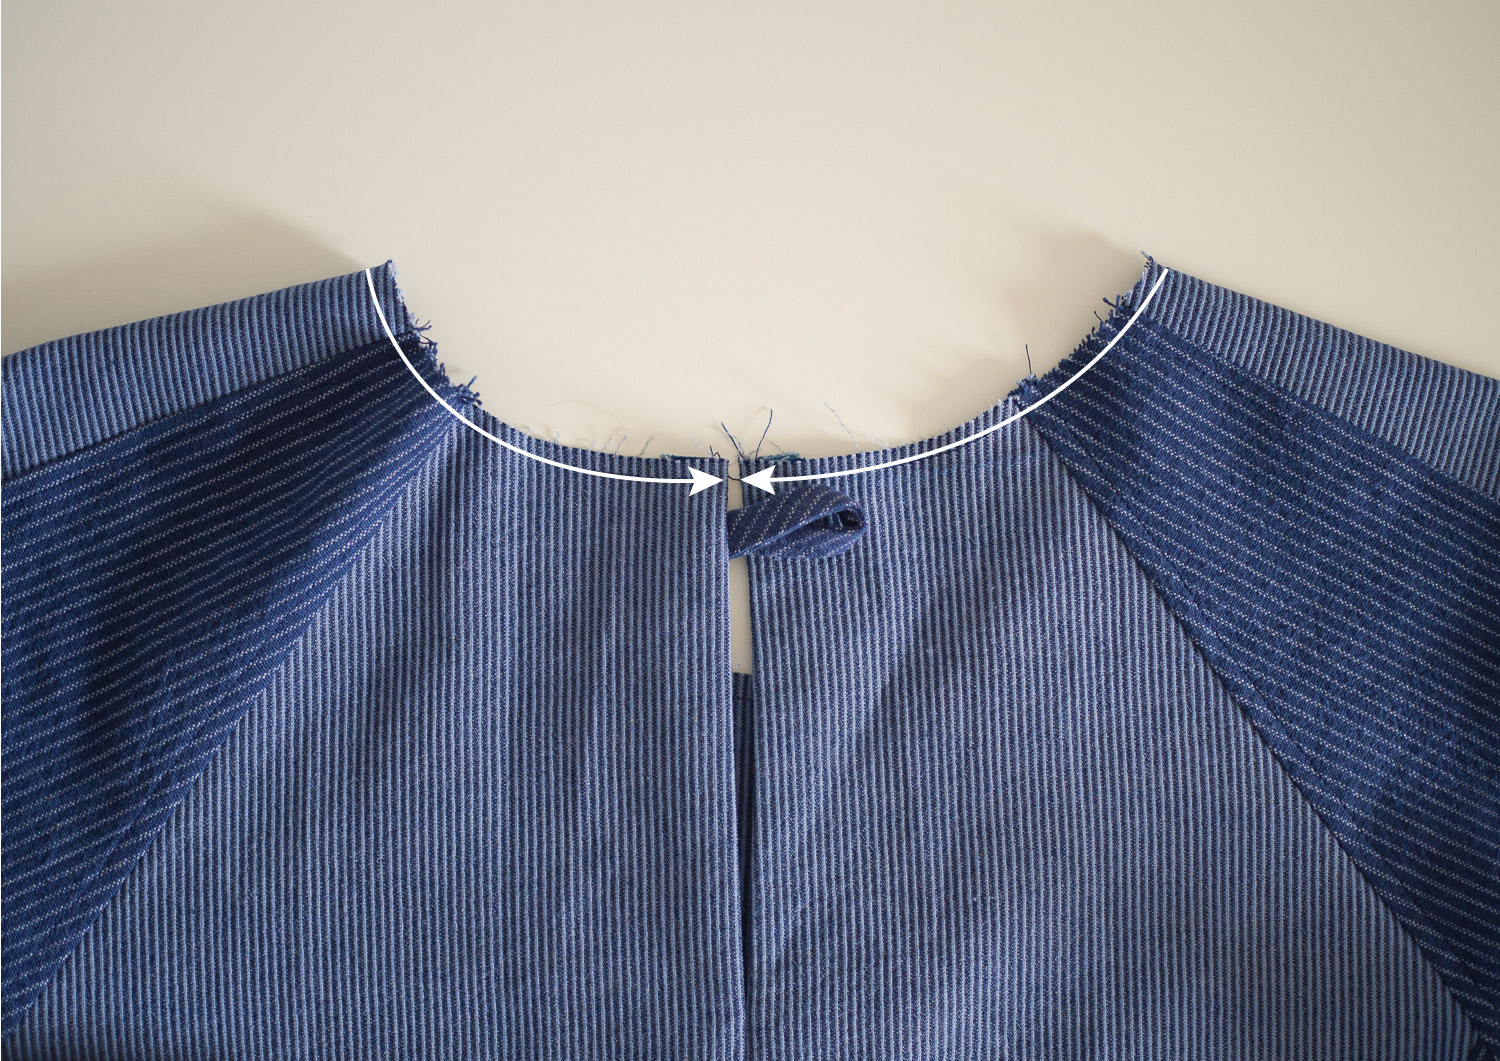
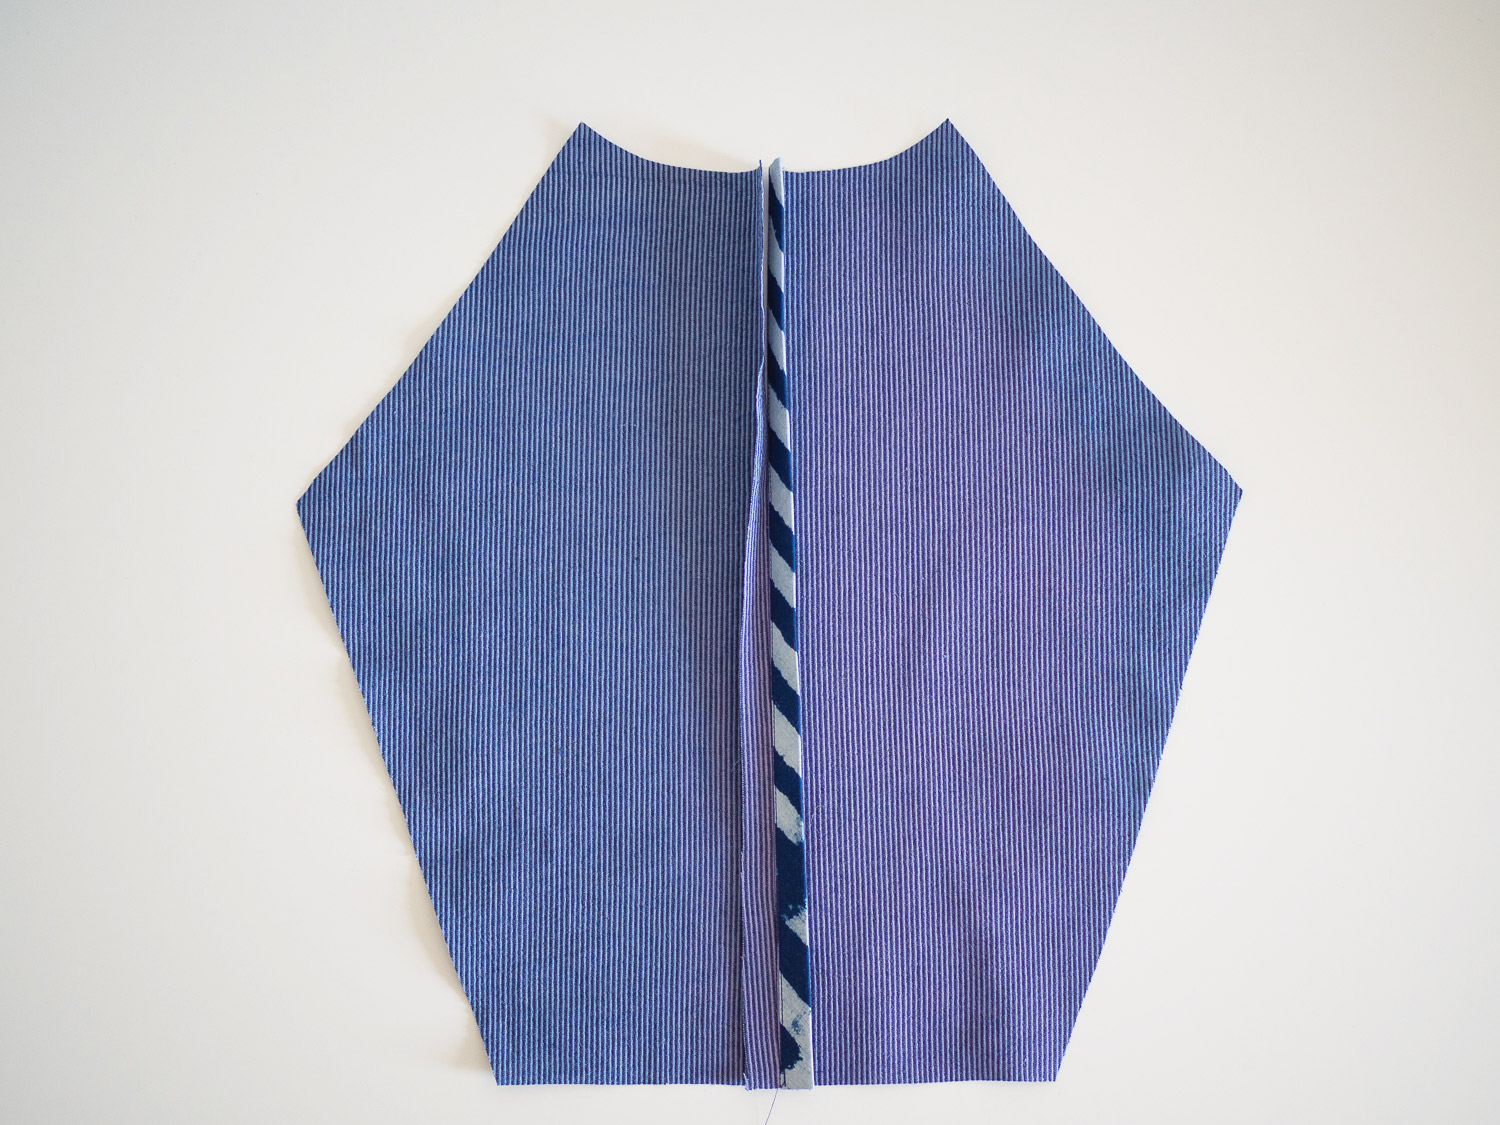
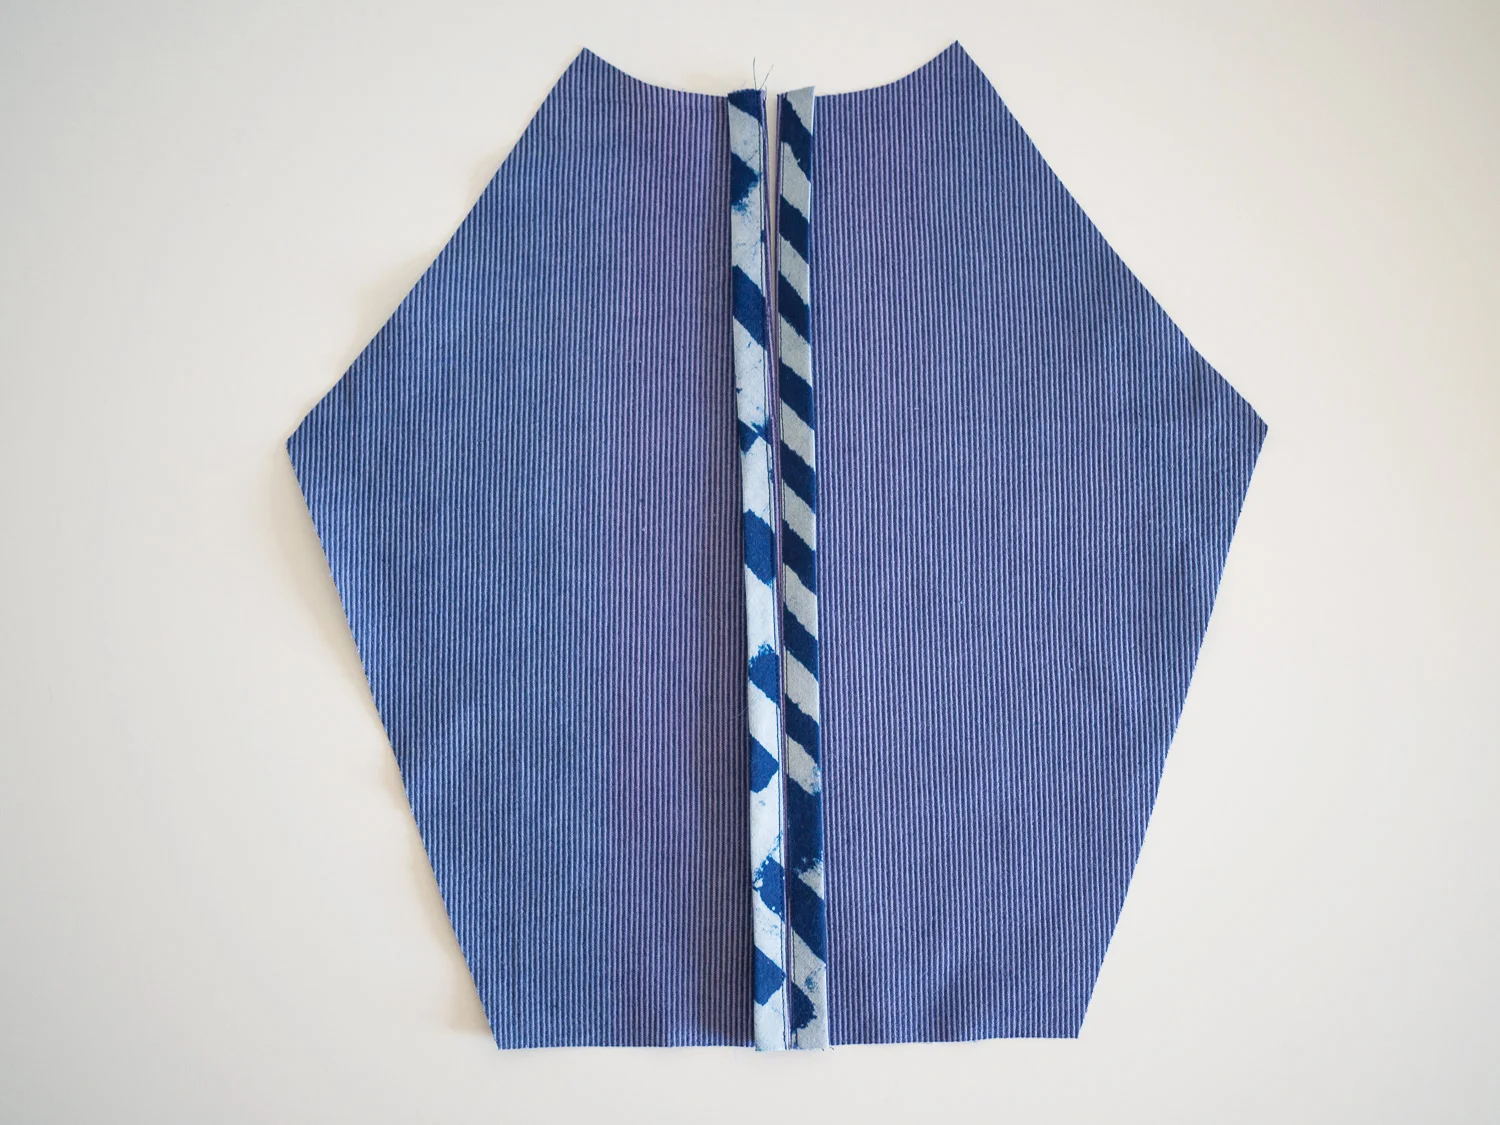
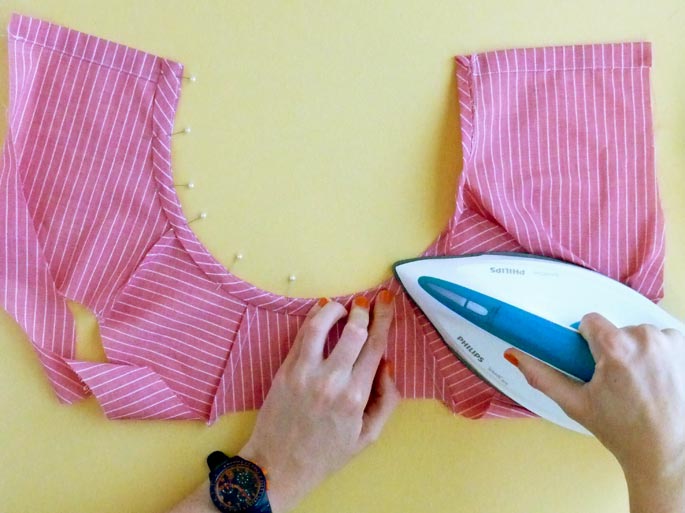
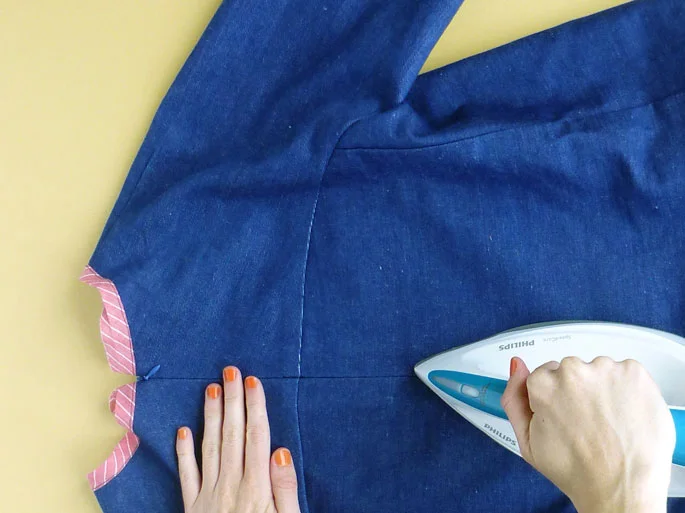
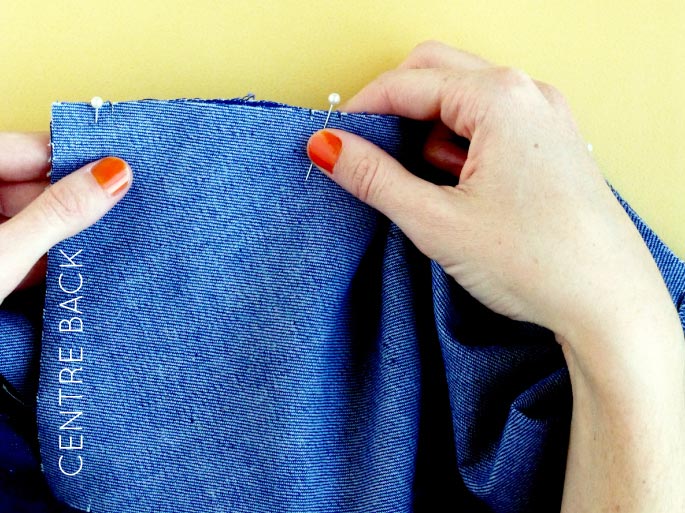
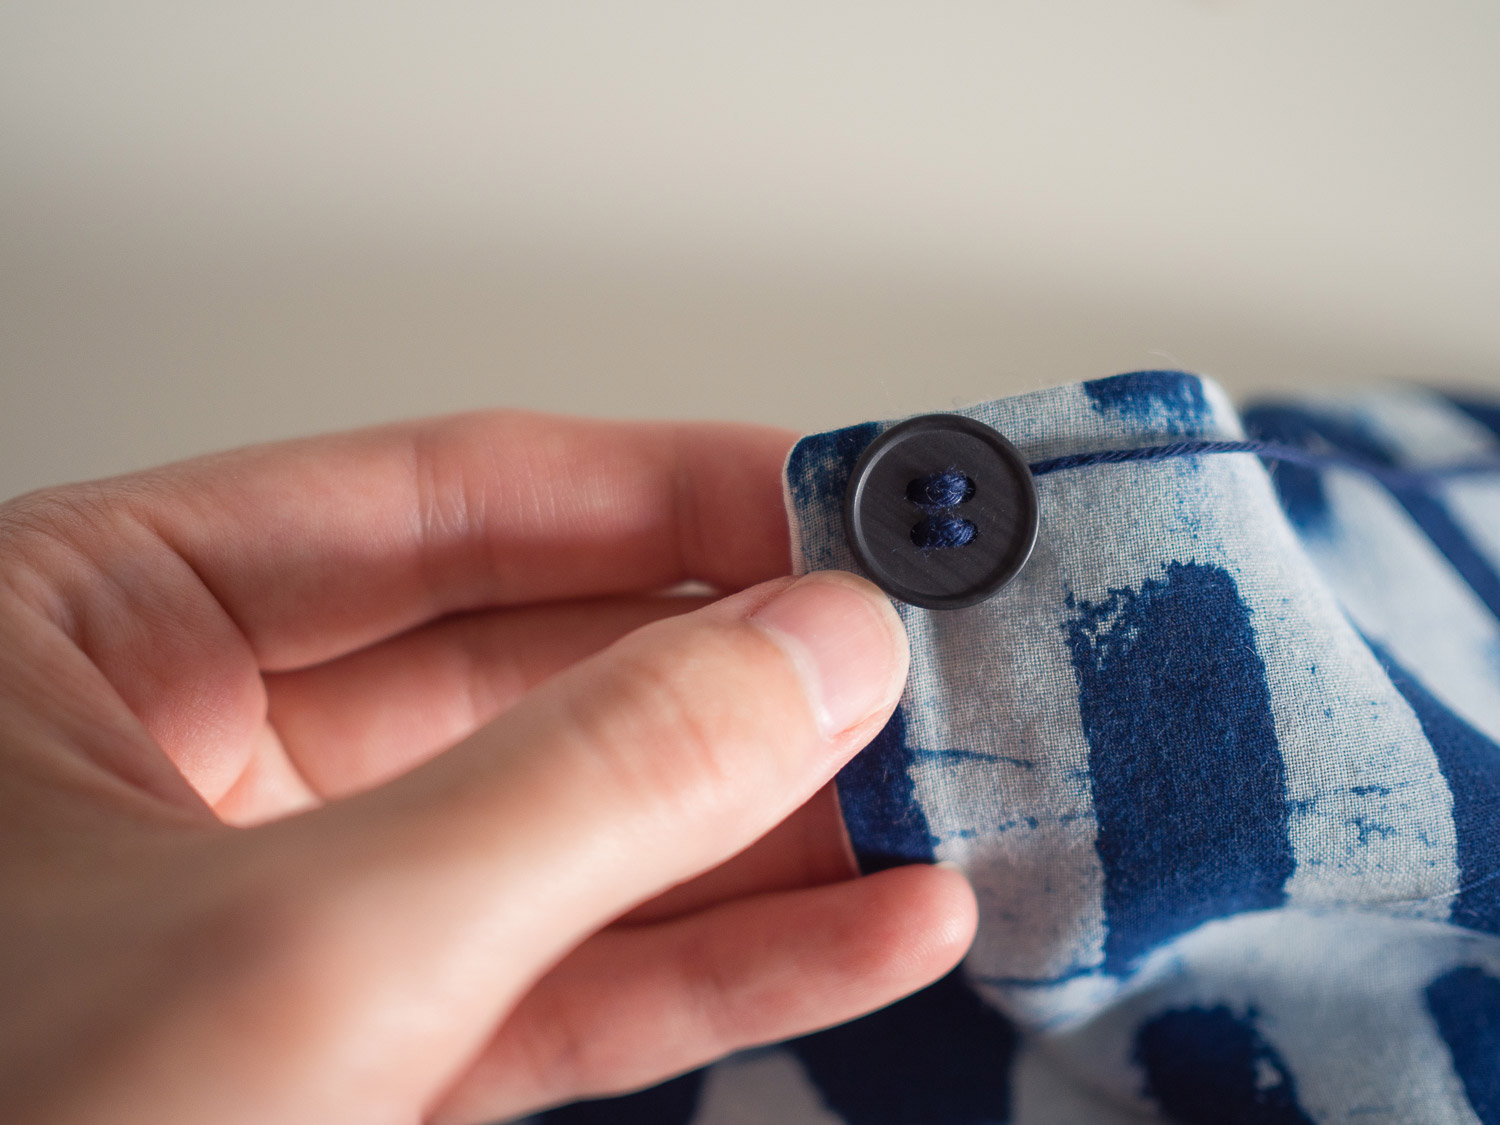
After giving the back of your top a really good press, lay the top flat with the back facing up. Close the centre back opening and position your button so that the button loop will go around it comfortably without pulling, being sure to check the top corners of the opening are in line. 

collins_sewing_button_3

Use a pin to mark the position of the button on the top.

collins_sewing_button_4

Use tailor's chalk or an erasable fabric marker to mark the position so that you can remove the pin. 

Sew button

collins_sewing_button_5

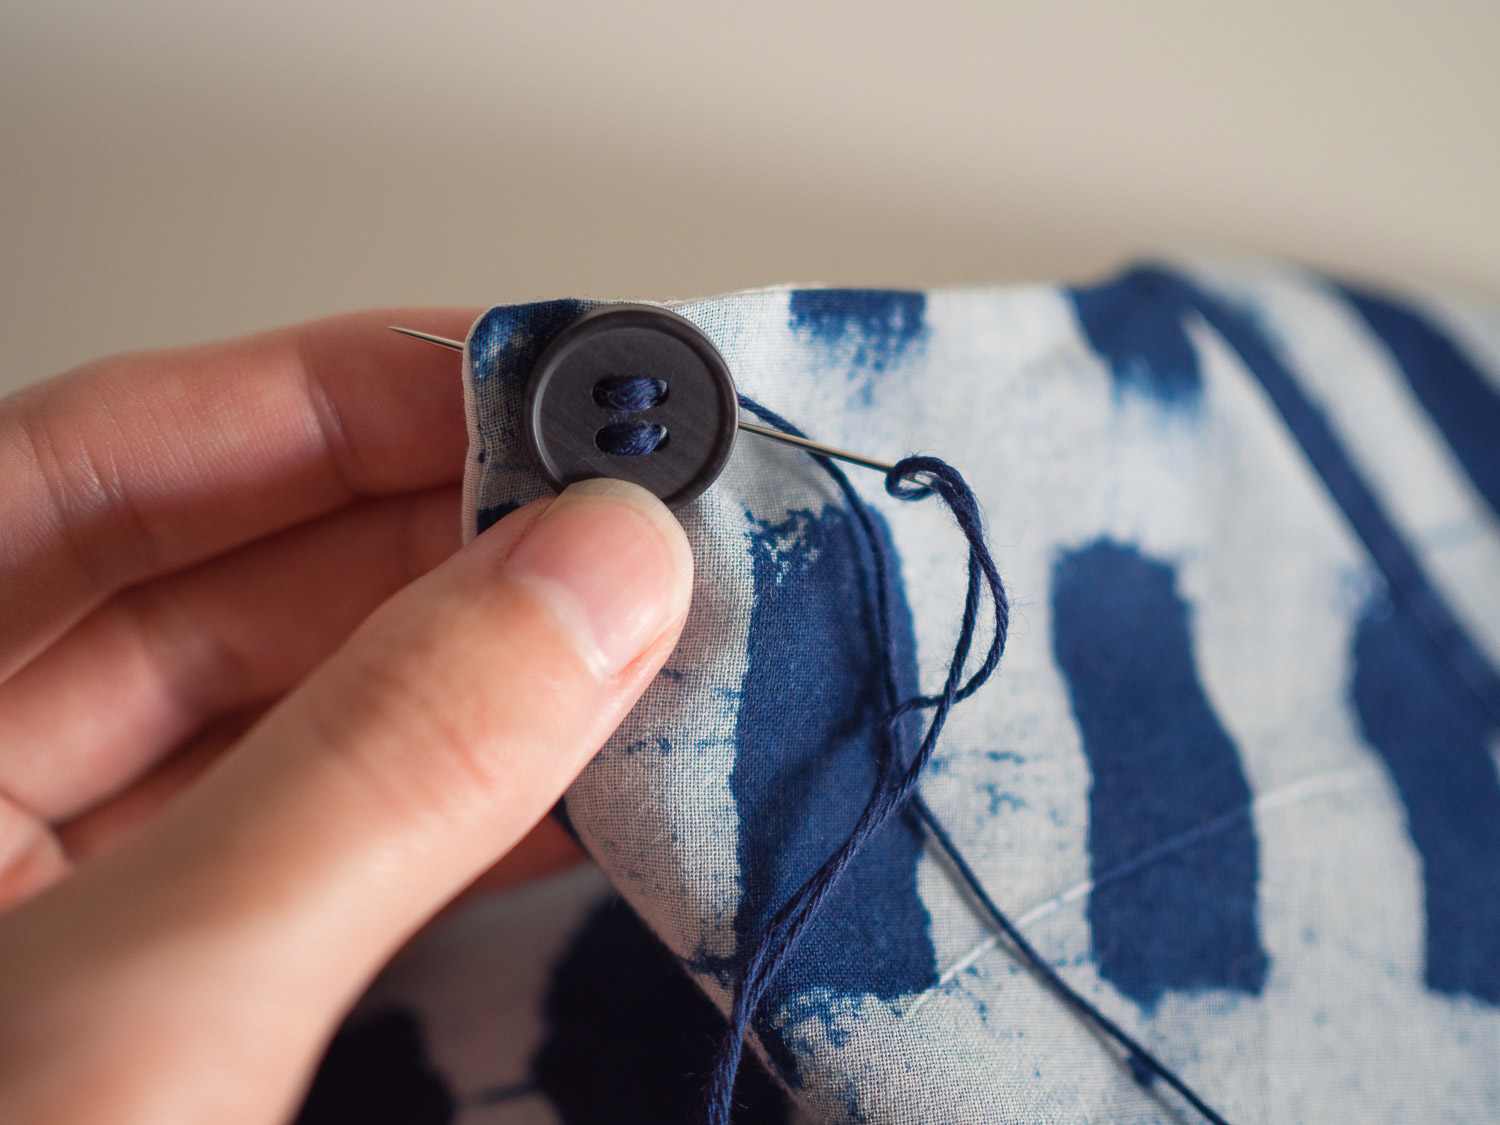
Take some thread and tie a knot in the end. I like to use a thick thread (like the one in the photo) or a normal thread doubled. Place your chosen button onto a tooth pick (or similar) and sew the first stitch to secure it. We are using a toothpick under the button so that the button will be slightly raised off the fabric, which will mean it is easier to secure the button loop around it, and the loop won't slip off the button.

collins_sewing_button_6

Making sure the button is straight, secure the bottom of the button with another stitch.

collins_sewing_button_7

Continue stitching the button in place, keeping your stitches nice and close together on the back so that it remains neat on the inside as well as the outside. 

collins_sewing_button_8

Once your button is secure, remove the toothpick from underneath the button.

collins_sewing_button_9

Take the needle to the inside of the top, by putting the needle through the fabric underneath the button. 

collins_sewing_button_10

Bring the thread up through the wrong side of the top, underneath the button. 

Make a small knot in the thread by making a few small stitches and putting the needle and thread through the stitches. 

collins_sewing_button_11

To secure the end, put the needle into the fabric under the button and bring it up about 2-3cm (1in) under the button on the centre back of the top.  

collins_sewing_button_12

Pull the thread through. 

collins_sewing_button_13

Cut the thread so that it drops back inside the top (between the top and the facing) so that you cannot see the end. 

collins_sewing_button_14

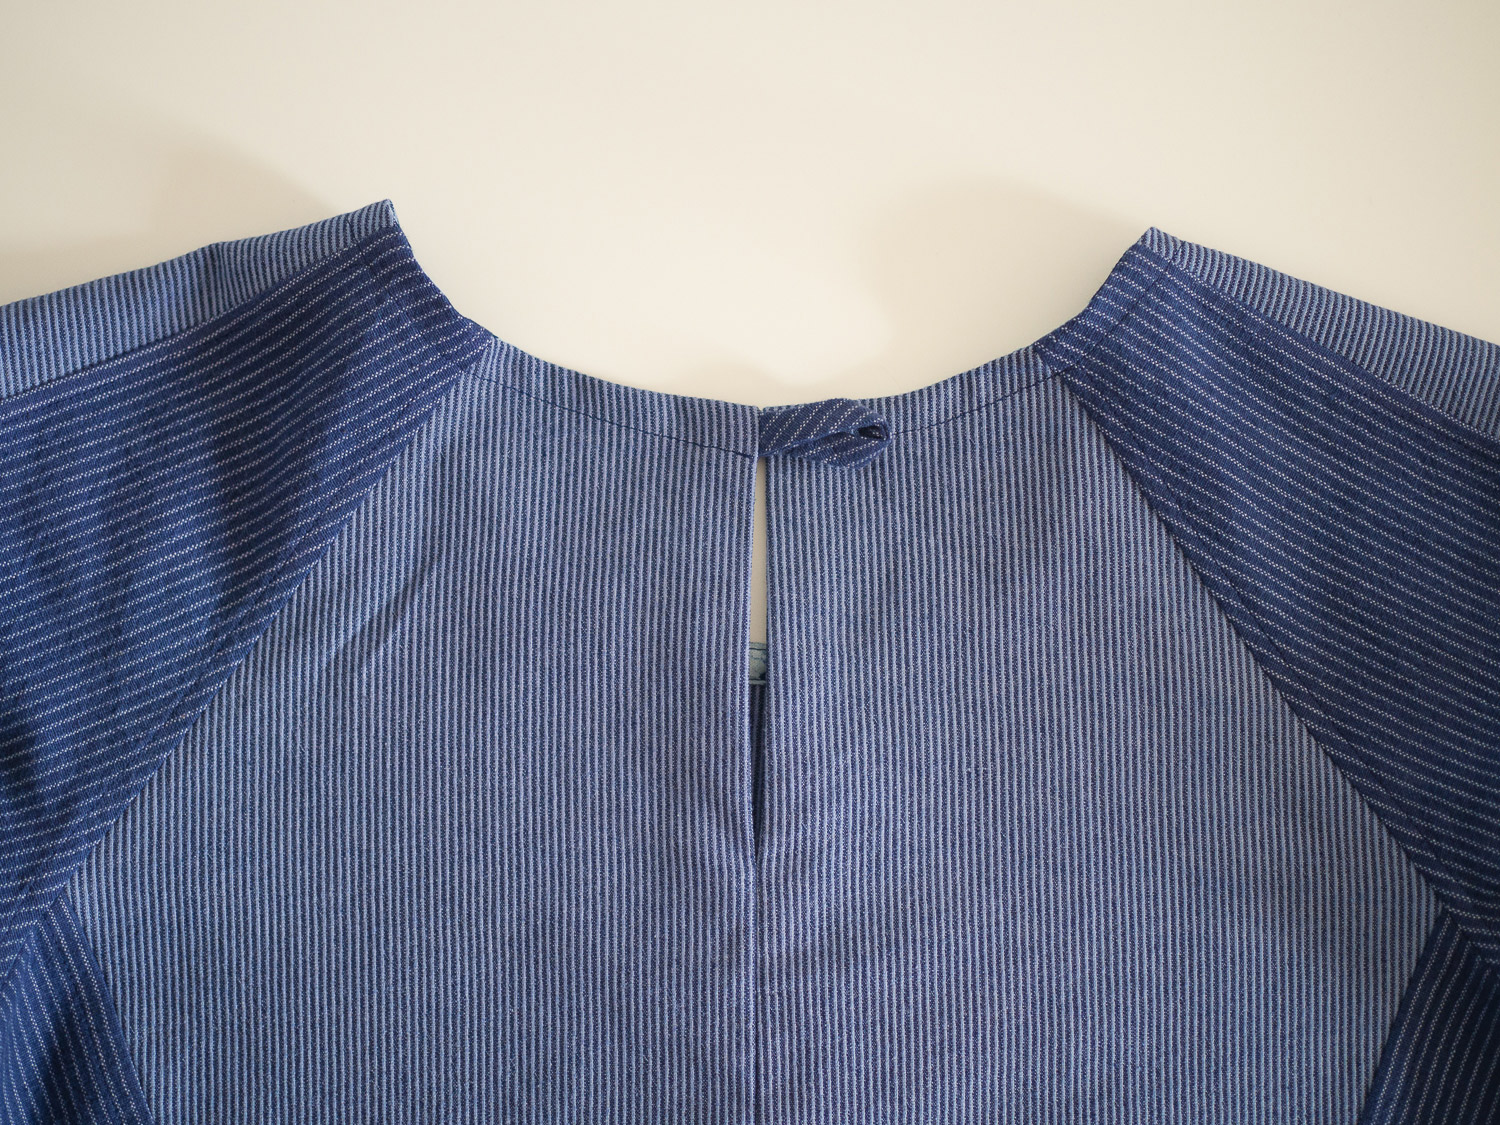
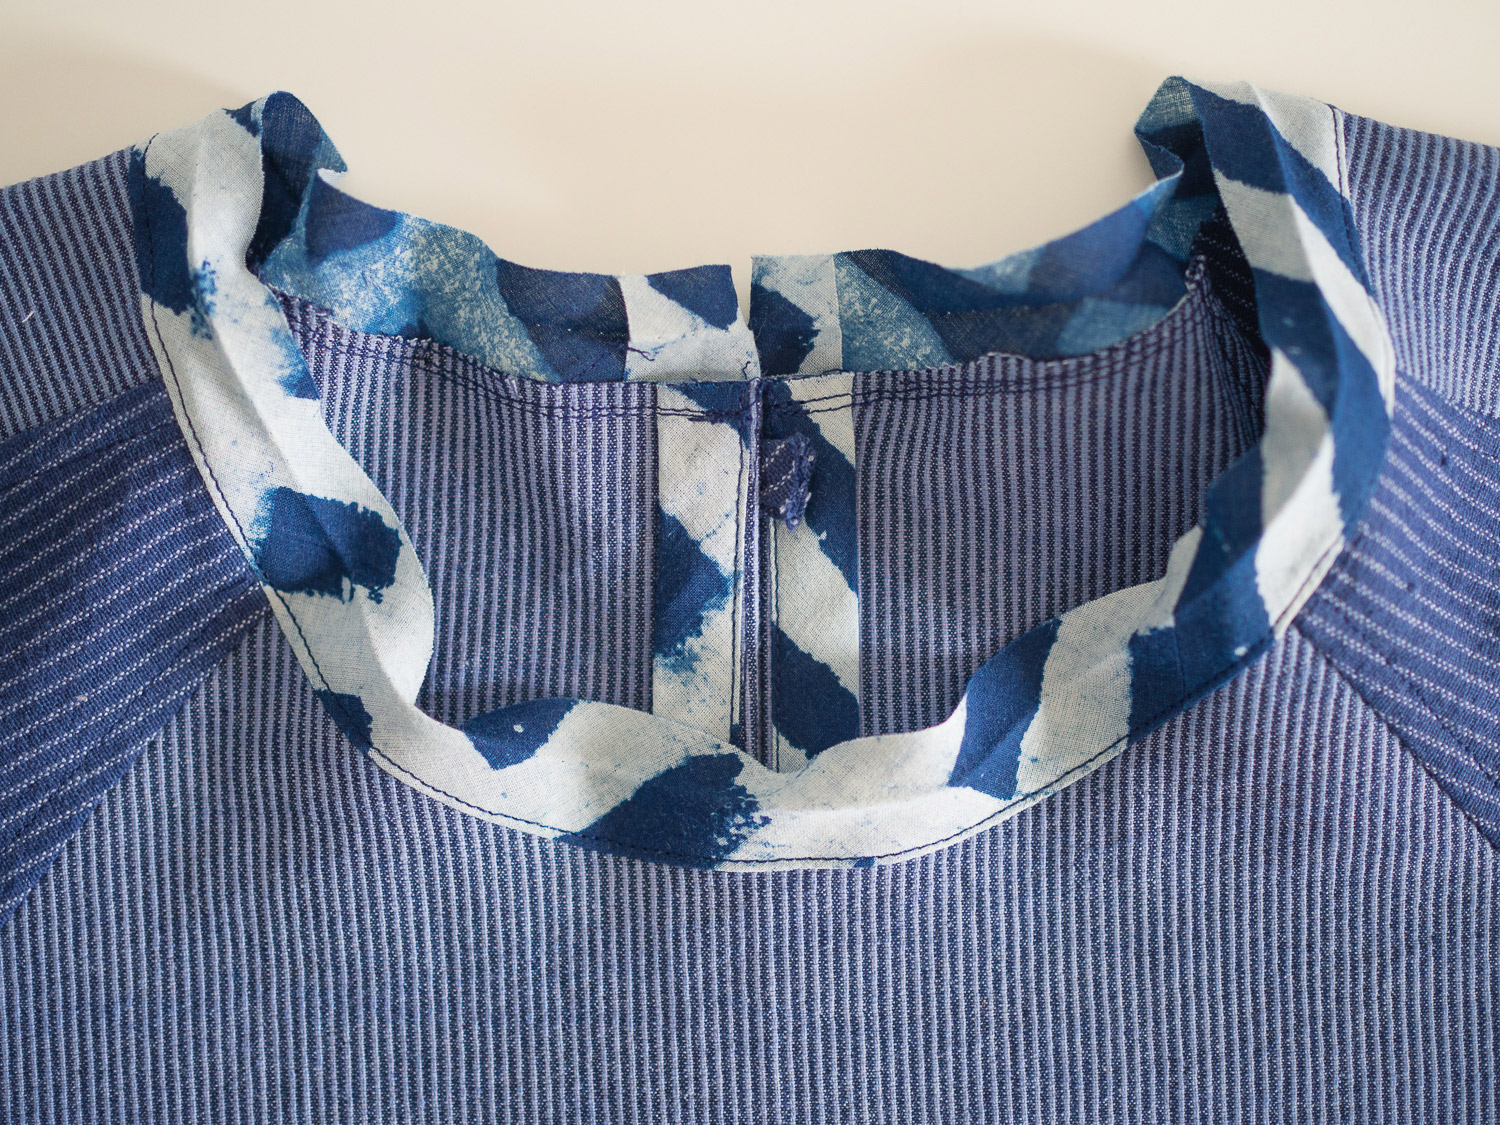
And admire your work! Your button is in position.


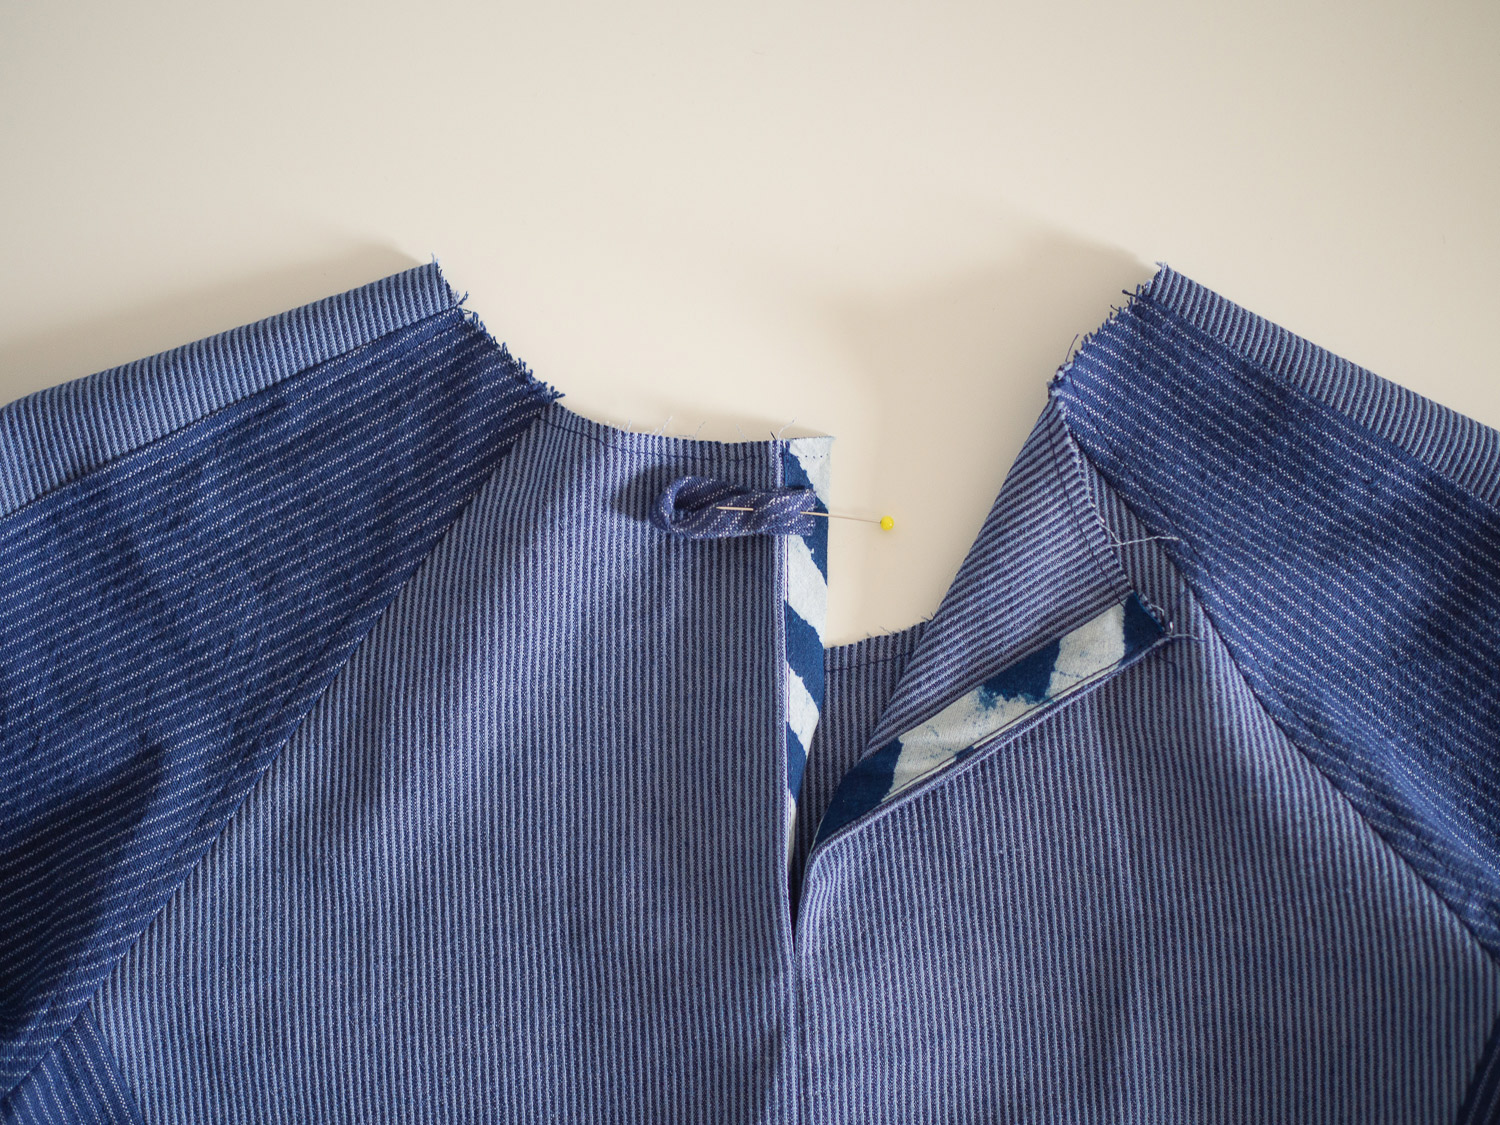
Secure all-in-one facing

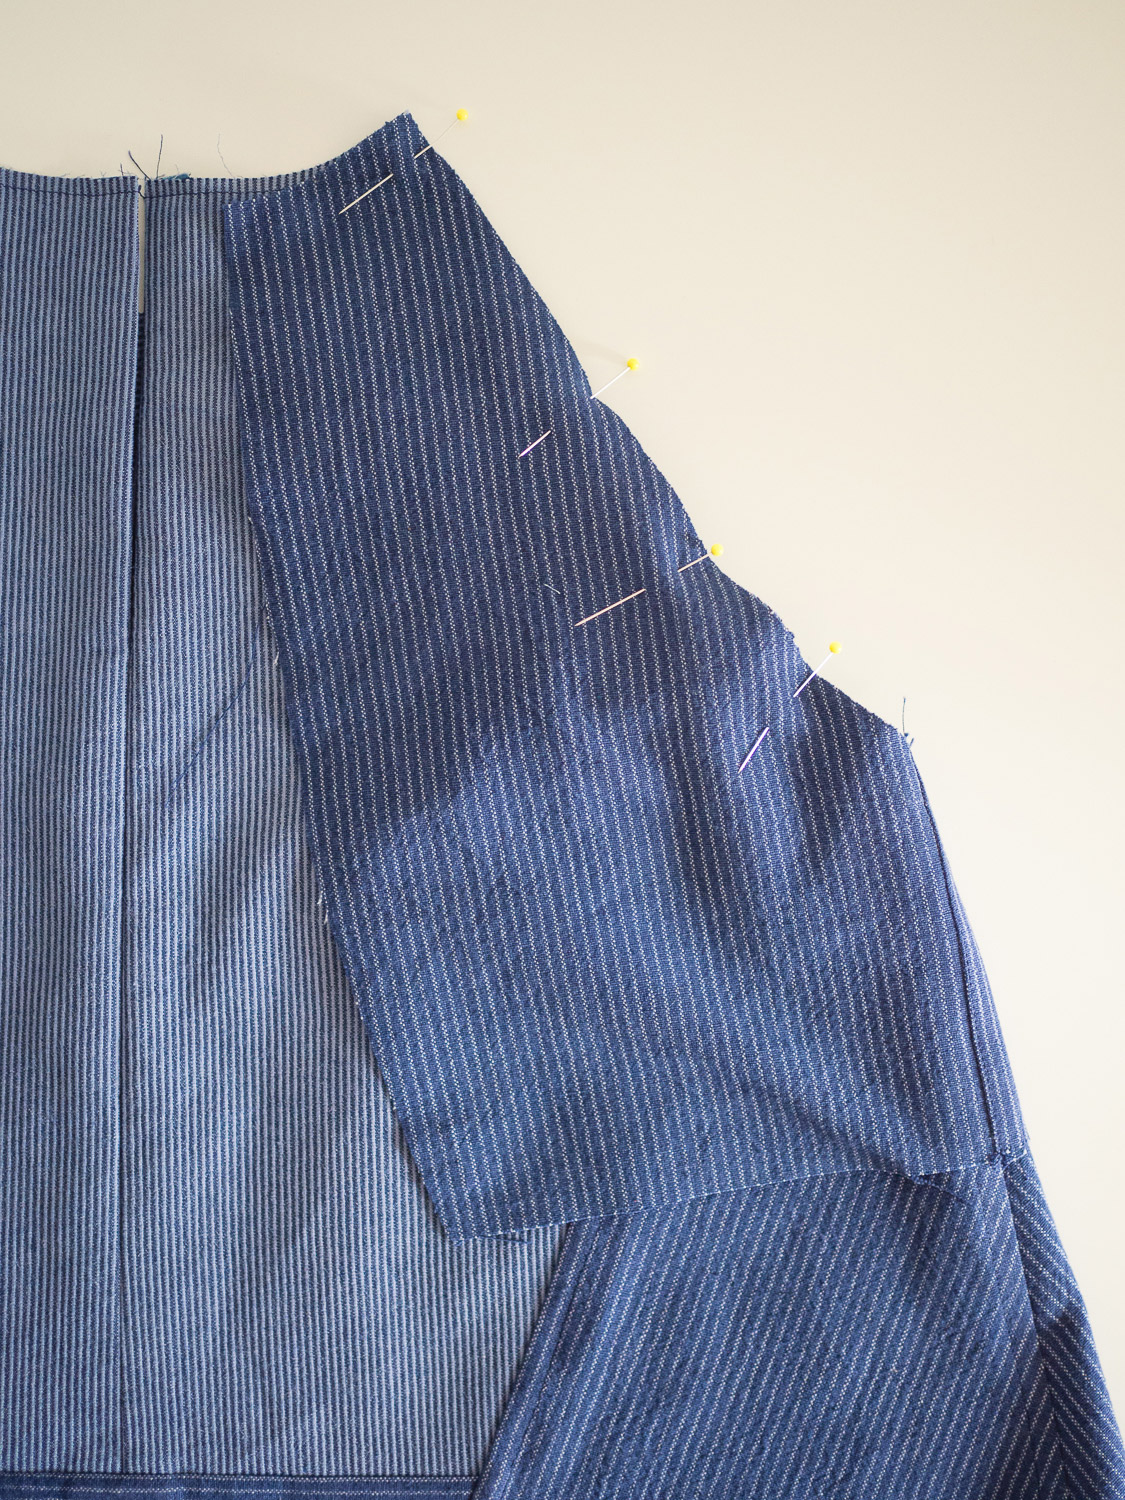
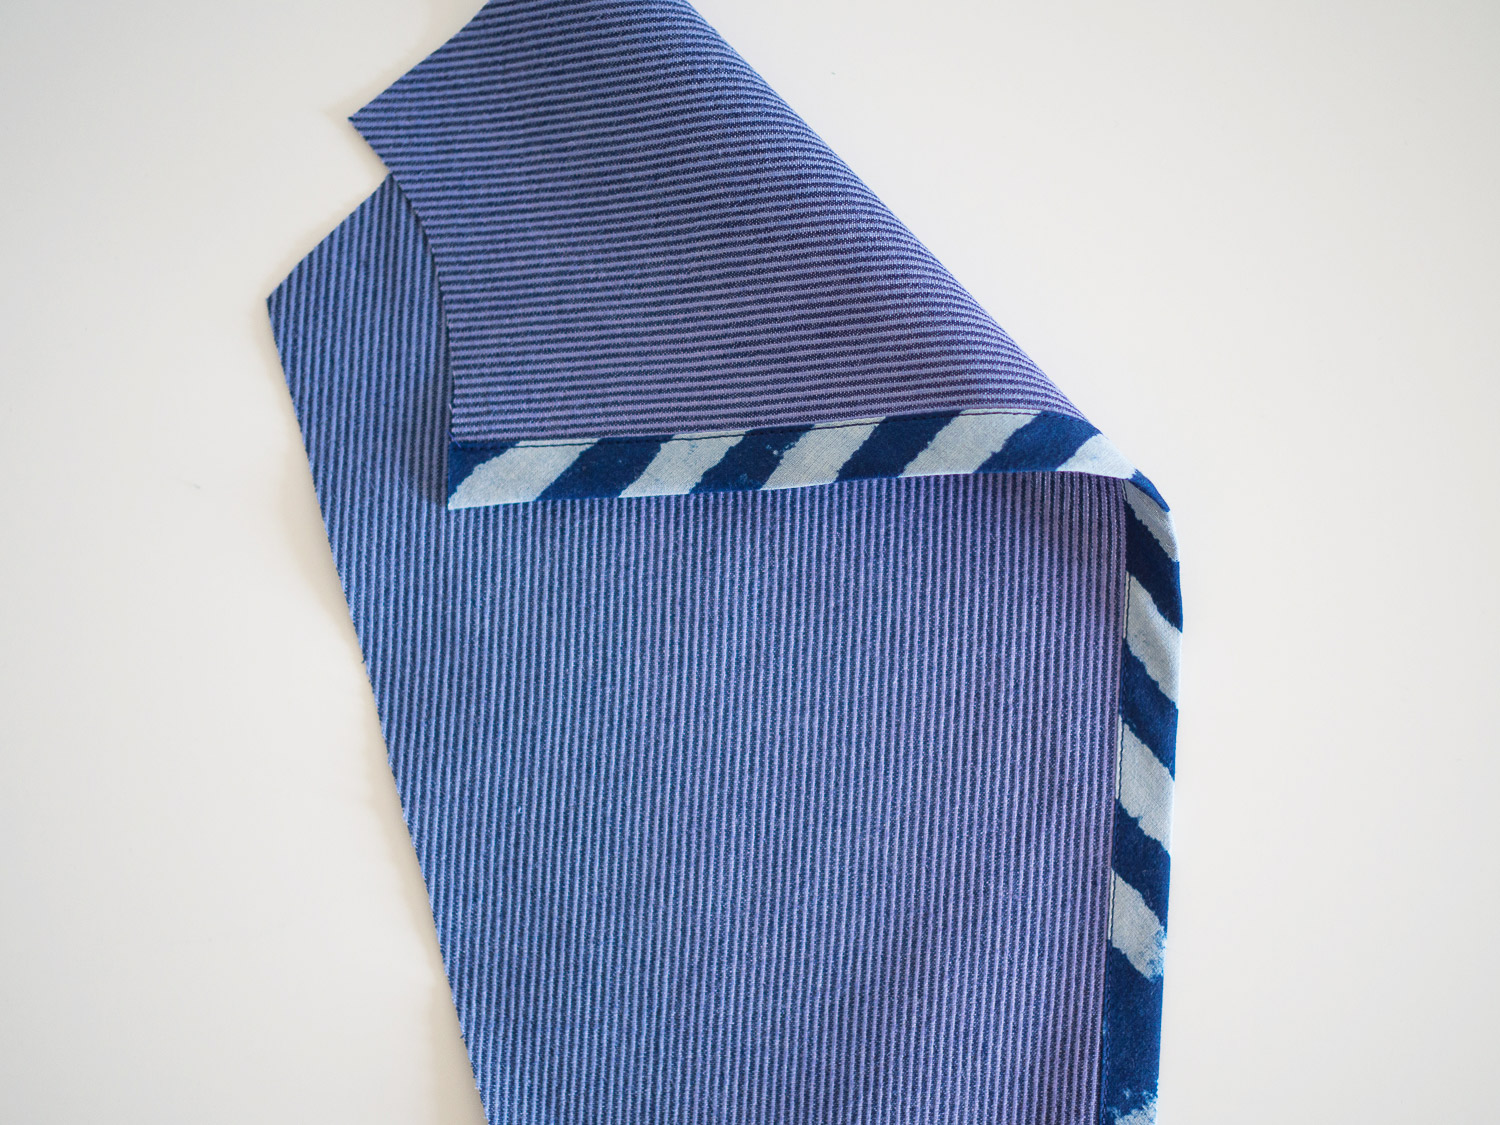
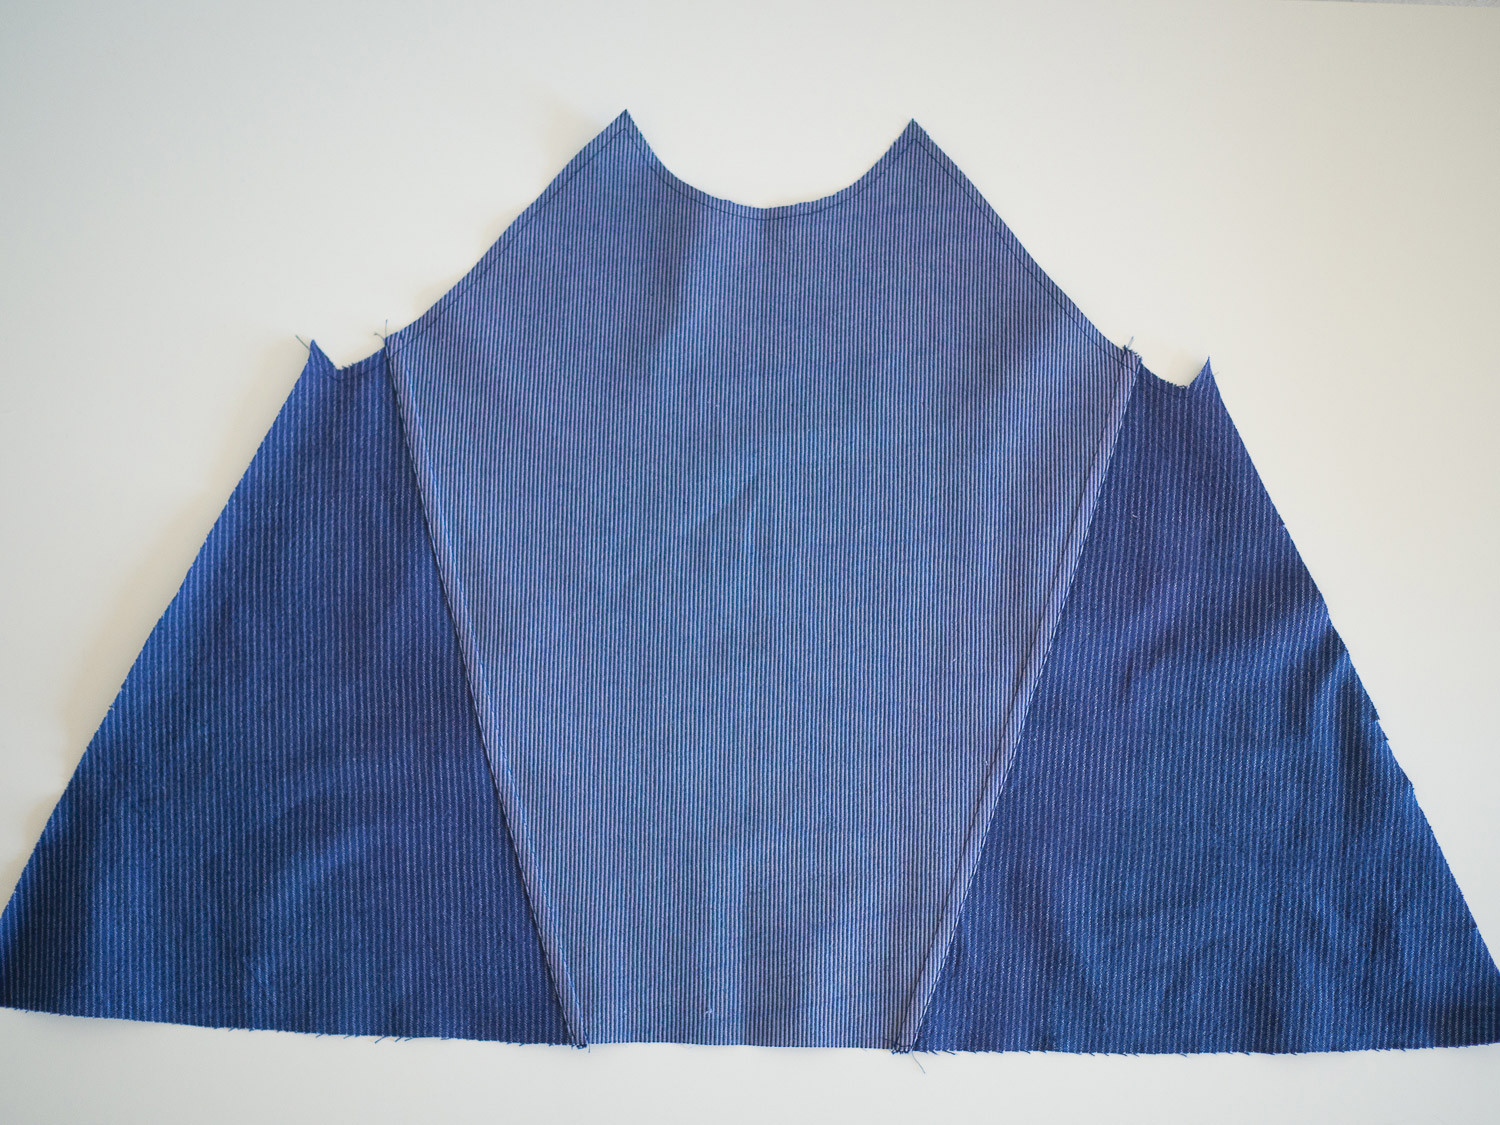
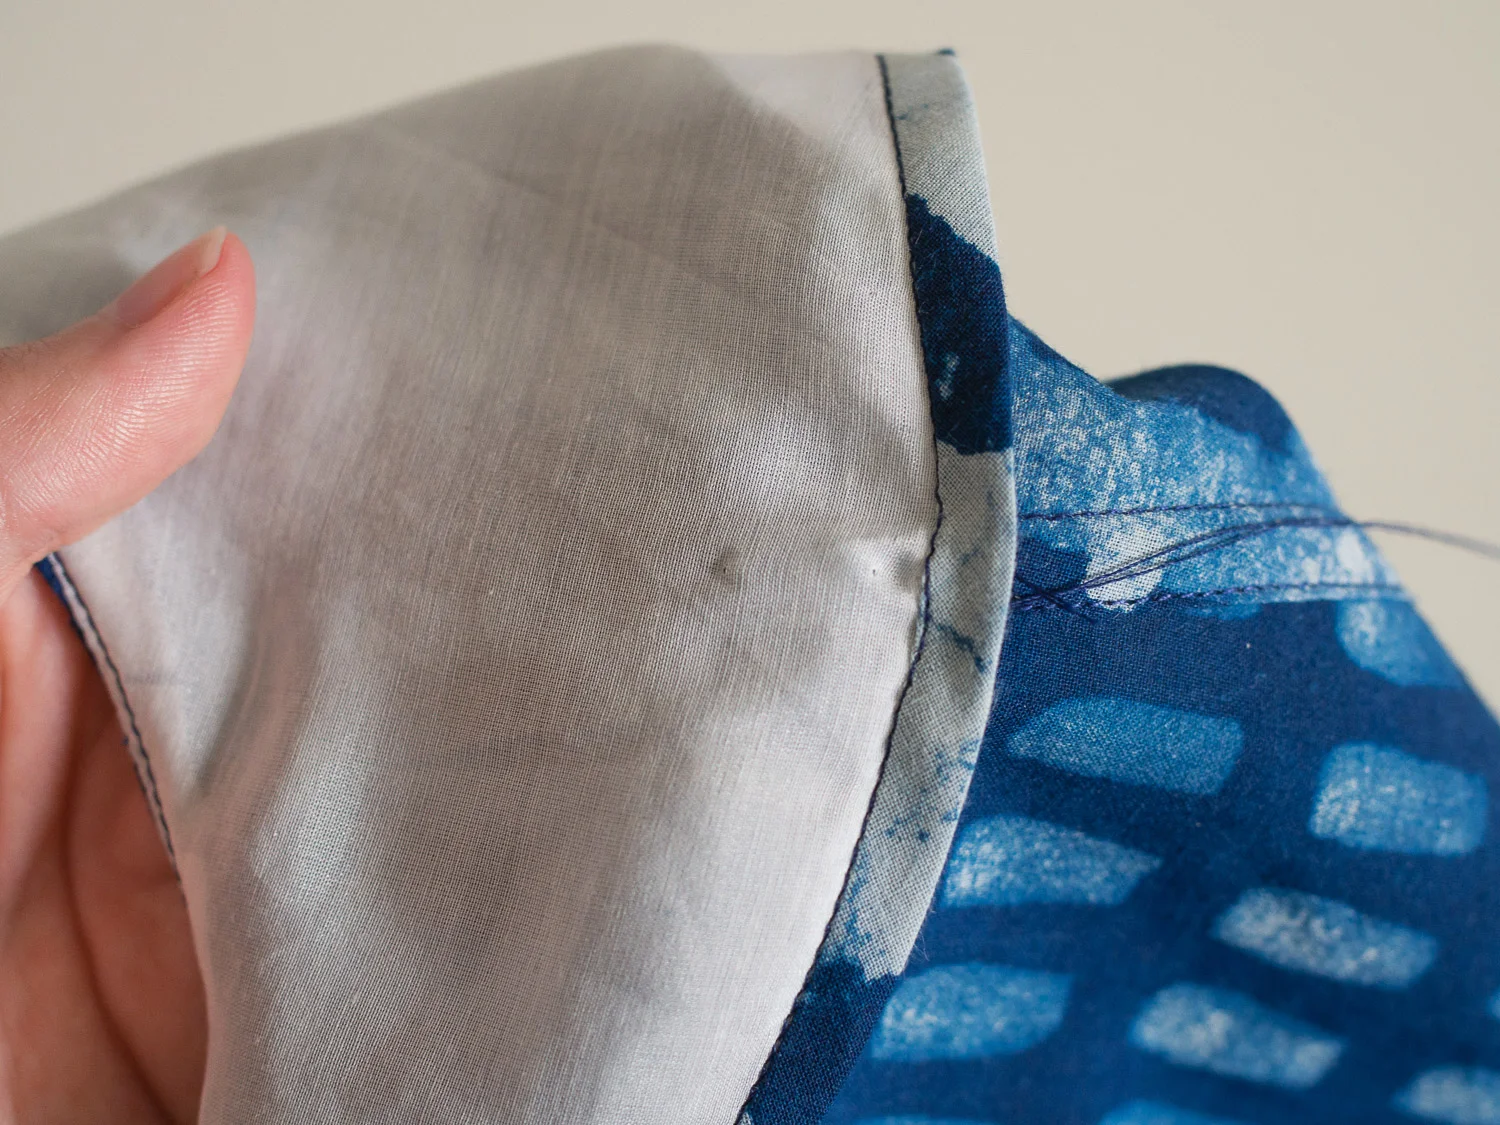
The final step you need to do to complete your Collins Top, is to stitch down the all-in-one facing. I showed you in this tutorial how to attach the facing, but at this point it can still be flipped up from the neckline and armholes. 

collins_sewing_button_15

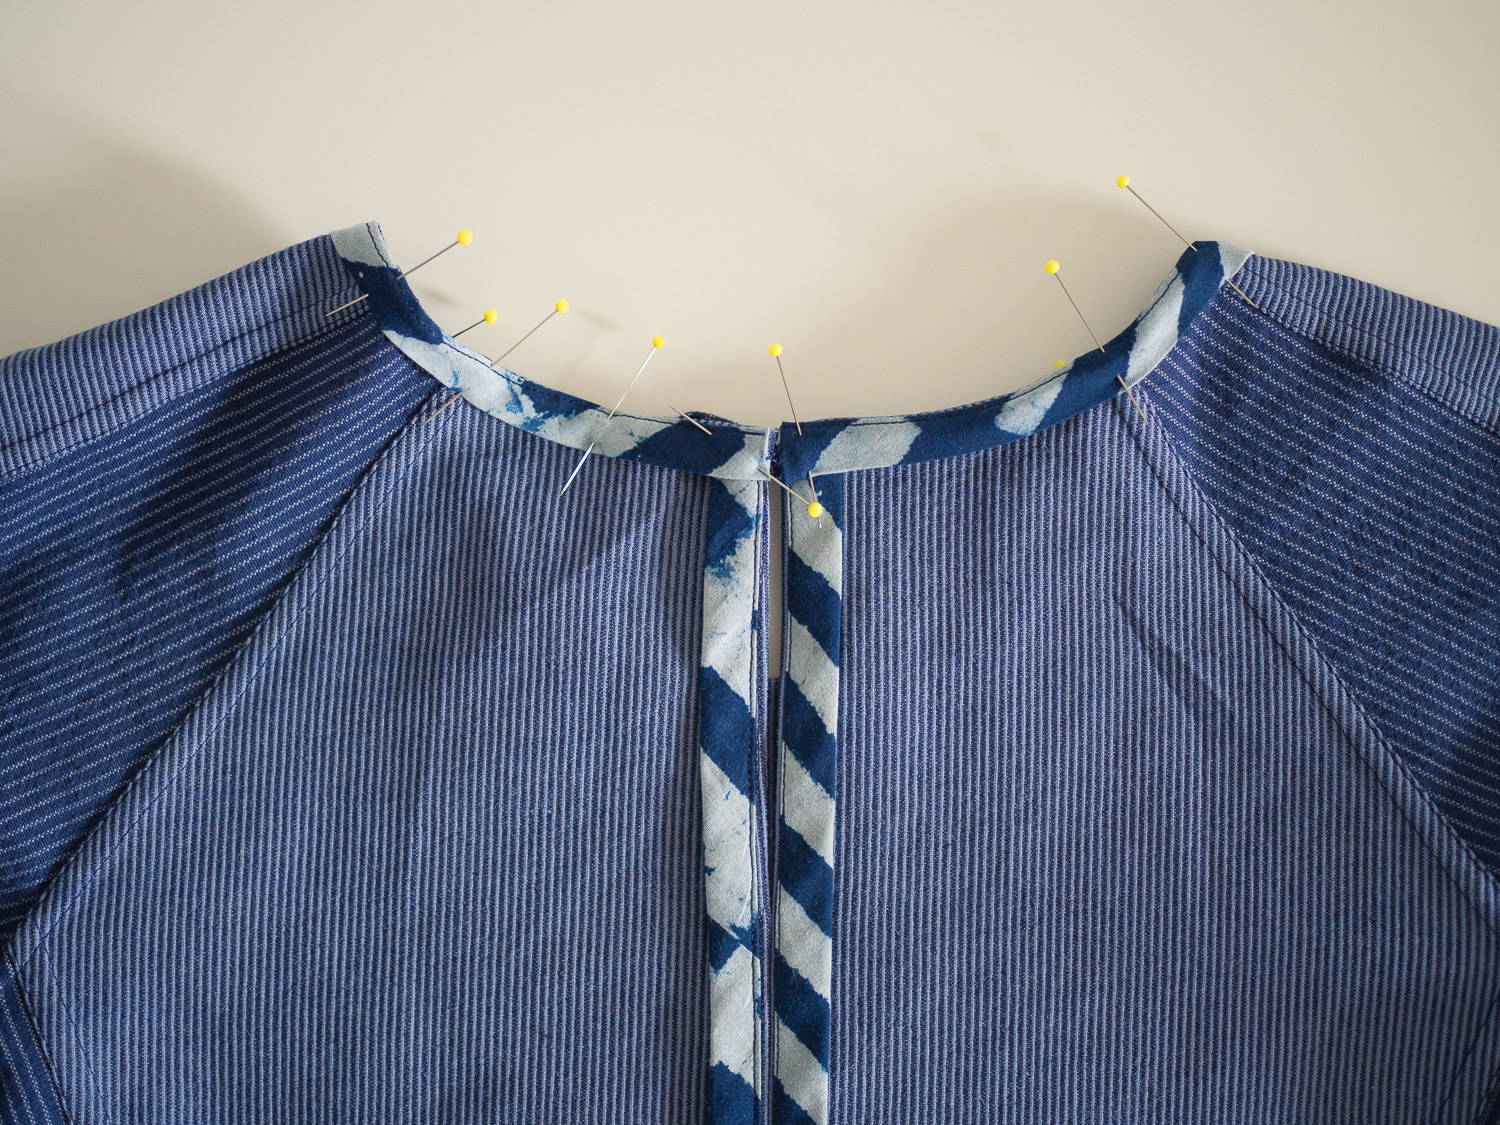
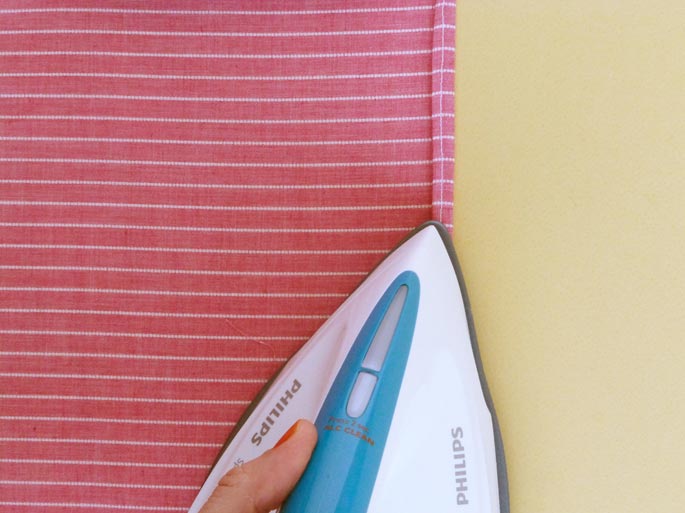
With the top inside out, give the facing a good press. You want to slightly roll the neckline and armhole seams in, so that are on the inside of the top (the understitching will help with this).

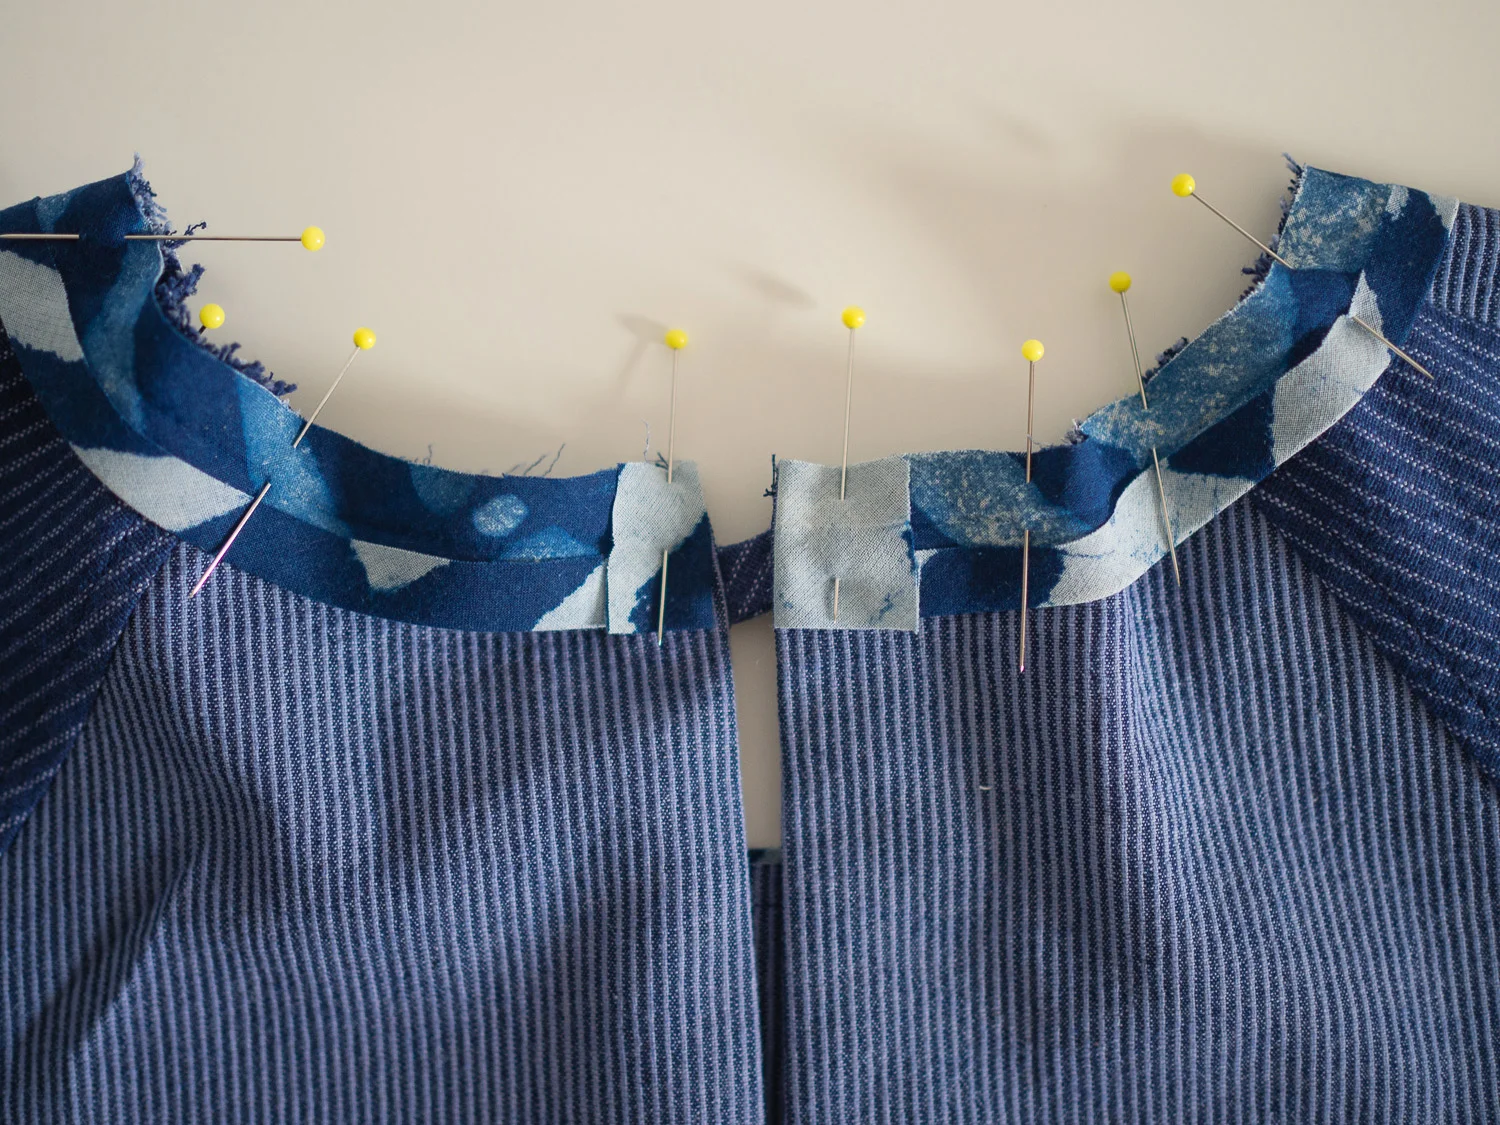
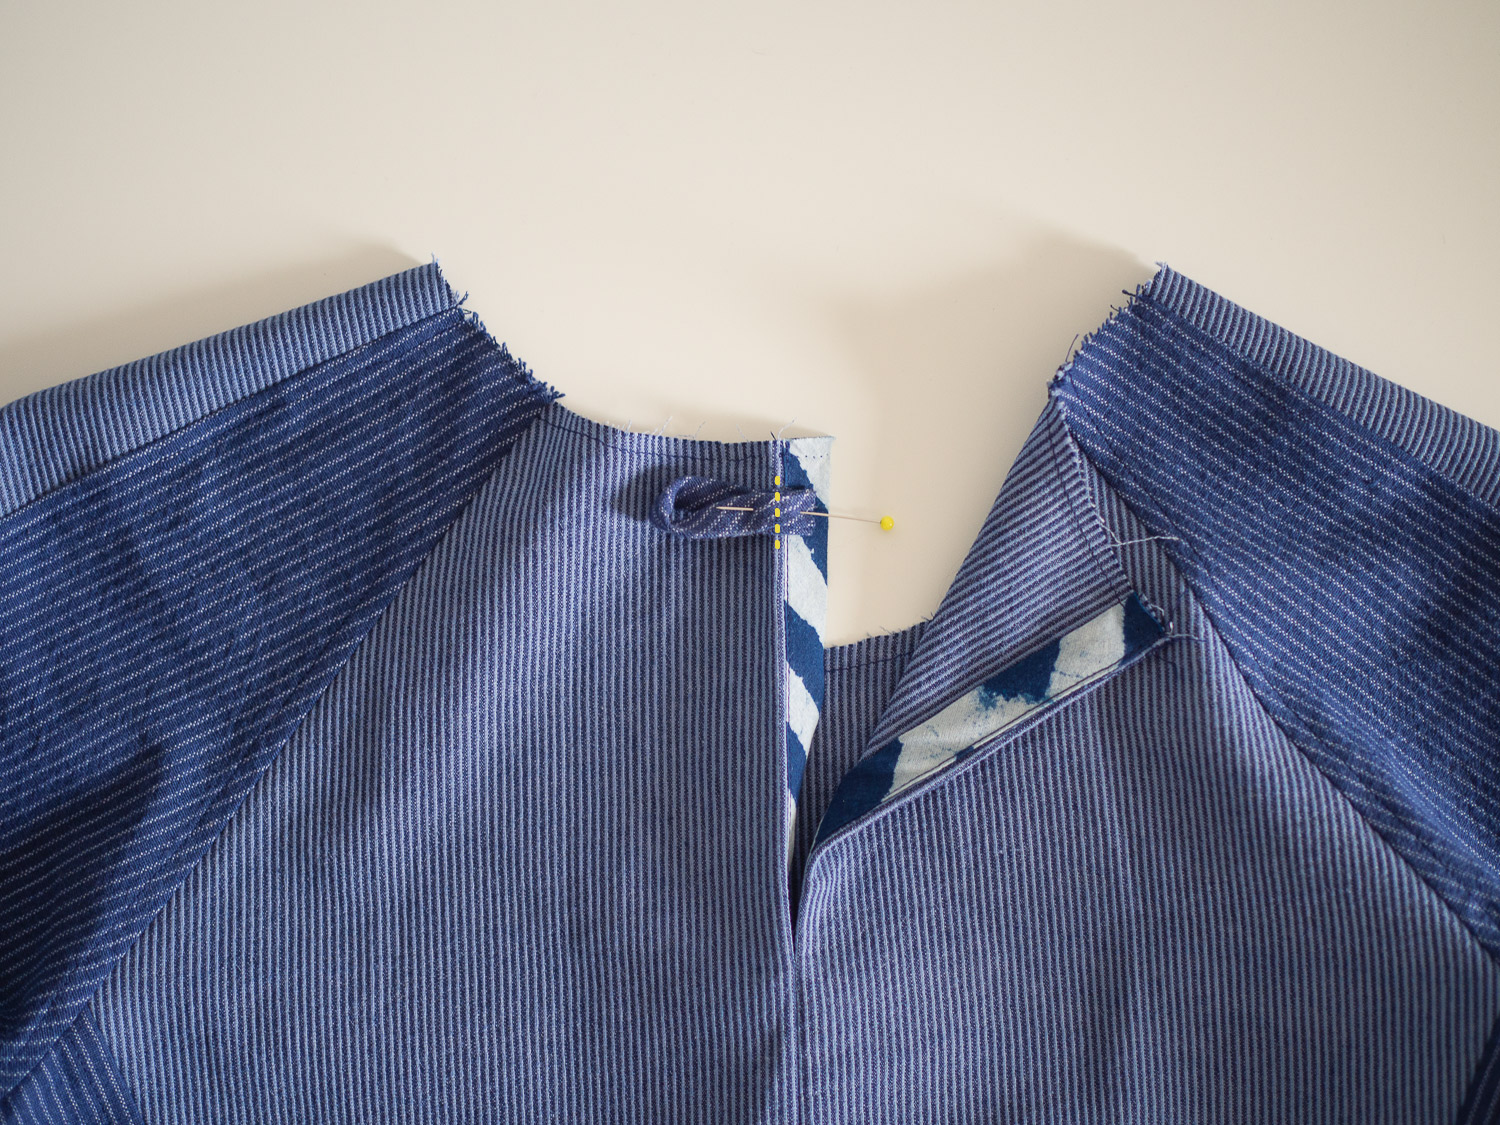
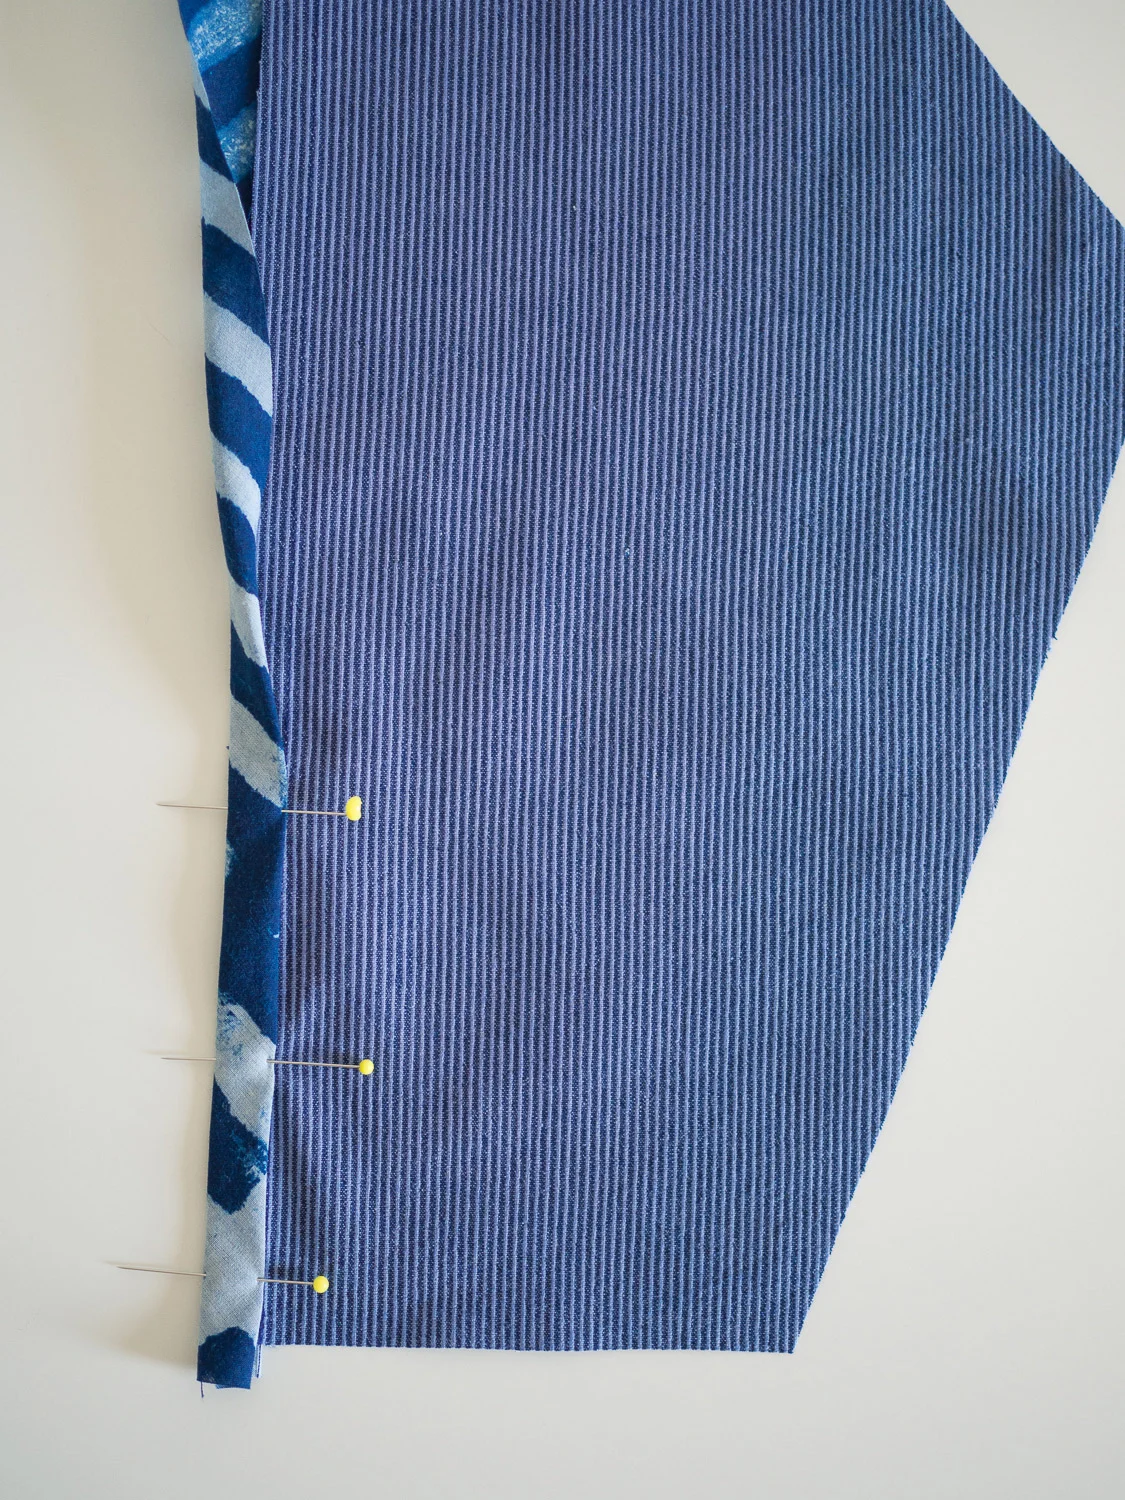
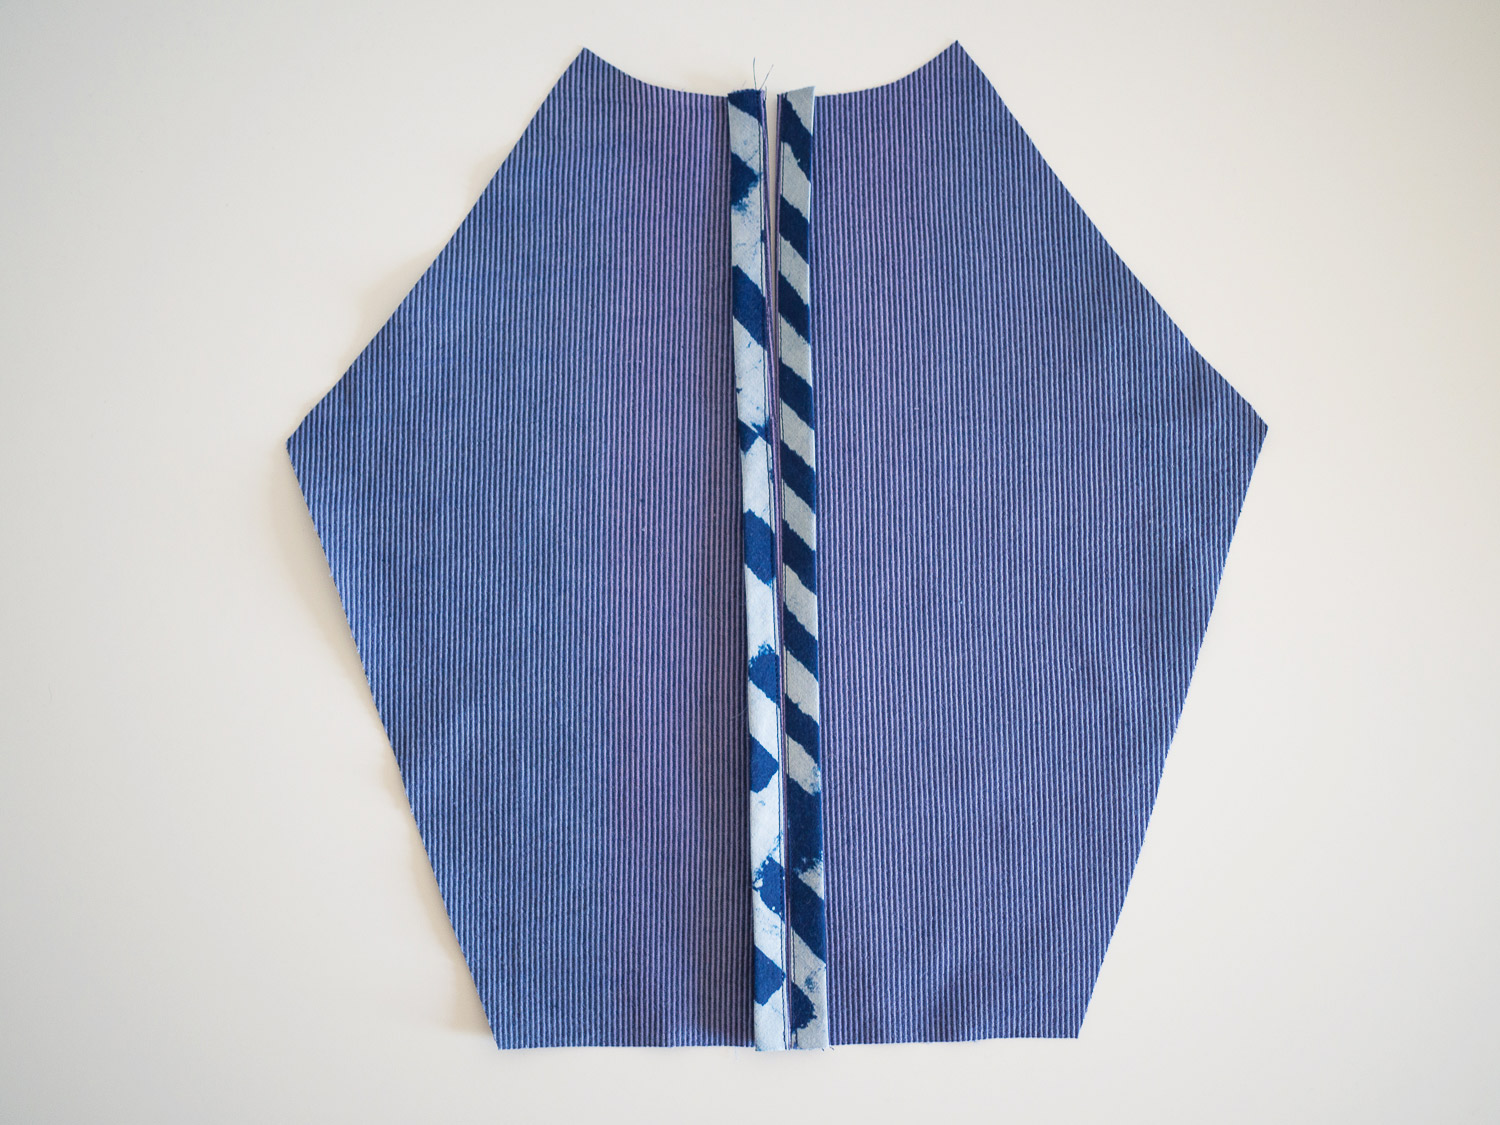
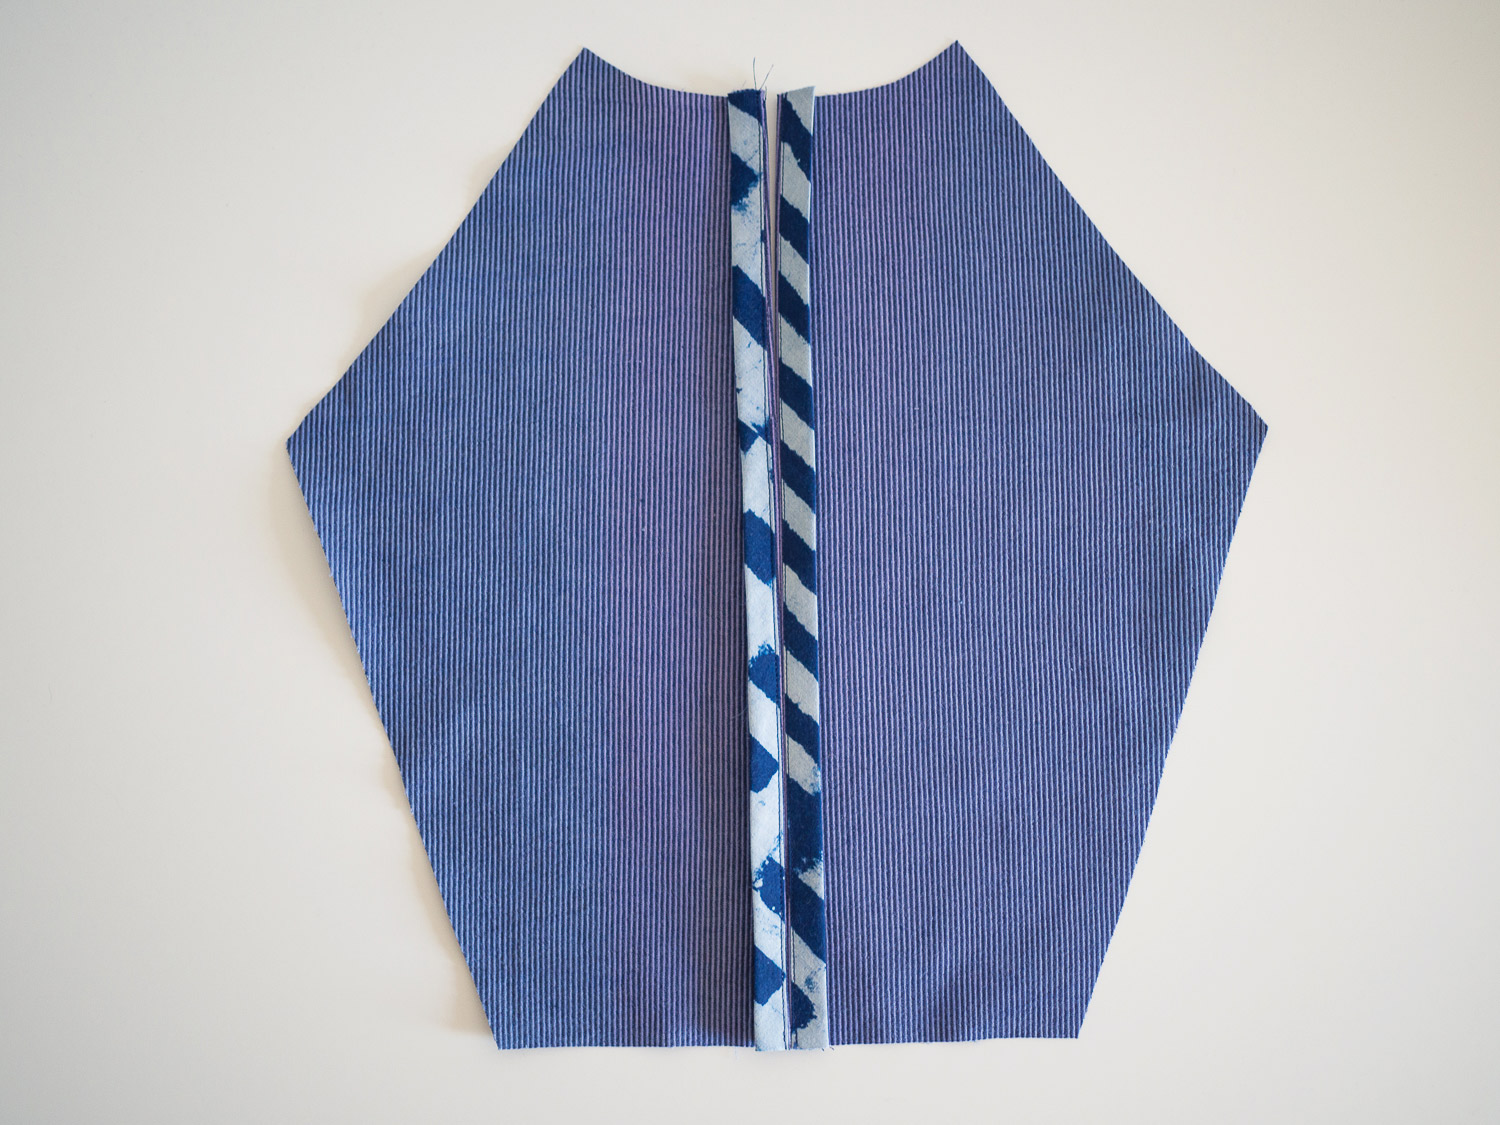
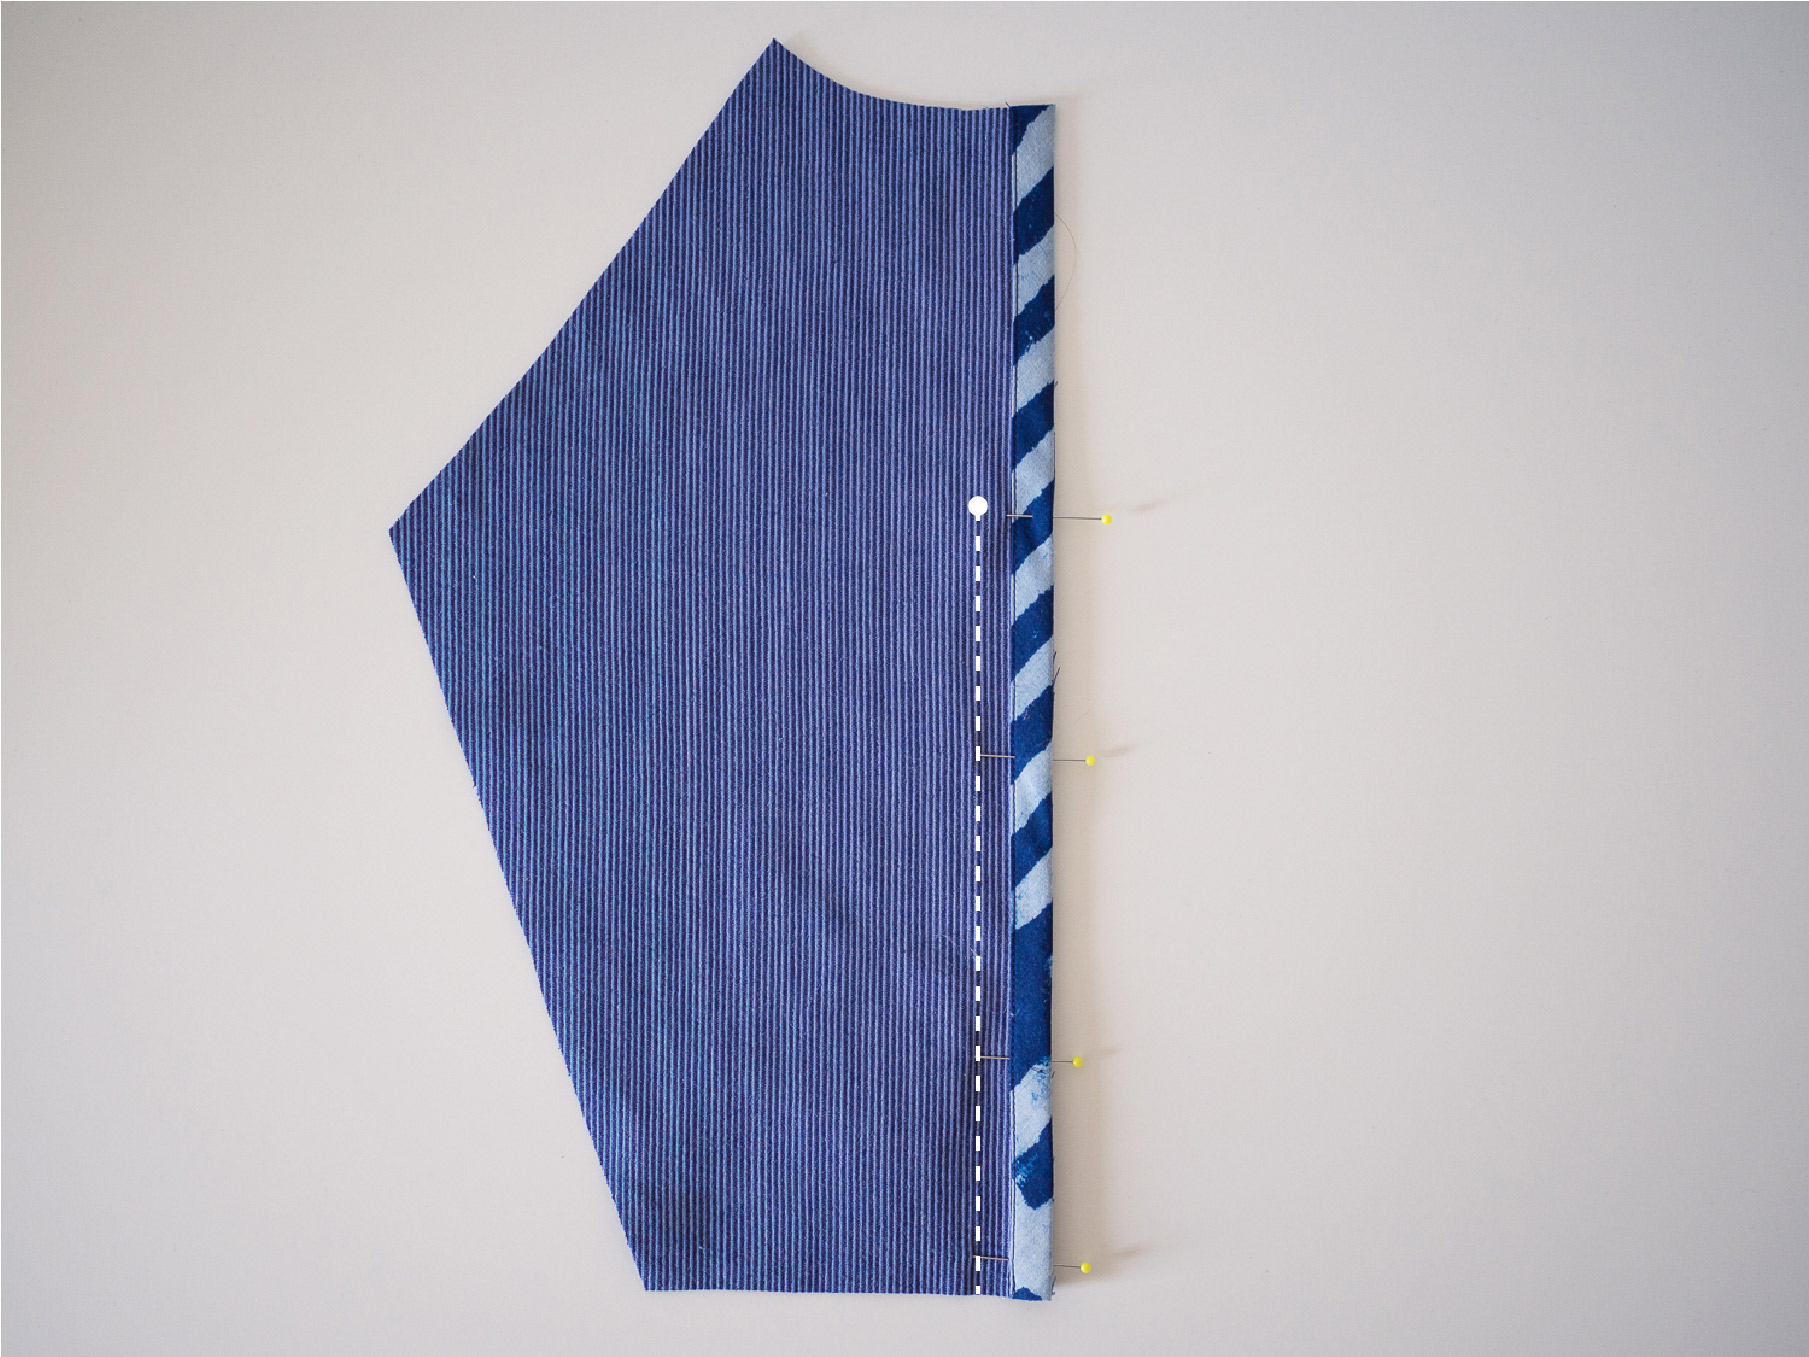
Pin the front facing in place on the two panel seams. 

collins_sewing_button_16

Do the same on the back, as well as at the side seams. 

collins_sewing_button_17

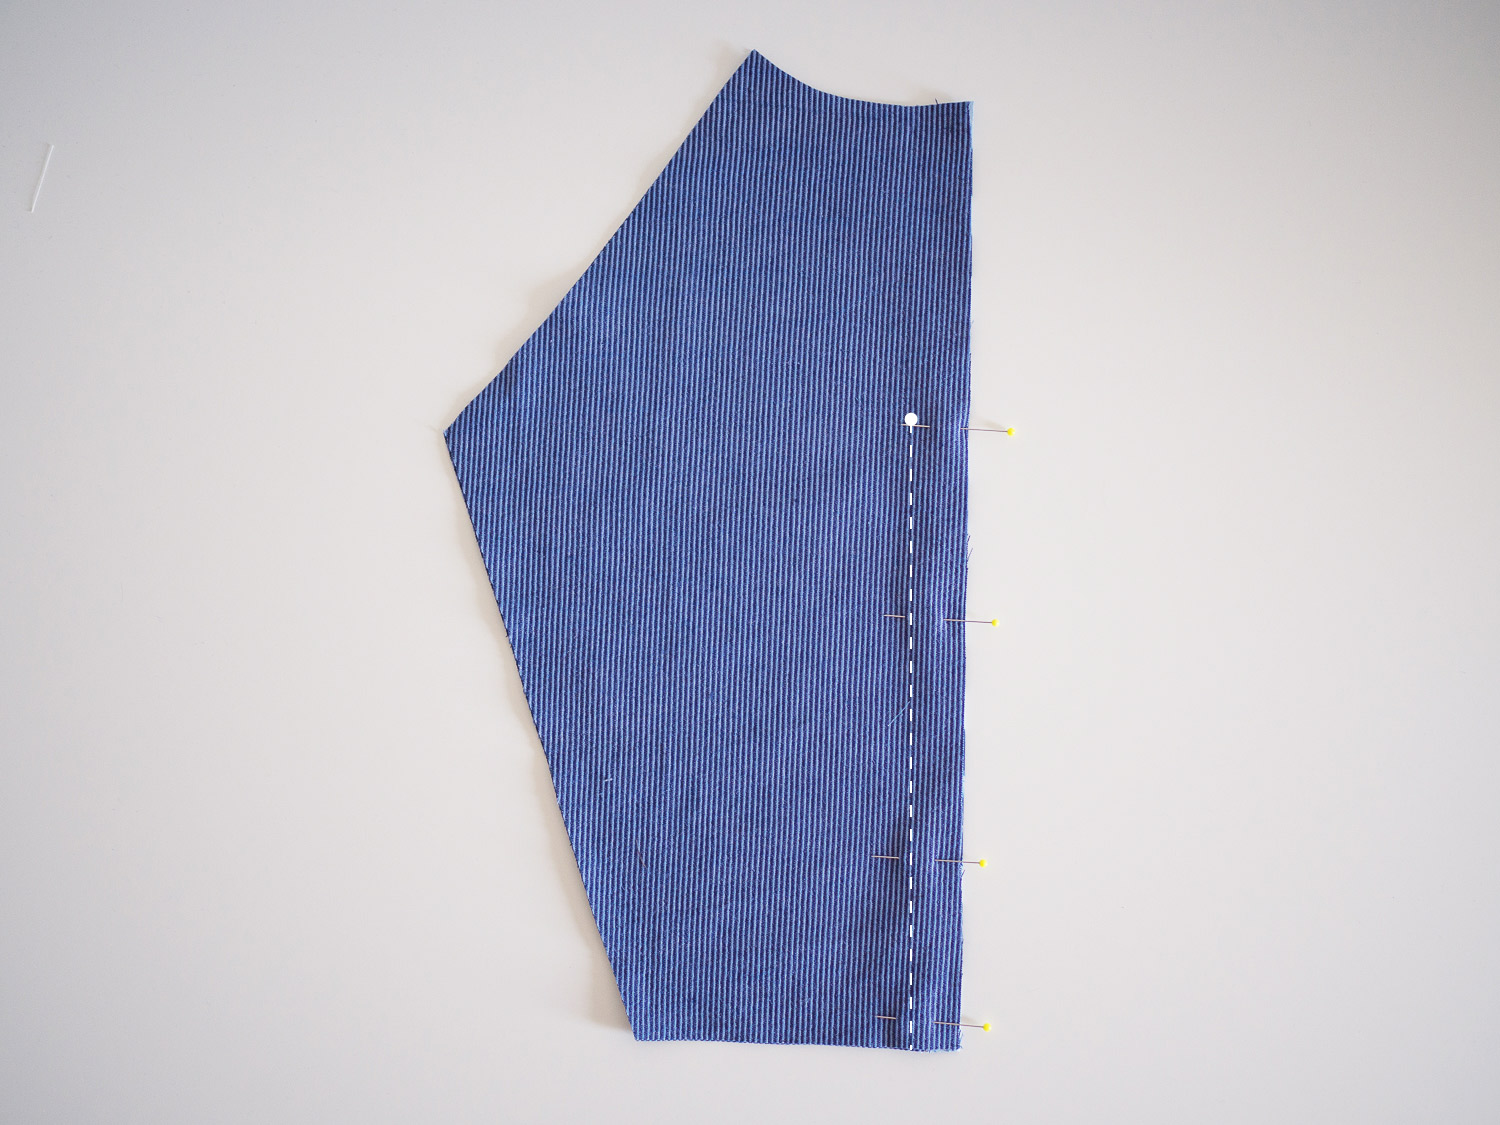
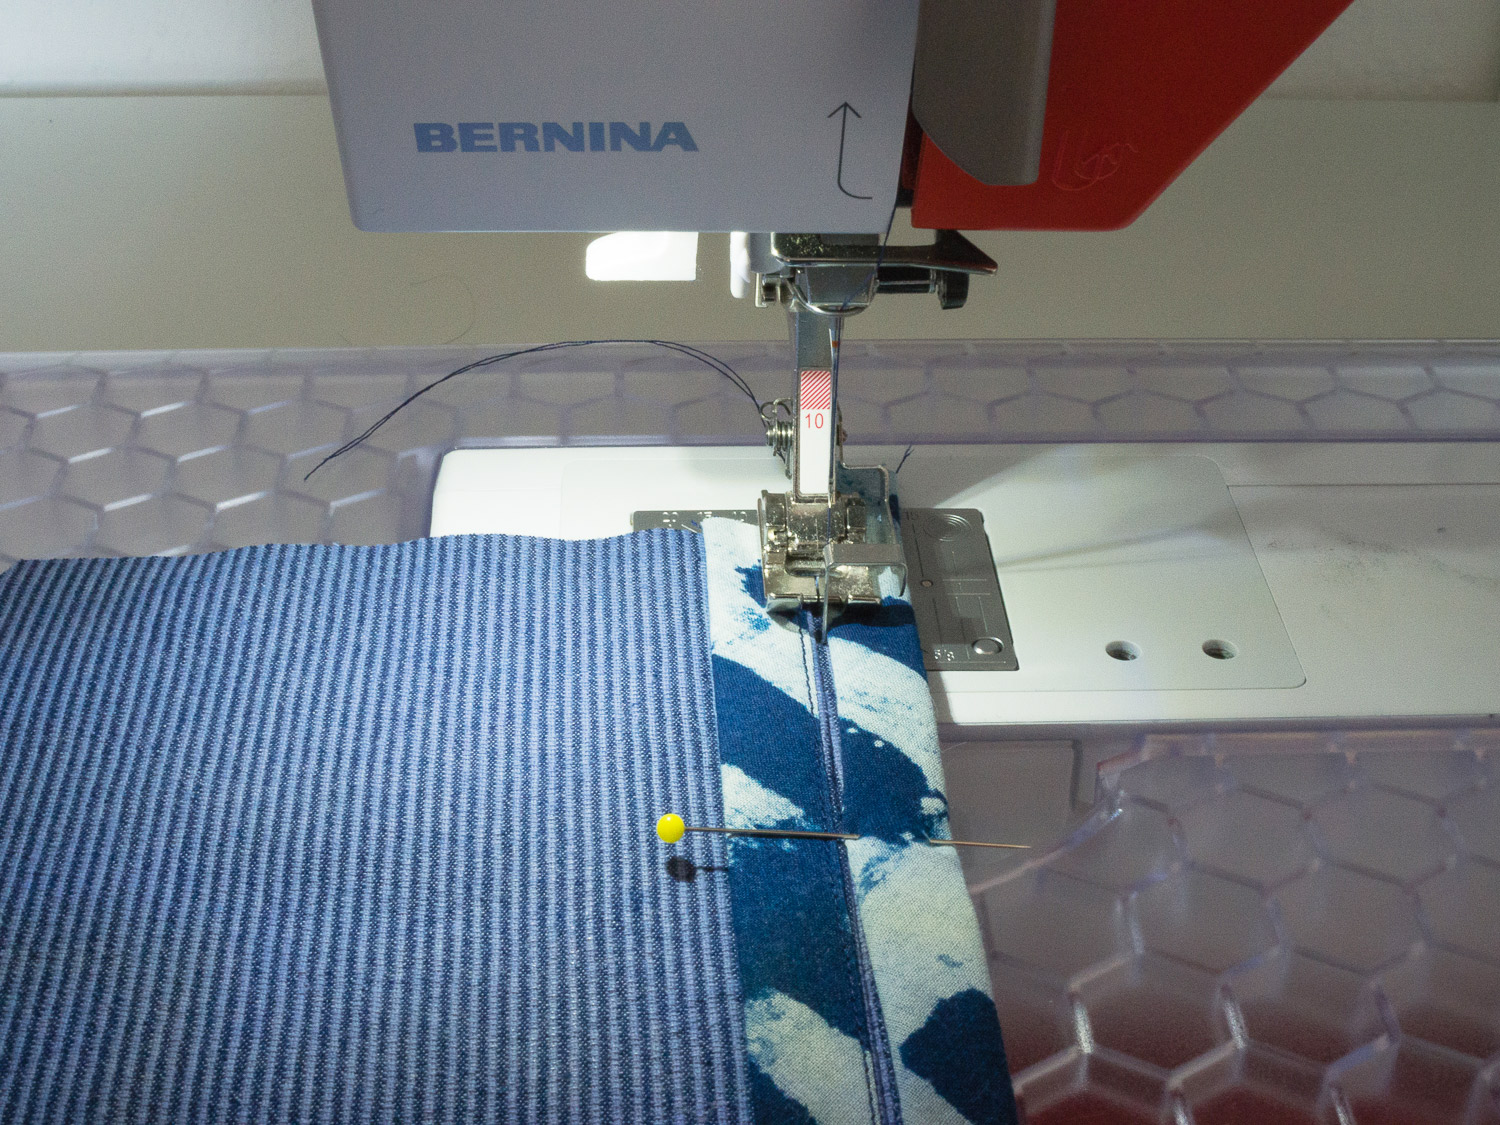
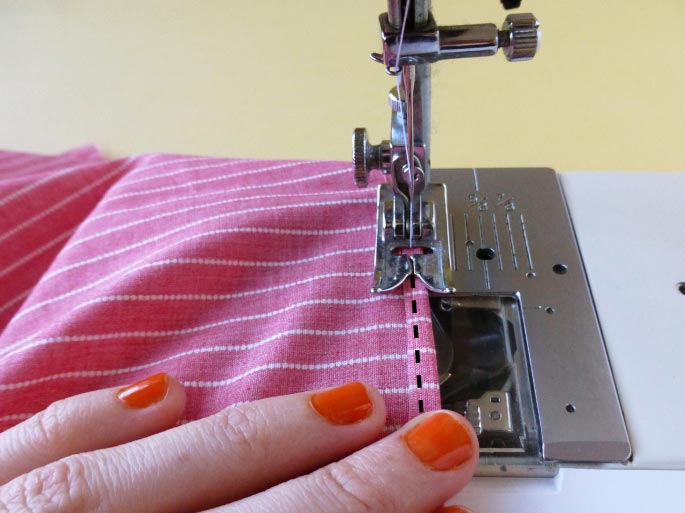
Working your way around the top, stitch the facing to the seam allowance at each point pinned. 

collins_sewing_button_18

Make your stitches slightly above the bottom of the facing, so that when the facing is turned down, the stitches are hidden underneath it. 

And that's it. Your Collins Top is finished! I hope you have enjoyed following along with these posts and have learned a new skill or two!

See all the posts in the Collins Top Sew-along.


CREDITS: 

Fabric : The Drapers Daughter

Photography : Saki Jane Marsh


You may also like:

The Collins Top Sew-along : Finishing the hem with bias binding

Hem time! Yay! If you would like to bind the hem on your Collins Top, then keep following this tutorial. If you would prefer a simple double folded hem, then head over to this tutorial for more guidance. 


Getting started

Take a length of binding at least 5cm (2in) longer than the circumference of your hem (this can be store-bought or self-made bias tape).

Fold one short end under by about 2cm (¾in) and begin pinning the binding to the hemline with right sides together. 

Continue pinning the binding until the end of the bias strip overlaps the beginning of the bias strip. Trim off any excess.

Stitch in place with a 1cm (⅜in) seam allowance.

Trim down the seam allowance down by about 5mm (¼in).

bias_binding_hem_5.jpg

Flip the binding to the right side, and with your fingers, press the seam allowance towards the binding.

Understitch the seam allowance to the binding.

Turn the top inside out and flip the bias binding to the inside of the top. Fold the raw edge of the binding under before pressing and pinning in place.

Sew hem by stitching binding in place, close to the folded edge of the binding.

Give the binding a good press from the right and wrong side. 

See all the posts in the Collins Top Sew-along.


You may also like:

The Collins Top Sew-along : Hemming + sewing button in place

So today we'll be finishing up View A (the sleeved version) of the Collins Top in the Collins Top Sew-along. Yay! We'll be hemming the body of the top and the sleeves as well as sewing the button in place. And then you'll be ready to wear your beautiful new top!

Hemming the top

With the top inside out, turn up the hem by 5mm (¼in) and stitch. You can simply do this with your finger, rather than pressing and pinning.

Turn the hem by another 5mm (¼in) and press. Pin hem in place and stitch along the original stitch line to complete the hem.

Give the hem a good press from the right and wrong side.

Hemming the sleeves

Finish the raw edge of each sleeve before turning up by 3cm (1¼in). You will notice in this photo that Saki has turned the raw edge under and then turned up the hem, to enclose the raw edge inside the hem. This is an option too. 

Press and pin in place.

Stitch in place, close to the raw (or folded edge).

Give the sleeve hems a good press from the right and wrong side.

Position button

With the top right side out and the back of the top facing up, close the centre back opening, so that we can work out where the button will go.

Place a vertical pin in the centre of the button loop, before marking the button location with chalk or an erasable fabric marker. 

Sew button in place

Open the back opening to access the other side of the opening and stitch button in place. For those of you who are beginners and would like some pointers on sewing on the button, there will be more detailed instructions in a later post (when we get to View B).

Give your top a good press and you're ready to wear your Collins like all these other amazing makers

Stay tuned, tomorrow we'll be starting on View B of the Collins Top (the sleeveless version).

See all the posts in the Collins Top Sew-along.


CREDITS: 

Fabric : The Drapers Daughter

Photography : Saki Jane Marsh


You may also like:

The Collins Top Sew-along : Binding the neckline

binding_neckline_cover.jpg

The Collins Top sew-along is now in full swing! We're coming towards the end of the posts for View A (the version with sleeves) and today we're up to binding the neckline.

I really love a bound neckline. It gives you a lovely clean finish, whilst also giving you a chance to add a nice personal touch (like Saki - the sew-along photoagrapher - did with her version, which you'll see in this post).

Measure the neckline

To get started, measure the neckline of your top. Using a tape measure, measure around the neckline of the top (with the centre back seam allowance folded inside the top), starting from the centre back on one side, and continuing around the neckline until you reach the centre back on the other side of the back opening.

Cut the bias binding

Cut a piece of 32mm (1¼in) wide bias binding about 4cm (1½in) longer than your neck measurement. If you need some tips about how to make your own bias binding, check out this tutorial on 'How to make your own bias binding (the low tech way).' You can use store-bough bias binding if you would prefer. 

If you have made your own binding, place it right side down and press one long edge of the binding under 1cm (⅜in).

 Repeat for the other (long) side.

Press both short edges under by 2cm (¾in).

Unfold one long edge of the binding (the crease will help you later) and pin the binding to the neckline with right sides together. Start at one side of the centre back opening and line up the folded edge of the binding with the back opening.

The centre back seam allowances need to be folded inside the top. Work your way around the neckline (being careful not to stretch the neck or the binding) until you get to the other side.

Stitch the binding in place with a 1cm (⅜in) seam allowance (you can stitch along the crease closest to the neckline). Check that all seam allowances are still pressed in the right direction.

Be careful not to catch the button loop in the seam.

Trim down the seam allowance around the neckline by 5-6mm (¼in), and then clip and grade.

binding_neckline_tutorial_10.jpg

Flip the binding up to show the right side. Using your finger, press the seam allowance up towards the binding and understitch the seam allowance to the binding.

Turn the top inside out and fold the neck binding to the inside of the neckline, rolling the seam line towards the inside of the top slightly. With the raw edge of the binding folded under, press the binding flat around the neckline. Pin in place. Stitch along the folded edge of the binding. Give the neckline a good press.

Stitch along the folded edge of the binding.

Give the neckline a good press from both the right and wrong side.

And you will notice that your Collins top is almost done!

See all the posts in the Collins Top Sew-along.


CREDITS: 

Fabric : The Drapers Daughter

Photography : Saki Jane Marsh


You may also like:

The Collins Top Sew-along : How to make a button loop closure

Today, in the Collins Top Sew-along, it's time to make the button loop for the centre back closure. You will need the button loop for both versions of the Collins Top

If you think you would prefer to make a hand-stitched button loop, check out this tutorial for more guidance. 

Create the button loop

Take your Button Loop piece, which should have been cut on the bias. 

Take the BUTTON LOOP piece and fold in half lengthways, with right sides together. Press and pin. 

Stitch along the long (raw) edge with a 1.5cm (⅝in) seam allowance. Once it is turned out to the right side, press the loop flat to neaten it up, rolling the seam to one side.

Trim back the seam allowance, close to the stitch line. Use safety pin or bodkin to turn the loop right side out. If you are struggling to turn it through, you can also take a think hand needle, make a few stitches close to the end of the tube and then guide the needle through the loop, before pulling the thread to turn it right side out (if you'd like more guidance on this technique, check out this tutorial from Tilly and the Buttons).

 Once it is turned out to the right side, press the loop flat to neaten it up, rolling the seam to one side.

Work out how big you need the loop to be, to go around your button comfortably (you don't want it to be too tight or too loose). You can simply do this by folding the button loop and gripping it closed at different points until you are happy with the size. Once you have the right size, put a pin through both ends of the loop to mark the correct size. Trim off any excess length.

Attach the button loop

Grab your top that you are assembled using the last ... tutorials (1, 2 and 3...).

With the back of the top facing up, turn back the right side of the centre back opening, so that you can access the left side of the opneing. Place a pin horizontally 1cm (⅜in) down from the neckline to mark the position of the button loop.

Take the BUTTON LOOP and pin in place at the position marked in the previous step. The loop should be pointing away from the centre back opening.

Carefully machine stitch in place - a couple of millimetres from the crease (inside the centre back seam allowance).

Fold both centre back seam allowances back to the inside of the top, and give the opening (along with button loop) a good press.

See all the posts in the Collins Top Sew-along.


CREDITS: 

Fabric : The Drapers Daughter

Photography : Saki Jane Marsh


You may also like:

The Collins Top Sew-Along : Sewing the sleeves

If you have been following the Collins Top sew-along you will have seen that over the last couple of posts we have assembled the body of the top. The process of assembling the front and back body of the top is the same for both styles, but once your panels are assembled, we've got to go separate ways.

For today's post, I'll be showing you how to go about sewing and attaching the sleeves (View A). 

Sew the side seams

With right sides together, pin the front and back of the top together at the side seams.

Stitch with a 1.5cm (⅝in) seam allowance. Press seam allowances open.

Prepare the sleeves

Take the two sleeve pieces  and finish the underarm seams of each piece. Place these two pieces, along with the SLEEVE SHOULDER PANEL right-side up. Put the SLEEVE SHOULDER PANEL in the centre and place the BACK and FRONT SLEEVE either side, using the notches to help guide you. Don't worry about the other raw edges just yet, we'll finish them later on in the process. 

Repeat for the other sleeve.

Pin the SLEEVE SHOULDER PANEL to the FRONT SLEEVE, using the notches as a guide. Stitch with a 1.2cm (½in) seam allowance. Finish the seam allowance (closed). Don’t worry about pressing the seam just yet - you can do that in a moment. Repeat for the other sleeve.

You will notice that the curves you are pinning are different in shape (this is what gives the top shaping through the shoulder). You will need to ease the SLEEVE SHOULDER PANEL slightly into the curve of the FRONT SLEEVE.

collins_top_sleeves_7.jpg

Stitch with a 1.2cm (½in) seam allowance. Finish the seam allowance (closed). Don’t worry about pressing the seam just yet - you can do that in a moment. Repeat for the other sleeve.

Open the pieces you just stitched together and place right side up. Place the BACK SLEEVE right side down on the FRONT (so that the pieces have right sides together). Pinning the pieces together at the underarm seam.

Pin the FRONT and BACK SLEEVE pieces together at the underarm seam.

collins_top_sleeves_10.jpg

Stitch with a 1.5cm (⅝in) seam allowance. Repeat for other sleeve. Press the underarm seam allowances open and press the front sleeve seam away from the SLEEVE SHOULDER PANEL (pressing this seam over a tailor's ham will help you press the curved seam nicely). You can leave the two remaining raw edges unfinished for the moment. They will be finished later on.

This is how the piece will look from the opposite side. 

Attach the sleeve to the top

I must say that this next bit is my favourite bit in the construction of the Collins Top. When I set out desinging the Collins Top, I really wanted something that was an interesting make, whilst also being suitable for beginners. That's why I chose raglan sleeves for the sleeved option. They are super fun to sew as well as being much easier then set-in sleeves (win, win!).

Grab the body of the top and place it face up, with right side out. Take one of your sleeves and pin the FRONT SLEEVE to the front of the top, with right sides together. Use the notches to guide you. Continue pinning until the underarm seam meets the side seam of the top.

Flip the top over so that the back of the top is now face-up. Continue pinning around the curve of the armhole, attaching the BACK SLEEVE to the back of the top - still using the notches to guide you.

Stitch the seam with a 1.2cm (½in) seam allowance, being careful to check that your seam allowances on the top and sleeve remain pressed in the right direction. Finish the seam allowance and press towards the body of the top. Repeat steps for the other sleeve.

Join the shoulder seams

collins_top_sleeves_15.jpg

Turn the top inside out and pin the shoulder seams together, using the notches to guide you.

Sew with a 1.2cm (½in) seam allowance.

collins_top_sleeves_16.jpg

Finish the raw edges and press seam allowances away from the SLEEVE SHOULDER PANEL. Turn top right side out. At this stage, you can try on the top and see how it's looking!

That's all for now. Next week we'll get to attaching the bias binding.

See all the posts in the Collins Top Sew-along.


You may also like:


CREDITS: 

Fabric : The Drapers Daughter

Photography : Saki Jane Marsh


How to sew a bias bound seam

bias_bound_seam_cover.jpg

I'm interrupting the Collins Top sew-along today to show you how to sew a bias bound seam. Why? Because they are beautiful! And the centre back seam in the Collins Top, gives you the perfect opportunity to use bias binding to get a really clean, beautiful and professional looking finish. Bias bound seams can be used in a range of different garment, and work particularly nicely in a garment that you are likely to see the inside of.

For the sake of the Collins Top where you are guided to use lightweight fabric, a bias bound seam will work well. I'd suggest though, that if you were making a garment from a thicker or bulkier fabric, using a traditional Hong Kong bind (in the case of a Hong Kong bind, the underside of the binding is not folded and enclosed, but left raw to minimise bulk).

To get started there are two ways you can go about sewing a bias bound seam. You can bind the raw edges of the pieces you are joining before you sew the seam together, or you can sew the seam and then bind the raw edges. It really is a matter of preference and by the end, both options will look the same. It is easier to bind the raw edges before sewing the seam, but if you are sewing a really long seam (if you are using this tutorial for a pattern that is not the Collins Top), you may join the seams first to prevent any stretching or pulling. 


Getting started

For this tutorial you can use store bough bias binding, or you make your own from your choice of fabric. Cut some bias binding 32mm wide (1 1/4in) wide. If you would like some help with how to go about making your own bias binding, you can check out this tutorial which will guide you through the (very easy) process. 


Technique 1 

(Binding the raw edge before joining the seam)

bias_bound_seam_1

Cut a piece of binding that is a little longer than the edge you are binding.

With right sides together, pin the binding to the seam you are binding (in the case of the Collins Top, it is the centre back seam).

bias_bound_seam_2

Stitch the binding in place, sewing with a 1cm (3/8in) seam allowance. 

bias_bound_seam_3

Press the seam open, with the seam allowance pressed towards the bias binding. 

bias_bound_seam_4

Flip the panel so it is right side down and carefully trim down the seam allowance by about 3-4mm (1/16in).

Press the other long raw edge of the binding under by about 1cm (3/8).

bias_bound_seam_5

Fold the binding in half so that the binding wraps around the raw edge, the fold of the binding just overlapping the original stitch line. Carefully press and pin in place. 

bias_bound_seam_6

Carefully stitch the binding in place by stitching a pin width away (about 1-2mm) from the folded edge. If you have an edge stitch foot for your machine, this is a good time to use it!

bias_bound_seam_7

Give the binding a good press and admire your handiwork!

bias_bound_seam_8

You can see that your seam looks beautiful and clean from both sides. 

bias_bound_seam_9

You can repeat the process for the other side of the back, and then stitch the seam as normal. When you press the seam open you will see your beautiful bound edges!


Technique 2 

(joining the seam and then binding the raw edge)

bias_bound_seam_10

Pin and stitch the centre back seam allowance according to the instructions. 

Pin from the upper notch (13cm / 5in down from the top edge) to the bottom edge. The upper part of the seam will be left open, as later on we will be adding a button and loop closure to make this section the opening on the top. Stitch the seam with a 2cm (¾in) seam allowance, being sure to backstitch at the notch. This will ensure the centre back opening stays nice and secure.

bias_bound_seam_11

Press the seam allowance open.

Please note: in the photos one side of the seam has already been bound. Disregard and follow the instructions for one side of the seam and then repeat for the other. 

bias_bound_seam_12

Press (just with your hands) the seam allowance on the left side of the opening towards the seam allowance on the right side of the opening.

Take a length of bias binding approximately the length of the seam. Pin one edge of the binding to the raw edge of the seam. 

bias_bound_seam_13

Flip back the seam allowance to check that you have only pinned through the two layers and haven't printed through any of the layers underneath. 

bias_bound_seam_14

Stitch the binding in place, sewing with a 1cm (3/8in) seam allowance. Before stitching, make sure the other layers of fabric are out of the way. 

bias_bound_seam_15

Press the seam allowance towards the binding. 

Trim down the seam allowance by about 3-4mm (1/16in)

bias_bound_seam_16

Press the raw edge of the binding in towards the raw seam by about 1cm (3/8).

bias_bound_seam_17

Wrap the bias binding around the raw edge, bringing the fold so that it overlaps the original stitch line. Press and pin in place. 

bias_bound_seam_18

Continue pressing and pinning until the binding is in place on the whole seam.

bias_bound_seam_18

Flip the seam allowance open so that it is sitting flat (and there are no other layers of fabric underneath) and stitch the bias binding in place by stitching close to the folded edge. 

bias_bound_seam_19

Press the seam allowance open and there you have it. You will see that the finish looks the same now as technique 1. 

There you have it... A beautiful way to finish your centre back seams!

See all the posts in the Collins Top Sew-along.


You may also like:


CREDITS: 

Fabric : The Drapers Daughter

Photography : Saki Jane Marsh


The Collins Top Sew-Along : Assembling the body of the top (both views)

sewing_panels_1

Yay! It's time to start sewing! Last week, I kicked off the Collins Top sew-along with a handful of pattern adjustment posts, so you can feel confident that you can make a beautifully fitting top. Now it's time to work on the sewing, so that we can have a beautifully finished top too!

Whether you are making the Collins Top View A or View B, the process starts the same way. You will assemble the front of the top, then the back and then the process will change, depending on whether you are making your top sleeveless or with sleeves. So, to kick off the sewing part of the Collins Top Sew-along, we'll be starting by assembling the body of the top.

Assemble top front

sewing_panels_2

Pin the SIDE FRONT PANEL to the CENTRE FRONT PANEL with right sides together. Use the notches as a guide (the two single notches on the SIDE FRONT PANEL indicate the seam that needs to be attached to the CENTRE FRONT PANEL). Stitch with a 1.5cm (⅝in) seam allowance.

sewing_panels_3

Repeat on the other side. Finish the seams with your chosen method and press seam allowances away from the centre front. You will notice that Saki went for flat-felled seams, for a really clean and beautiful finish, inside and out. You could consider flat-felled seams, french seams (this tutorial from the Rushcutter sew-along includes how to sew a french seam), or simply serged / overlocked. 

Staystitch armholes and neckline

Staystitching is when you sew a line of stitching along a shaped - or bias cut - seam to keep it from stretching as a garment is being made. When staystitching, always stitch within the seam allowance to prevent it being seen from the outside on the finished garment.

sewing_panels_4

Carefully staystitch around the neckline (stitch from armhole to centre front on each side separately) and then armholes (from top to bottom). This will prevent the curves from stretching out as you make the garment. Staystitching should be inside the permanent stitch line, so in this case approximately 6mm (¼in) from the raw edge will suffice. Finish the side seams using your chosen method.

Assemble top back

sewing_panels_5

Take the pair of UPPER CENTRE BACK PANEL pieces and finish the centre back seams. We chose to use a Hong Kong bind to get a really beautiful finish. If you think you would like to try out a Hong Kong bind, I'll be showing you how to do it tomorrow!

sewing_panels_6

With right sides together, pin the UPPER CENTRE BACK PANEL pieces together - pinning from the upper notch (13cm / 5in down from the top edge) to the bottom edge. The upper part of the seam will be left open, as later on we will be adding a button and loop closure to make this section the opening on the top. Stitch the seam with a 2cm (¾in) seam allowance, being sure to backstitch at the notch. This will ensure the centre back opening stays nice and secure.

sewing_panels_7

Press seam allowances open.

sewing_panels_8

Pin the LOWER CENTRE BACK PANEL to the UPPER CENTRE BACK PANEL with right sides together. Use the notches to guide you.

Stitch with a 1.5cm (⅝in) seam allowance, checking that the centre back seam allowance remains pressed open.

Finish the raw edges (closed) and press the seam flat, down towards the hem.

sewing_panels_9

Pin the SIDE BACK PANEL to the back piece with right sides together. Use the notches as a guide (the seam that you are joining has two sets of double notches and one single notch). Stitch with a 1.5cm (⅝in) seam allowance, again checking that the seams in the back panel are pressed in the right direction.

sewing_panels_10

Repeat on the other side. Finish the seams with your chosen method and press seam allowances towards the side seams.

sewing_panels_11

Carefully staystitch around the neckline (stitch from armhole to centre back on each side of the split) with the seam allowance open (not folded back). At this point you can also staystitch the armholes (from top to bottom). This will prevent the curves from stretching out as you make the garment. Stitch approximately 6mm (¼in) from the raw edge.

Finish the side seams using your chosen method.

Well that's all we will be doing in today's post. This is the point where the instructions go separate ways for View A compared to View B.

In tomorrow's post, I'll show you how to sew a Hong Kong seam before continuing on with View A (raglan sleeve) version of the Collins Top.

See all the posts in the Collins Top Sew-along.


You may also like:


CREDITS: 

Fabric : The Drapers Daughter

Photography : Saki Jane Marsh


The Collins Top Sew-along : Planning your top (free downloadable template)

I am interrupting the Collins Top sew-along with a little treat that can help you get planning! As you may have noticed, the Collins Top includes a lot of panels!

I really love playing with panels during my design process (as you probably have noticed if you have used any of my patterns). I think they provide an opportunity to create simple shapes with interesting details. 

While I was testing the pattern, a couple of the testers suggested creating a little printable template that makers could download to play around with when planning their tops. I thought it was a brilliant idea and hopped to it straight away. Now you can download the template and grab some markers (or even a few swatches of fabric and some glue) and have a play with colour blocking or stripe direction, before you even need to cut into your fabric! Enjoy!


The Acton sew-along : How to lengthen the bodice

Welcome back to the Acton Sew-along.

In yesterday's tutorial, I gave you all the reasons why you should always make a toile (especially when you're making a fitted garment like the Acton) and showed you how to go about it. In the next few tutorials, I'm going to show you what to do if you have realised that you need to shorten or lengthen the bodice. This is probably one of the simplest pattern alterations you can make, so please don't be daunted by it if you've realised that you'll get a better fit by changing the length of your bodice. 

By referring to your toile, you will be able to know whether you need to remove length below the bust, or above the bust. The method is exactly the same, just the location of the cut is different. This tutorial will show you how to remove excess from below the bust, and later today I'll show you how to remove length from above the bust. 

Getting started

To start, trace a copy of the CENTRE FRONT BODICE and SIDE FRONT BODIE of the Acton pattern (it's always a good idea to trace a copy of the pattern, rather than using the original, in case you make a mistake. Although with a digital pattern you can always print another copy if necessary!), including all pattern markings (in this case the stitch line, grainlines and notches). 

Normally I suggest removing the seam allowance when making pattern alterations, but when it's as simple as this alteration, there really is no need. 

Draw a horizontal line (perpendicular to the grainline) through each pattern piece between the lower notches (below the bust line). On the CENTRE FRONT BODICE piece, make sure the line is far enough up the piece that it intersects the centre front of the piece and not through the bottom edge.

Cut through the pattern pieces

Carefully cut through each line, separating each piece into two. 

lengthen the bodice

Take a piece of pattern paper (this is a great time to use up some of your paper scraps!) and draw a horizontal line straight through the (roughly) middle. On the right hand side, draw a line perpendicular to the horizontal line, creating a right angle. This will be the grainline of the new pattern piece. 

Take the lower section of the CENTRE FRONT BODICE and line it up with the horizontal and vertical line you just drew - the centre front matching up with the vertical line and the cut edge aligned with the horizontal line. Tape or glue in place. 

Add length to the pattern piece

By looking at your toile, work out how much extra length you need to add to the pattern. For the case of the example, I will be adding 2.5cm (1").

On the vertical line, mark a point 2.5cm / 1" (or whatever length you are adding to the pattern) above the cut edge. 

acton_dress_shorten_bodice_3_5.gif

Draw a line parallel to the cut edge of the pattern running from the point you marked in the previous step. 

Take the upper section of the CENTRE FRONT BODICE and place the cut edge on the second horizontal line, aligning the centre front with the vertical line. Tape or glue in place. 

Trace the new pattern piece

A : Take another piece of pattern paper and trace your new pattern piece. Start by tracing the original lines of the pattern which have not been affected by the changes.

B : Redraw the panel seam by drawing a line from the top of the pattern piece, down to the bottom - meeting the original line at each end. Do this for both the cutting line and the stitching line. 

Be sure to trace all pattern markings - notches, drill hole and grainline. Label the pattern for safe-keeping. You can now cut out your new pattern piece. 

Repeat Process for the side front bodice

For the SIDE FRONT BODICE you will need your piece of paper to be slightly wider than the one you used for the CENTRE FRONT BODICE. Again, mark the horizontal and vertical lines on the paper - but this time, place the vertical line closer to the centre of the paper. 

Take the lower section of the SIDE FRONT BODICE and line it up with the horizontal and vertical line you just drew - the grainline matching up with the vertical line (you can now see why this line had to be closer to the middle) and the cut edge aligned with the horizontal line. Tape or glue in place. 

On the vertical line (the grainline in this case), mark a point 2.5cm / 1" (or whatever length you are adding to the pattern) above the pattern edge. This distance needs to be the same amount that you added to the CENTRE FRONT BODICE.

Draw a line parallel to the cut edge of the pattern running from the point you marked in the previous step. 

Take the upper section of the SIDE FRONT BODICE and place the cut edge on the second horizontal line, aligning the grainline with the vertical line. Tape or glue in place. 

You will see that the changes are limited to area where the paper was added, so there is no need to trace the pattern. Simply re-draw the side seam and princess seam and cut the piece out.

Repeat process for the back panels and that's it!

Are you enjoying the Acton sew-along? There are still plenty of posts to come!


You may also like:

How to make a waist sash

how_to-make_a_waist_sash_1

Last week, we pretty much finished sewing our Rushcutters! All we've got to do now is create a the waist sash (if you want a waist sash for your Rushcutter. It's totally optional!) 

Creating a waist sash is a really simple way to totally transform a silhouette. I decided to include a waist sash in the Rushcutter pattern to give sewers more options for their pattern.

If you haven't got the pattern, don't worry, keep reading, I'll tell you what measurements I used so you can make a waist sash for any pattern you like!

Drafting the pattern

First, you will need to consider how wide you would like your sash to be.  As a guide, the waist sash on the Rushcutter is 3.5cm wide.

Then you need to think about how long you would like your sash to be. Remember, you will need quite a bit of extra length for the bow. Consider tying some string or ribbon around your waist to work out how much extra you will need. For the Rushcutter, I took the waist measurement and added 1.15m for the tie. Sounds like a lot, but you really do need it!

Once you have your measurements, you can draft the pattern (or draw straight onto the fabric with tailor's chalk). Draw a rectangle DOUBLE the width of your finished waist sash and HALF the length of your finished sash. 

Add seam allowance (I went for 1cm, but this is up to you) to all sides. If you would prefer not to have a seam in the centre back, just add seam allowance to three sides (2 long sides and 1 short) and then write 'place on fold' on the side that doesn't have seam allowance.

Draw a line that cuts the pattern piece in half horizontally that will be your grainline and fold line.

Sew the sash

Take the two WAIST SASH pieces (from The Rushcutter pattern or the pieces you drafted) that you have cut and, with right sides together, join them together at the centre back with a 1cm (3/8in) seam allowance. Once stitched, press the seam open. 

how_to-make_a_waist_sash_3

With right sides together, fold the sash in half length ways and press. Pin along the long edge and stitch with a 1cm (3/8in) seam allowance. 

how_to-make_a_waist_sash_4

Use your fingers to roll the seam so that it is in the centre of the tube. Press the seam allowance open.

how_to-make_a_waist_sash_5

Turn back both short ends of the tube by 1cm (3/8in) and press.

TURN THE SASH

how_to-make_a_waist_sash_6

Take a safety pin or bodkin and attach it to one side of one of the short ends of the tube.

how_to-make_a_waist_sash_7

Feed the safety pin through the tube to turn the right side out. Press flat. 

how_to-make_a_waist_sash_8

Enclose the short ends of the sash, by stitching nice and close to the edge. Alternative, you could consider sewing by hand (with a slip stitch) to finish the ends invisibly.

Give the dress one final press and you are done!

How to : Sew a rolled hem with a standard foot

how_to_sew_a_rolled_hem_1.jpg

There are many ways you could choose to finish the hem of your Rushcutter.

You could use the hem facing, just like I did for VIEW A, you could use a strip of bias binding, or like me, you could do a rolled hem.

You can do a really narrow rolled hem, which can be a beautiful finish on fabrics like organza or chiffon, but I went for something a little wider as I'd say most people aren't sewing their Rushcutters from chiffon! This method will work with a narrower hem, if you want one.

I know there are a bizillion great machine feet which can help you get all kinds of finishes, but I do things the old school way, as a lot of my learning was done on an industrial machine without any fancy feet. So in tofay's tutorial, I will show you how to sew a rolled hem with a standard machine foot.

Stitch

how_to_sew_a_rolled_hem_2

With the dress inside out, using your fingers, turn up the hem by 5mm (1/8in) and stitch. If you go nice and slow you don't need to press and pin, and can just fold up the hem as you go.

Press

how_to_sew_a_rolled_hem_3

Turn the hem by a further 5mm (1/8in) and press. Pin hem in place.

Stitch

how_to_sew_a_rolled_hem_4

 Stitch along the original stitch line.

Press

how_to_sew_a_rolled_hem_5

Give the hem a good press on the right side of the garment, You will see that you have only one row of stitching on the right side.  


I'd love to know if you have any secrets for finishing hems! Let me know in the comments.


You may also like:

How to finish an armhole with bias binding

how-to-finish-an-armhole-with-bias-binding.jpg

At this point in the Rushcutter Sew-along, our Rushcutter's are really starting to look like Rushcutters!

In today's post, we will be finishing the armholes with bias binding. I am a huge fan of binding as a finish, it gives you a lovely clean finish, without the extra bulk of a facing. 

Even if you are not sewing The Rushcutter, I am sure you will find this tutorial useful for projects to come!

Measure the armhole

how-to-finish-an-armhole-with-bias-binding_2

Take a tape measure and measure around the armhole. Take note of the measurement.

Prepare binding

how-to-finish-an-armhole-with-bias-binding_3

For this tutorial, you can use store-bought binding or make the binding yourself

Cut a piece of binding the length of your armhole.

If you are using binding that you made yourself, you will need to fold it before sewing. Take the binding and with right side down, press one long edge under by 10mm (5/8in).

Join binding

how-to-finish-an-armhole-with-bias-binding_4

With right sides together, bring the short ends of the bias binding together at a right angle. The overlap will create a square. 

how-to-finish-an-armhole-with-bias-binding_5

Pin in place and stitch across the diagonal of the square. 

how-to-finish-an-armhole-with-bias-binding_6

Trim back the seam, close to the stitch line, and press the seam open. 

Pin binding to armhole

how-to-finish-an-armhole-with-bias-binding_7

Now that the binding is in a continuous loop, with right sides together, pin the unpressed edge of the binding to one of the armholes, being careful to evenly distribute the binding around the armhole.

Be careful about where you place the binding seam - I suggest placing it somewhere where is there is not yet a seam, to minimise bulk (for example, the middle of the back armhole). 

Stitch

how-to-finish-an-armhole-with-bias-binding_8

Stitch the binding to the armhole with a 1cm (3/8in) seam allowance. 

Clip into the seam allowance at regular intervals. This will help you achieve a smooth armhole. Trim back the seam allowance by 2-3mm (1/16in) if your fabric is thick or bulky.

Understitch

how-to-finish-an-armhole-with-bias-binding_9

Turn the binding to the right side and, using your finger, press it (and the seam allowance) nice and flat. Understitch the seam allowance to the binding. 

Edge stitch

how-to-finish-an-armhole-with-bias-binding_10

Fold the binding to the inside of the dress, rolling the seam line towards the inside of the dress slightly (this is so you won't be able to see the seam line from the right side).

Give the armholes a good press, from the outside. Pin the binding in place and then stitch around the binding close to the fold. It’s a good idea to start and finish your stitching at the underarm point as this line of stitching will be visible from the right side of the garment.

And tah-dah! You have a lovely clean finish on your armhole. 


You may also like:

How to : Join the bodice to the dress

how_to_join_the_bodice_rushcutter_1

If you are following along, you will know that over the last few weeks I have been guiding you through the process of sewing a Rushcutter dress. 

how_to_join_the_bodice_rushcutter_2

Today we will be joining the body of the dress to the bodice and your Rushcutter will really take shape. 

Pin

how_to_join_the_bodice_rushcutter_3

With wrong sides together, match the notch at the centre front of the FRONT panel to the notch in the centre of the CENTRE FRONT PANEL. Pin. 

Continue moving from notch to notch, pinning the two pieces together. Curved seams can be a little tricky, so you will need to use lots of pins!

Stitch the seam with a 6mm (1/4in) seam allowance, going nice and slow. Stop regularly to left the seam up and check that all the seams are lying flat and there is no puckering underneath. 

Trim seam

how_to_join_the_bodice_rushcutter_4

Trim back the seam allowance by 2-3mm (1/16in) and press the seam up towards the neckline.

Stitch

Fold the seam with right sides together, enclosing the raw edge within the seam. Press and pin. Stitch seam with a 6mm (1/4in) seam allowance.

Press

how_to_join_the_bodice_rushcutter_5

Press the seam down towards the hemline.

It is just a quick post today, as tomorrow we are up to binding the armholes, and I wanted to write that as a separate post, so it can be a tutorial you can look back on in projects to come!


You may also like:

How to : Finish a neckline with bias binding

how_to_finish_neckline_bias_binding_1

Binding necklines and armholes can create a lovely clean and professional finish. It minimises bulk and can be a perfect finish for lightweight or transparent fabrics that you would be able to see a facing through.

Earlier in The Rushcutter sew-along, I showed you how to make your own bias binding, so head back there if you think you would prefer to make your own binding instead of buying the pre-made stuff. 

Measure the neckline

To start, measure the length of the neckline of your dress. Take note of the measurement. 

Cut a piece of binding the length of your neckline plus 2cm (3/4in) - this extra 2cm will account for the raw edge at each end that need to be turned under, to achieve a clean finish. 

Press the bias tape

how_to_finish_neckline_bias_binding_2

Lay the binding face-down and press one of the long edges under by 10mm (3/8in). If you are using a different width of binding, fold up by a third of the total width. 

how_to_finish_neckline_bias_binding_3

Fold back both short edges by 1cm (3/8in) and press.

Pin

how_to_finish_neckline_bias_binding_4

With right sides together, align the fold on the short edge of the binding with the centre back of the UPPER BODICE. Pin the unpressed edge of the binding to the neckline. 

how_to_finish_neckline_bias_binding_5

Continue pinning the binding around the neckline (being careful not to stretch it) until you reach the centre back on the opposite side. Check that the fold on the short edge matches up with the centre back seam. If it doesn't, you will need to adjust it, until it sits correctly.

Stitch

how_to_finish_neckline_bias_binding_6

Stitch the binding to the neckline with a 1cm (3/8in) seam allowance. Clip into the seam allowance at regular intervals. This will help you create a smooth neckline when you fold the binding to the inside of the dress. If you are using a thick or bulky fabric, you can trip down the seam allowance by 2-3mm (1/16in).

Understitch

how_to_finish_neckline_bias_binding_7

Using your finger, press the binding (as well as the seam allowance) nice and flat, with the seam allowance pushed towards the binding. Understitch the seam allowance to the binding. This will help the binding roll to the inside of the garment.

Press and pin

how_to_finish_neckline_bias_binding_8

Fold the neck binding to the inside of the dress, rolling the seam line towards the inside of the dress slightly. This will give you a nice clean finish, and will  prevent the stitch line from being seen on the right side of the dress. With the raw edge of the binding still folded under, press the binding flat around the neckline, and pin in place.

Edge stitch

how_to_finish_neckline_bias_binding_9

Stitch along the folded edge of the binding and then press to remove any wrinkles. 

Baste the placket in place

how_to_finish_neckline_bias_binding_10

The final step, before we are ready to move onto the body of the dress, is to join the UPPER BODICE at the centre back.  With right sides out, lay your bodice face down. Place the button stand on the right-hand side on top of the left-hand button stand, lining up the folded edge with the stitch line underneath. 

how_to_finish_neckline_bias_binding_11

Make sure that the edge of the button stand just covers the line of stitching unerneath . Use a pin to hold the button stands in position and make a short horizontal row of stitches 6mm (1/4in) from the bottom to hold in place. 

That's all for today, tomorrow I'll be showing you how to sew the inset pockets with a french seam!


You may also like:

How to sew an invisible zip

how_to_sew_an_invisible_zip_1

Zip time! And before some of you run away screaming, please just give it a go with me. I promise they're not that scary. 

Invisible zips really are the easiest zips to sew, and if you go nice and slow, you can get a really nice finish that I promise you will be proud of.

Finish the back opening

Try on the dress and adjust the back opening, if necessary.

Finish both sides of the back opening.

how_to_sew_an_invisible_zip_2

Lay the dress right-side down and fold up the centre back seam allowance on both sides of the opening by 20mm (3/4in) and press flat.

Press the zip

how_to_sew_an_invisible_zip_3

Open the invisible zip, and using a warm dry iron, press the zipper teeth flat. This will help you get nice and close to the teeth when you sew in the zip.

Pin and baste the zip

how_to_sew_an_invisible_zip_4

Place the zip face down on the right hand side of the dress. Align the stop at the top of the zip with the neckline and the teeth of the zip with the pressed seam line. Pin in place.

how_to_sew_an_invisible_zip_5

Now this is the step that really makes all the difference. Take a needle and thread (I always use a contrasting thread because it makes it nice and easy to remove the stitches later), and hand baste the zip tape to the dress. It takes a couple of minutes extra to do this, but it will ensure that the zip does not shift while you are sewing it in - and I prefer hand stitching to unpicking any day! When the zip is attached, remove the pins.

Sew one side of the zip

how_to_sew_an_invisible_zip_6

Using an invisible zip foot, insert the teeth of the zip into the right-hand channel of the foot. Using your finger, roll the zip teeth so that the zip lies as flat as possible. Slowly stitch down the length of the zip, stopping just before you hit the zip pull.

how_to_sew_an_invisible_zip_7

Close the zip and turn the seam allowance under, so that the zip lies flat. Press the fold. 

Matching the seam line

how_to_sew_an_invisible_zip_8

You will have noticed that the seam that joins the sleeves to the body of the dress, runs directly through the zip. To ensure the seam lines match up on either side of the zip, take a pin and put it through the zip tape (on the side not yet sewed) in line with the horizontal seam line.

how_to_sew_an_invisible_zip_9

Open the zip and place the zip tape face down on the left hand side of the back opening, aligning the pin with seam line.

You can use this same method for matching up waistbands, or waistlines on dresses.

how_to_sew_an_invisible_zip_9

Stitch the second side of the zip

Pin in place and then continue pinning the remainder of the zip tape (once again aligning the zip teeth with the pressed line). Baste the zip in place by hand.

how_to_sew_an_invisible_zip_10

Stitch the second side with your invisible zip foot - this time with the zip teeth in the left channel.

Admire your work

how_to_sew_an_invisible_zip_11

Close the zip and give it a good press. Look at those lovely matching seams! Worth it, right?

Finish the centre back seam

how_to_sew_an_invisible_zip_12

Turn the dress inside out and pin the remainder of the centre back opening closed. Make sure you keep the ends of the zip tape out of the way.

how_to_sew_an_invisible_zip_13

Using an ordinary zip foot, stitch the remainder of the centre back seam closed. Start by putting the needle into the fabric where the row of stitching for the zip ends (or as close to that as you can get) and then lower the foot before continuing down the seam with a 2cm (3/4in) seam allowance. 

Remove the basting stitches

how_to_sew_an_invisible_zip_14

With the dress still inside out, press the centre back seam open. At this stage you can remove the basting stitch from the zip tape.


And you're done! Not so bad, right?


You may also like:

How to finish a neckline with bias binding

binding_neckline_1.jpg

In yesterday's post in The Rushcutter sew-along, I showed you how to make your own bias tape, and today I am going to show you how to attach  the binding to the neckline. This method will also work if you are using store-bought binding, and will work on other sewing patterns that ask for a bound neckline and have a centre-back opening.

Measure the neckline of your garment

binding_neckline_2

Using a tape measure, measure around the neckline of your Rushcutter. Start measuring from the centre back on one side, and continue measuring around the neckline until you reach the centre back on the other.

Prepare bias binding

binding_neckline_3

Cut a piece of bias binding a couple of centimetres (1 inch) longer than your neck measurement. If your binding is not yet folded, place it face down and press one long edge of the binding under by 10mm (5/8in). 

Pin binding to neckline

binding_neckline_4

With right sides together, pin the binding to the neckline (pinning the edge that has not been folded), starting from the centre back and slowly working your way around the neckline. If you have two folds in the binding, that is totally fine. I just save time by only folding in one edge and then using the seam guide on my machine to achieve the correct seam allowance.

binding_neckline_5

Before sewing, turn the dress  over and check that all seams (and darts) are pressed the right way.

Stitch binding to neckline

binding_neckline_6

Stitch the binding to the neckline with a 1cm (3/8in) seam allowance. 

binding_neckline_7

Trim any excess binding from the centre back, so that the edge of the binding sits flush against the centre back on both sides.

Trim and clip

binding_neckline_8

Trim down the seam allowance by 5-6mm (1/4in). This will minimise bulk around the neckline, and help when turning the seam allowance to the inside of the dress. You can also clip into the seam to help it sit flat.

Understitch

binding_neckline_9

Using your finger, press the binding (and seam allowance) nice and flat, and understitch the seam allowance to the binding. This will help the binding to roll to the inside of the garment so that you won't see it poking out on the right side. 

We will leave the binding like that for the moment, as before we can finish it off we need to sew in the zip - so that's what we'll be doing tomorrow!


You may also like:

Assembling The Rushcutter (view A)

Yesterday I showed you how to sew the darts on the raglan sleeve, in The Rushcutter sew-along, so today it's time to assemble the sleeves and get the sleeves and dress sections connected. By the end of this post, it will really start looking like a dress!

Attach the centre front panel

With right sides together, pin the CENTRE FRONT PANEL to the front side of each SLEEVE, matching the centre notches. Sew each seam with a 15mm (5/8in) seam allowance, and finish the raw edges.

Press the seams away from the centre front. At this stage, you can also press your darts towards the back.

Sew the sleeves

Finish the bottom edge of both sleeves. Then, with right sides together, fold the sleeve so that you can sew the underarm seam. Pin and stitch with a 15mm (5/8in) seam allowance.

Finish the raw edges separately and press open. 

Pin the sleeves to the dress

With right sides together, match the notch at the centre of the FRONT to the notch in the centre of the CENTRE FRONT PANEL.

I found getting the sleeves out of the way, by turning the sleeves to the right side, helped me when pinning this seam.

Move next to the seam that connects the sleeve and the centre front panel, and match it to the corresponding notch on the front of the dress. 

Continue moving from notch to notch until you reach the centre back. 

As you are matching two different shaped curves together, you will need to be really careful to match up all your notches correctly. 

Match up all the notches and seams on the second side, and then fill the gaps between notches with more pins to get a nice flat seam.

Sew the sleeves to the dress

Stitch the seam with a 12mm (1/2in) seam allowance. Go nice and slow, and lift the seam regularly to check that all the seams are lying flat and that there is no puckering on the underside of the seam.

Press

Before finishing the seam, open the seam and check that it is smooth and there is no puckering. If there is, just unpick a few centimetres (or as much as you need to get the seam to sit flat) either side of the puckers and then pin and re-stitch. 

Finish the seam and press up towards the neckline. Press from both the right and wrong side, to ensure that you get a nice flat finish. 


And that's it for today, is your Rushcutter starting to resemble a dress now?


You may also like:

The Rushcutter sew-along : How to sew the pockets (view A)

therushcutter_sewalong_pockets_1

Welcome back to The Rushcutter sew-along.

Yay! After all that preparation, it is finally time to start sewing. 

In today's post, I'll be guiding you through the first few steps of The Rushcutter (View A). We'll be preparing our pockets, stitching them to the side panels, and then attaching our front and back.

Prepare the pockets

therushcutter_sewalong_pockets_2

Take your SIDE POCKET pieces, and finish the top edge of both pieces. Consider using an overlocker, zig-zag stitch, binding, or even folding the raw edge under by 1cm. The best finish for you will depend on your chosen fabrication.

therushcutter_sewalong_pockets_3

There is a notch on either side of the pocket, 4cm (1 1/2in) from the finished edge. You will be using these notches to help you fold back the pocket hem.

therushcutter_sewalong_pockets_4

With the pocket face-down, fold back the top of the hem by 4cm using the notches to guide you.

Press and pin.

therushcutter_sewalong_pockets_5

Sew along the edge to secure the hem in place. I used the edge of my overlocking as a guide to keep my stitching straight. If you are using a striped fabric, consider sewing your hem from the right side, so that you can follow a stripe, and get the line of stitching in exactly the right place.

Attach pocket to side panel

therushcutter_sewalong_pockets_6

Work out which pocket is for your right side and which is for your left, by checking the notches. Double notches indicate the back of the panel, and a single notch indicates the front. 

therushcutter_sewalong_pockets_7

With right-sides facing up, place the SIDE POCKET on top of the SIDE PANEL, matching the double notch on the pocket with the double notch on the side panel, and the single notch on the pocket with the single notch of the side panel. This ensures that the right pocket is matched with the right side panel. Pin in place.

You will notice that the pocket is slightly wider than the panel it will be stitched to. This is how it is meant to be! The pocket piece is designed to be a little wider, to create a bit of shape and volume in the pocket. 

Stitch around the edge of each pocket, using a 6mm (1/4in) seam allowance. This stitching is just to hold the pocket in place for when you attach the front and back pieces to the side panel. This stitching will be hidden within the seam allowance. 

Attach the front

therushcutter_sewalong_pockets_8

With right sides together, pin the SIDE PANELS to either side of the FRONT. Use the notches to guide you - especially if you are using a slinky fabric that is prone to stretching when cut on the bias! Check that you are attaching the edge of the SIDE PANEL that has single notches. Stitch each seam with a 15mm (5/8in) seam allowance, and finish the seam.

Attach the back

therushcutter_sewalong_pockets_9

With right sides together, pin the open side of each SIDE PANEL to the corresponding BACK PANEL (you will know which one is which by looking at the notches). Stitch seams with a 15mm (5/8in) seam allowance. Finish the seam.

Press

therushcutter_sewalong_pockets_10

Press the seams away from the SIDE PANEL. The seam allowances should match up nicely with the curve.

Well that's all for today! Tomorrow we will be getting onto the sleeves, so stay tuned.


You may also like:


The Rushcutter Sew-along: Cutting your fabric

the_rushcutter_sew_along_cutting

So it's finally time to cut out our Rushcutters!

If you are sewing a long with me, by this stage you should have gathered your supplies, picked your size,  printed your pattern, made a toile and made any necessary adjustments. Now that much of the hard work is done, it's time for the fun(ner) stuff!

Prepare your fabric

Grab you fabric (that you have pre-washed, dried and pressed) and lay it out on a flat surface. I won't judge you if your only flat surface is on the floor! I went years without a proper cutting table and I managed just fine - so use whatever space you can.

Cutting flat vs cutting on the fold

Generally speaking, most patterns ask you to fold your fabric lengthways, matching selvedge to selvedge, so that you can cut a piece once and get a pair. This is the most time efficient method (and what I included in the pattern's instructions), but I must say that I generally cut flat.

By cutting flat, you get much more control, which is especially good if you are using a placement print or matching a print or stripes.

Cutting_flat-vs-on-fold_the_rushcutter.png

The other bonus is that you use much less fabric. Above, I have shown the suggested lay plan for View A on 115cm (45in) wide fabric. By cutting flat, instead of on the fold, you could save almost 1 metre (the saving is not so big when using 150cm wide fabric - about 30cm). So if you are tight on fabric, or have a bit of extra time up your sleeve, then I recommend giving it a go. 


Pattern piece inventory

the_rushcutter_VIEW-A.png
 
the_rushcutter_VIEW-B.png

View A

Front - cut 1 on fold

Back - cut 1 pair

Side panel - cut 1 pair

Side pocket - cut 1 pair

Centre front panel - cut 1

Front hem facing - cut 1 on fold

Back hem facing - cut 1 on fold


View B

Front - cut 1 on fold

Back - cut 1 on fold

Side panel - cut 1 pair

Centre front panel - cut 1

Front upper bodice (size A and B only) - cut 1 pair

Back upper bodice (size A and B only) - cut 1 pair

Upper bodice (sizes C - K only) - cut 1 pair

In-seam pocket - cut 2 pairs

Optional

Waist sash - cut 1 pair

Cutting tips + suggestions

If you are using a heavy weight fabric, consider cutting your in-seam pockets (View B) in a lighter weight fabric. You could also consider a lighter fabric for the neckline / armhole binding.

You may also want to use consider adding interfacing to your hem facings - if you would like to add weight to the hem. 

Cutting your fabric

After working out what pattern pieces you require, cut loosely around the pattern pieces. This will make them much easier to handle, and give you more flexibility when working out the best cutting layout. 

If you are cutting on the fold, fold your fabric lengthways, with right sides together, matching your selvedges. You may notice that I cut my pattern with wrong sides together. This is because I was planning to make my dress with the wrong side of the fabric on the outsidem but changed my mind at the last minute!

cutting_the_rushcutter_1
cutting_the_rushcutter_2

1. Place your pattern on the fabric, and measure the distance between one end of the grainline and the selvedge. Hold this side in place with a weight or pin.

2. Measure the distance between the other end of the grainline and the selvedge, and pivot until it is the same distance as the first side. 

cutting_the_rushcutter_3
cutting_the_rushcutter_4

3. Use weights (or whatever you have got lying around) to hold the pattern in place, and use pins to hold in place. 

4. Cut around the edge of the pattern, being very careful to get as close to the line as possible.

Cutting notches

cutting_the_rushcutter_6
cutting_the_rushcutter_7

When the piece is cut, work your way around the pattern, cutting into each notch. The notches are 6mm - try not to cut them any longer as you may risk getting too close to the stitching line. Be careful to find them all - they really do help when making sure you are putting the correct pieces together!

Marking the dart point

There are a number of ways to mark the dart point, and the best option will depend on the fabric you are using.

cutting_the_rushcutter_8
cutting_the_rushcutter_9

1. If you are using something stable, or dark in colour, fabric chalk or fabric pen will work fine.

2. Mark the dart point on one side of the fabric, and then put a pin through the point so that it comes out the other side. Make sure the pin is nice and straight, and then mark the dart on the other side with chalk.

cutting_the_rushcutter_10
cutting_the_rushcutter_11

3. If your fabric is a little more delicate or prone to moving, use a needle and contrast thread to put one long stitch through both layers of fabric at the point of the dart. Tie a knot at wither end of the thread.

4. Open up the two pieces and cut the thread in between. Now you can tie a knot on either side so that the stitch remains in place.


Do you cut the old-school way like me? Or are you a rotary cutter kind of gal (or boy)?


You may also like: