Yay! It's time to start sewing! Last week, I kicked off the Collins Top sew-along with a handful of pattern adjustment posts, so you can feel confident that you can make a beautifully fitting top. Now it's time to work on the sewing, so that we can have a beautifully finished top too!
Whether you are making the Collins Top View A or View B, the process starts the same way. You will assemble the front of the top, then the back and then the process will change, depending on whether you are making your top sleeveless or with sleeves. So, to kick off the sewing part of the Collins Top Sew-along, we'll be starting by assembling the body of the top.
Assemble top front

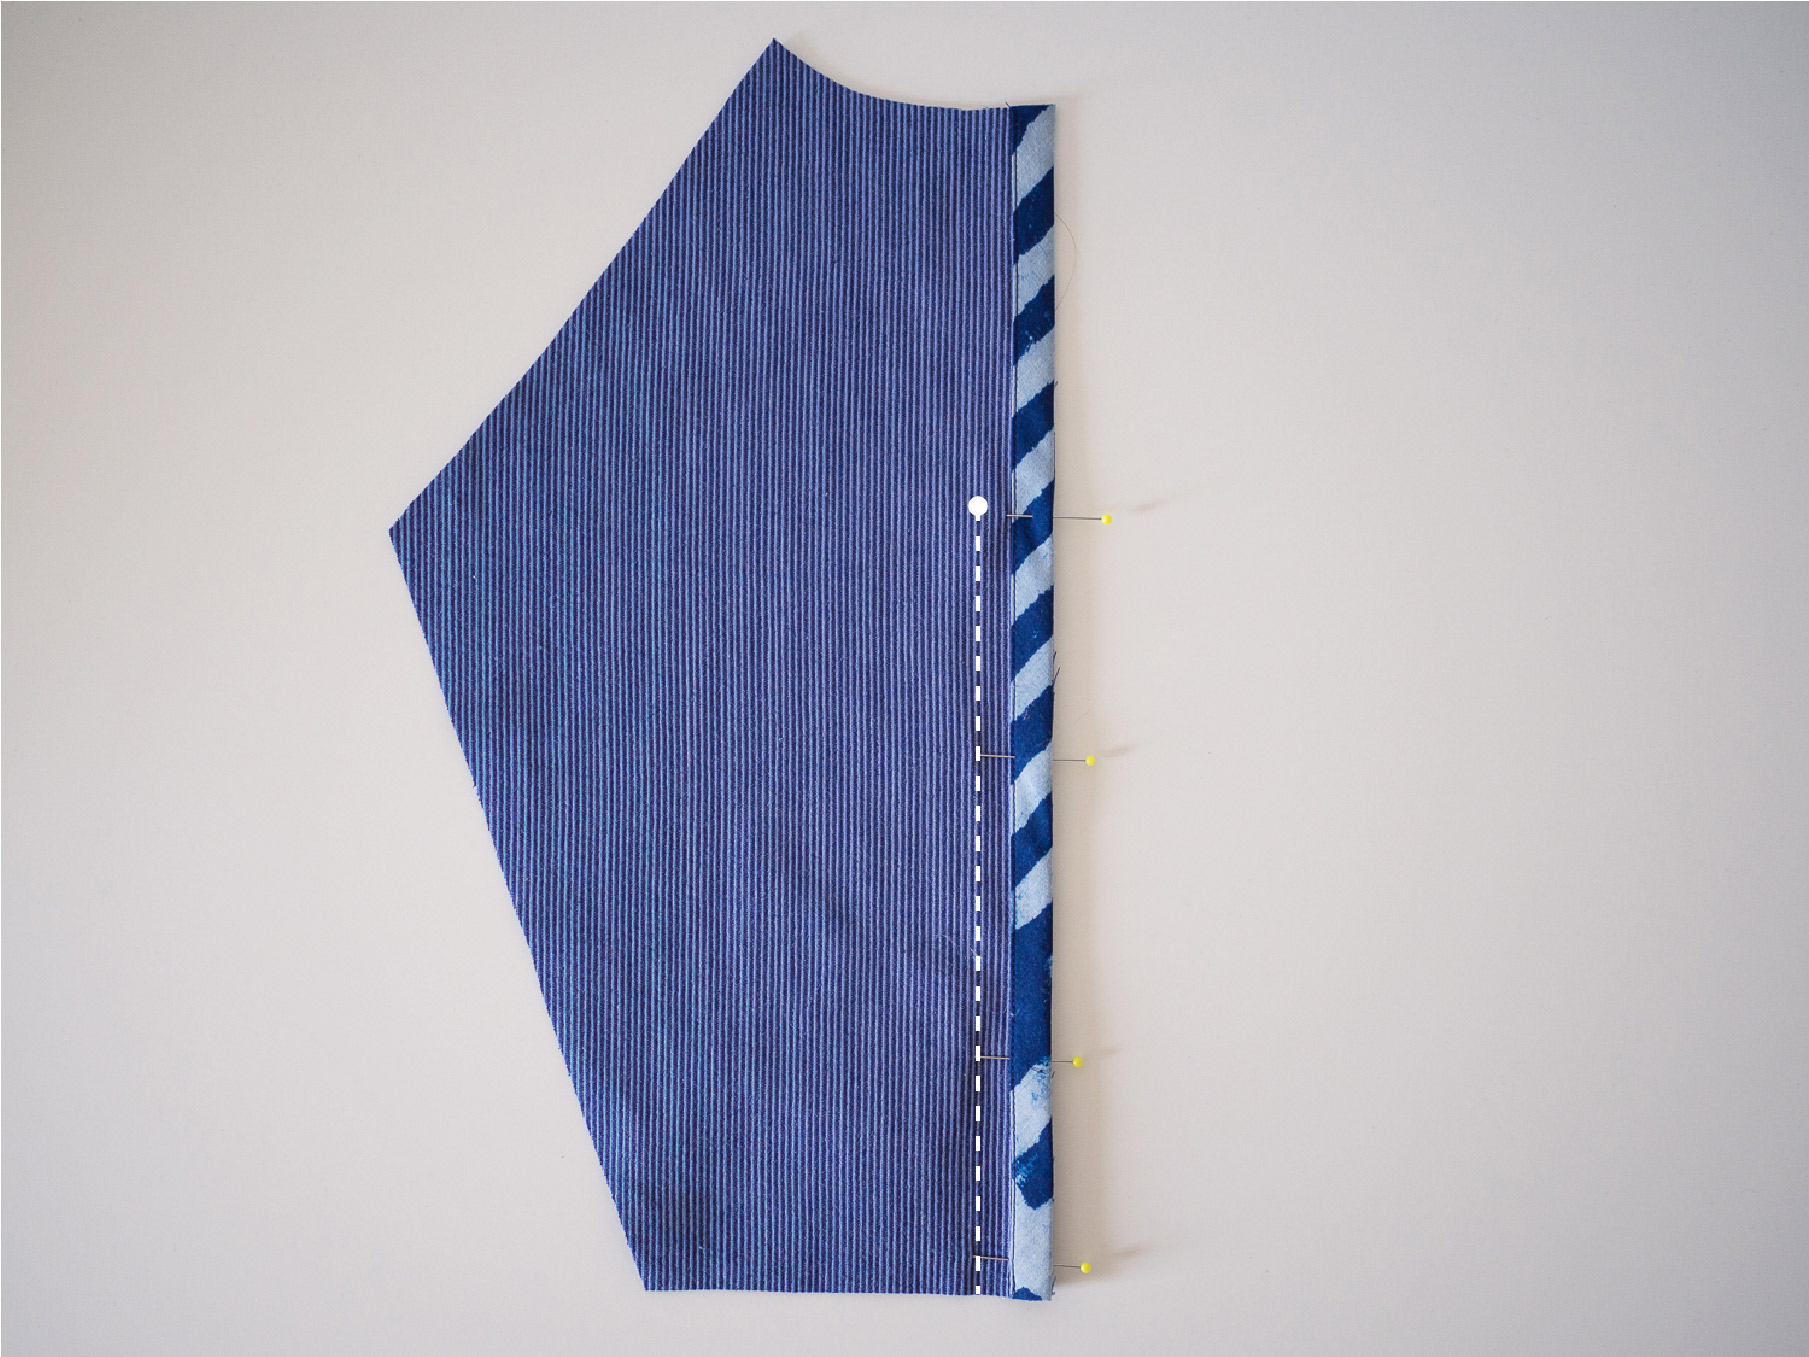
Pin the SIDE FRONT PANEL to the CENTRE FRONT PANEL with right sides together. Use the notches as a guide (the two single notches on the SIDE FRONT PANEL indicate the seam that needs to be attached to the CENTRE FRONT PANEL). Stitch with a 1.5cm (⅝in) seam allowance.
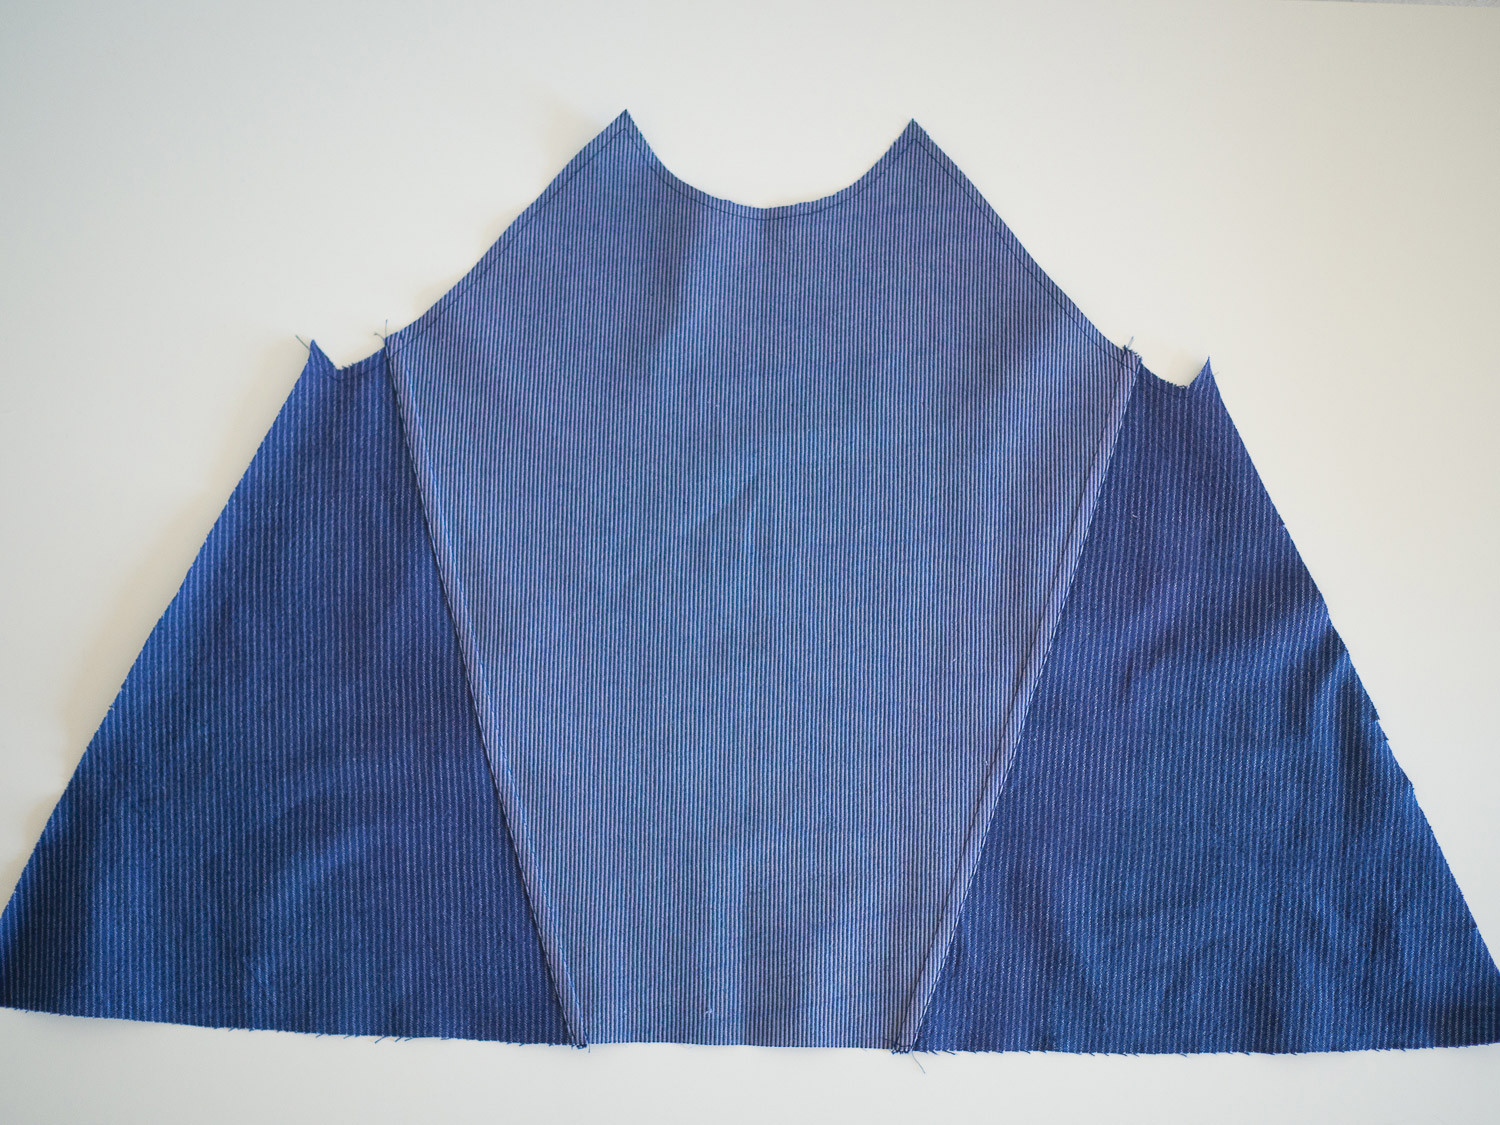
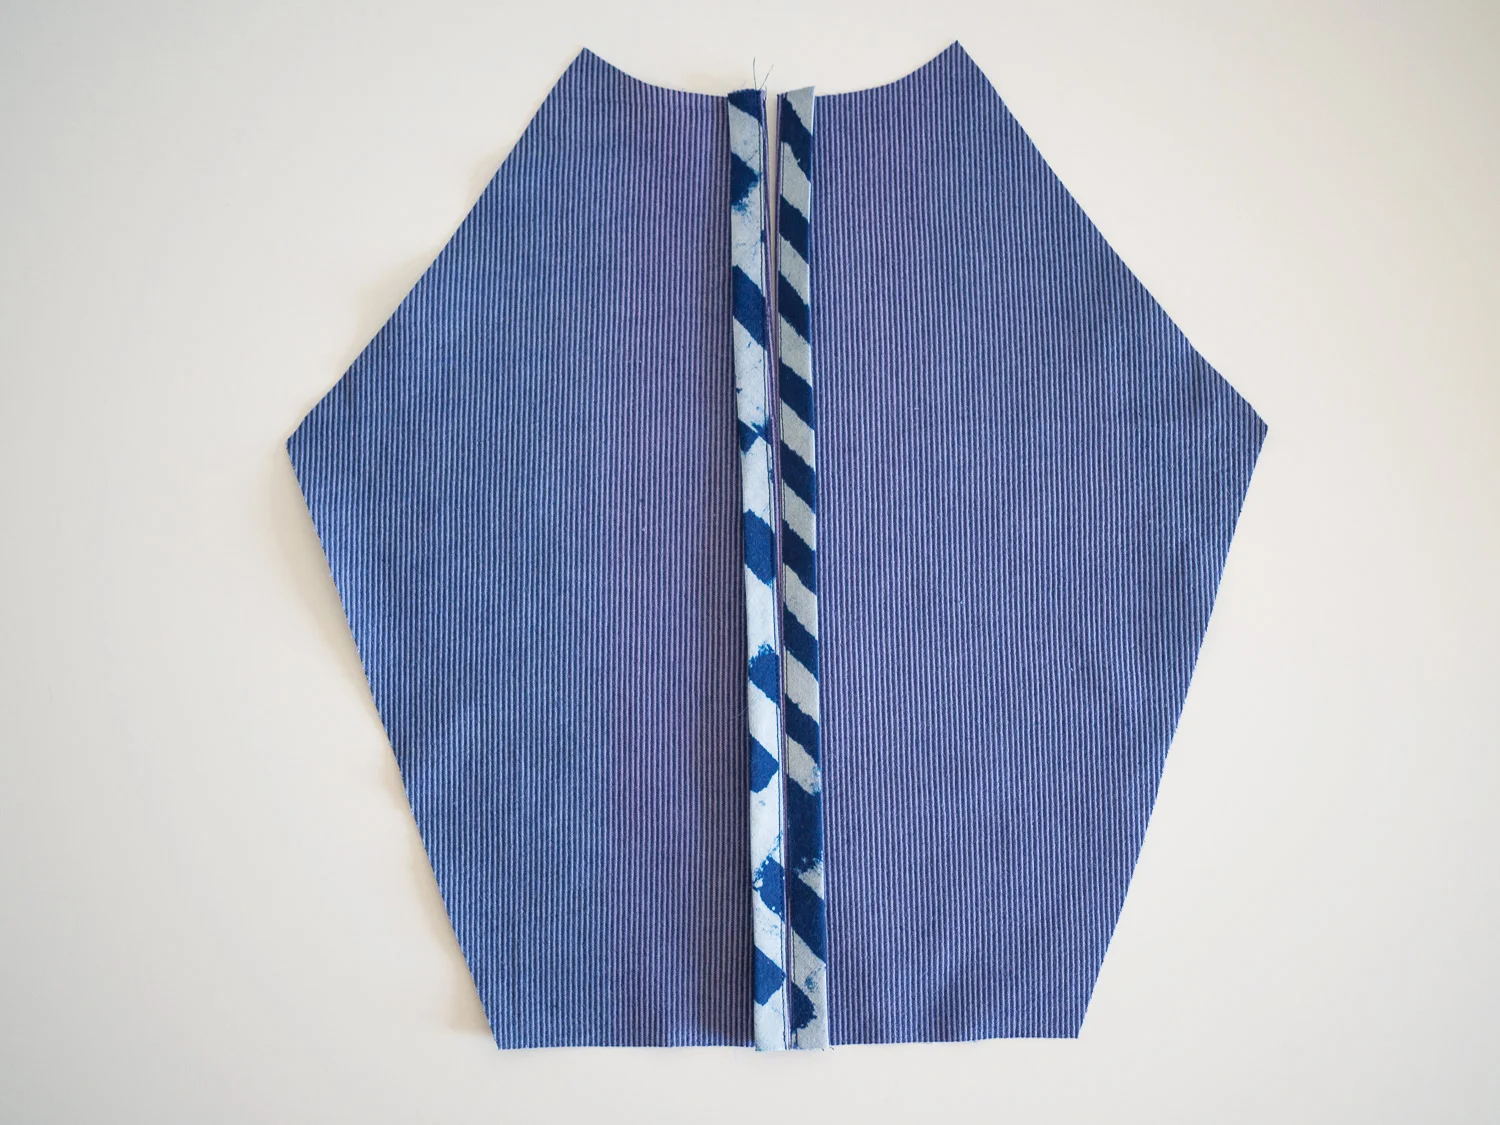
Repeat on the other side. Finish the seams with your chosen method and press seam allowances away from the centre front. You will notice that Saki went for flat-felled seams, for a really clean and beautiful finish, inside and out. You could consider flat-felled seams, french seams (this tutorial from the Rushcutter sew-along includes how to sew a french seam), or simply serged / overlocked.
Staystitch armholes and neckline
Staystitching is when you sew a line of stitching along a shaped - or bias cut - seam to keep it from stretching as a garment is being made. When staystitching, always stitch within the seam allowance to prevent it being seen from the outside on the finished garment.

Carefully staystitch around the neckline (stitch from armhole to centre front on each side separately) and then armholes (from top to bottom). This will prevent the curves from stretching out as you make the garment. Staystitching should be inside the permanent stitch line, so in this case approximately 6mm (¼in) from the raw edge will suffice. Finish the side seams using your chosen method.
Assemble top back

Take the pair of UPPER CENTRE BACK PANEL pieces and finish the centre back seams. We chose to use a Hong Kong bind to get a really beautiful finish. If you think you would like to try out a Hong Kong bind, I'll be showing you how to do it tomorrow!
With right sides together, pin the UPPER CENTRE BACK PANEL pieces together - pinning from the upper notch (13cm / 5in down from the top edge) to the bottom edge. The upper part of the seam will be left open, as later on we will be adding a button and loop closure to make this section the opening on the top. Stitch the seam with a 2cm (¾in) seam allowance, being sure to backstitch at the notch. This will ensure the centre back opening stays nice and secure.
Press seam allowances open.

Pin the LOWER CENTRE BACK PANEL to the UPPER CENTRE BACK PANEL with right sides together. Use the notches to guide you.
Stitch with a 1.5cm (⅝in) seam allowance, checking that the centre back seam allowance remains pressed open.
Finish the raw edges (closed) and press the seam flat, down towards the hem.

Pin the SIDE BACK PANEL to the back piece with right sides together. Use the notches as a guide (the seam that you are joining has two sets of double notches and one single notch). Stitch with a 1.5cm (⅝in) seam allowance, again checking that the seams in the back panel are pressed in the right direction.

Repeat on the other side. Finish the seams with your chosen method and press seam allowances towards the side seams.

Carefully staystitch around the neckline (stitch from armhole to centre back on each side of the split) with the seam allowance open (not folded back). At this point you can also staystitch the armholes (from top to bottom). This will prevent the curves from stretching out as you make the garment. Stitch approximately 6mm (¼in) from the raw edge.
Finish the side seams using your chosen method.
Well that's all we will be doing in today's post. This is the point where the instructions go separate ways for View A compared to View B.
In tomorrow's post, I'll show you how to sew a Hong Kong seam before continuing on with View A (raglan sleeve) version of the Collins Top.