the details

How to finish an armhole with bias binding

how-to-finish-an-armhole-with-bias-binding.jpg

At this point in the Rushcutter Sew-along, our Rushcutter's are really starting to look like Rushcutters!

In today's post, we will be finishing the armholes with bias binding. I am a huge fan of binding as a finish, it gives you a lovely clean finish, without the extra bulk of a facing. 

Even if you are not sewing The Rushcutter, I am sure you will find this tutorial useful for projects to come!

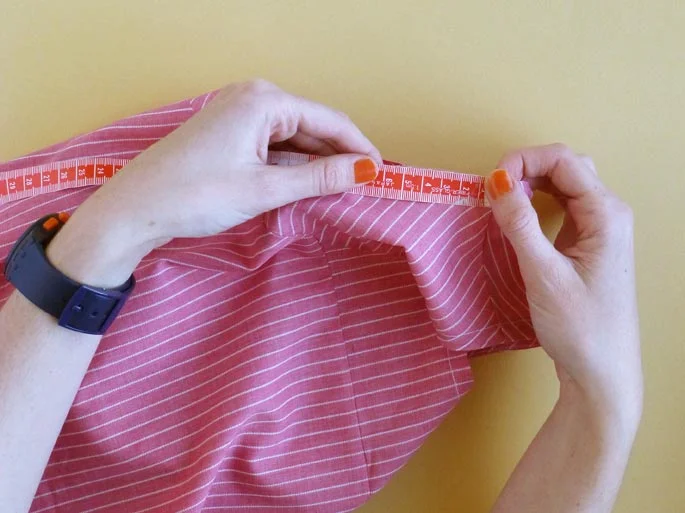
Measure the armhole

how-to-finish-an-armhole-with-bias-binding_2

Take a tape measure and measure around the armhole. Take note of the measurement.

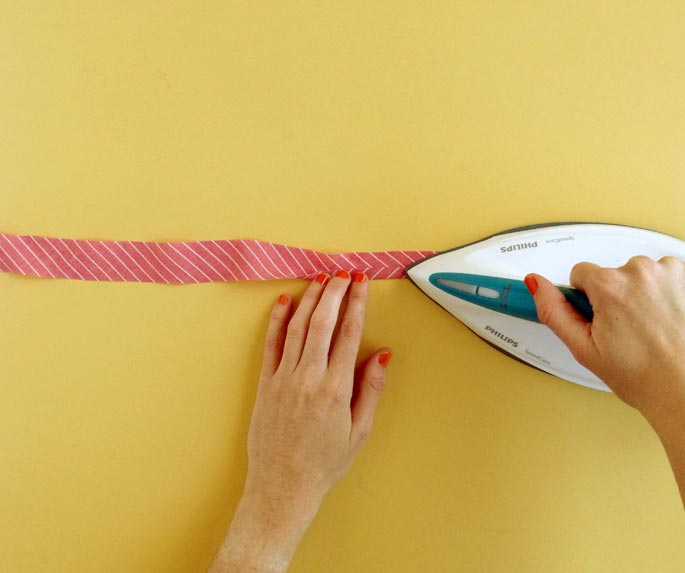
Prepare binding

how-to-finish-an-armhole-with-bias-binding_3

For this tutorial, you can use store-bought binding or make the binding yourself

Cut a piece of binding the length of your armhole.

If you are using binding that you made yourself, you will need to fold it before sewing. Take the binding and with right side down, press one long edge under by 10mm (5/8in).

Join binding

how-to-finish-an-armhole-with-bias-binding_4

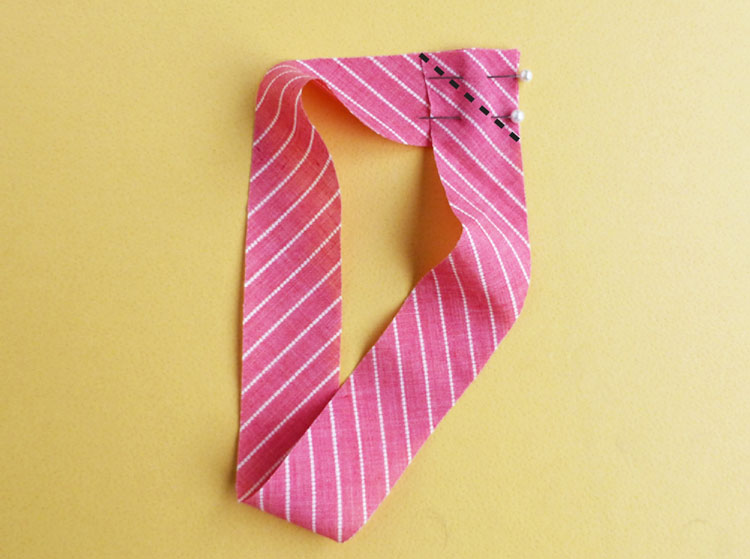
With right sides together, bring the short ends of the bias binding together at a right angle. The overlap will create a square. 

how-to-finish-an-armhole-with-bias-binding_5

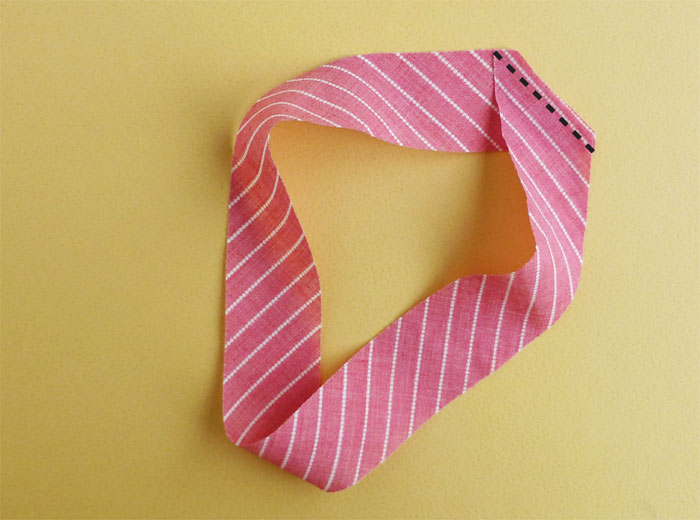
Pin in place and stitch across the diagonal of the square. 

how-to-finish-an-armhole-with-bias-binding_6

Trim back the seam, close to the stitch line, and press the seam open. 

Pin binding to armhole

how-to-finish-an-armhole-with-bias-binding_7

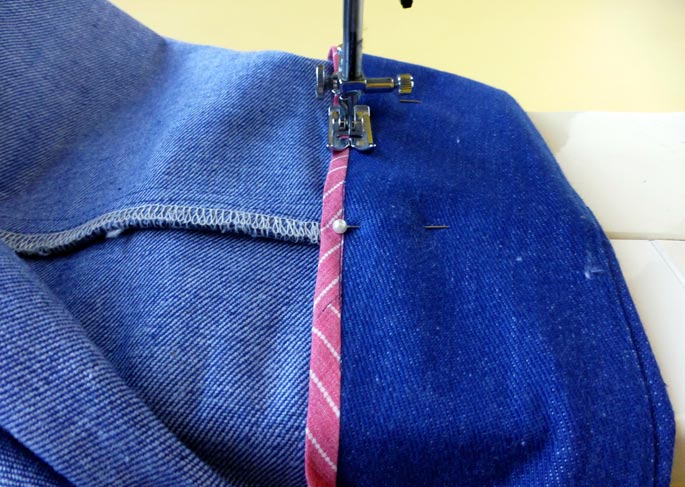
Now that the binding is in a continuous loop, with right sides together, pin the unpressed edge of the binding to one of the armholes, being careful to evenly distribute the binding around the armhole.

Be careful about where you place the binding seam - I suggest placing it somewhere where is there is not yet a seam, to minimise bulk (for example, the middle of the back armhole). 

Stitch

how-to-finish-an-armhole-with-bias-binding_8

Stitch the binding to the armhole with a 1cm (3/8in) seam allowance. 

Clip into the seam allowance at regular intervals. This will help you achieve a smooth armhole. Trim back the seam allowance by 2-3mm (1/16in) if your fabric is thick or bulky.

Understitch

how-to-finish-an-armhole-with-bias-binding_9

Turn the binding to the right side and, using your finger, press it (and the seam allowance) nice and flat. Understitch the seam allowance to the binding. 

Edge stitch

how-to-finish-an-armhole-with-bias-binding_10

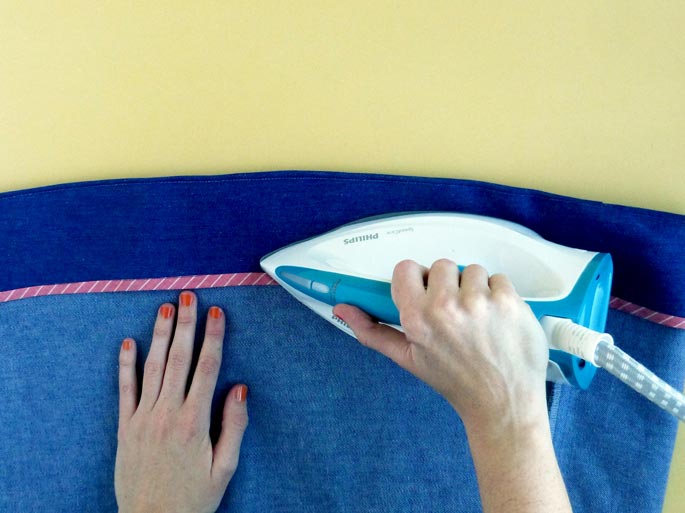
Fold the binding to the inside of the dress, rolling the seam line towards the inside of the dress slightly (this is so you won't be able to see the seam line from the right side).

Give the armholes a good press, from the outside. Pin the binding in place and then stitch around the binding close to the fold. It’s a good idea to start and finish your stitching at the underarm point as this line of stitching will be visible from the right side of the garment.

And tah-dah! You have a lovely clean finish on your armhole. 


You may also like:

The Rushcutter sew-along: The finishing touches

finishing-touches_the_rushcutter_1.jpg

So we are almost there! By now your Rushcutter should be really be looking like a dress. All we have got left to do is to finish the neckline and do the hems.

Finishing the neckline

Now that the zip is done, you can finish the neckline.

finishing-touches_the_rushcutter_2

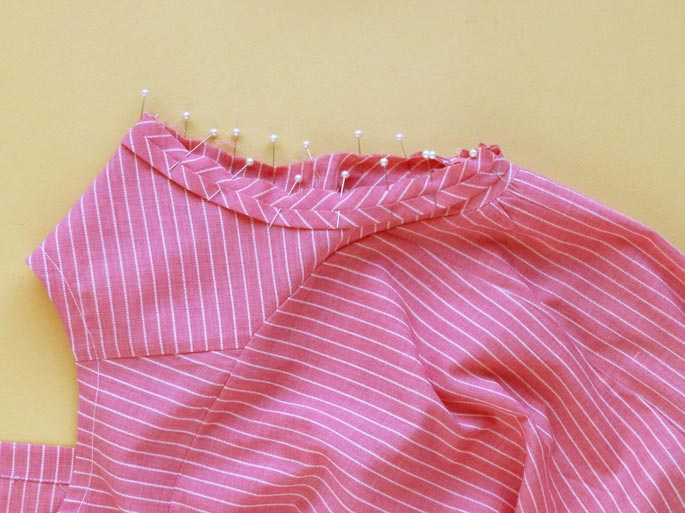
With the dress inside out, fold the binding to the inside of the dress, rolling the seam line slightly towards the inside too. Make sure the raw edge is folded under, and press in place.

finishing-touches_the_rushcutter_3

Pin the binding around the neckline, using your fingers to smooth out the binding.

finishing-touches_the_rushcutter_4

When you reach the zip, make sure that the short edge of the binding sits a few milimetres away from the zip teeth. 

finishing-touches_the_rushcutter_5

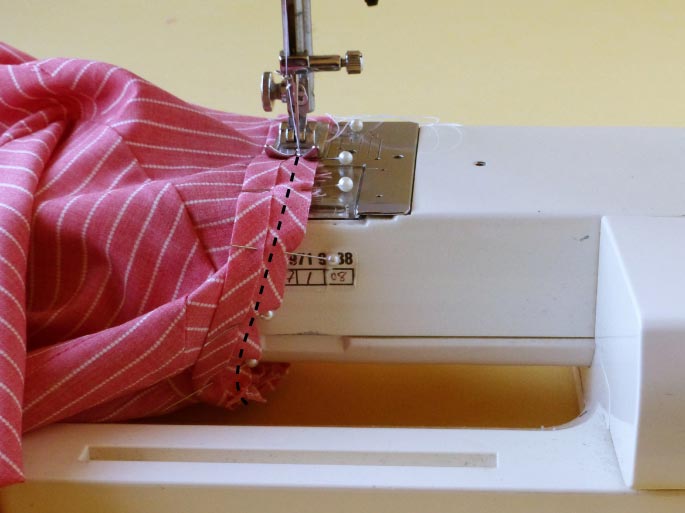
Stitch along the edge of the binding. Press to remove any wrinkles.

Hem the sleeves

finishing-touches_the_rushcutter_7

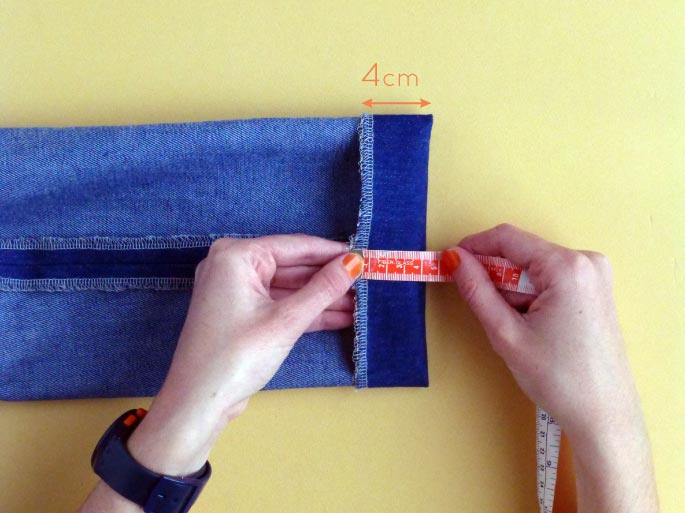
With the neck done, move onto the sleeve hem. With the dress still inside out, fold back each sleeve hem by 4cm (1 1/2in). Press and pin in place. 

finishing-touches_the_rushcutter_8

Stitch the hem in place, by stitching close to the edge. 

Prepare the hem facing

finishing-touches_the_rushcutter_9

Take the FRONT and BACK HEM FACING and, with right sides together, pin them together at the side seams. Stitch with a 15mm (5/8in) seam allowance. These seams will be enclosed in the hem, so do not need to be finished.

finishing-touches_the_rushcutter_10

Press both seams open.

finishing-touches_the_rushcutter_11

Finish the top edge of the facing (the edge that will not be attached to the hem of the dress). Consider using a contrasting binding for an interesting inner detail. 

Attach the hem facing

finishing-touches_the_rushcutter_12

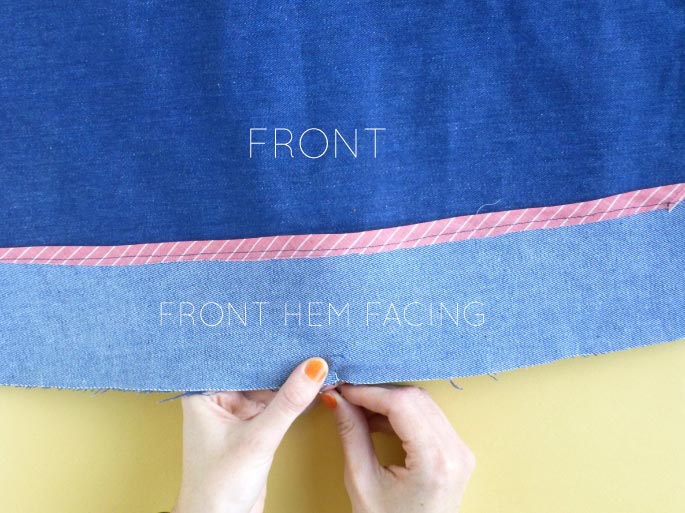
Pin the hem facing to the dress, with right sides together. Start at the centre front notch and work way around the facing, matching each seam line with the corresponding notch. Stitch with a 1cm (3/8in) seam allowance.

finishing-touches_the_rushcutter_13

Trim back the seam allowance of your hem facing, to minimise bulk in the hemline.

finishing-touches_the_rushcutter_14

Lay the seam flat and, with the seam allowances pushed towards the hem facing, understitch the seam allowances to the facing.

finishing-touches_the_rushcutter_15

Turn the hem facing to the inside of the dress, being sure to roll the seam line slightly to the inside, and press.

finishing-touches_the_rushcutter_16

Stitch the hem in place, by hand or machine, close to the end of the facing.

Give the dress one final press and you're done! Wooohooo! 


You may also like: