At this point in the Rushcutter Sew-along, our Rushcutter's are really starting to look like Rushcutters!
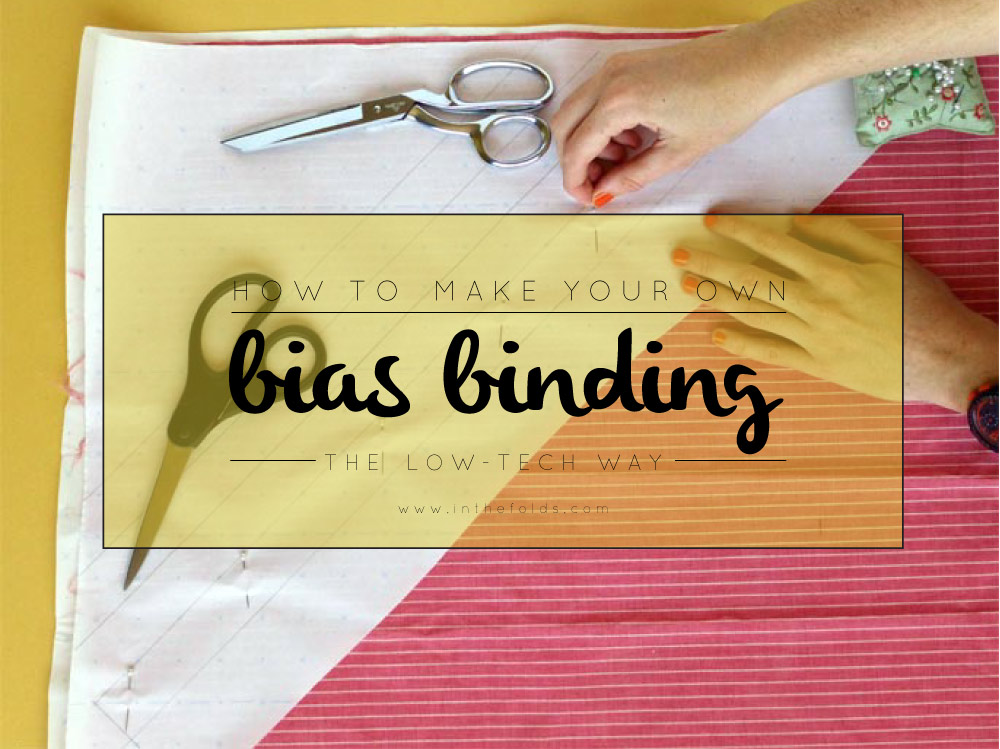
In today's post, we will be finishing the armholes with bias binding. I am a huge fan of binding as a finish, it gives you a lovely clean finish, without the extra bulk of a facing.
Even if you are not sewing The Rushcutter, I am sure you will find this tutorial useful for projects to come!
Measure the armhole
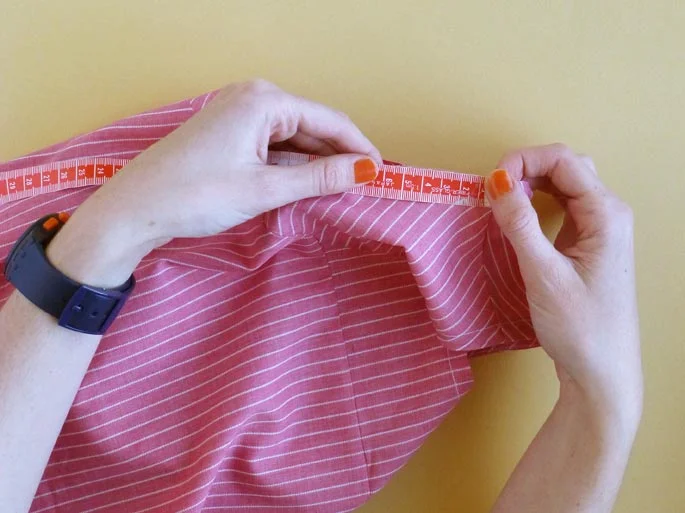
Take a tape measure and measure around the armhole. Take note of the measurement.
Prepare binding
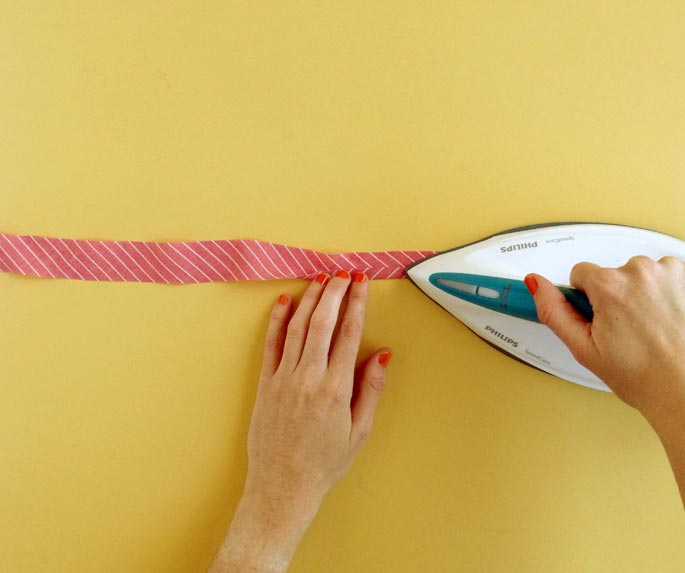
For this tutorial, you can use store-bought binding or make the binding yourself.
Cut a piece of binding the length of your armhole.
If you are using binding that you made yourself, you will need to fold it before sewing. Take the binding and with right side down, press one long edge under by 10mm (5/8in).
Join binding

With right sides together, bring the short ends of the bias binding together at a right angle. The overlap will create a square.
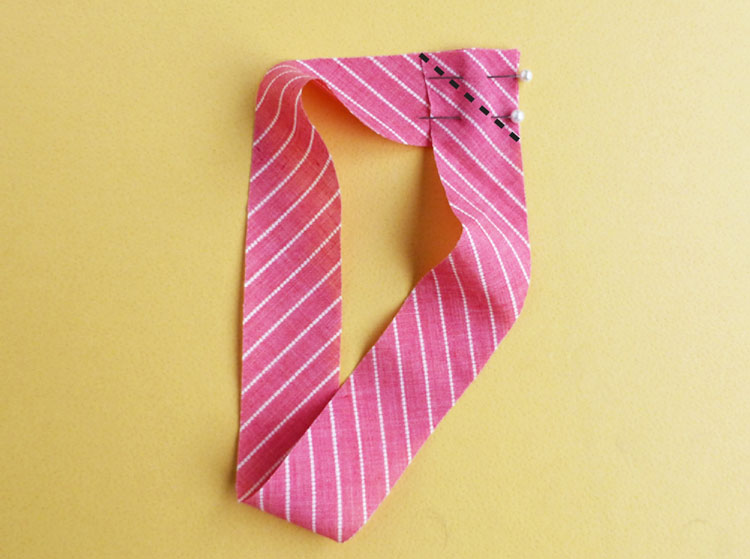
Pin in place and stitch across the diagonal of the square.
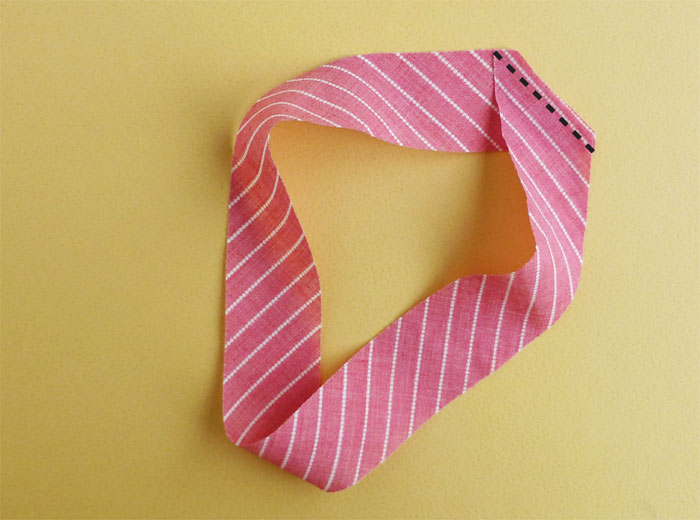
Trim back the seam, close to the stitch line, and press the seam open.
Pin binding to armhole
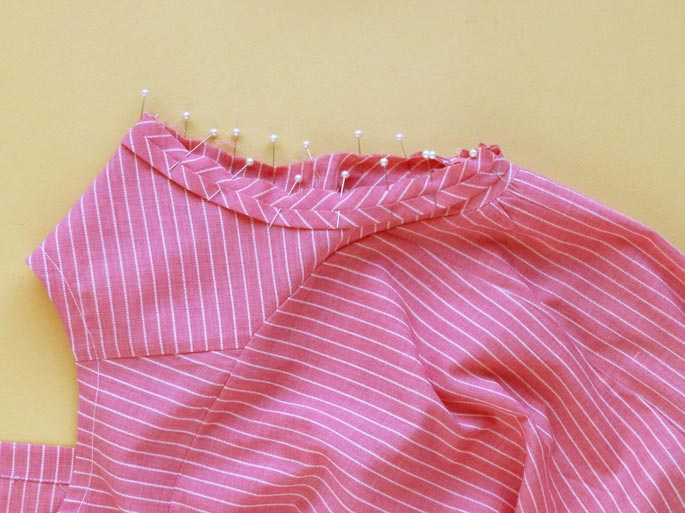
Now that the binding is in a continuous loop, with right sides together, pin the unpressed edge of the binding to one of the armholes, being careful to evenly distribute the binding around the armhole.
Be careful about where you place the binding seam - I suggest placing it somewhere where is there is not yet a seam, to minimise bulk (for example, the middle of the back armhole).
Stitch
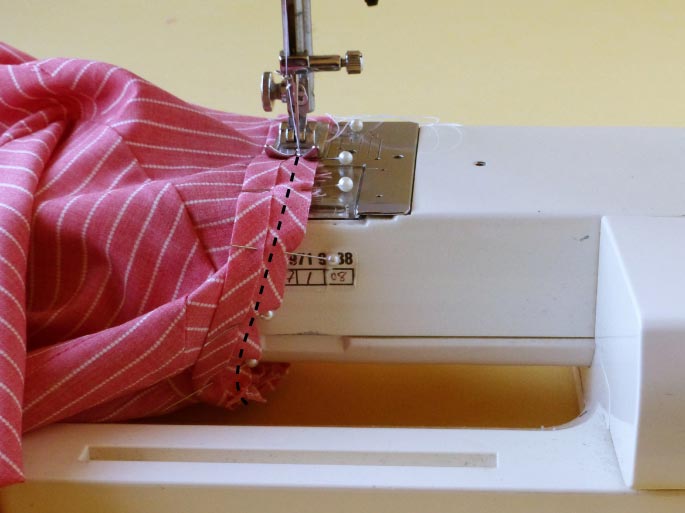
Stitch the binding to the armhole with a 1cm (3/8in) seam allowance.
Clip into the seam allowance at regular intervals. This will help you achieve a smooth armhole. Trim back the seam allowance by 2-3mm (1/16in) if your fabric is thick or bulky.
Understitch

Turn the binding to the right side and, using your finger, press it (and the seam allowance) nice and flat. Understitch the seam allowance to the binding.
Edge stitch

Fold the binding to the inside of the dress, rolling the seam line towards the inside of the dress slightly (this is so you won't be able to see the seam line from the right side).
Give the armholes a good press, from the outside. Pin the binding in place and then stitch around the binding close to the fold. It’s a good idea to start and finish your stitching at the underarm point as this line of stitching will be visible from the right side of the garment.
And tah-dah! You have a lovely clean finish on your armhole.