If you are following along, you will know that over the last few weeks I have been guiding you through the process of sewing a Rushcutter dress.
Today we will be joining the body of the dress to the bodice and your Rushcutter will really take shape.
Pin
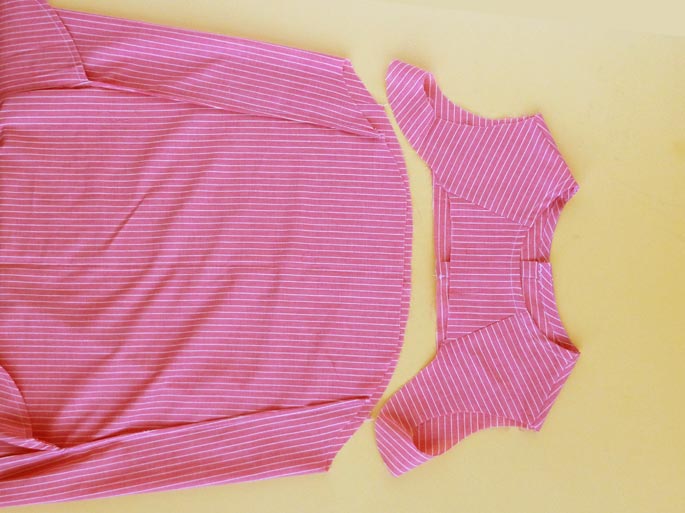
With wrong sides together, match the notch at the centre front of the FRONT panel to the notch in the centre of the CENTRE FRONT PANEL. Pin.
Continue moving from notch to notch, pinning the two pieces together. Curved seams can be a little tricky, so you will need to use lots of pins!
Stitch the seam with a 6mm (1/4in) seam allowance, going nice and slow. Stop regularly to left the seam up and check that all the seams are lying flat and there is no puckering underneath.
Trim seam

Trim back the seam allowance by 2-3mm (1/16in) and press the seam up towards the neckline.
Stitch
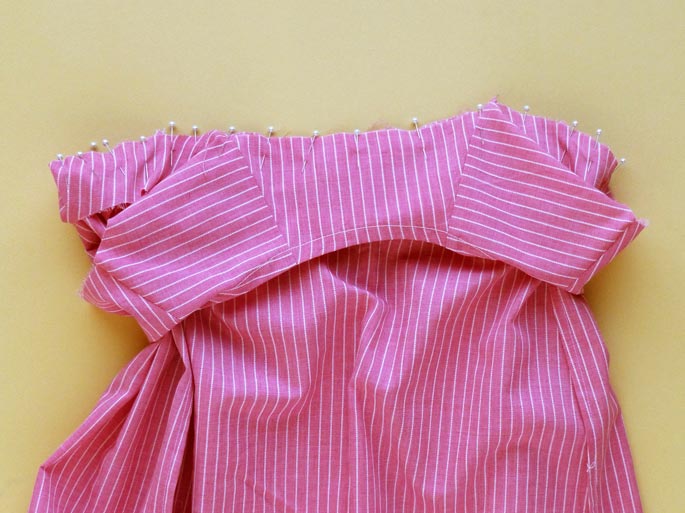
Fold the seam with right sides together, enclosing the raw edge within the seam. Press and pin. Stitch seam with a 6mm (1/4in) seam allowance.
Press
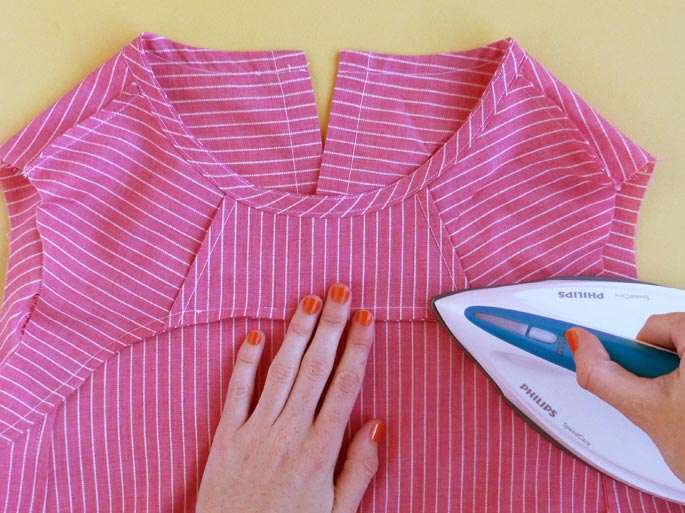
Press the seam down towards the hemline.
It is just a quick post today, as tomorrow we are up to binding the armholes, and I wanted to write that as a separate post, so it can be a tutorial you can look back on in projects to come!