In yesterday's post in The Rushcutter sew-along, I showed you how to make your own bias tape, and today I am going to show you how to attach the binding to the neckline. This method will also work if you are using store-bought binding, and will work on other sewing patterns that ask for a bound neckline and have a centre-back opening.
Measure the neckline of your garment

Using a tape measure, measure around the neckline of your Rushcutter. Start measuring from the centre back on one side, and continue measuring around the neckline until you reach the centre back on the other.
Prepare bias binding
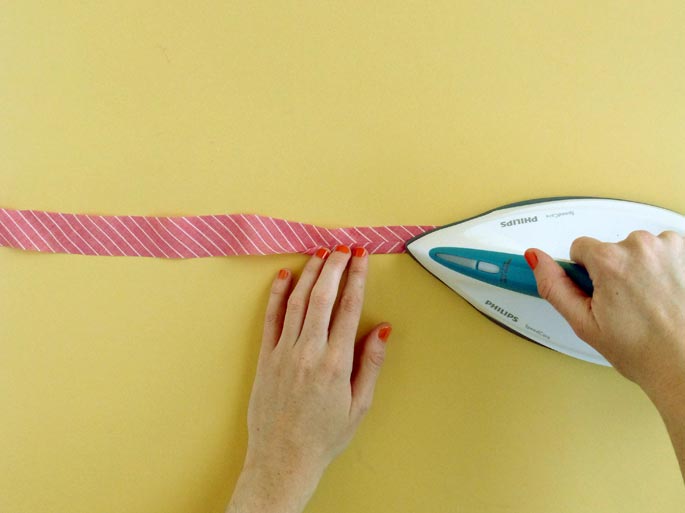
Cut a piece of bias binding a couple of centimetres (1 inch) longer than your neck measurement. If your binding is not yet folded, place it face down and press one long edge of the binding under by 10mm (5/8in).
Pin binding to neckline

With right sides together, pin the binding to the neckline (pinning the edge that has not been folded), starting from the centre back and slowly working your way around the neckline. If you have two folds in the binding, that is totally fine. I just save time by only folding in one edge and then using the seam guide on my machine to achieve the correct seam allowance.

Before sewing, turn the dress over and check that all seams (and darts) are pressed the right way.
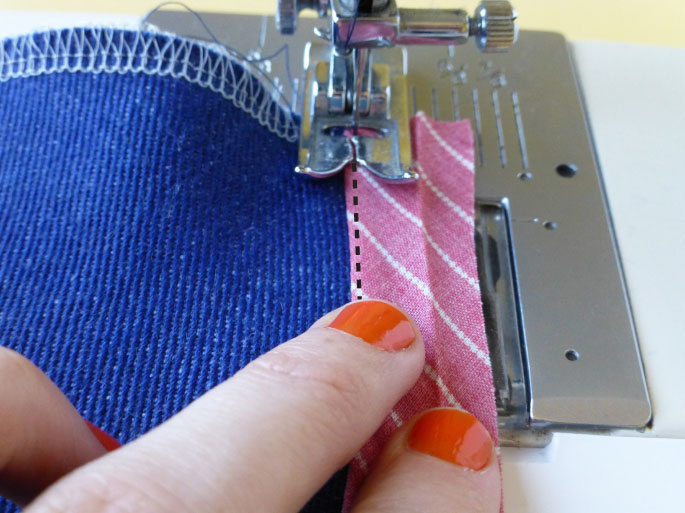
Stitch binding to neckline

Stitch the binding to the neckline with a 1cm (3/8in) seam allowance.
Trim any excess binding from the centre back, so that the edge of the binding sits flush against the centre back on both sides.
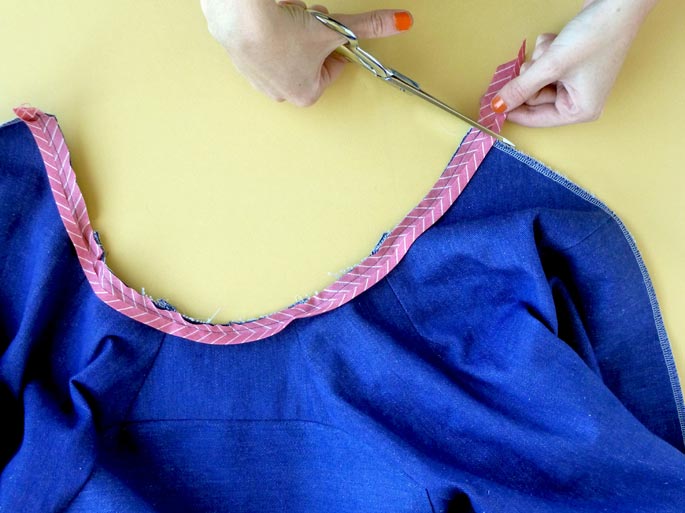
Trim and clip
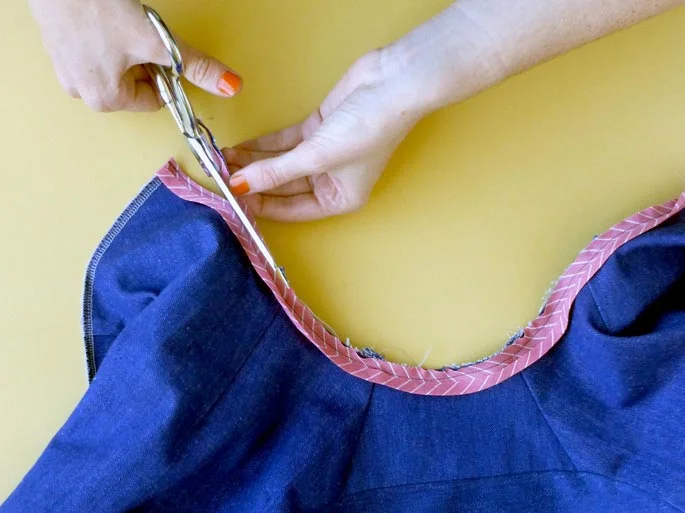
Trim down the seam allowance by 5-6mm (1/4in). This will minimise bulk around the neckline, and help when turning the seam allowance to the inside of the dress. You can also clip into the seam to help it sit flat.
Understitch
Using your finger, press the binding (and seam allowance) nice and flat, and understitch the seam allowance to the binding. This will help the binding to roll to the inside of the garment so that you won't see it poking out on the right side.
We will leave the binding like that for the moment, as before we can finish it off we need to sew in the zip - so that's what we'll be doing tomorrow!