Welcome back to The Rushcutter sew-along.
Yay! After all that preparation, it is finally time to start sewing.
In today's post, I'll be guiding you through the first few steps of The Rushcutter (View A). We'll be preparing our pockets, stitching them to the side panels, and then attaching our front and back.
Prepare the pockets

Take your SIDE POCKET pieces, and finish the top edge of both pieces. Consider using an overlocker, zig-zag stitch, binding, or even folding the raw edge under by 1cm. The best finish for you will depend on your chosen fabrication.

There is a notch on either side of the pocket, 4cm (1 1/2in) from the finished edge. You will be using these notches to help you fold back the pocket hem.

With the pocket face-down, fold back the top of the hem by 4cm using the notches to guide you.
Press and pin.

Sew along the edge to secure the hem in place. I used the edge of my overlocking as a guide to keep my stitching straight. If you are using a striped fabric, consider sewing your hem from the right side, so that you can follow a stripe, and get the line of stitching in exactly the right place.
Attach pocket to side panel

Work out which pocket is for your right side and which is for your left, by checking the notches. Double notches indicate the back of the panel, and a single notch indicates the front.
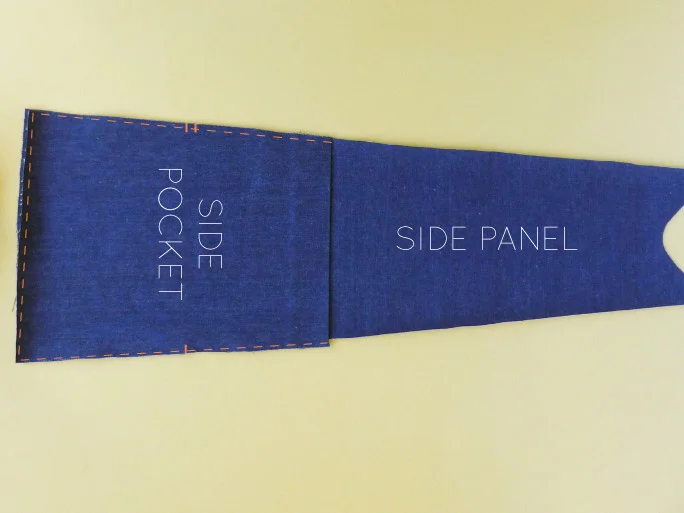
With right-sides facing up, place the SIDE POCKET on top of the SIDE PANEL, matching the double notch on the pocket with the double notch on the side panel, and the single notch on the pocket with the single notch of the side panel. This ensures that the right pocket is matched with the right side panel. Pin in place.
You will notice that the pocket is slightly wider than the panel it will be stitched to. This is how it is meant to be! The pocket piece is designed to be a little wider, to create a bit of shape and volume in the pocket.
Stitch around the edge of each pocket, using a 6mm (1/4in) seam allowance. This stitching is just to hold the pocket in place for when you attach the front and back pieces to the side panel. This stitching will be hidden within the seam allowance.
Attach the front
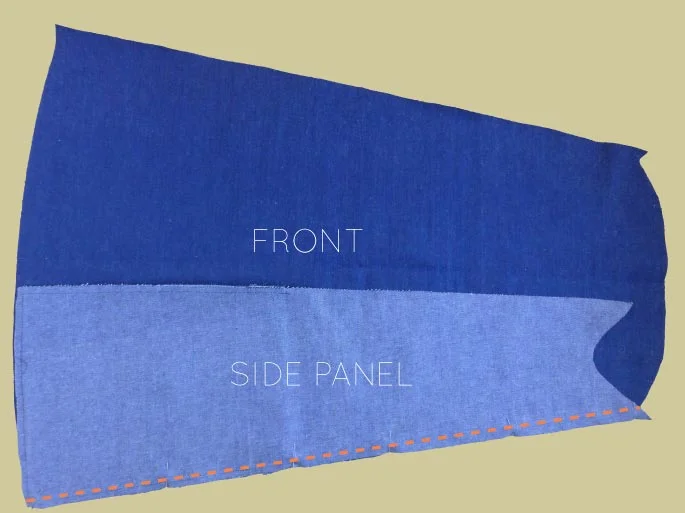
With right sides together, pin the SIDE PANELS to either side of the FRONT. Use the notches to guide you - especially if you are using a slinky fabric that is prone to stretching when cut on the bias! Check that you are attaching the edge of the SIDE PANEL that has single notches. Stitch each seam with a 15mm (5/8in) seam allowance, and finish the seam.
Attach the back
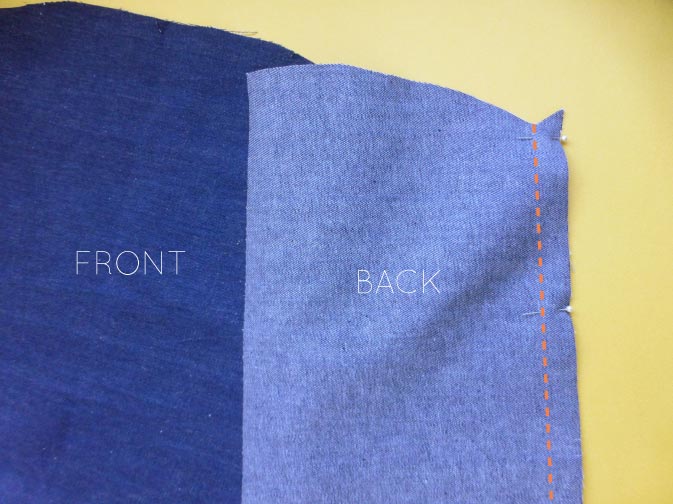
With right sides together, pin the open side of each SIDE PANEL to the corresponding BACK PANEL (you will know which one is which by looking at the notches). Stitch seams with a 15mm (5/8in) seam allowance. Finish the seam.
Press
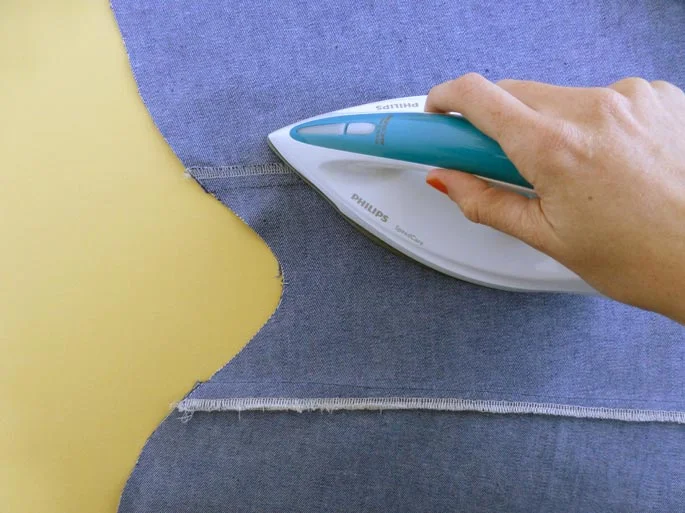
Press the seams away from the SIDE PANEL. The seam allowances should match up nicely with the curve.
Well that's all for today! Tomorrow we will be getting onto the sleeves, so stay tuned.