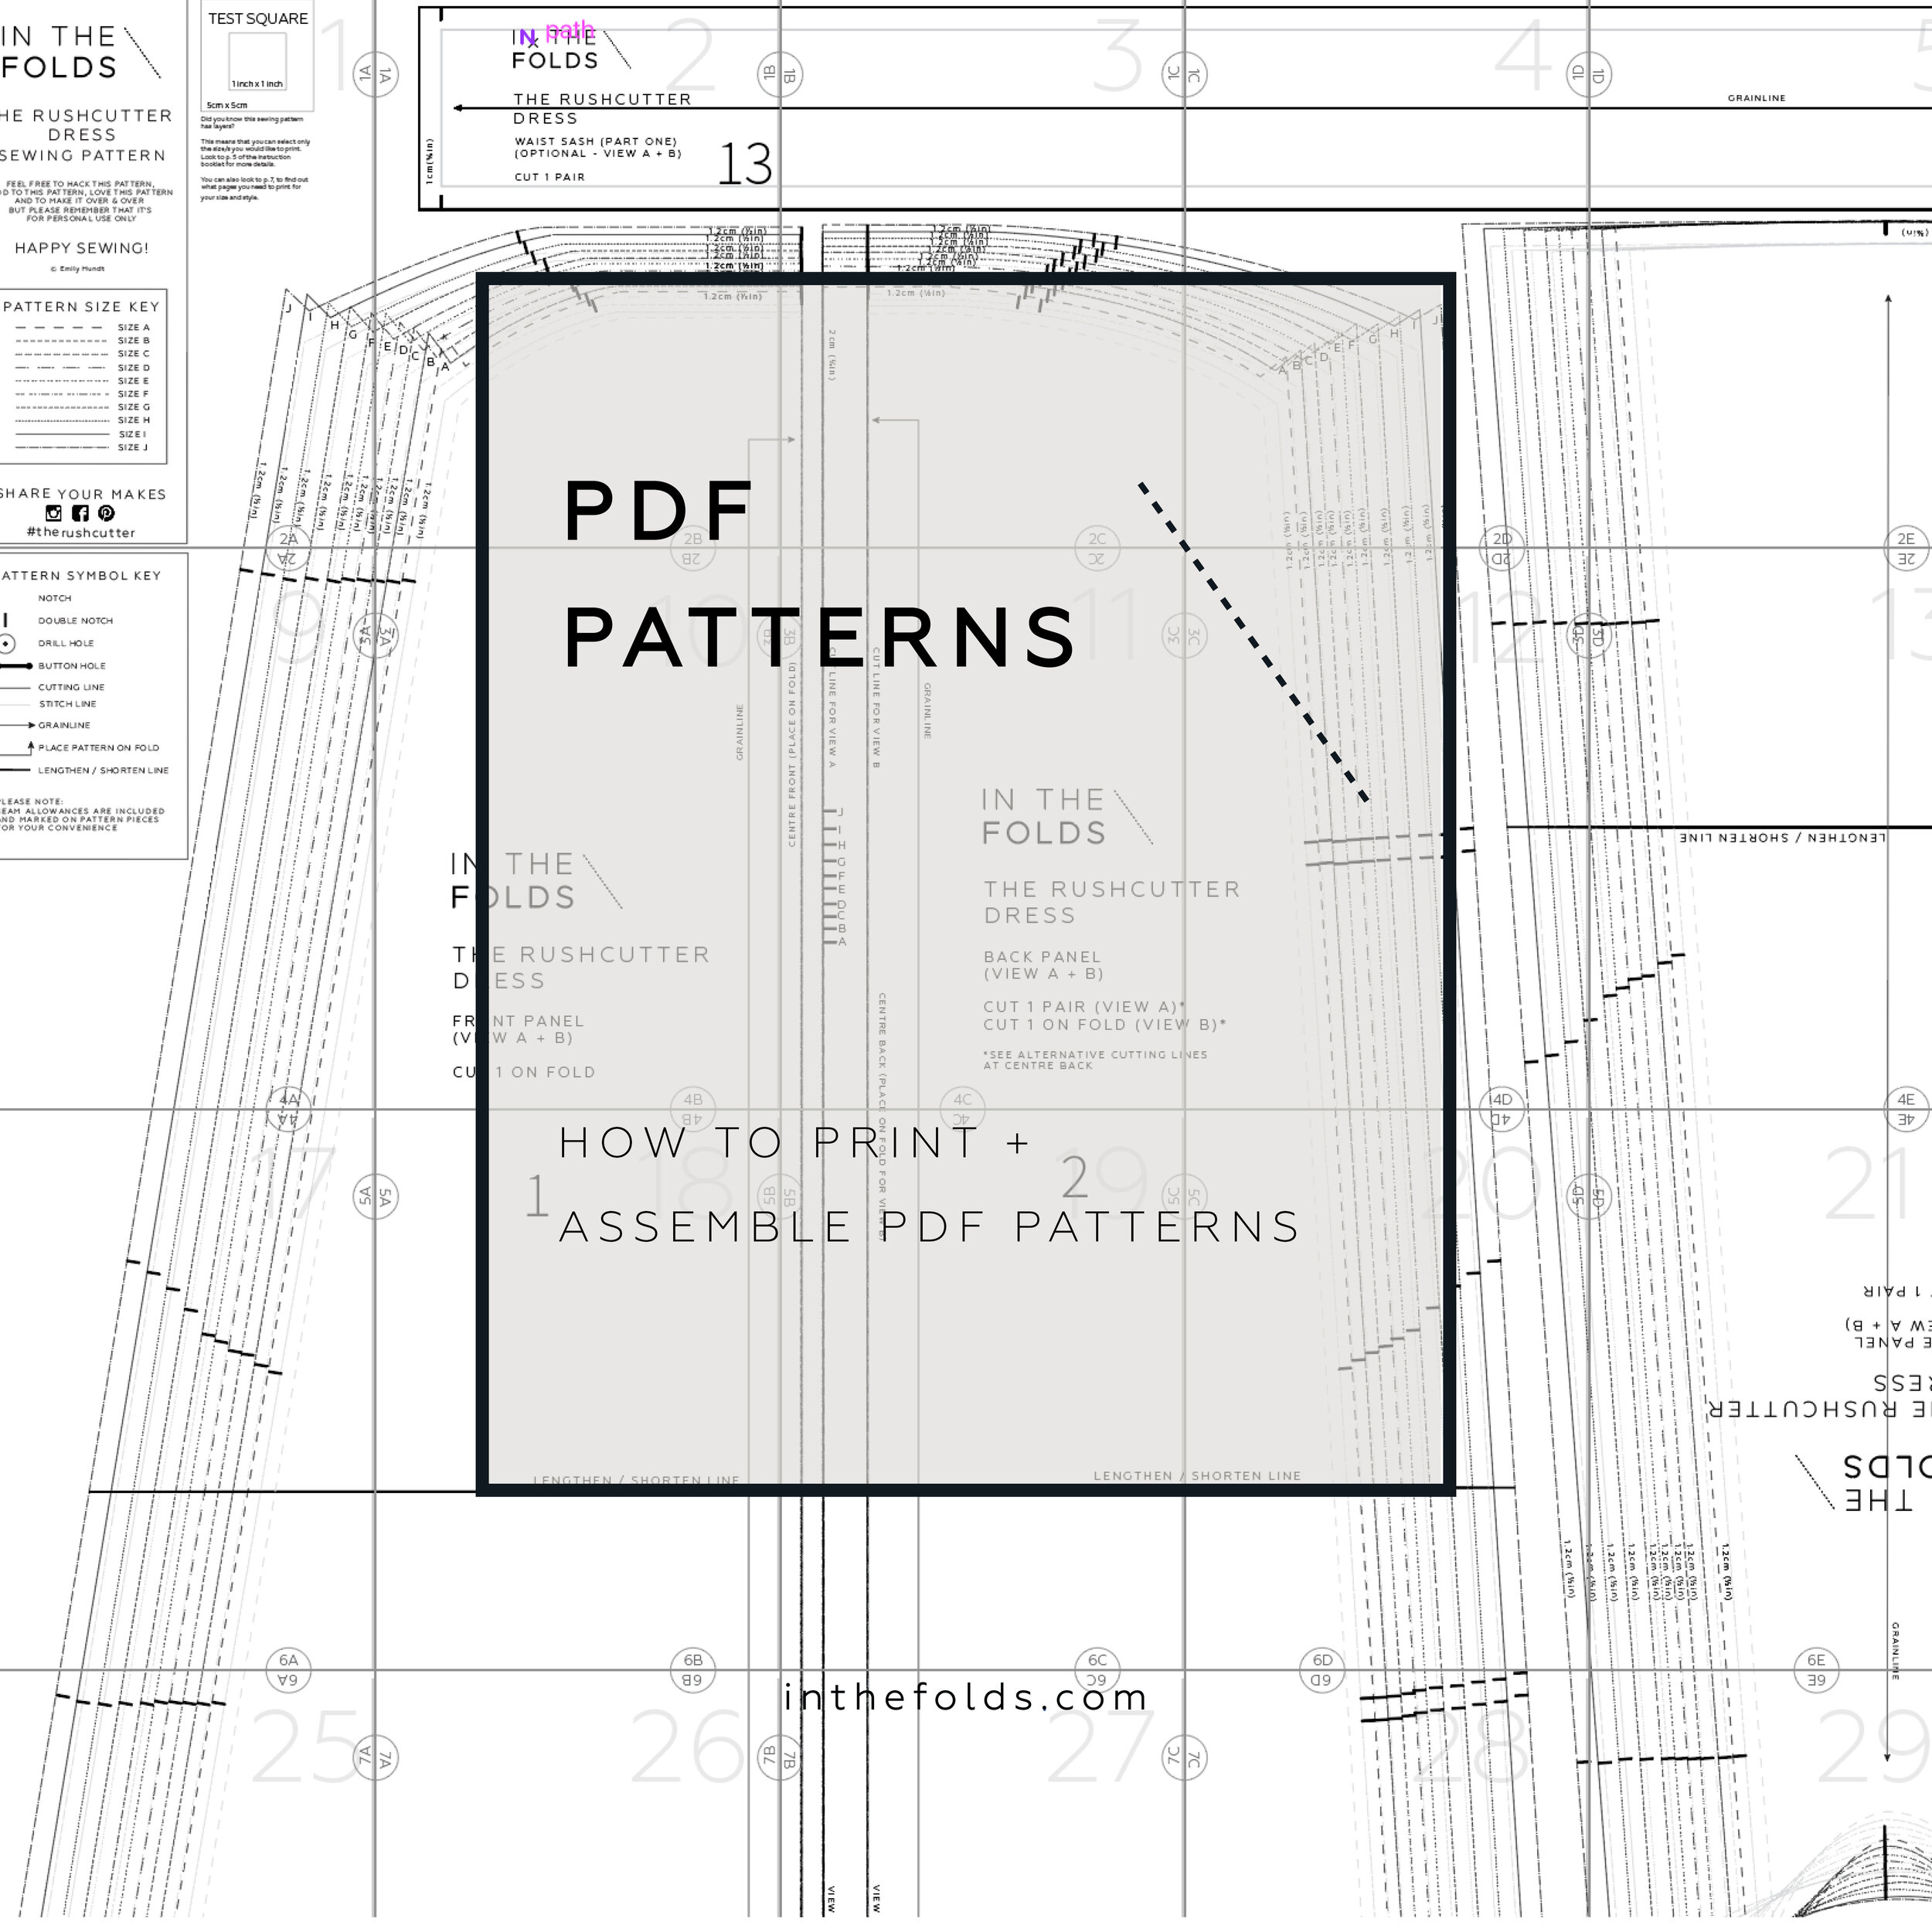
Today in the Rushcutter sew-along, it's time to print out our PDF pattern!
Some of you may already have the printing, trimming and cutting of PDF patterns down to a fine art, but for those of you who hear the phrase 'PDF pattern' and shudder, I'm going to show you that it's not too bad at all!
Opening the file
Download the pattern to your desktop and save it (this way you will be able to access it whenever you want).
The file is a zip file. This reduces the size of the file so that all elements are compressed together and can be delivered to you quickly. You will need to open (or unzip) the compressed folder so that you can access what’s in the folder.
When you buy the Rushcutter dress pattern, you will receive four different files inside the pattern folder:
A read me file that gives you an introduction to what is included in the pattern
The pattern - in both print-at-home (A4 / US letter size) and copy shop format (A0 / US 36” wide printing)
The instruction booklet
Open the PDFs in your preferred PDF viewer. I use Adobe Acrobat (if you don’t have it, you can download it for free here).
How to use layers
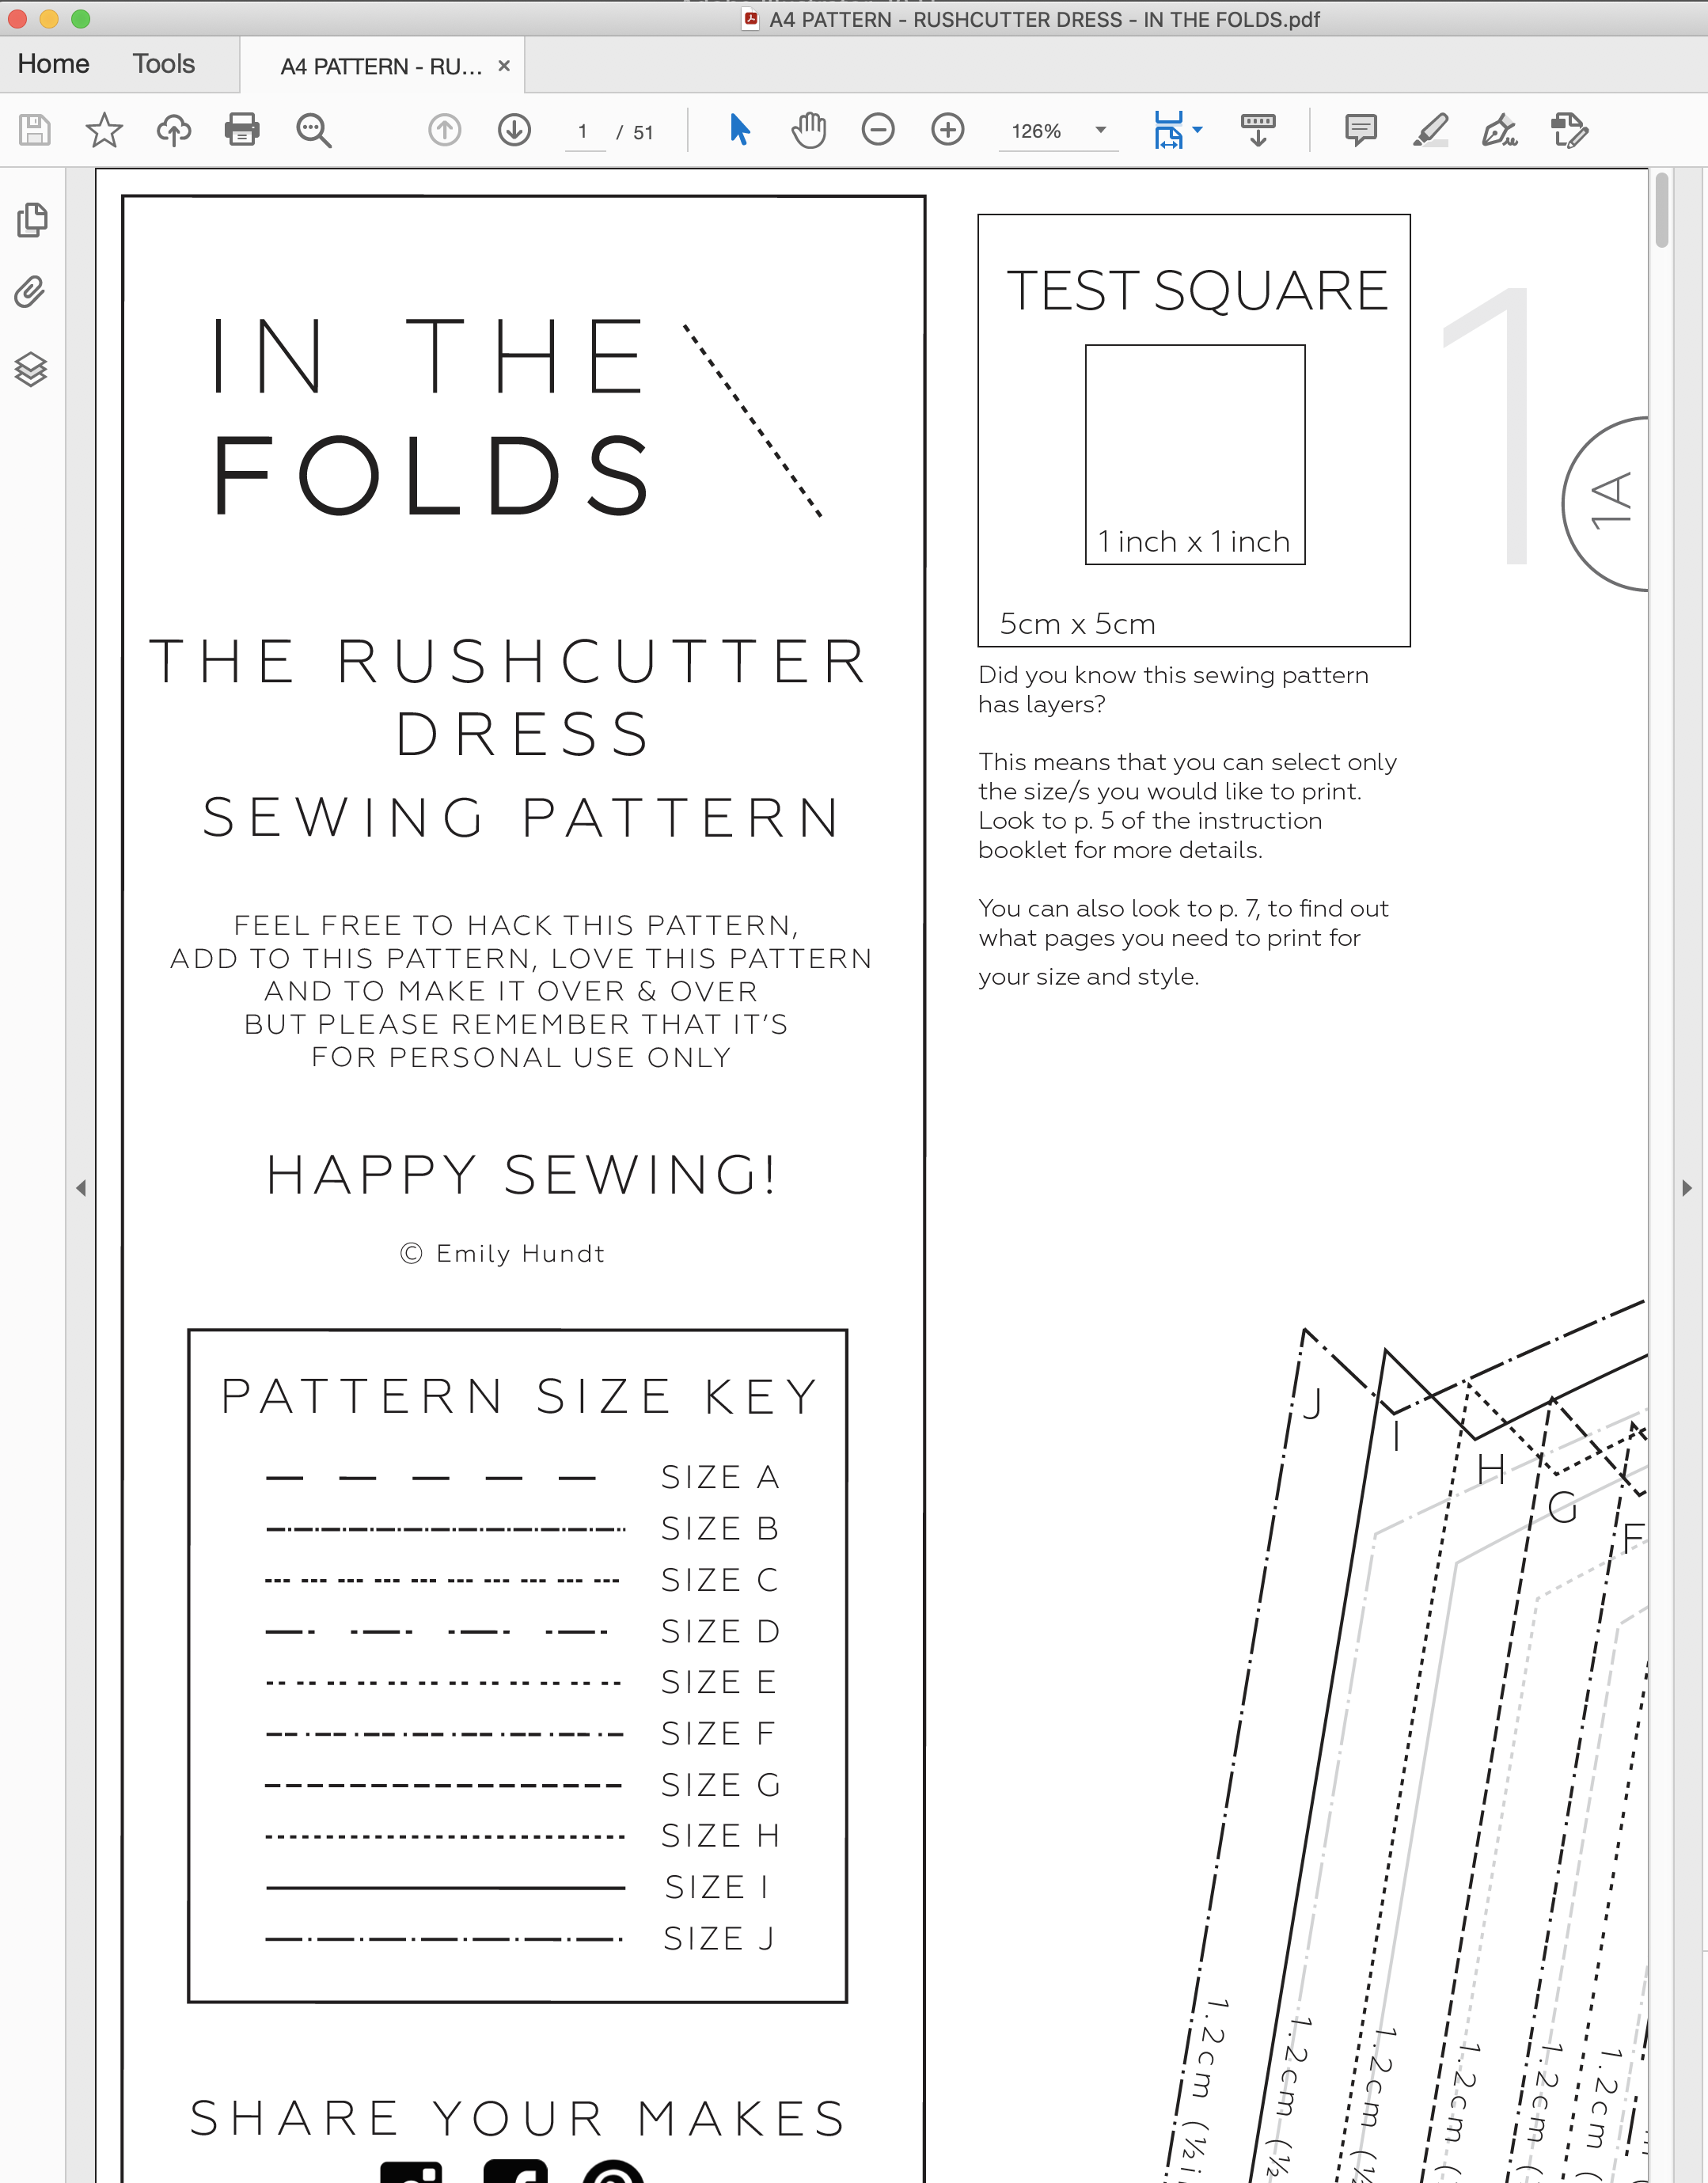
The pattern has been designed to have layers embedded. This means that you can select only the size (or sizes) you would like to print. Layers make it much less confusing to cut out the pattern, and also saves on ink (and paper in some cases).
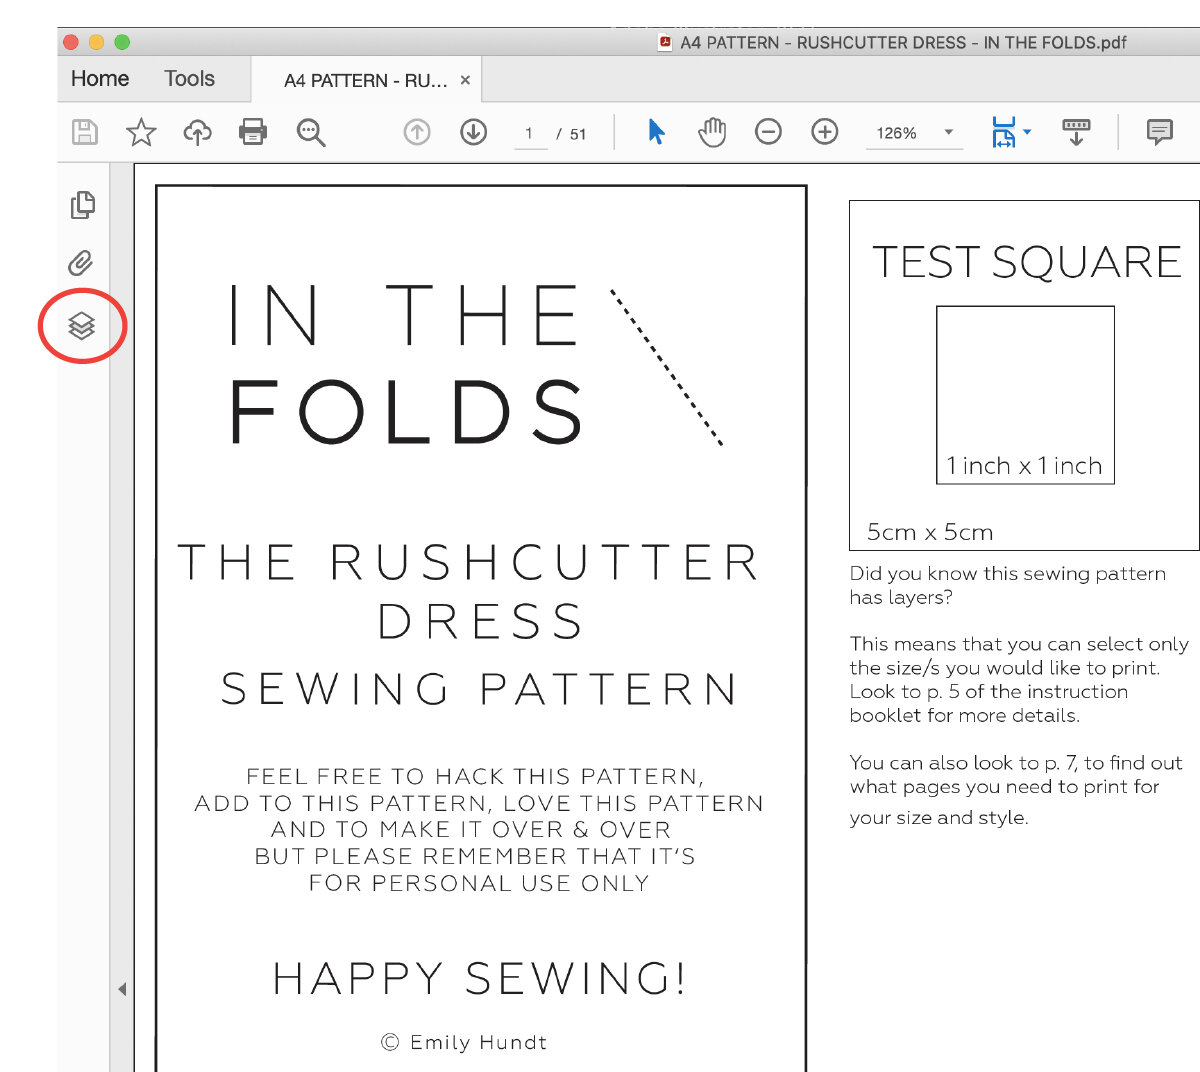
When you have the pattern file open in Adobe Acrobat, look to the left hand side of the screen. You will see a vertical panel with a few options available. Click on the icon that is called ‘Layers’ (third one down). This will open up your layers panel, so you can see what layers are available in the file.

You will see that there is a separate layer for each of the available sizes. The ‘PATTERN INFO’ layer has all the elements that are the same between sizes, such as the page numbers, the pattern key and the grainlines and pattern labels. There is an eye icon next to each layer, and this lets you know whether the layer is visible or not.

Turn off (by clicking on the eye) all the layers you don’t require. Remember to keep the ‘TAGS,’ ‘GRID’ and ‘PATTERN INFO’ layers on for all sizes.
Printing the pattern
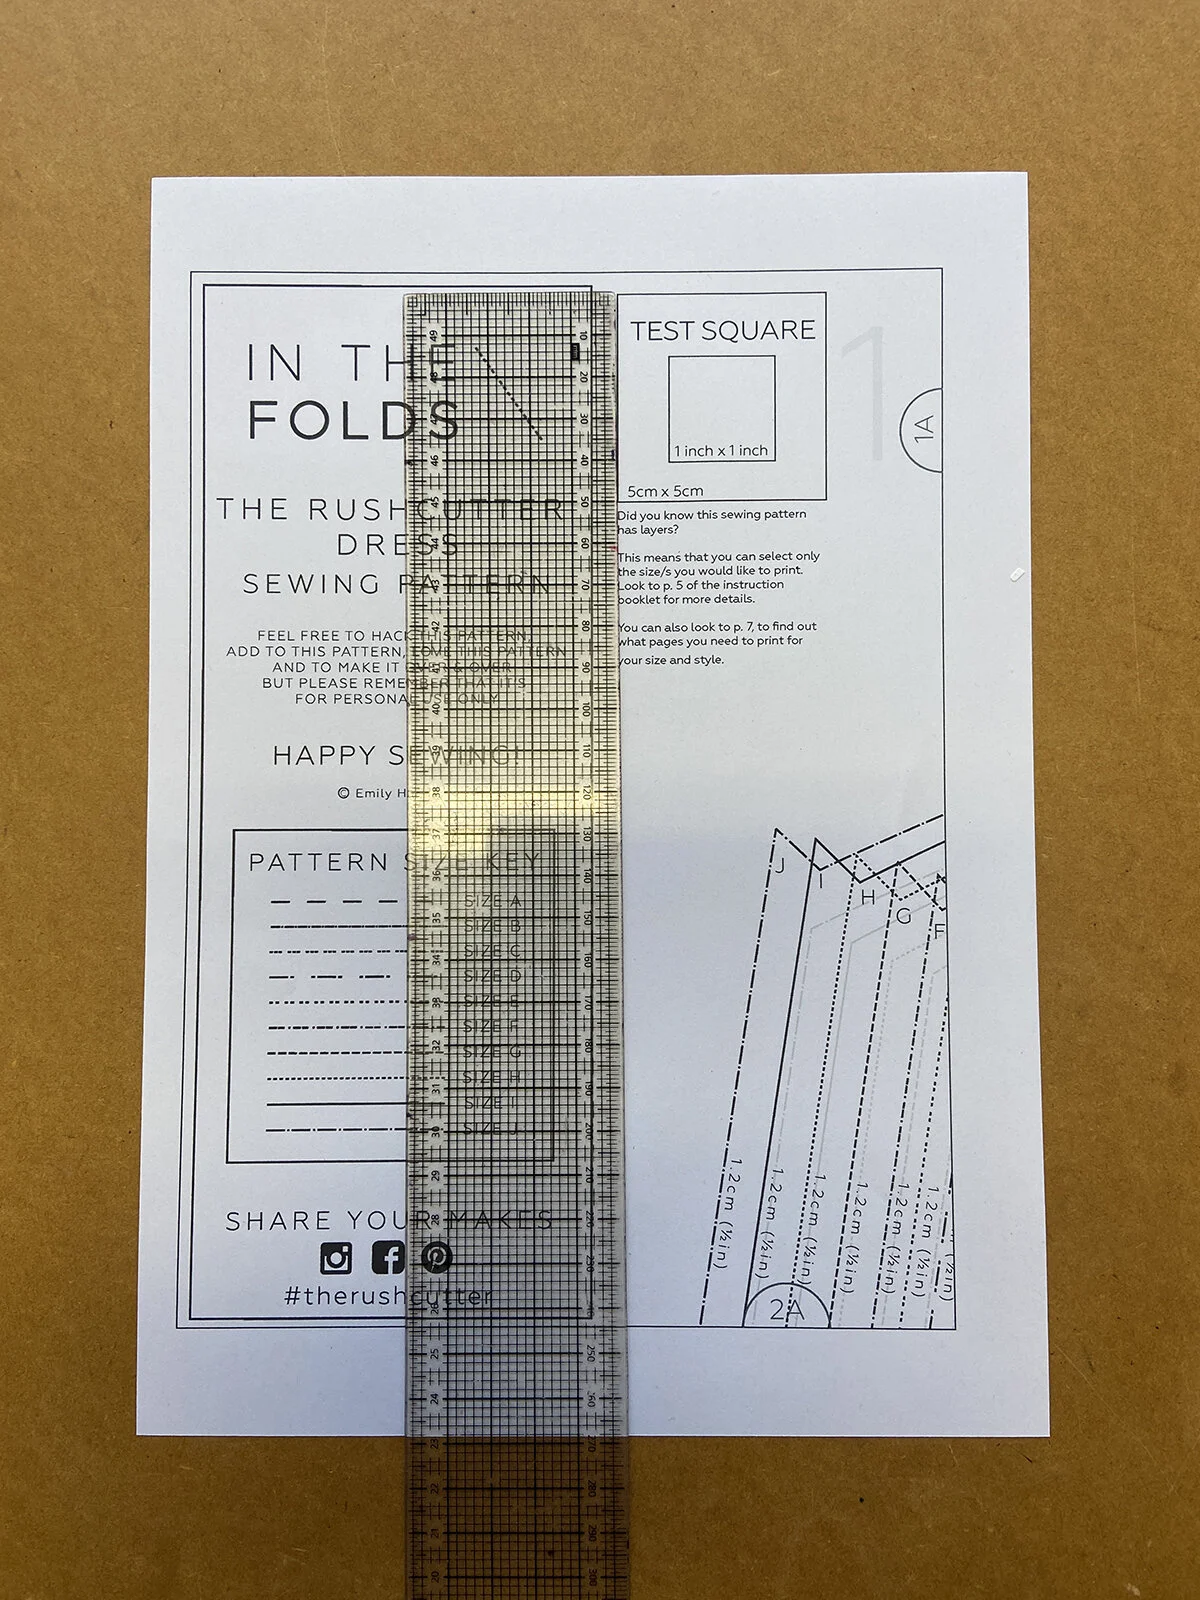
Before printing the file, you will need to check the scaling settings on your printer.

You want to print the pattern at its true scale (the scale it was designed in). To do this, go into your print settings and select “actual size” or set page scaling to ‘none’ or ‘turn off page scaling.’ The wording will depend on your printer and the program you are using to view your PDF.
Checking scaling
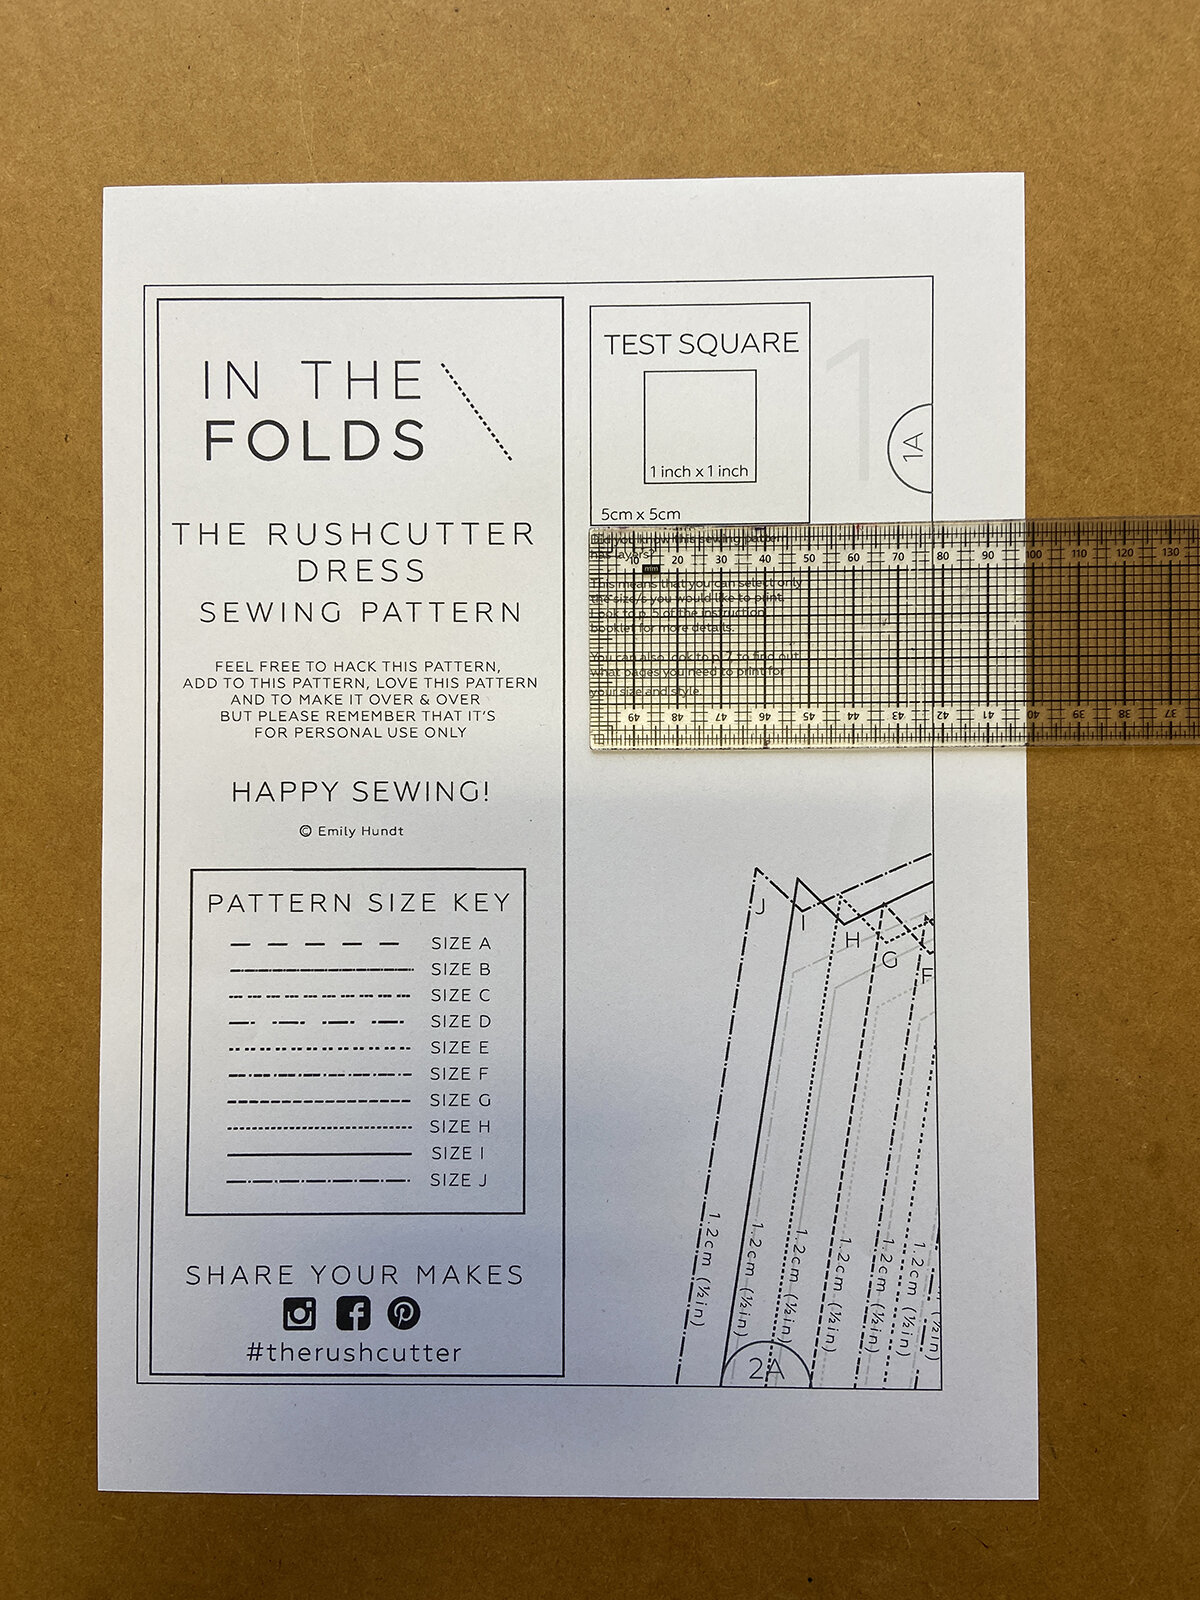
Print only Page 1 of the pattern, and check that the test square measures exactly 5cm x 5cm or 1in x 1in. It really needs to be precise, so if it is not quite right, you will need to go back and check your printer settings again.
Check both the vertical and horizontal measurement of the test square, to ensure the scaling is right in both directions.
When you have the scaling right, you can print the remainder of the pattern. In some cases, you won't need to print all the pages. This will depend on the size and style you have chosen to maker. There is a printing plan in the instruction booklet that you can refer to before printing.
Assemble the pattern
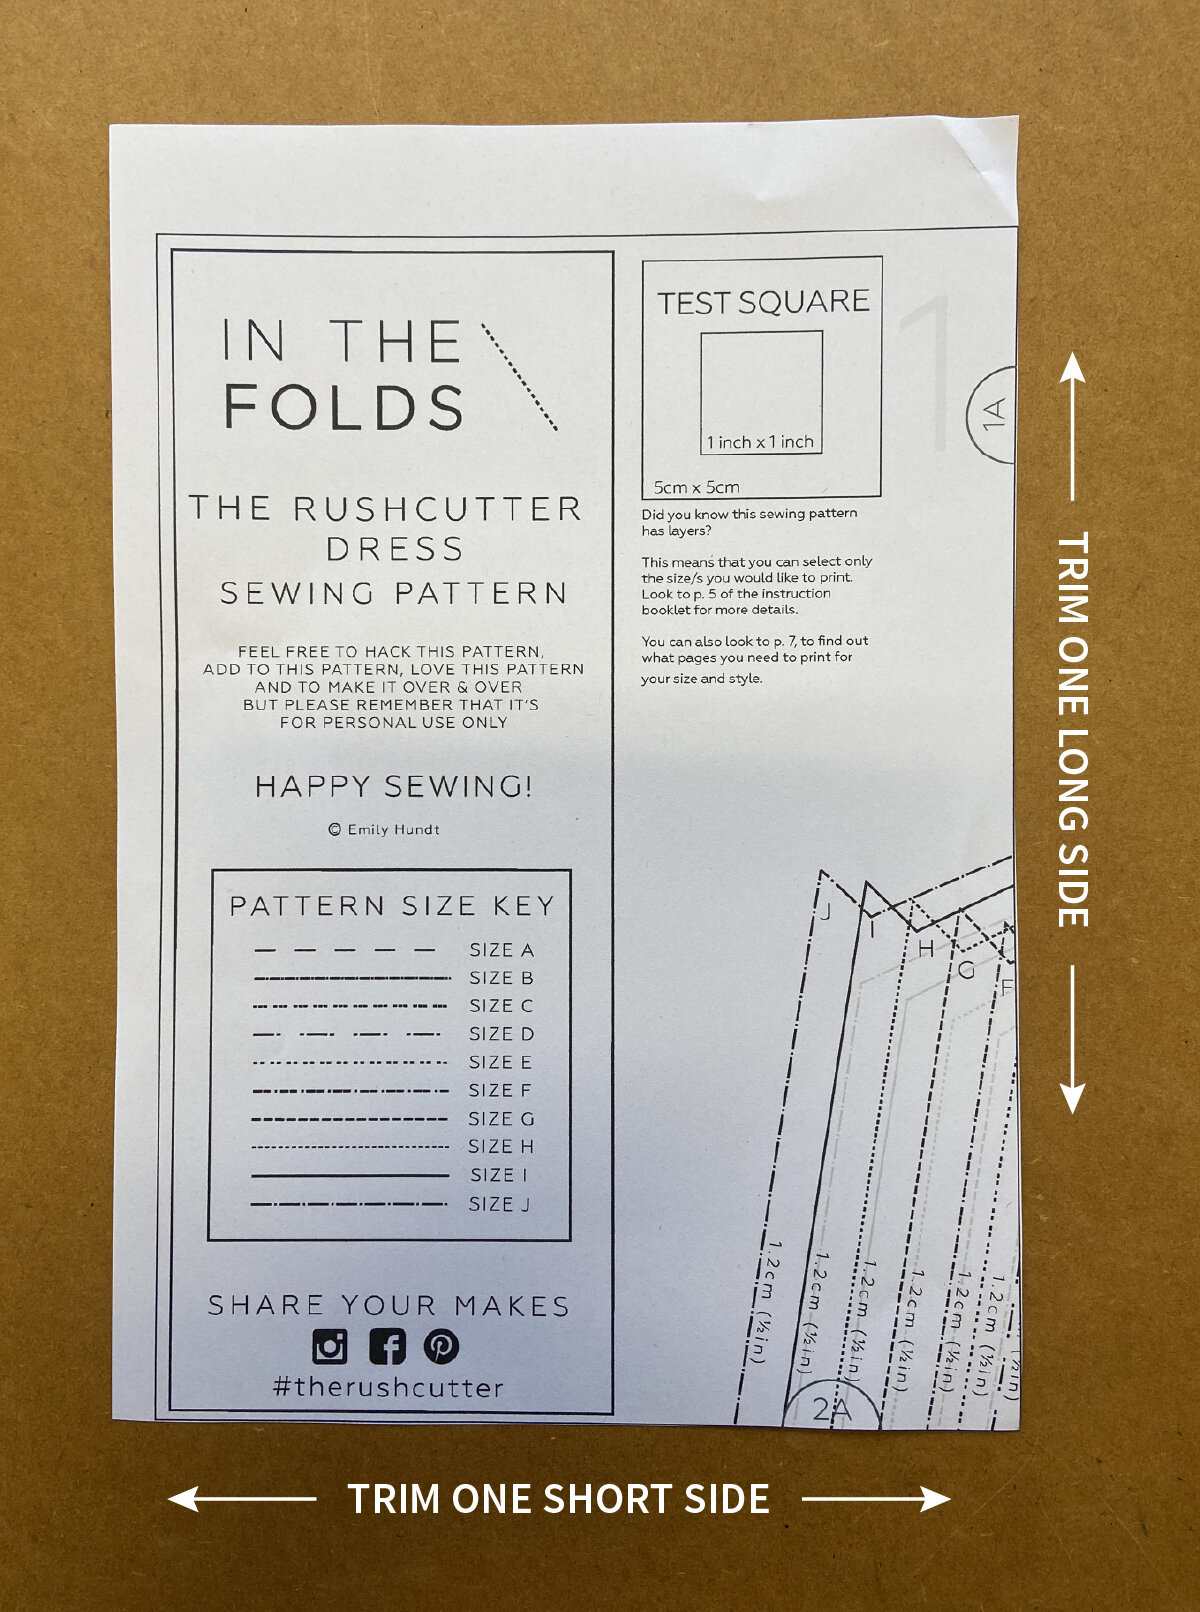
Cut around the border of each page - one long side and one short side (keep your choice of sides consistent between pages).

Align the circles so that 1A matches up to 1A, 2A with 2A etc, and tape or glue in place.
Continue working along the columns and rows until you have attached all pages. Loosely cut around each pattern piece required so that the pieces are easier to manage. And you are ready for cutting!