While doing the sew-along for the Collins Top, I thought it would be a good opportunity to show you how to make a hand-stitched button loop. Although the instructions of the Collins Top call for a bias cut button loop (the tutorial for making that can be found here), a hand stitched button loop could be a beautiful alternative, if you find you've got the time, or would just like a lovely little detail (or even just to learn a new skill)! This tutorial will guide you through making a button loop for the Collins Top, but could be used for any pattern that includes a button loop.
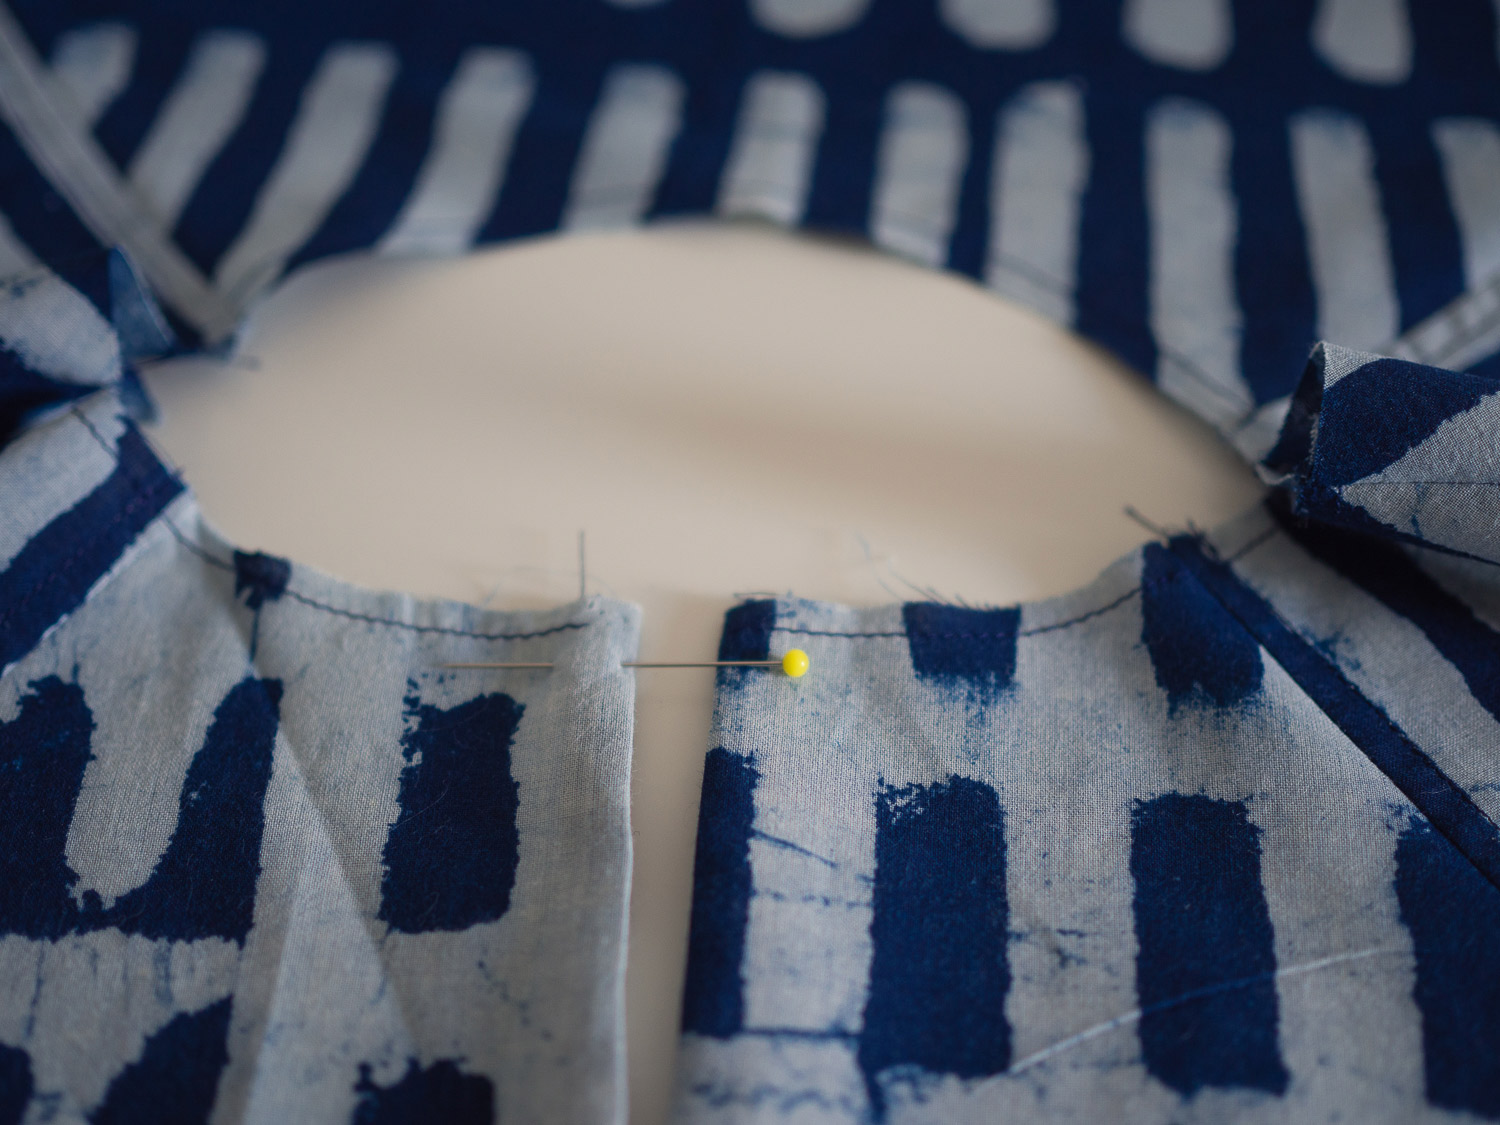
Take the top and place it right side up, with the shoulder seams flat. Turn back the right side of the centre back opening, so that you can access the left side. Place a pin horizontally 1cm (⅜in) down from the neckline to mark the position of the button loop.

Thread a hand needle and tie a knot in the end. You can choose to use a thick thread (what we used for this tutorial), or you can double thread your needle so that you have four strands of thread.
Put your needle through the fabric from the wrong side, at the point where the pin marks the button loop location.

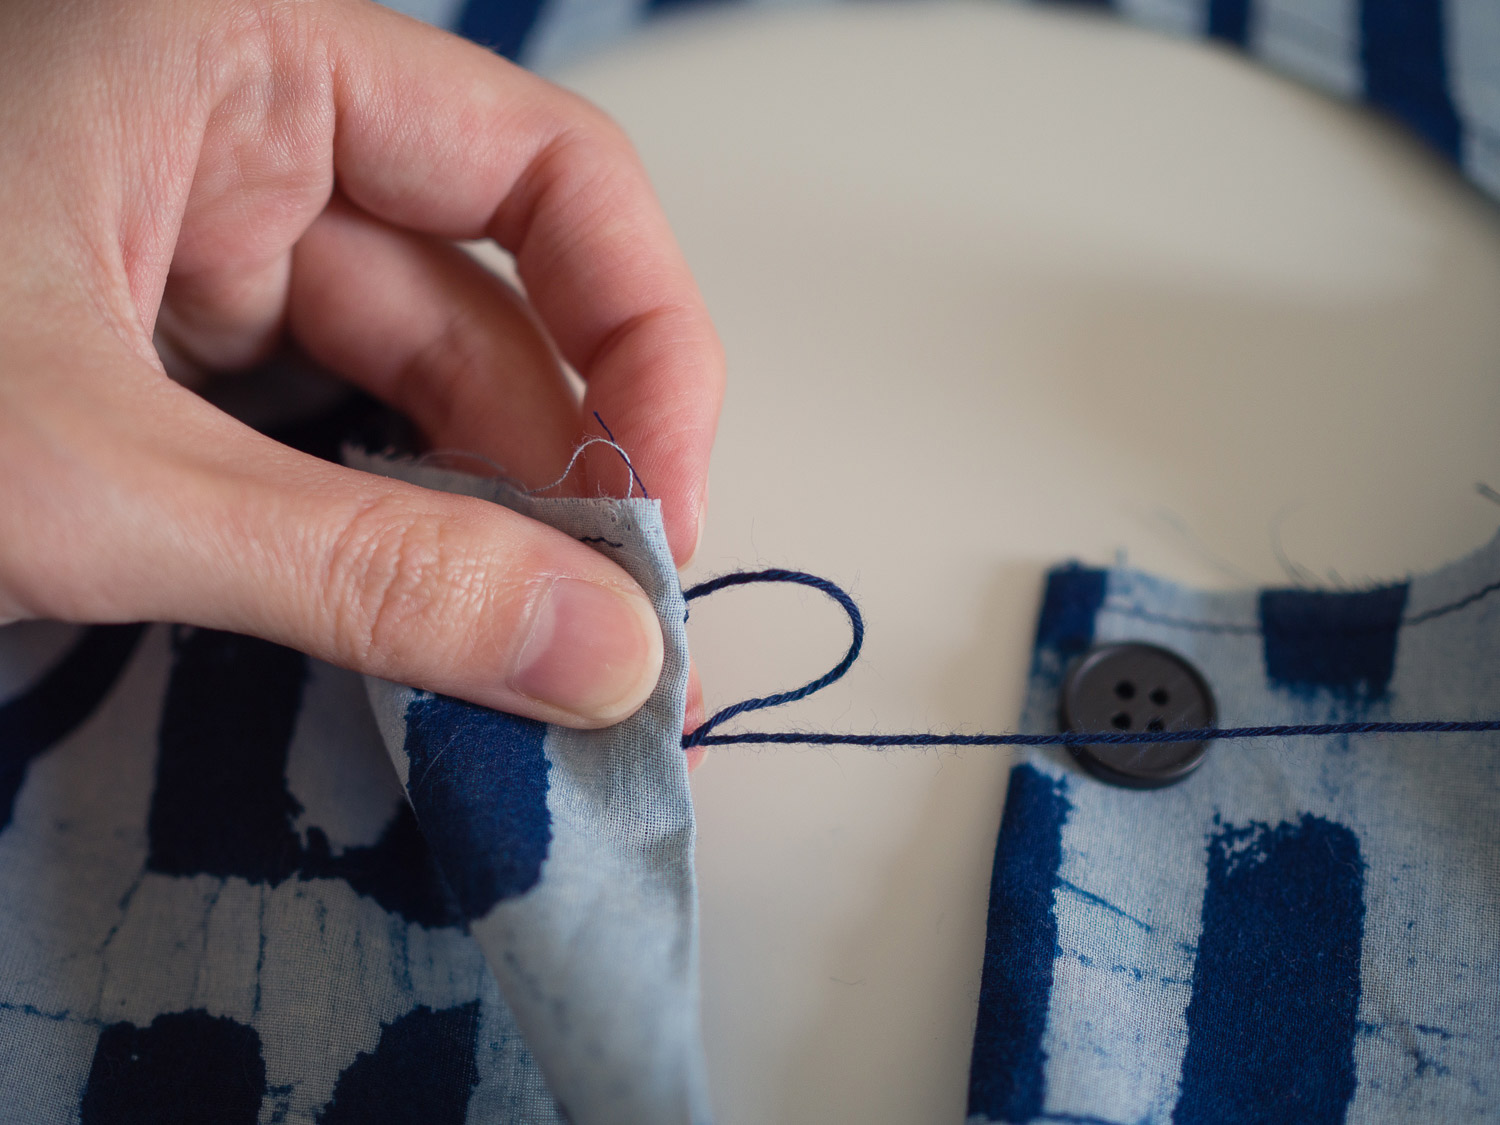
Position your button where it will be sewn and loop your thread around it, to work out the amount of thread you require for your loop.

Insert your needle into the fabric on the same side that you started, but about 1cm (3/8in) down from where you started, creating a loop (although this distance will depend on the size of your button). For example, if your button is only 5mm, then the top and bottom of your loop should only be about that far apart.

Being careful to hold your loop of thread firmly (so it remains the correct size), flip your fabric to the wrong side (the side that your thread is now on).

Still holding the loop firmly, put your needle back in the fabric, close to the point where your thread came through.
Pull the thread through to the right side of the fabric.
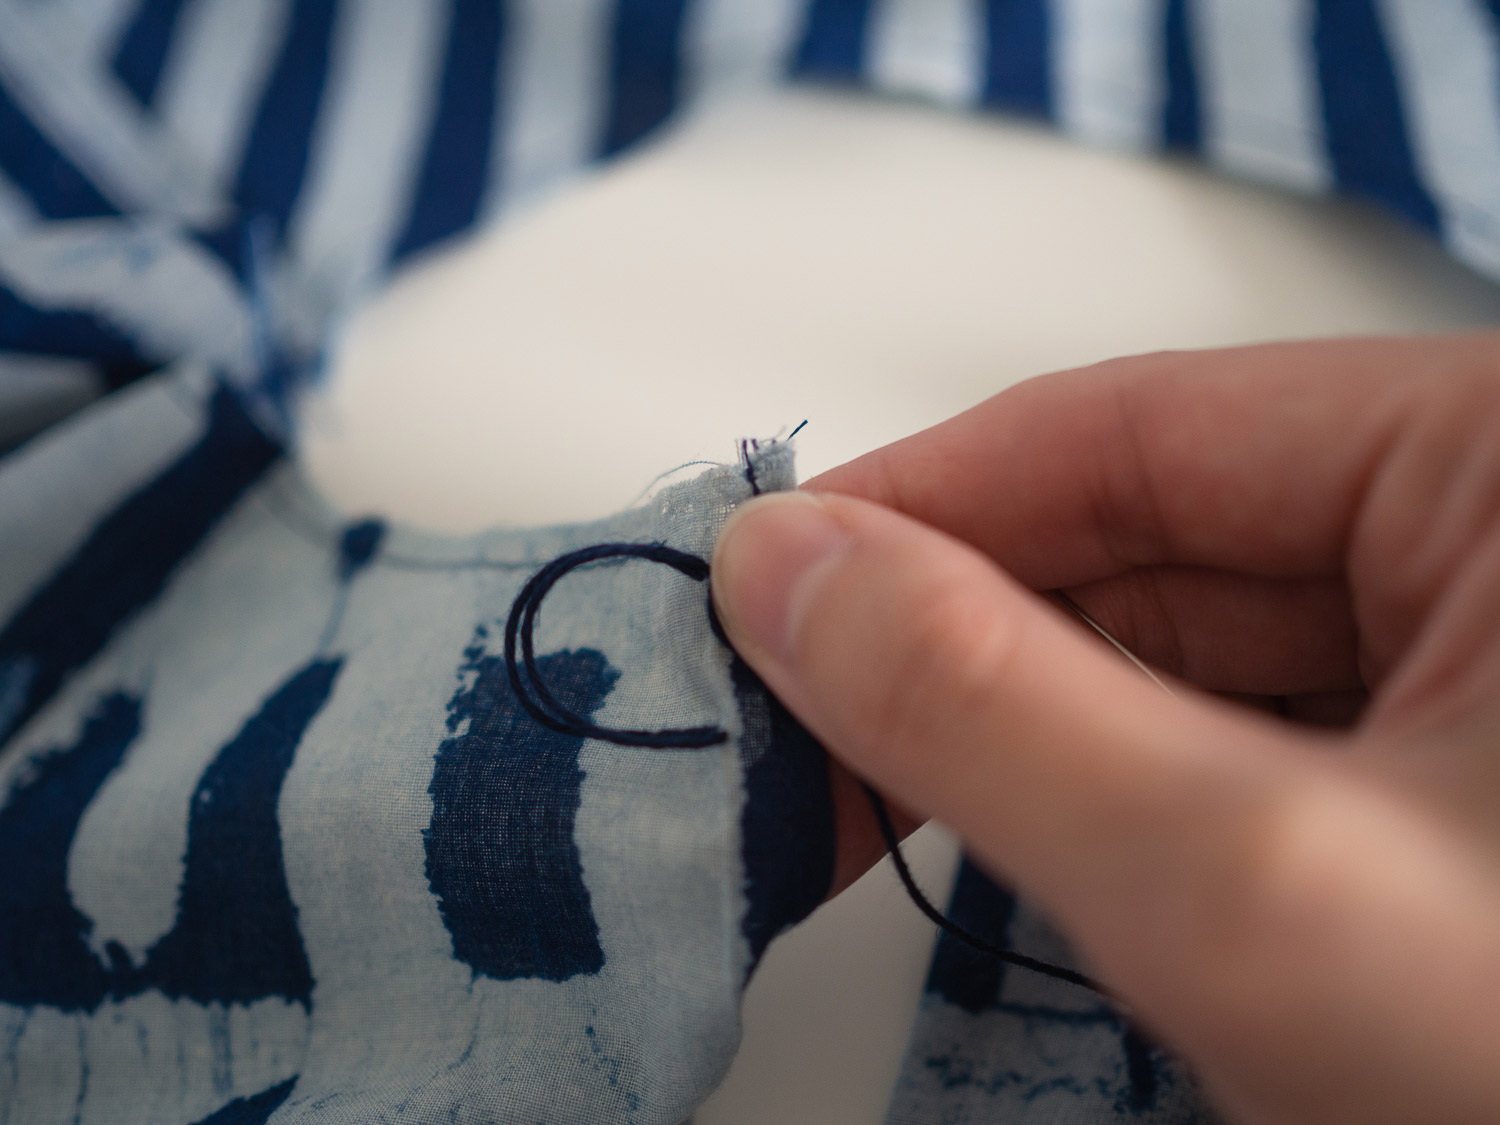
Take your thread back to the point where you started, creating a second loop. Make a small knot on the inside of the garment to secure the loop.
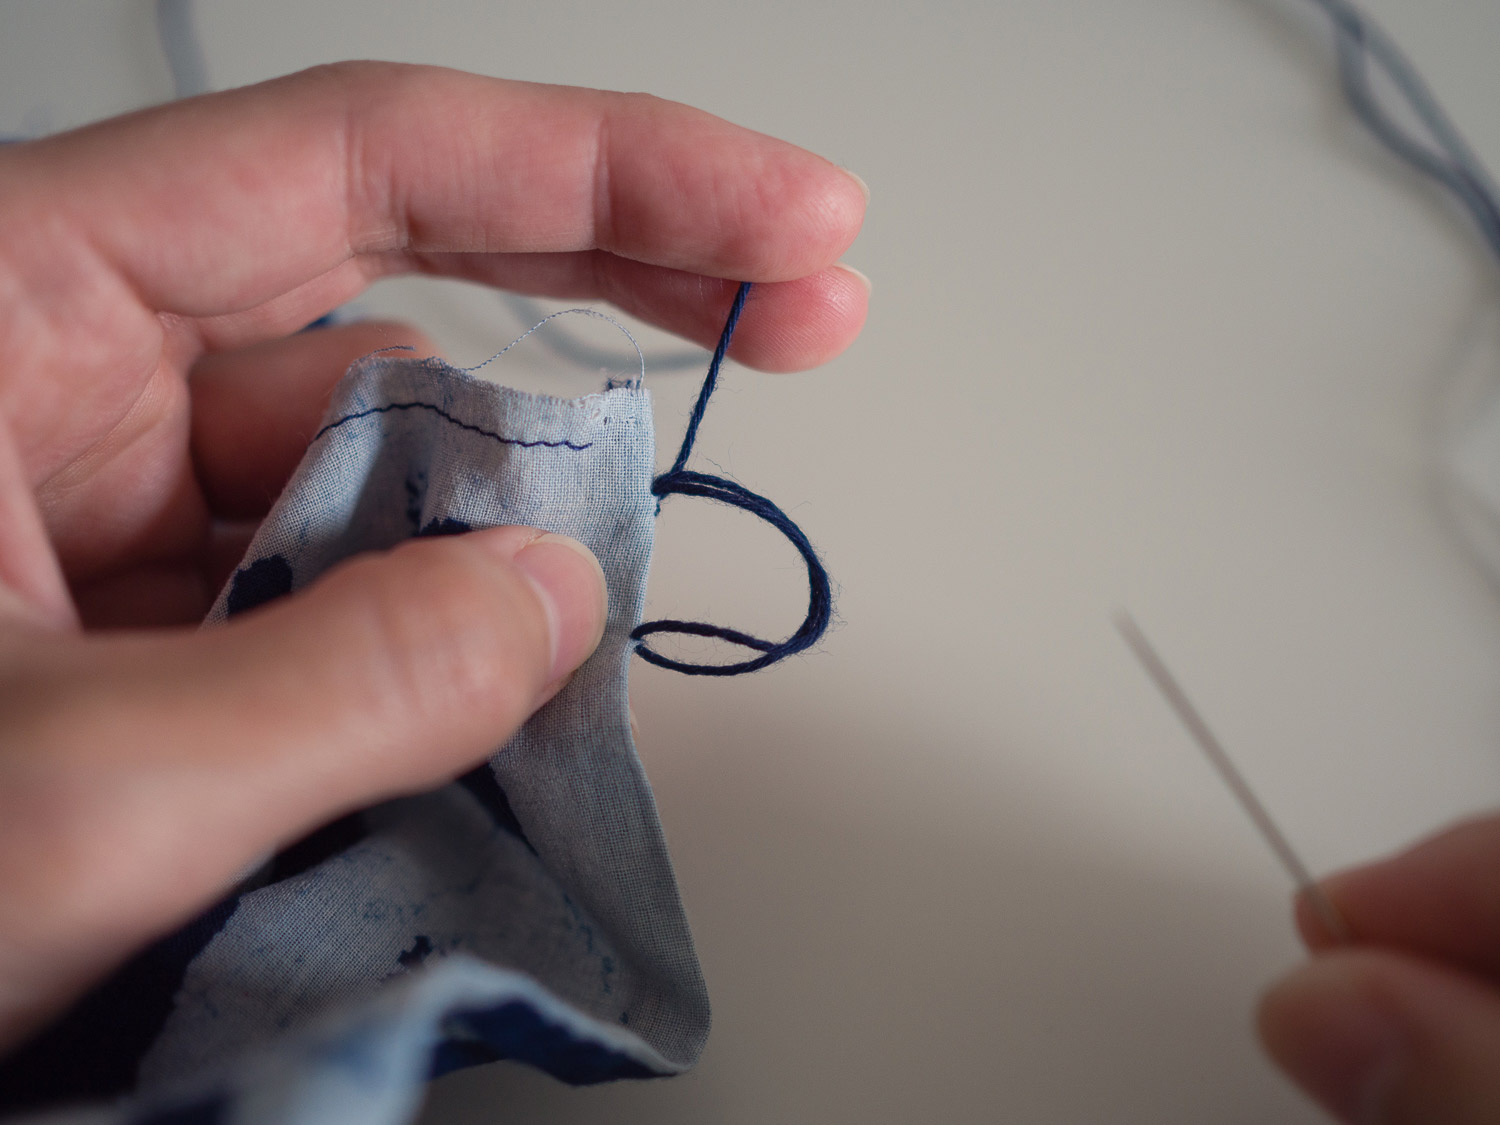
Bring the needle (and thread) back to the right side of the garment. You are now going to make your button loop using blanket stitch around your loops.

To form a blanket stitch, insert your needle into the button loop, creating a circle with the remaining thread. Once the needle is through the button loop, put it over the thread of the circle.
This is quite a difficult process to describe in photos, so if you are new to this technique or stitch, check out this youtube video.
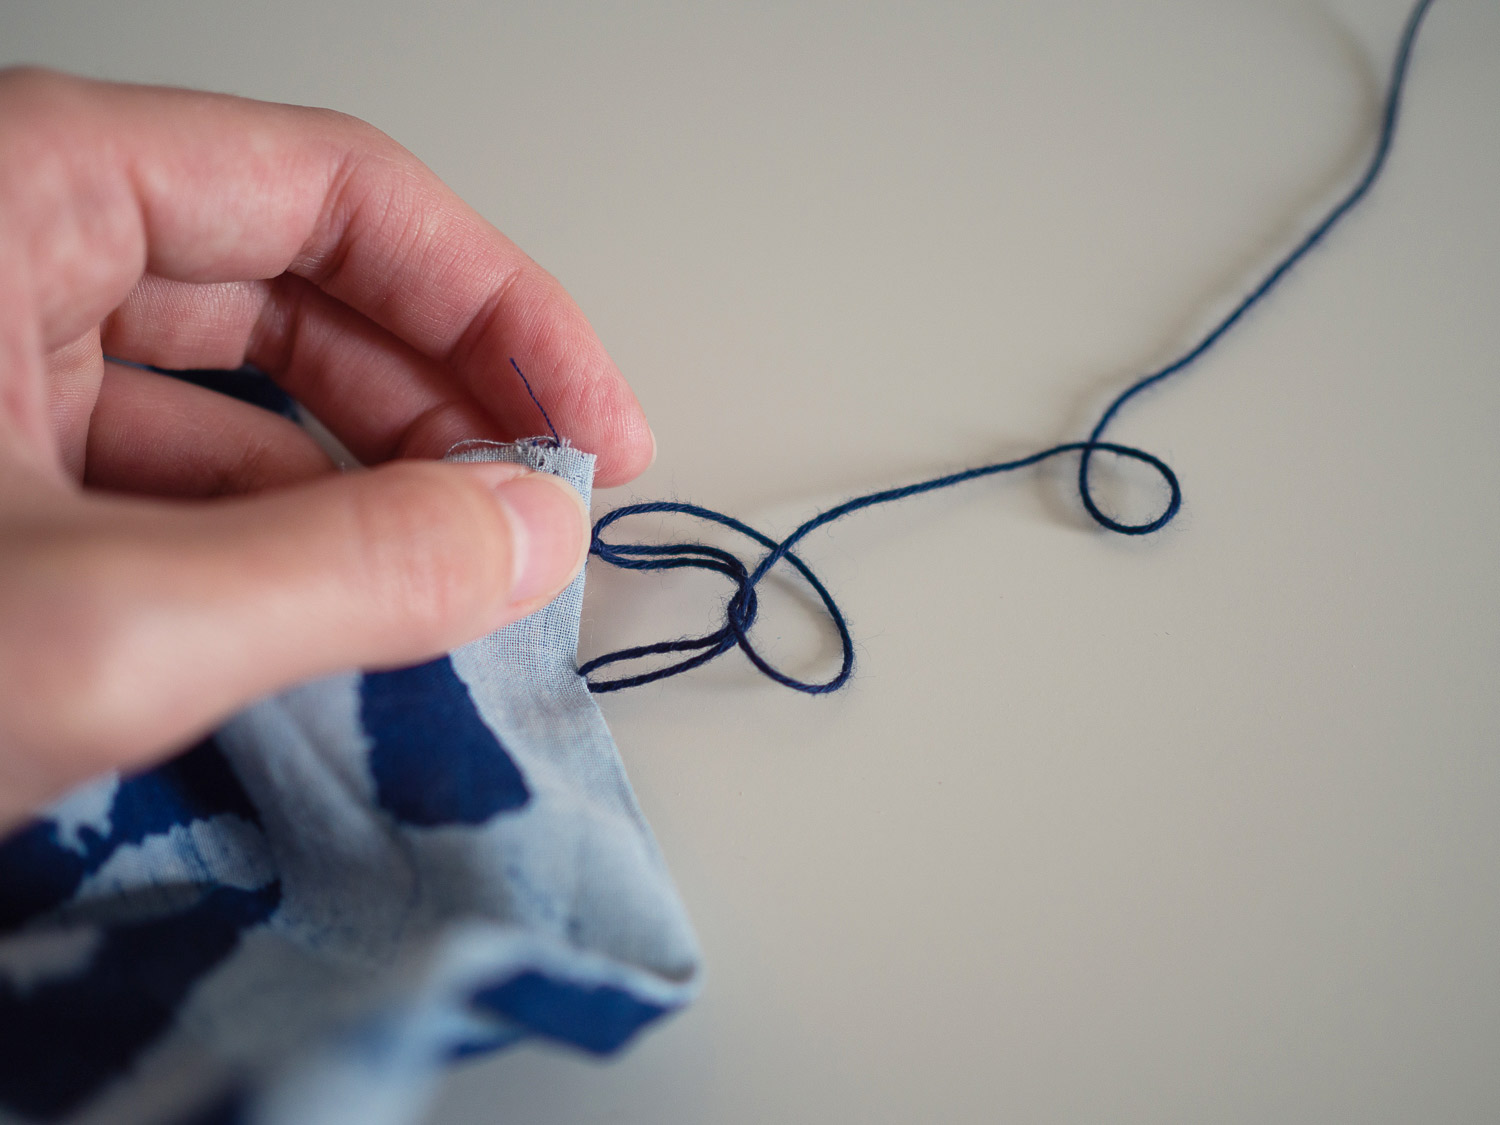
Pull the thread tight to form your stitch.
Once the stitch is formed, push it to the base of the loop.
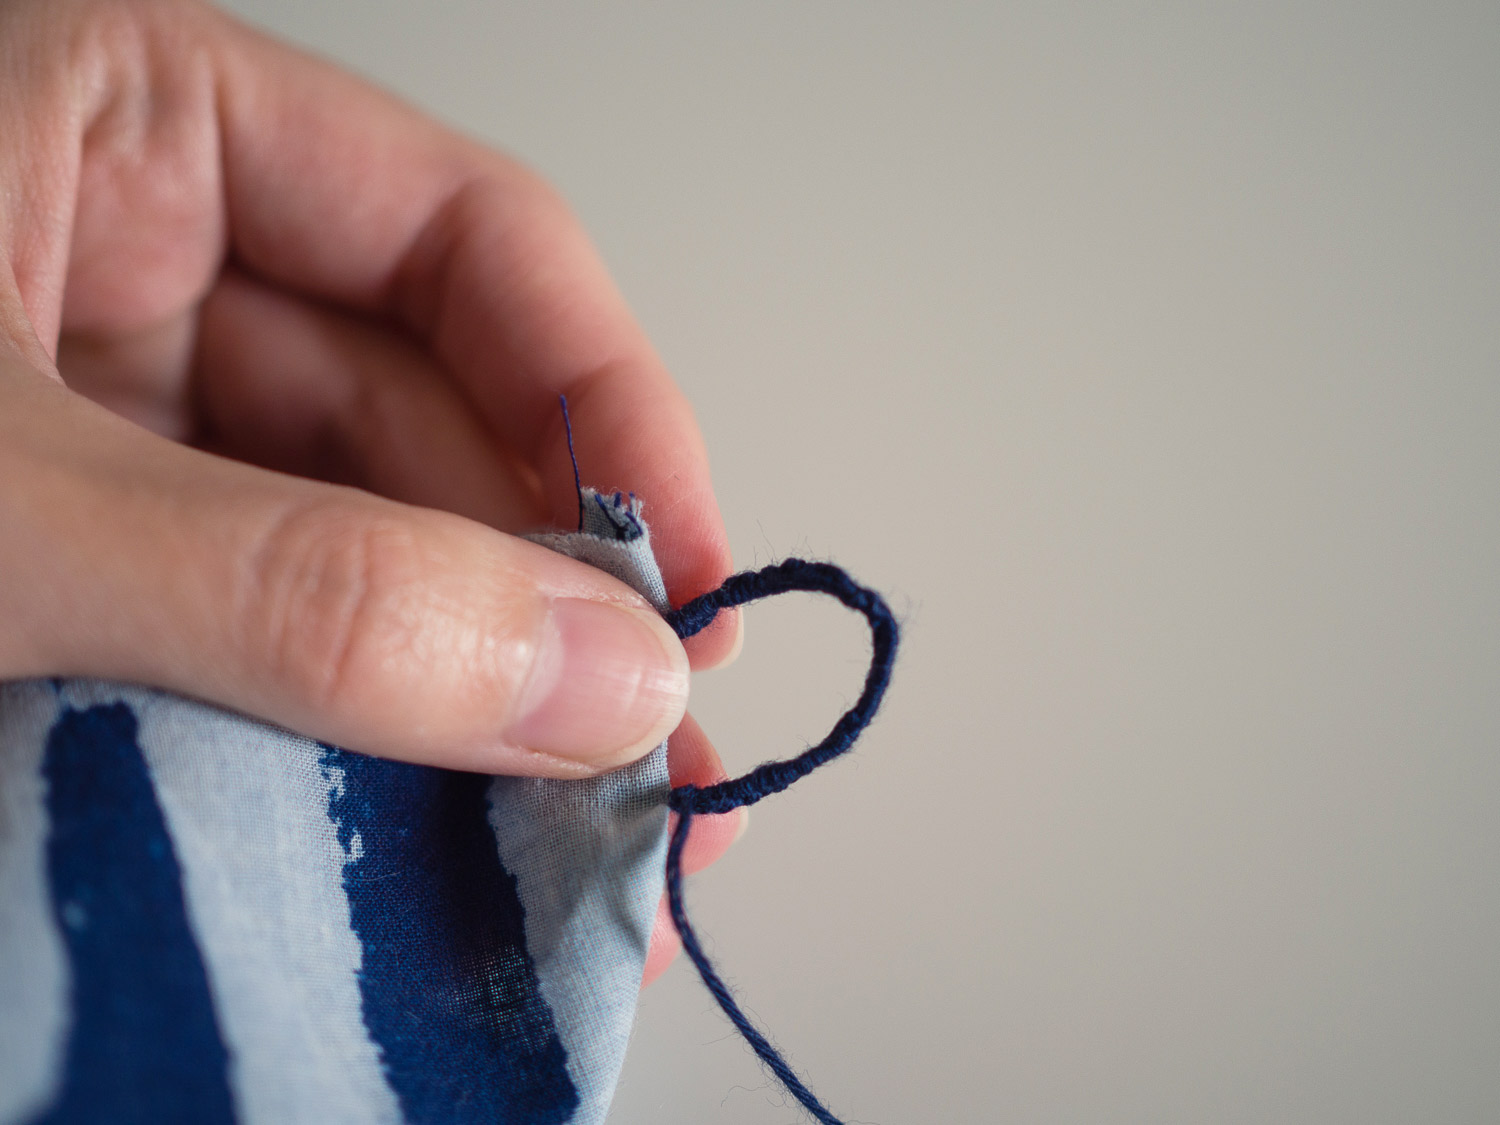
Continue making blanket stitches, stacking one on top of the next, until you reach the end of the loop.

Take your needle and thread to the inside of the garment and then secure the thread with a knot.

And there you have it. A beautiful button loop to give you a very beautiful finish!
Again, if you would prefer the quicker button loop, check out this tutorial.