
THE Q & A SERIES
HOW TO LOWER THE COLLINS TOP ARMHOLE
Hi Emily,
I would like to lower the armhole on the Collins top with sleeves. I found a tutorial on the sleeveless version but could not find one for the version with sleeves.
Could you help me please?
Thank you so much in advance!
M
Hi there!
We love it when our customers ask us how to customise their makes to fit their own unique bodies and measurements. We also know how uncomfortable it is when a garment cuts in under the arm, so we’re very happy to be able to answer this question!
HOW TO CHECK IF YOU NEED TO LOWER THE ARMHOLE
Before we get started, I think it’s worth checking that you are sure this is the alteration you need. I raise this, because this same fit issue could be caused by the need to add length between the shoulder and the bust line. This adjustment also lowers the position of the armhole and could correct the problem.
The best way to work out if you need this adjustment in a garment is to check where the dart is sitting. If it's sitting too high then that's a pretty good indication that length is required. If not, then you're right and just lowering the armhole should do the trick.
In the case of the Collins top (which doesn’t have a dart) I would say to consider your wardrobe in general. Do you often have problems with armholes cutting in? If so, then it’s likely that you need to add length between the shoulder and bust line, rather than lower the armhole specifically.
Some of our Curated by ITF members have realised, through the process of learning to fit clothes specifically to their unique body measurements, that this is a consistently needed adjustment, and it has become one of their standard adjustments when making clothes for themselves.
If the problem of armholes cutting in is not a common issue for you, then read on!
HOW TO LOWER THE ARMHOLE ON THE COLLINS TOP (VIEW A)
Because of the puzzle element of the Collins top (which happens to be one of most loved parts of this pattern!) we know it might feel a little daunting to attempt fit alterations, but as with anything, if you just take it step by step, you’ll have no trouble at all.
Here you go!
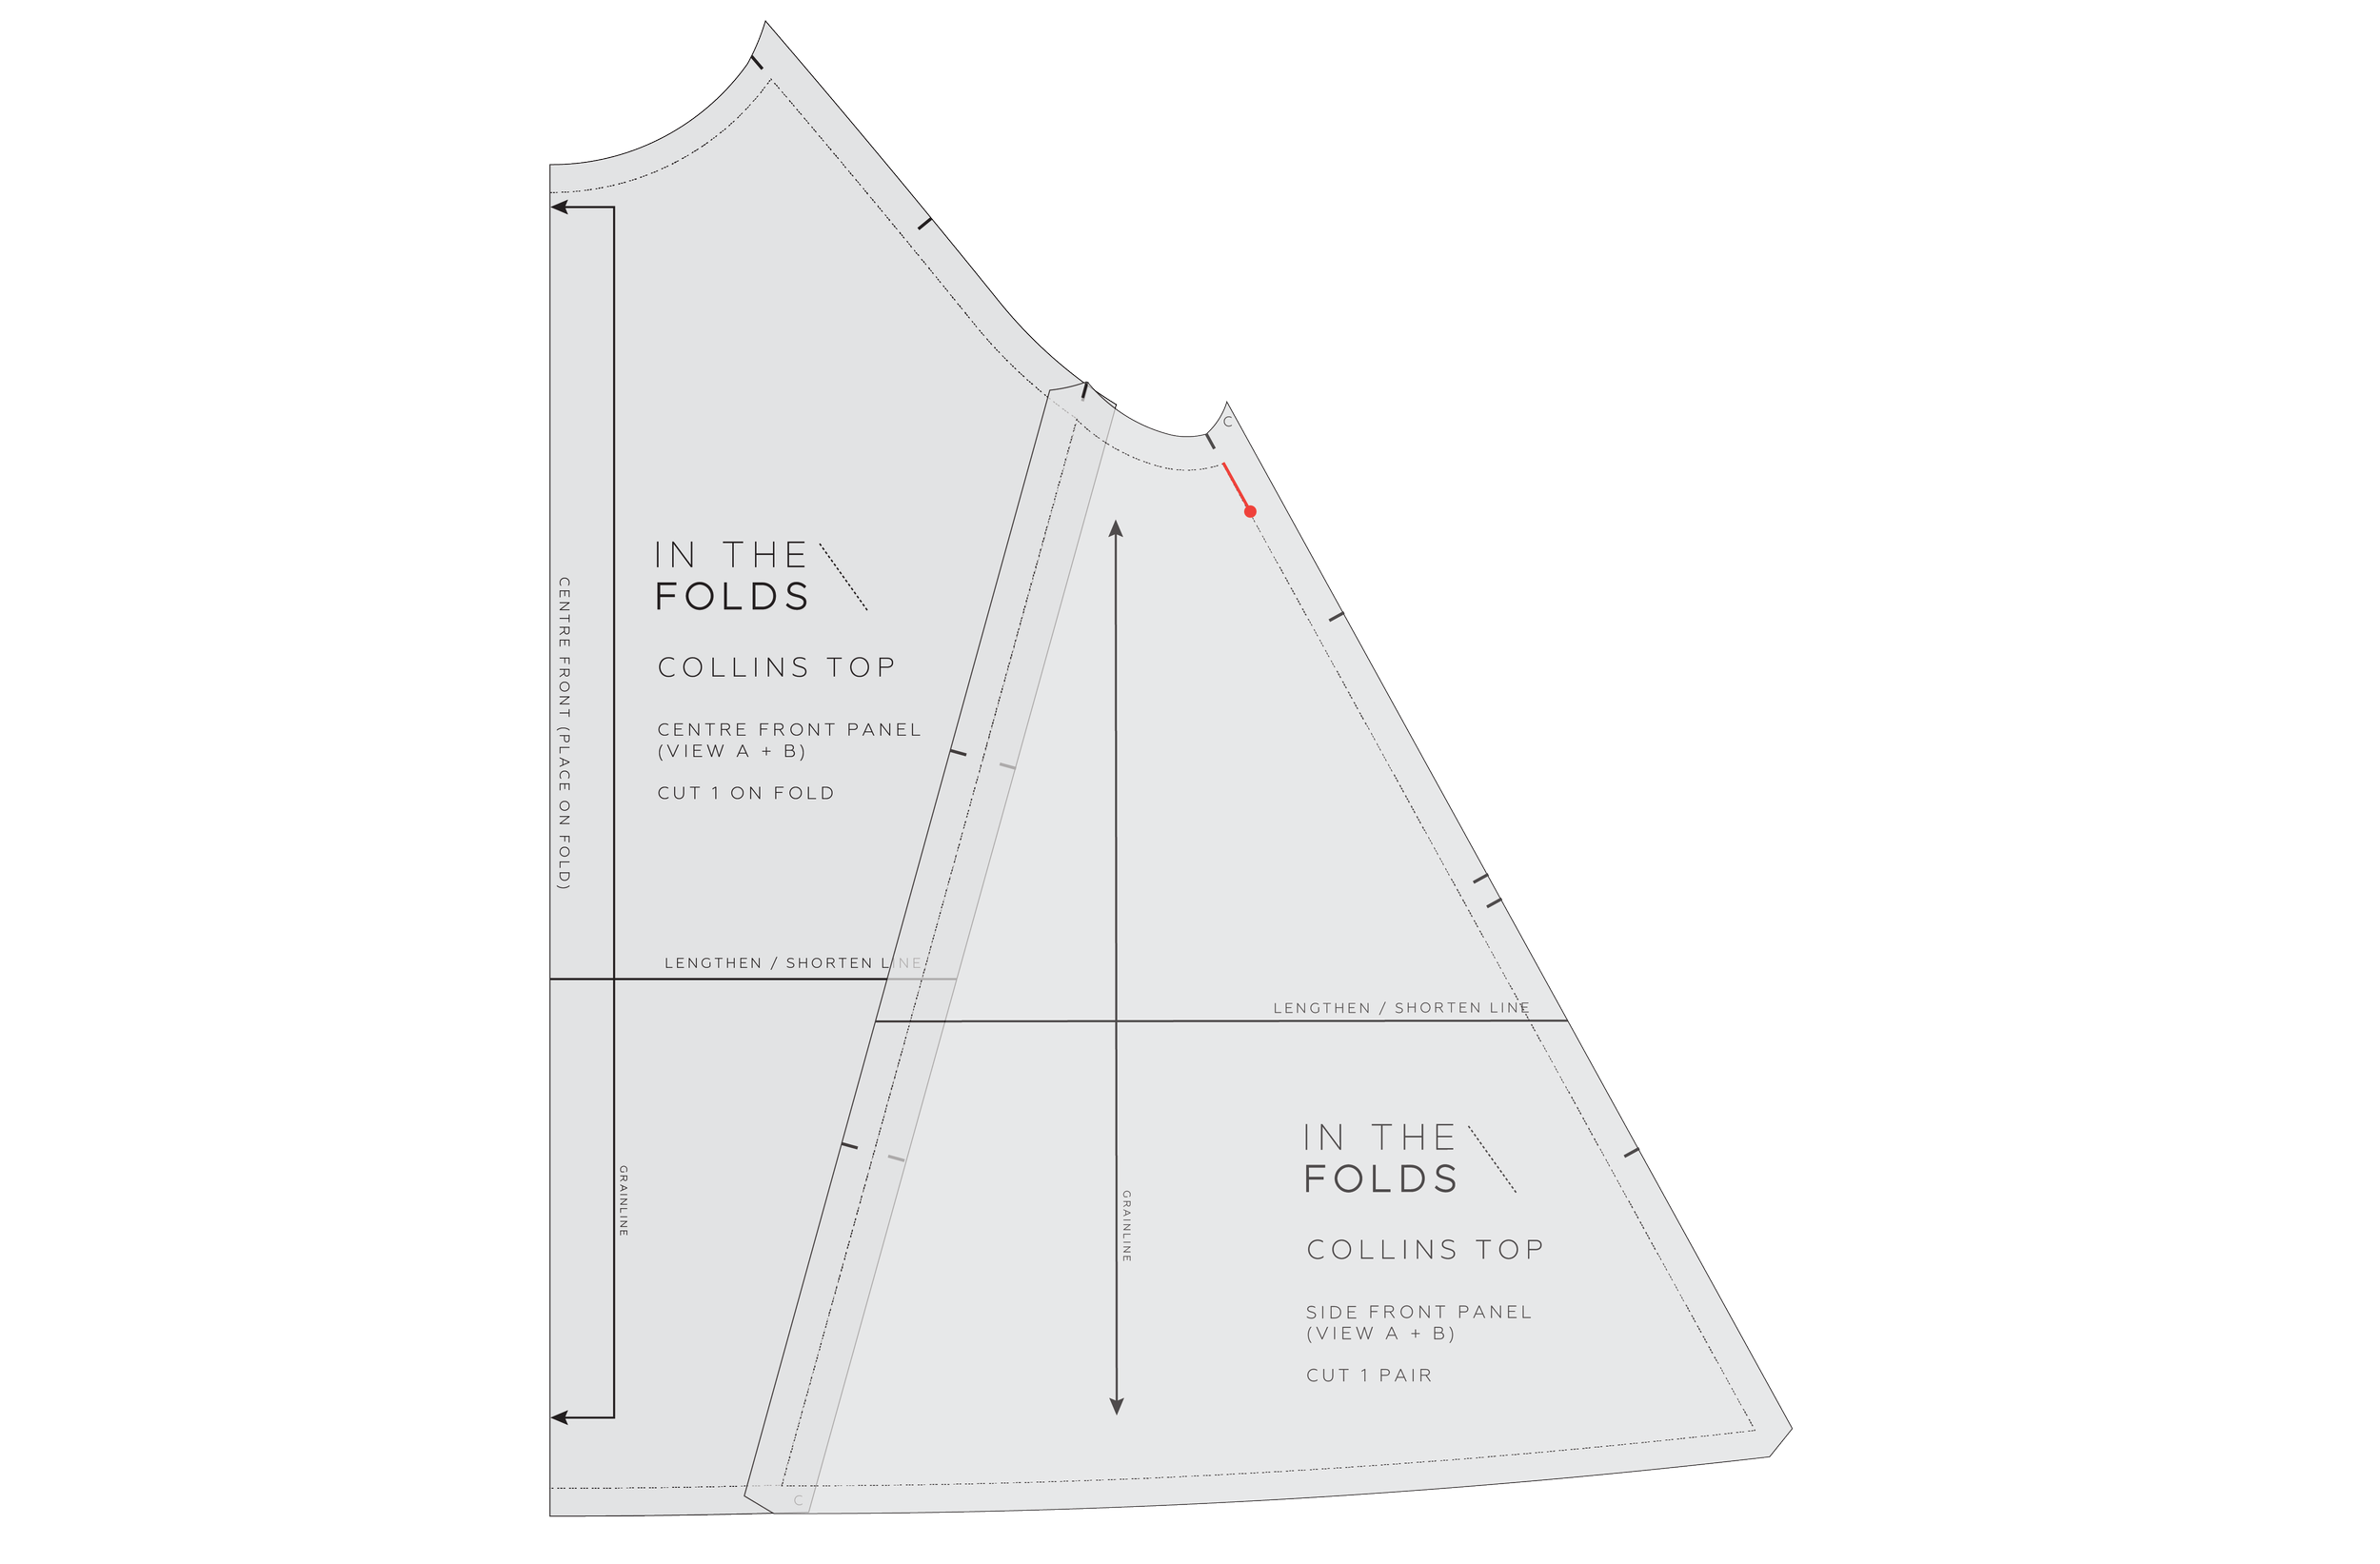
STEP 1
Pin or tape (with something that is easily removed) the SIDE FRONT PANEL to the CENTRE FRONT PANEL as if they have been joined.
On the side seam STITCH LINE, mark the amount you would like to lower the armhole by.
STEP 2
Redraw the armhole with a nice smooth curve, joining the point marked in the previous step. Keep the line as similar to the original as you can and meet the side seam at a right angle.

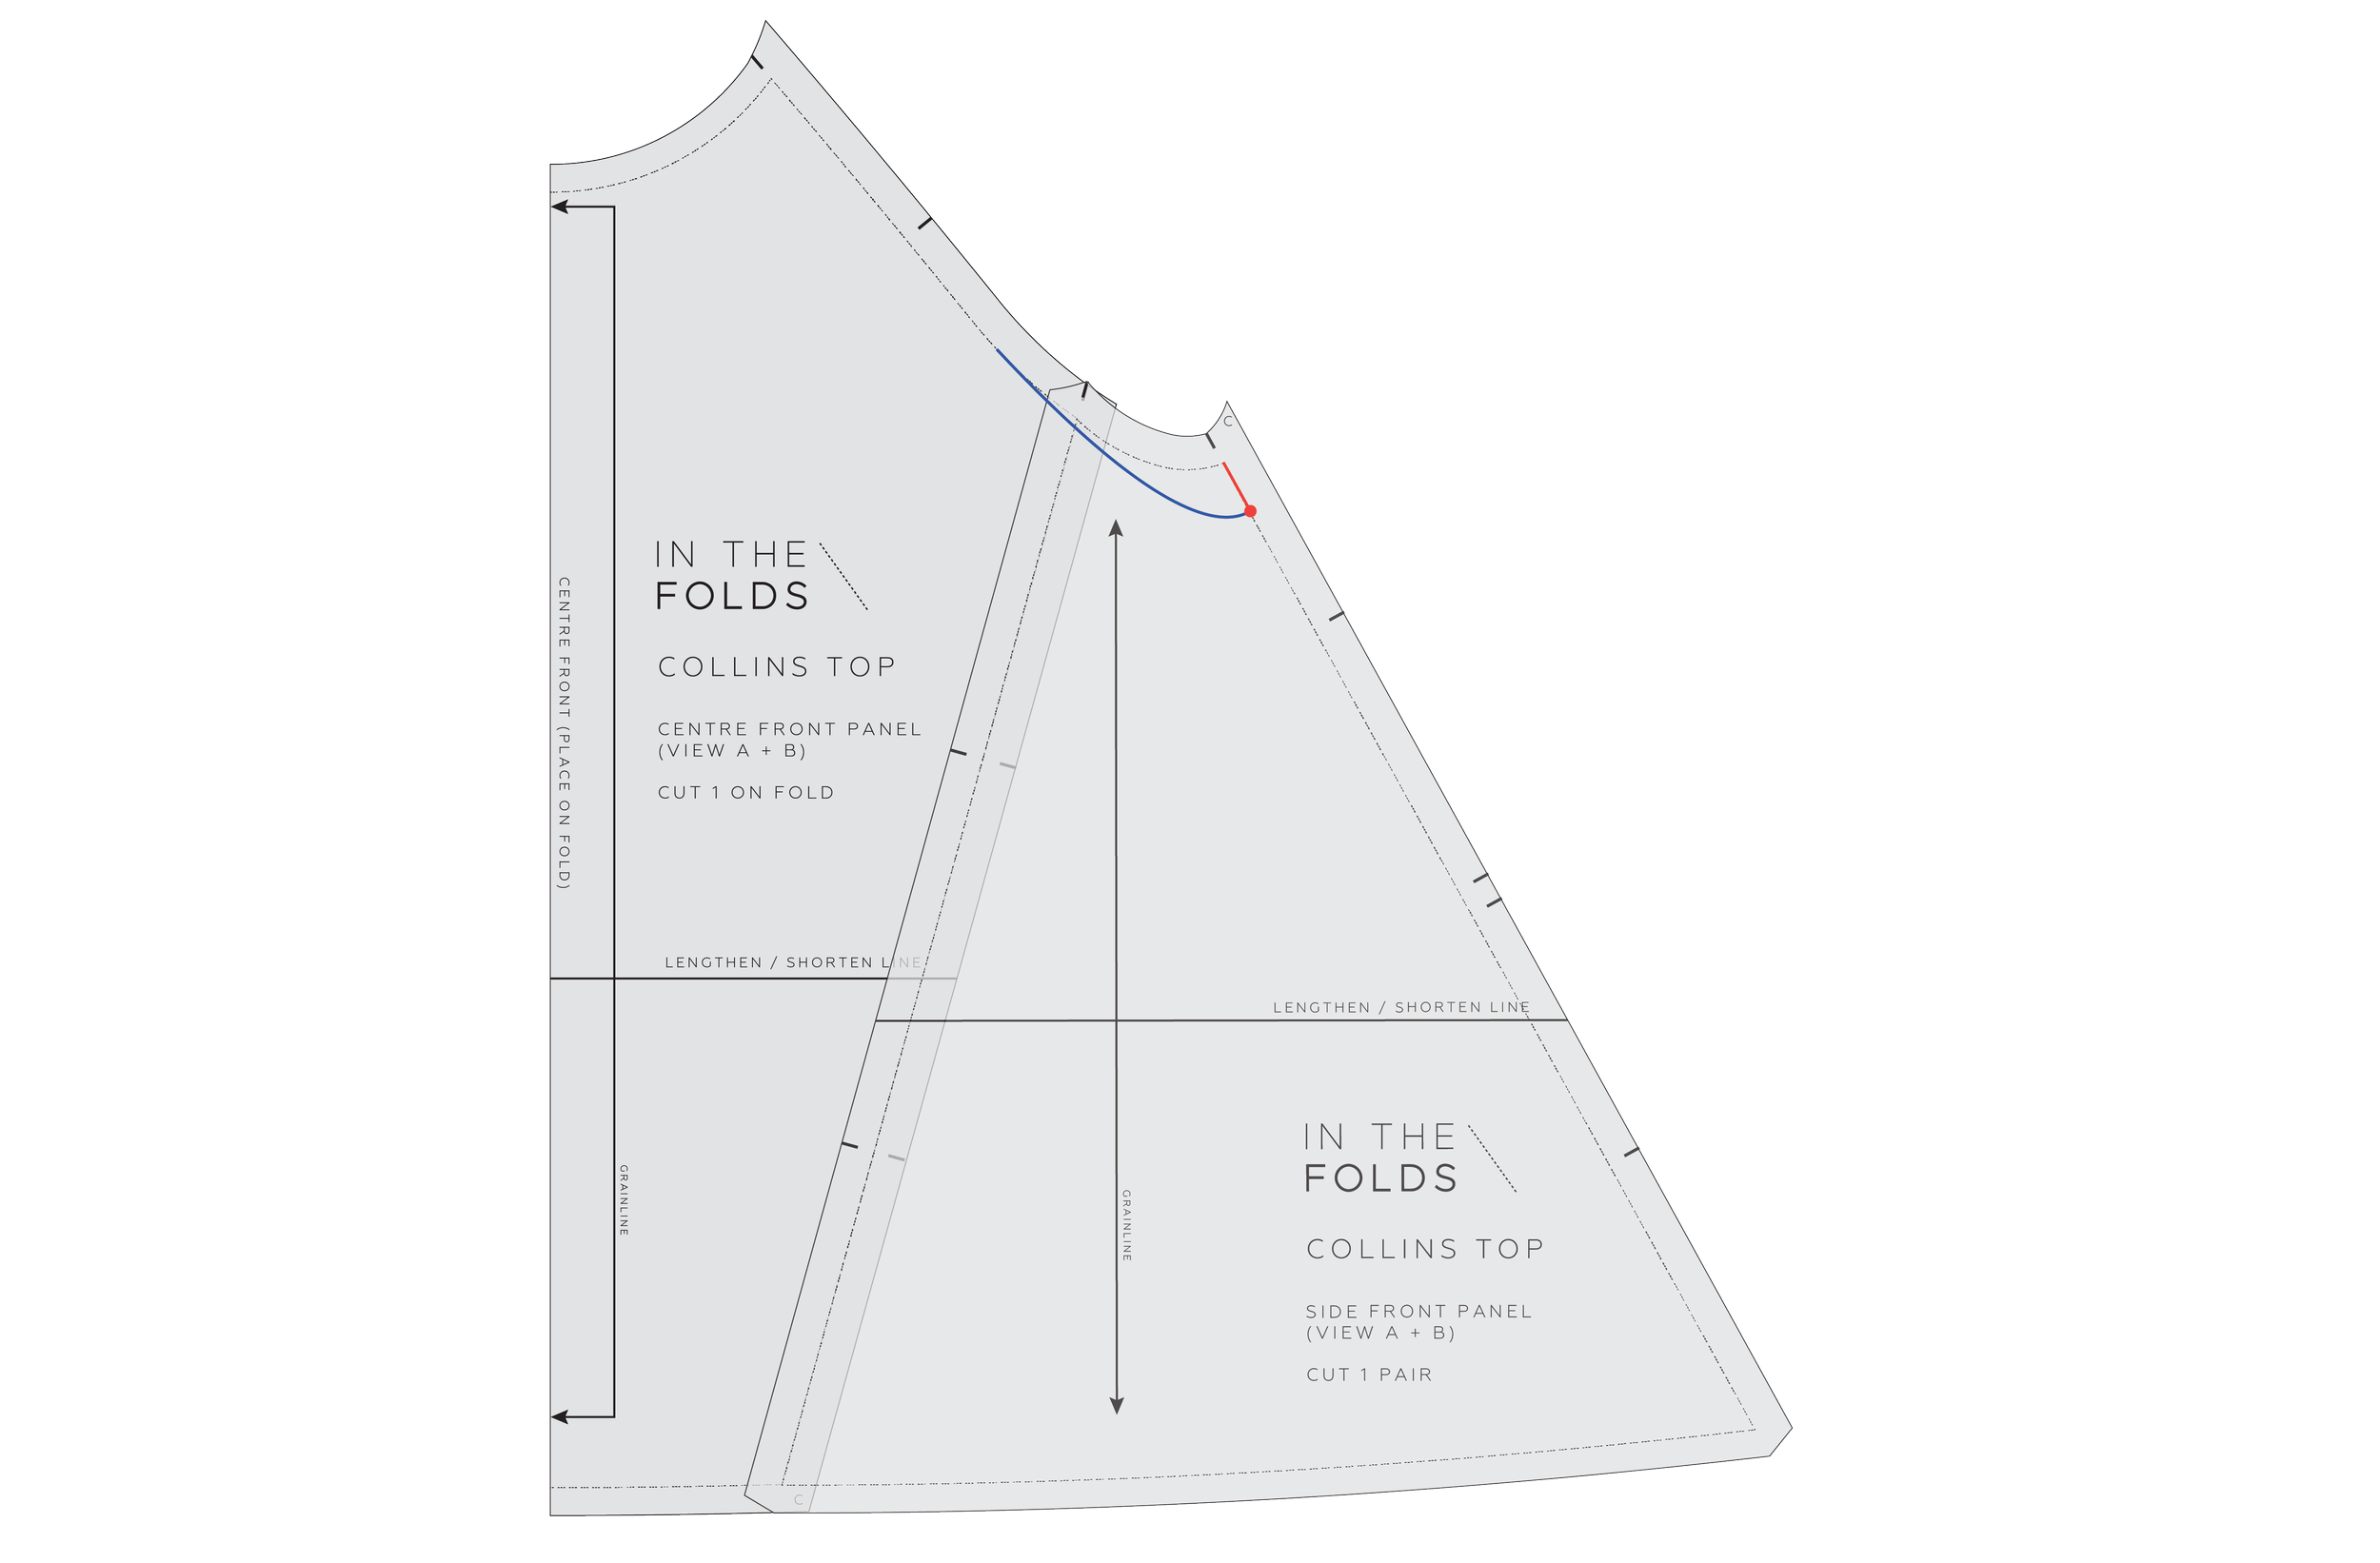
STEP 3
Line up the sleeve panels, STITCH LINE on STITCH LINE as if they have been joined and pin / tape in place. Mark in the bicep line (red line), which runs from the top of the underseam on the front through to the underseam on the back. Take half the measurement you used in STEP 1 and lower the bicep line by this amount (blue line).
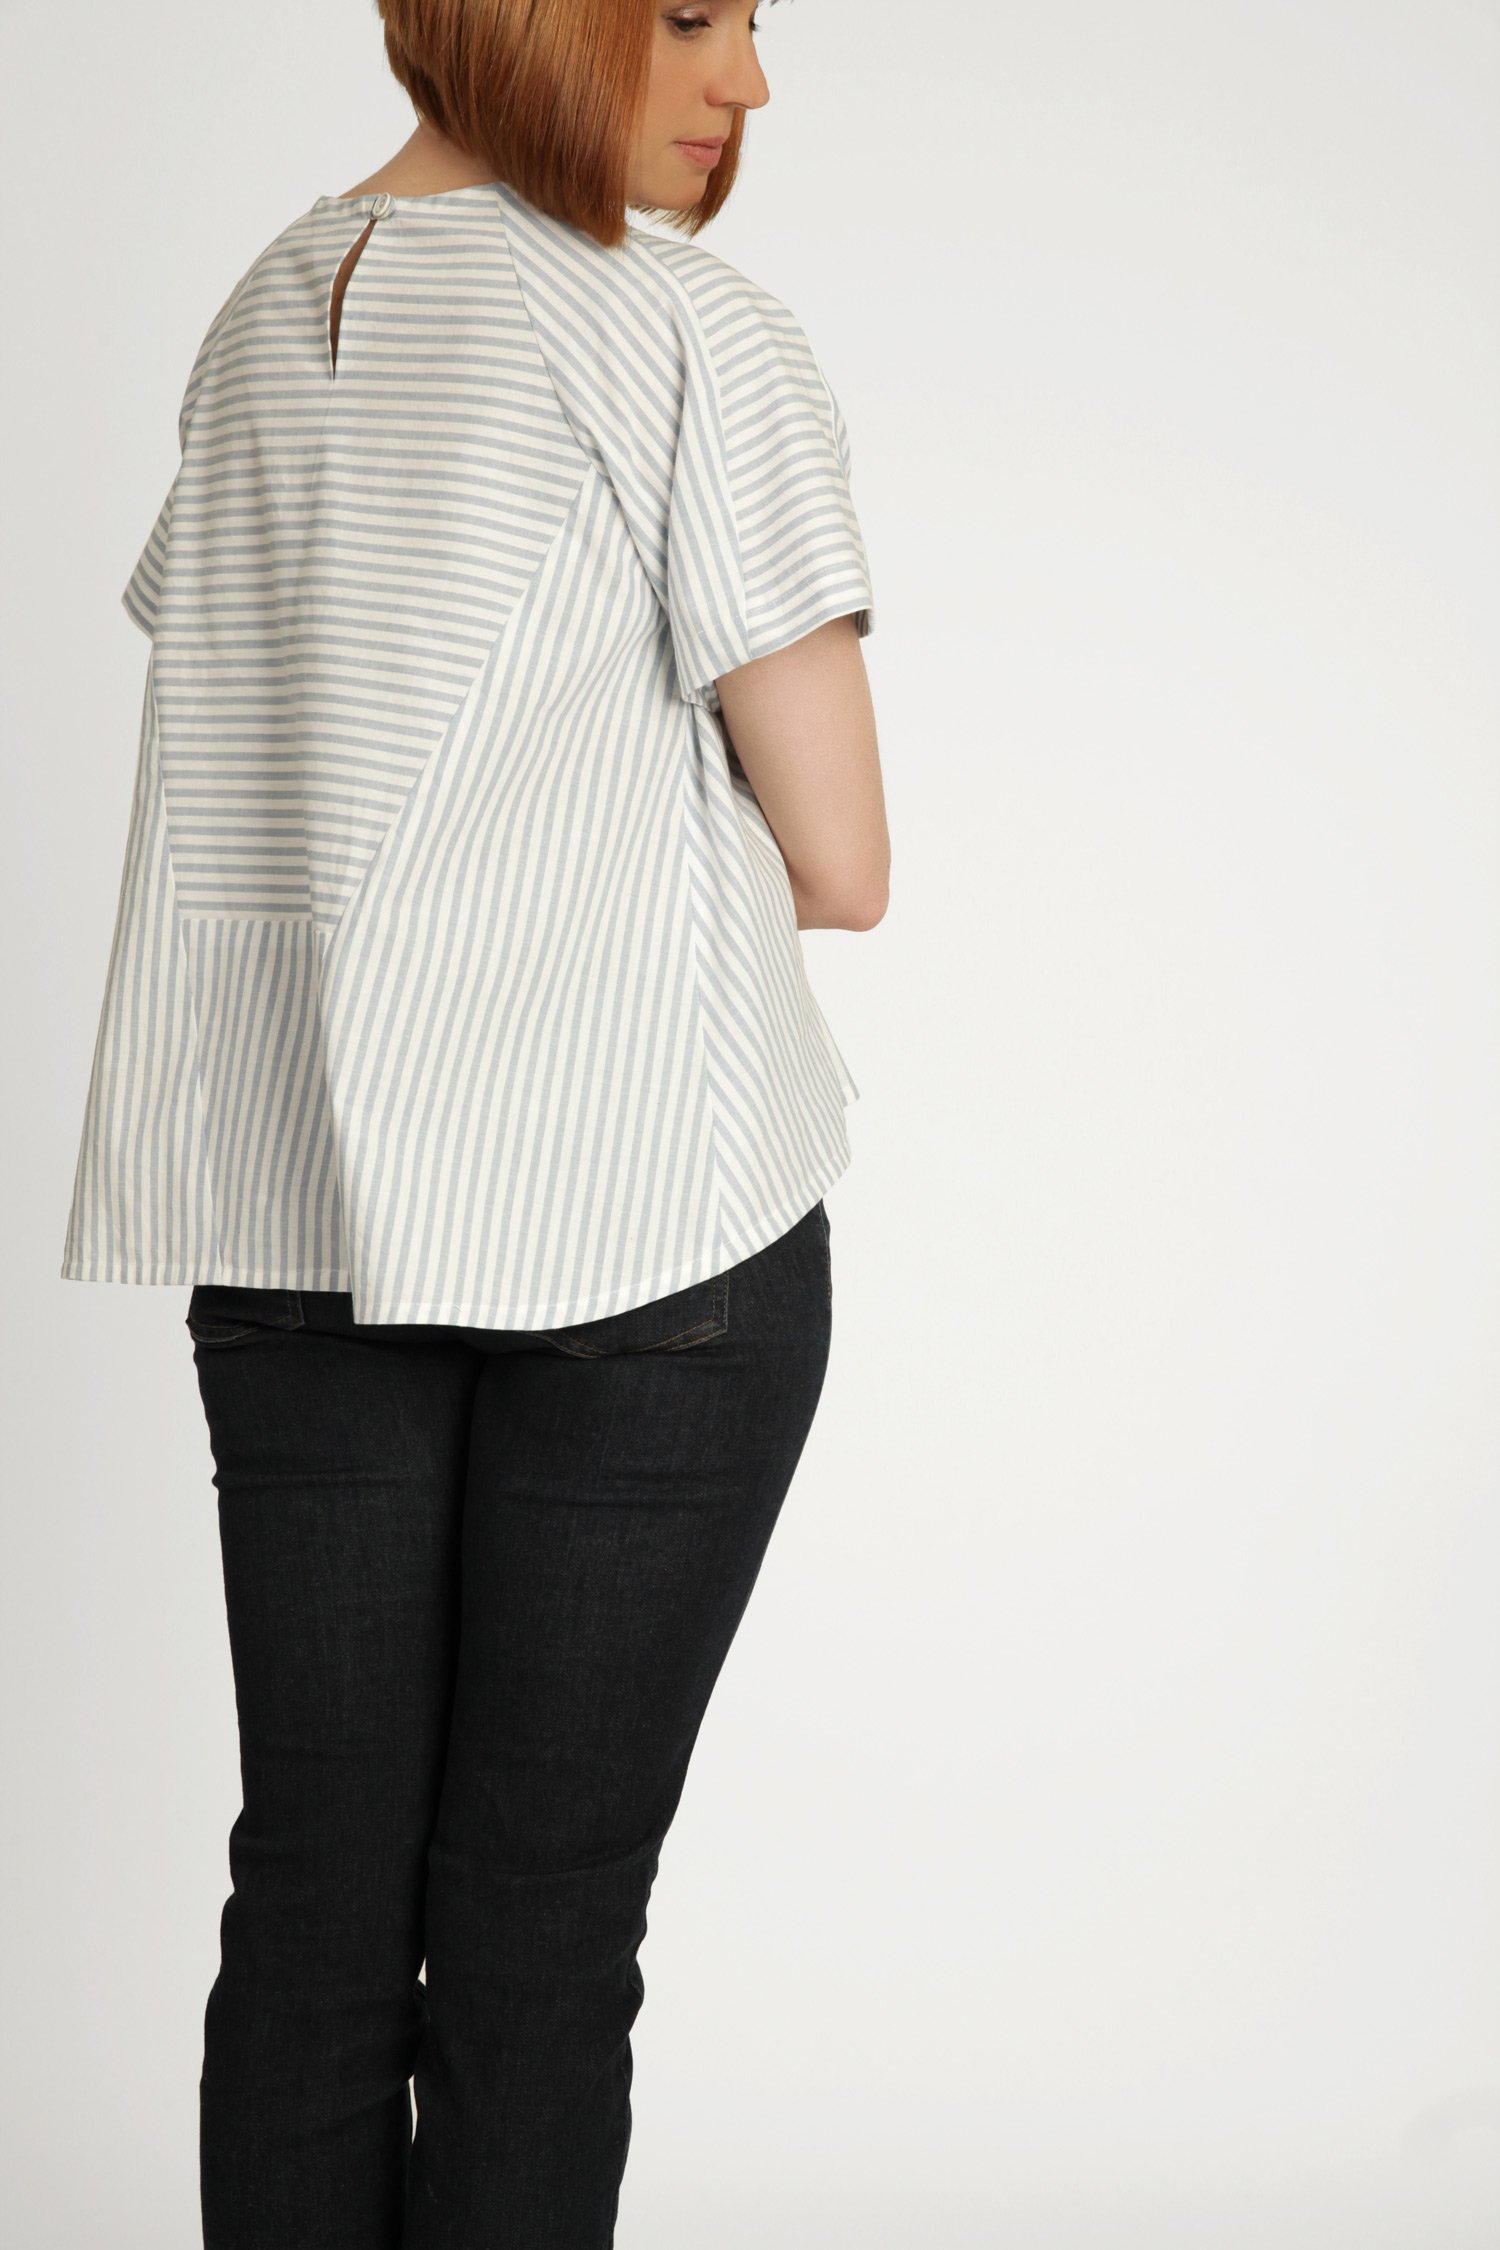
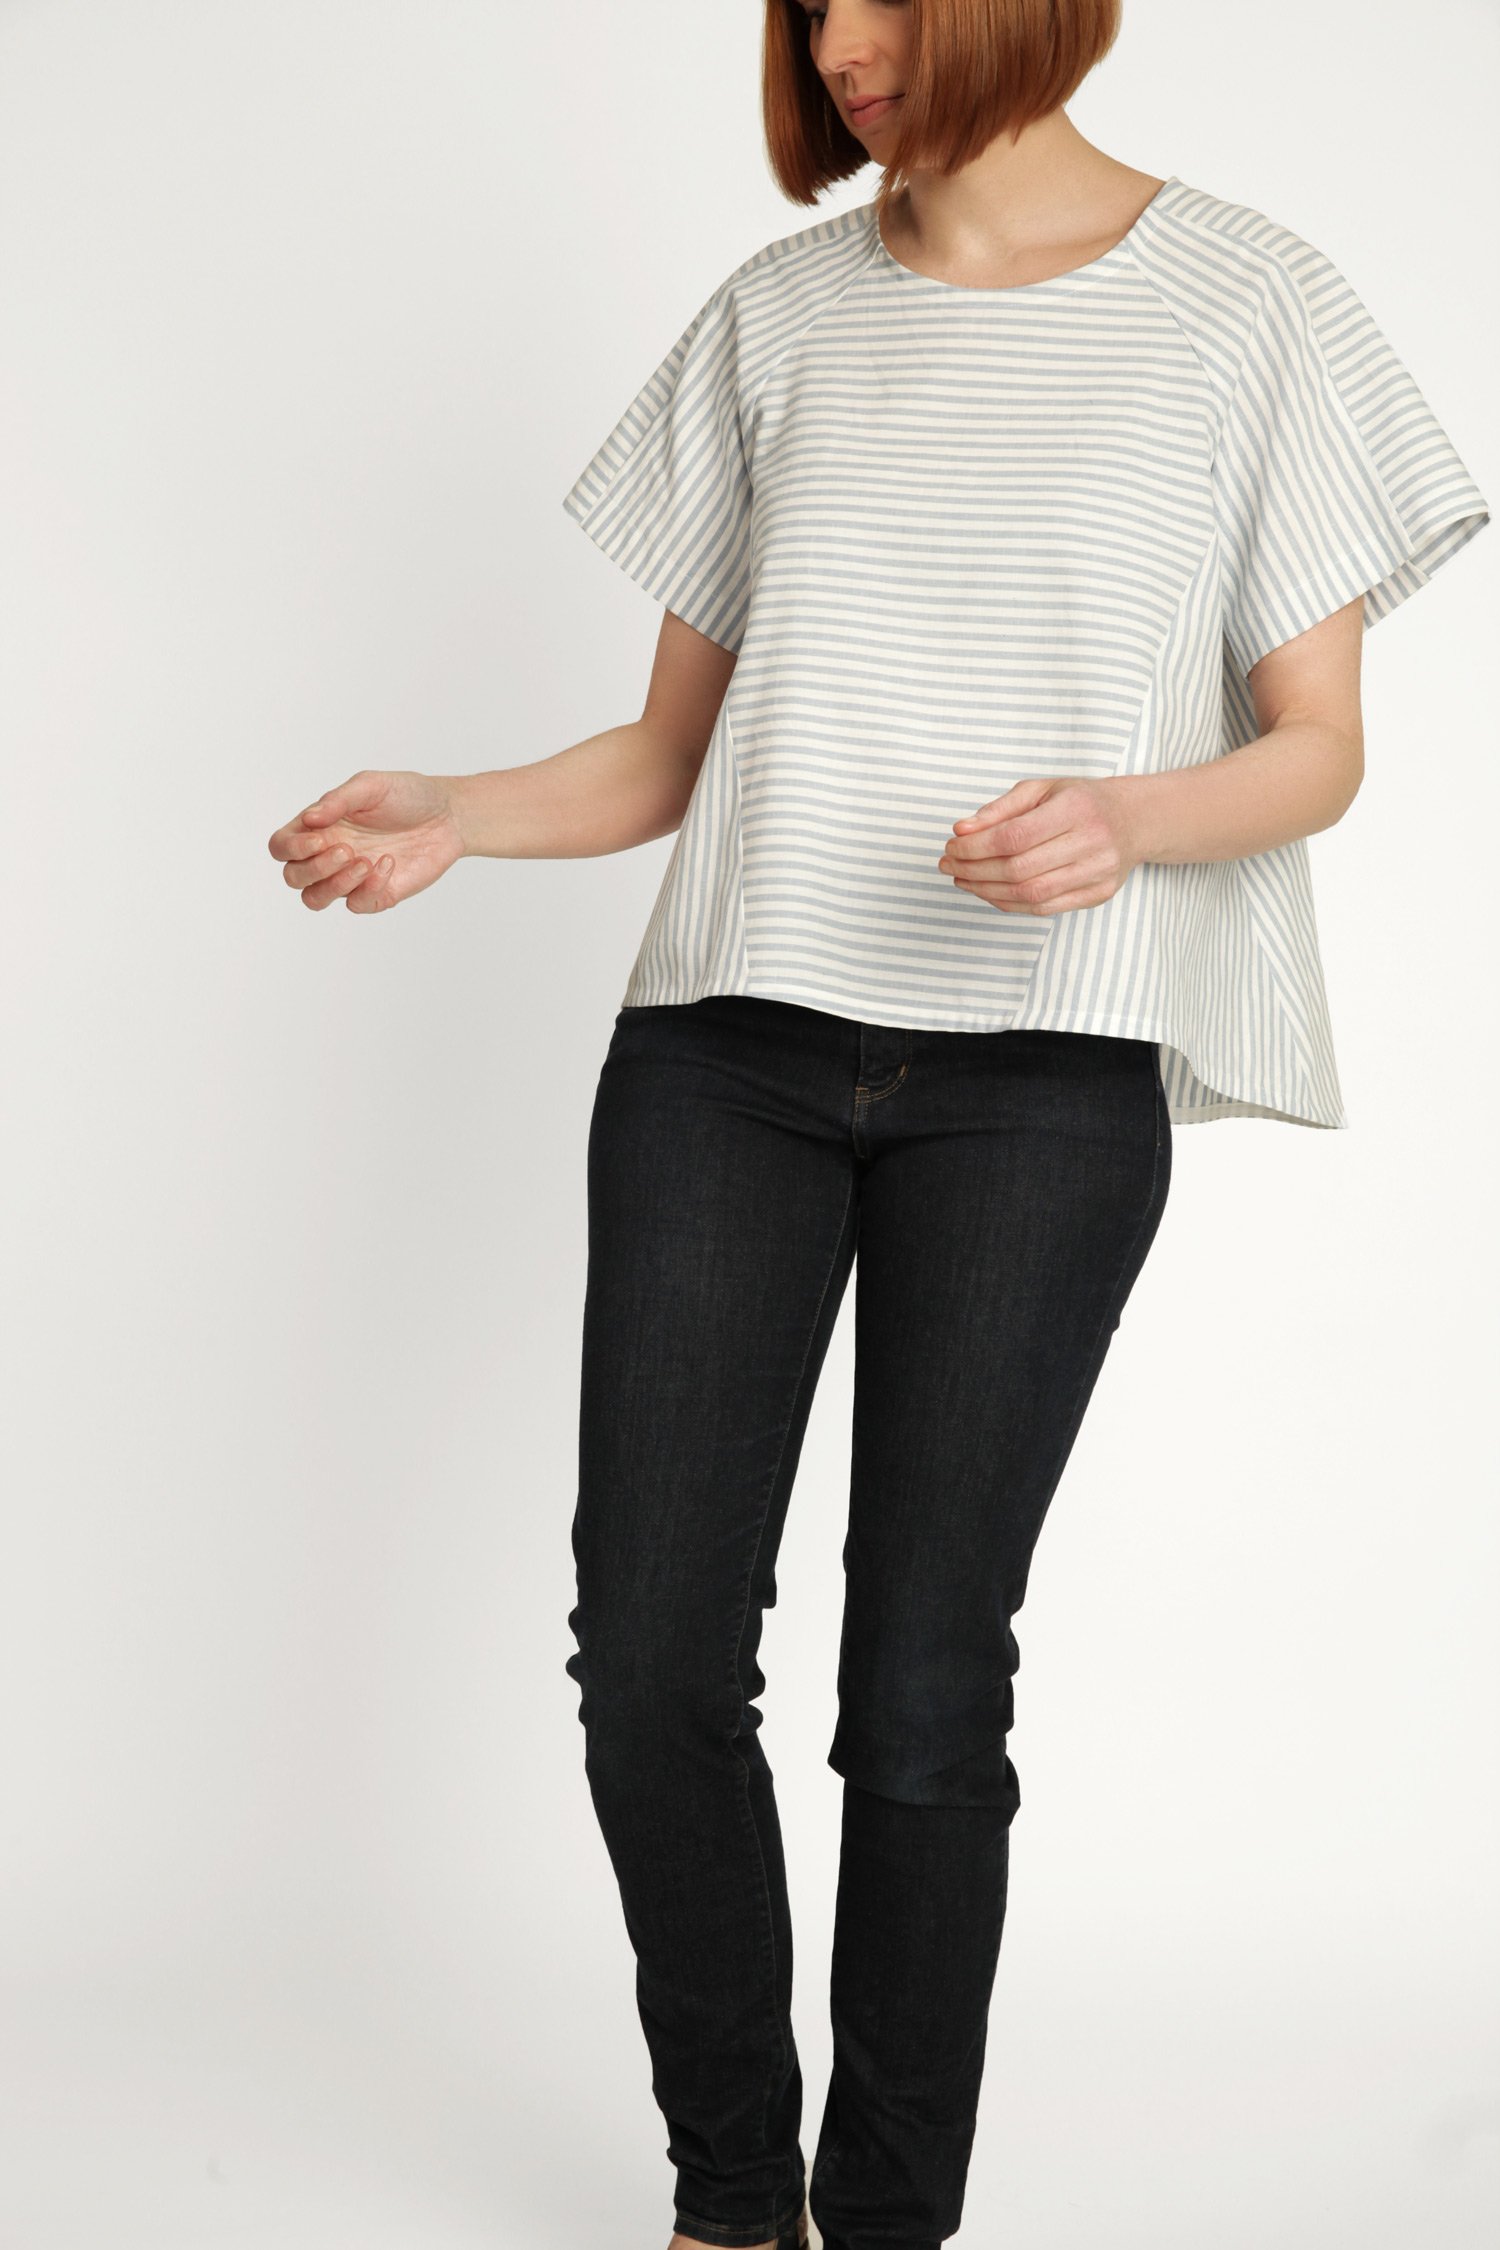
OUR CUSTOMERS LOVE THE COLLINS TOP FOR ITS SATISFYING PUZZLE-LIKE CONSTRUCTION


STEP 4
Re-draw the armhole lines with a smooth curve.

STEP 5
Walk the front sleeve into the front armhole, STITCH LINE on STITCH LINE, starting at the neck side of the line.
It is likely that the STITCH LINE on the FRONT SLEEVE is not long enough to reach the end of the armhole curve due to the alteration.
Measure the distance between the sleeve STITCH LINE and the side seam on the SIDE FRONT PANEL. This is the amount that needs to be added to the FRONT SLEEVE.

STEP 6
Add this amount to the sleeve curve and then join to the hem STITCH LINE.

If it is a large alteration and the shape of the sleeve underseam is going to change drastically, we suggest also adding some width at the hem to keep the shape of the piece intact.

STEP 7
Now, repeat the same alteration for the back pieces, then check the front and back side seams line up nicely at the top and bottom of the seam.
Add seam allowance to the new lines (red) and cut away any excess.
Happy fitting!
Emily
For more issues of the Q & A series, you can check out the archive here.
WHAT YOU’VE BEEN MAKING

Attwood pants made by @mamasuesews

Wide leg pants made by @hauntedthimble


