
THE Q & A SERIES
How to lower the armscye on a pattern
Hi, I have a question about armscyes. I have a couple of sleeveless dresses and tops which feel uncomfortable in the underarm area - they feel too tight. Is there an easy way to lower the armscye for a more comfortable fit? Or do you have any other suggestions on how to improve the fit?
Thank you!
Jennifer
Thirlmere, Australia
If you've ever worn a garment that doesn't fit correctly under the arms you'll know how uncomfortable (we'd even go as far as to say painful!) it can be. Aside from comfort, wearing ill-fitting garments can actually lead to them wearing out earlier than they should. Unnecessary stress on the armhole can cause seams to break, and in some situations, the fabric may even tear and cause irreparable damage to the item. Sustainability is something we care a lot about so we definitely want our clothes to last as long as they can, especially when we've dedicated many hours to making them by hand.
Thankfully, lowering an armscye is a relatively simple pattern adjustment to make that will have a significant impact on the fit and wearability of your clothes. So let's get to it!
What is an armscye adjustment?
An armscye (or armhole) adjustment is where you redraw a sewing pattern to make it fit your body. In this case, we need to lower the armscye to accommodate the unique shape of the body.
How do I know if I need to make an armscye adjustment?
You'll know you need to lower the armscye of a garment if:
A garment restricts the movement of your arms and shoulders. In this case, the garment will feel tight and you may even find that the armhole seams cut into the front of your armpits.
You notice pulling across the front of a garment.
Sometimes a tight armscye is caused by not having enough length in the area between the shoulder and the bust (rather than indicating the need to lower the armscye). The easiest way to check this is to determine whether the bust darts are in the correct position. If they are sitting too high, this could be an indication that you need more length added to the pattern between the shoulder and bust. In which case you can lengthen the pattern above the bust line using this tutorial. By lengthening the pattern in this way, you will be lowering the armsyce as well as adding more length through the whole chest. If the bust darts are in the correct position then it is likely you just need to lower the armscye.
How to lower the armscye on a pattern

The first question to ask yourself is - how much would you like to lower the armscye by?
The easiest way to work this out is by trying on the garment that feels too tight at the armscye. Place a horizontal pin in the side seam under the arm in the position where you would like the bottom of the armscye to sit.

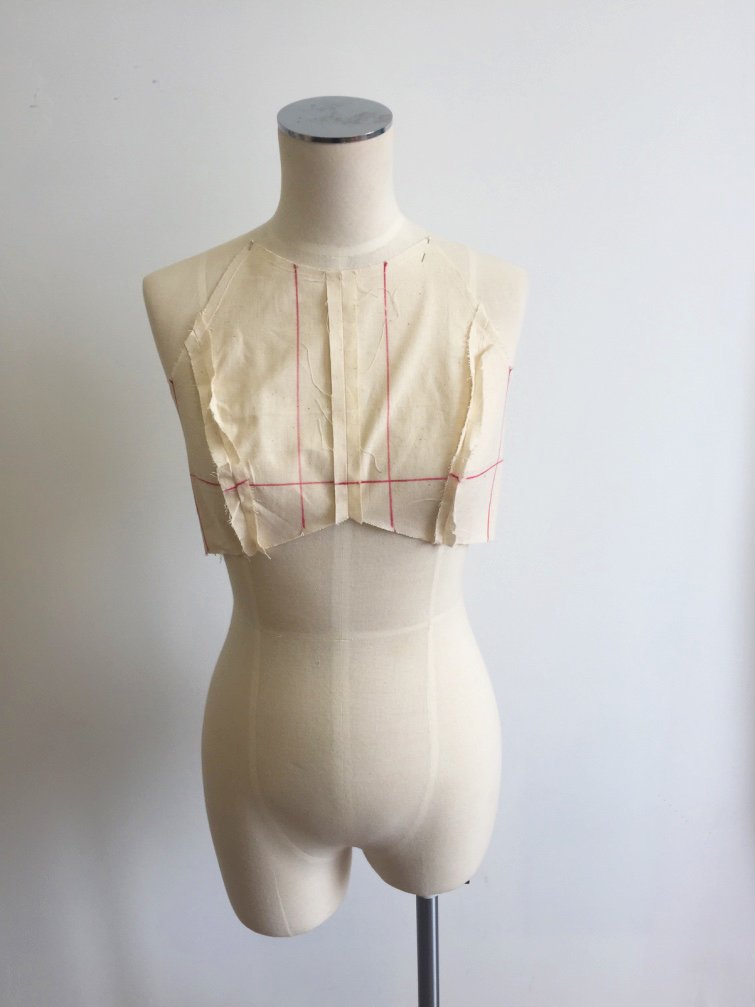
It’s also a good idea to visualise how this will change the shape of the armhole, as when you lower the armscye it will also make it wider. In the illustration above we have marked the new armscye on the garment so you can visualise what this change will do.
Also, think about the underwear you might wear with the garment, and consider if lowering the armscye will impact this. Will the underwear be visible by making this change?
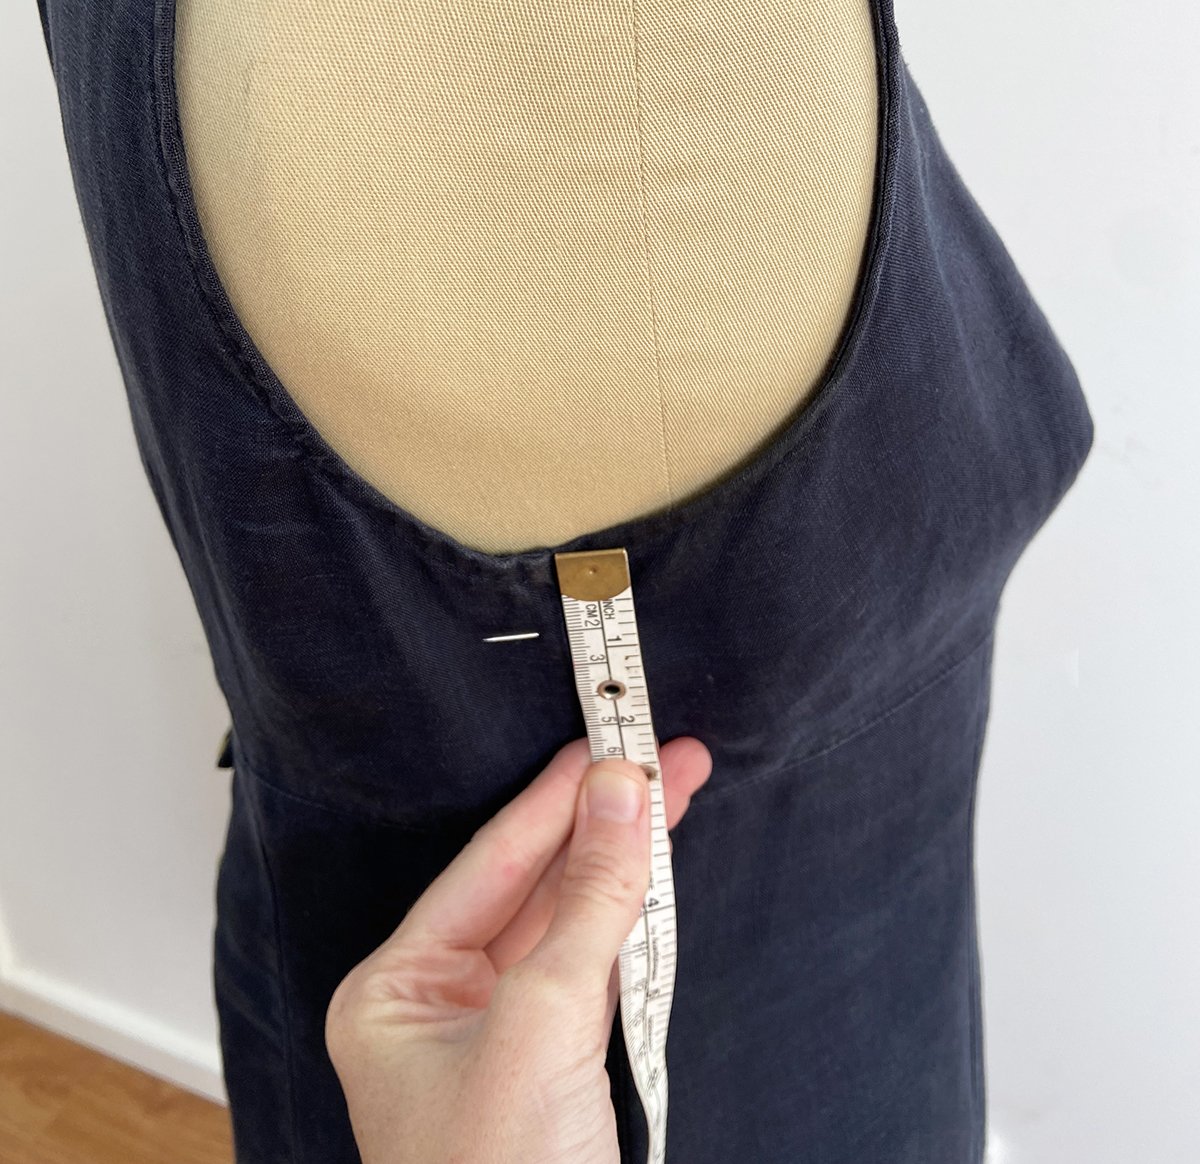
When you are happy with the amount you will be lowering the armscye by, measure this on the garment from the top of the side seam down to the pin. Record the measurement.
Make the adjustment on the pattern

Step 1
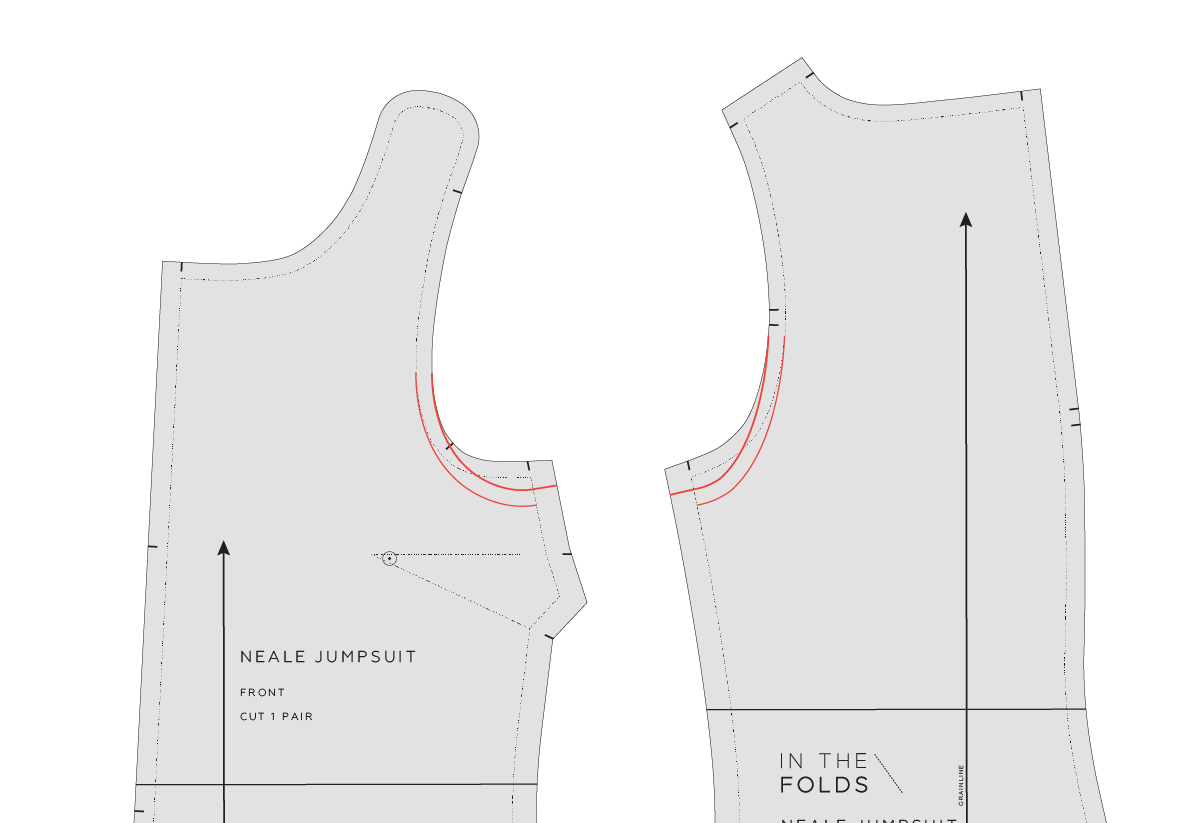
Take the FRONT piece of your pattern and mark the new armscye point on the side seam. Measuring from the point where the side seam stitch line meets the armscye stitch line. On In the Folds patterns the stitch line is marked on the pattern (the stitch line is the pattern without seam allowance), but if your pattern doesn’t have the stitch line marked, you will need to mark it first.

Step 2
Redraw the armscye curve - joining the point marked in STEP 1 to the original armscye stitch line. We suggest joining the armscye about one-third of the way around the curve when measuring from the bottom. If the armscye feels tight in other parts of the curve (not just under the arm), you might choose to join the armscye higher up so that the curve becomes larger.
The line that meets the side seam should be fairly flat by the time it meets the side seam stitch line. This will ensure the armscye doesn’t come to a point under the arm. Get it as smooth as you can, but we will check this again in a moment, so the line does not have to be finalised yet.
Drawing curves takes a bit of practice. If you're planning on making adjustments to patterns regularly, a French curve is a useful sewing tool to add to your collection, and will help greatly in this example.

Step 3
Repeat STEPS 1 and 2 on the BACK pattern piece. You need to lower the armscye on the FRONT and BACK by the same amount.

Step 4
Place the FRONT and BACK pieces together at the side seam, stitch line on stitch line, as if the pieces have been joined.
Check that the curve from the front armscye runs smoothly through the side seam to the back and there are no dips or bumps.
Smooth out the armscye if it needs it and use a tracing wheel to transfer the markings to the overlapped section of the pieces.
Step 5
Add seam allowance onto the new armscye stitch lines on the FRONT and BACK. The seam allowance needs to be the same amount that was on the original armscye line. More information on how to add seam allowance to a pattern can be found here.
Cut along the new armscye seam allowance line to remove the excess paper.

Step 6
Move any notches to the new pattern edge. In this case, it’s the seam allowance notches on the side seam and the FRONT armscye notch.
Step 7
To finalise the pattern, make the same adjustment to the armhole facing pieces (if the pattern has facings).
Learning how to alter patterns is the thing that allows you to really step your 'me-mades' up a notch, whether it’s for achieving a better fit or tailoring a garment to suit your tastes and preferences. This is a key element of our sewing subscription Curated by ITF. Each month we learn loads of different techniques to adjust a pattern to create a myriad of new options. So if you’ve been wanting to learn some pattern making skills but don’t know where to start, check out Curated by ITF today!
Happy sewing,
Emily
RESOURCES MENTIONED IN THIS ISSUE
How to lengthen a pattern above the bust - tutorial here.
How to add seam allowance to a sewing pattern - tutorial here.
More information about Curated by In the Folds can be found here, and details of our latest issue can be found here.
For more issues of the Q & A series, you can check out the archive here.
WHAT YOU’VE BEEN MAKING

Peppermint Wrap skirt made by @gabby_sews


Darlow pants (hacked into shorts) made by @shuaychong


