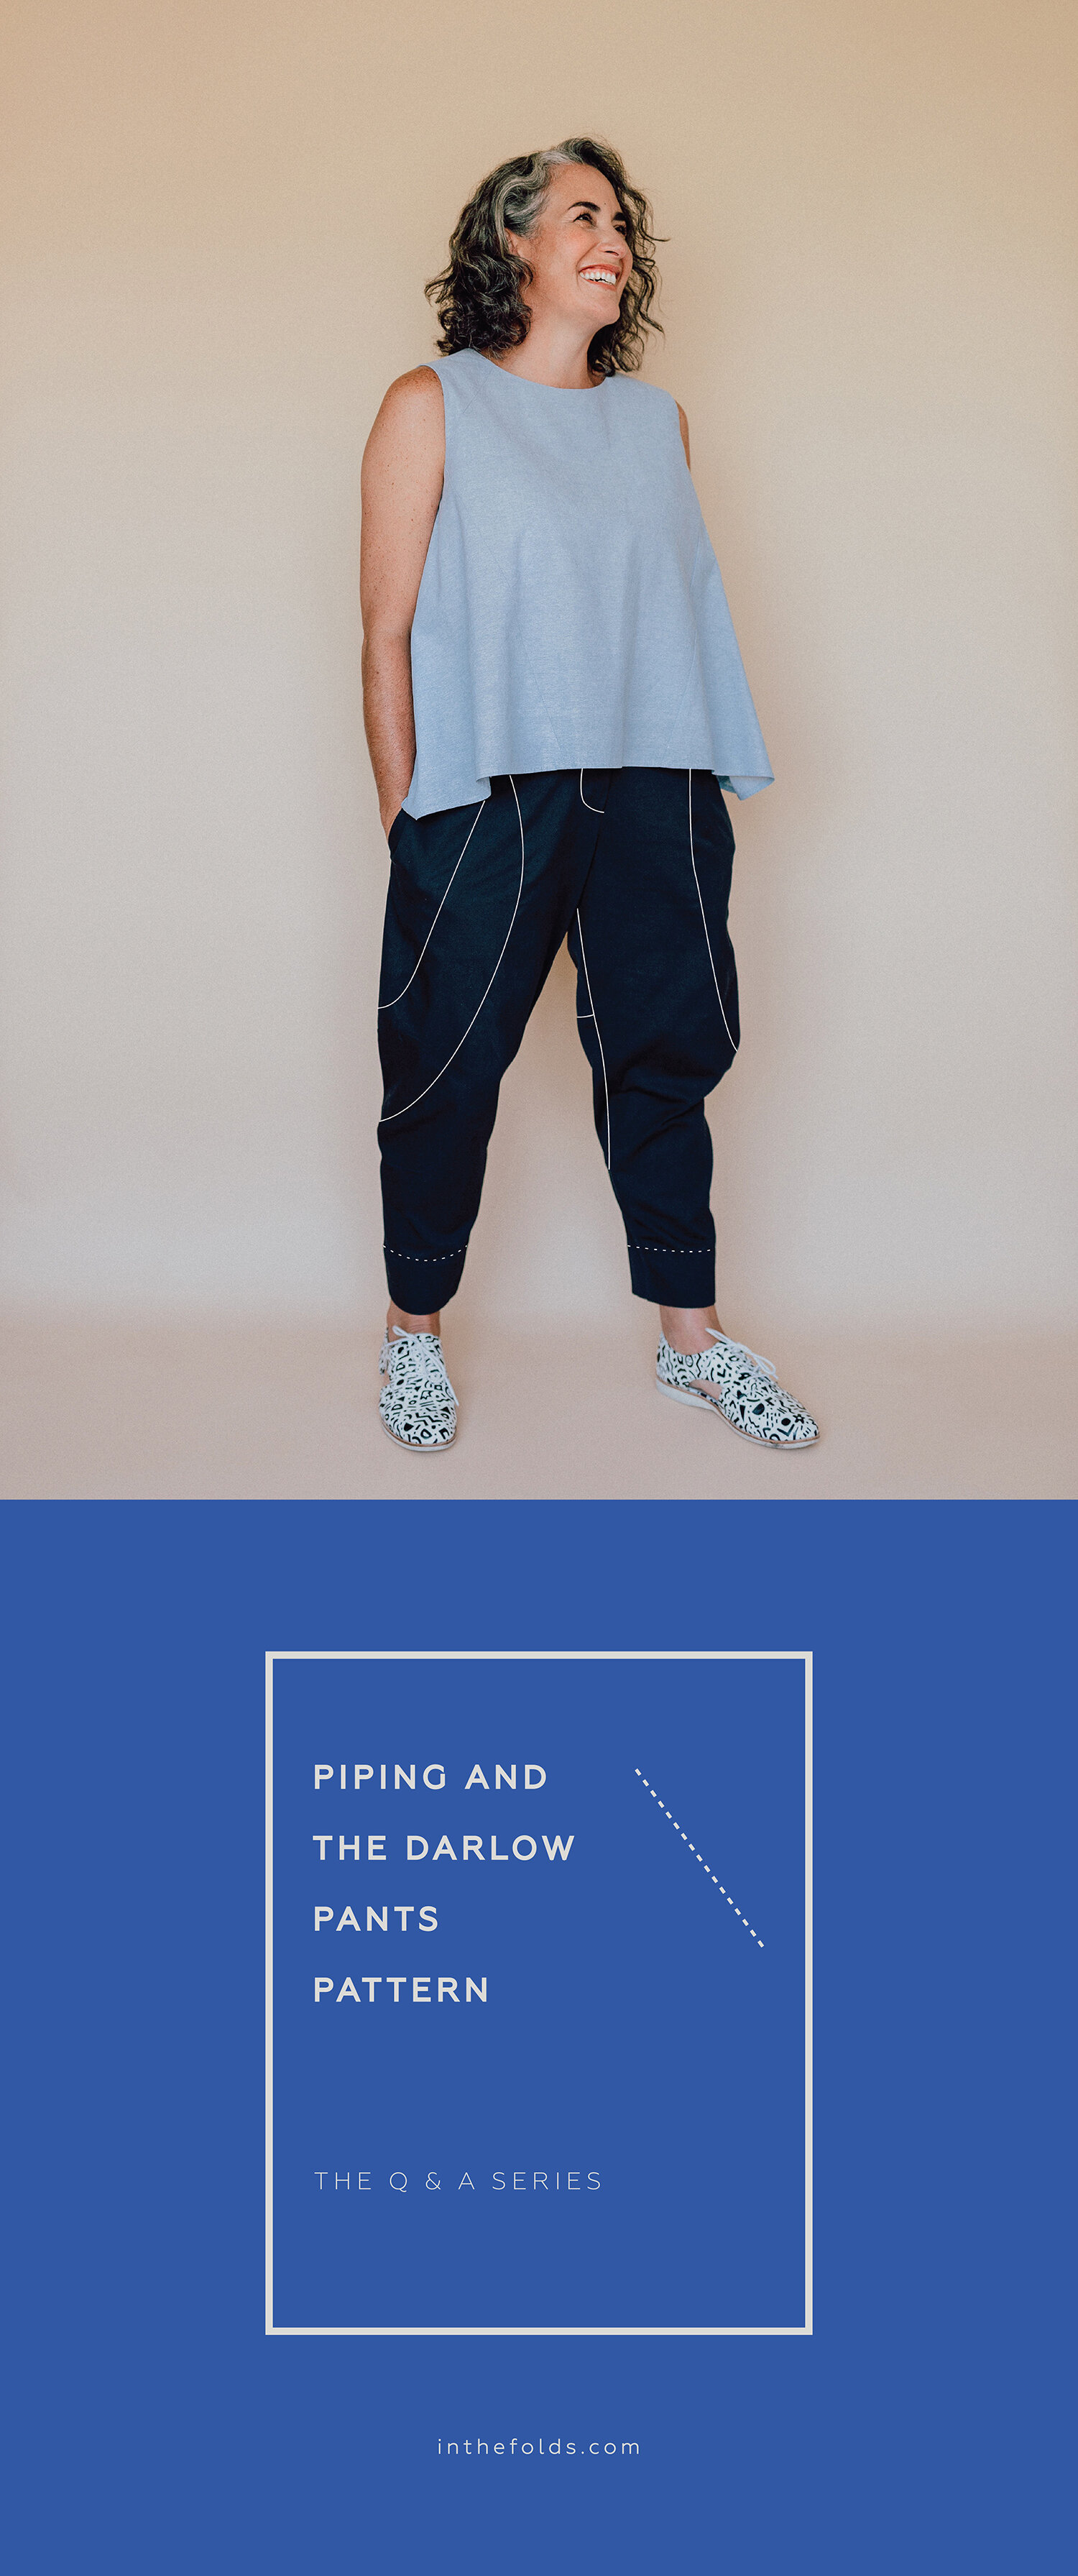
THE Q & A SERIES
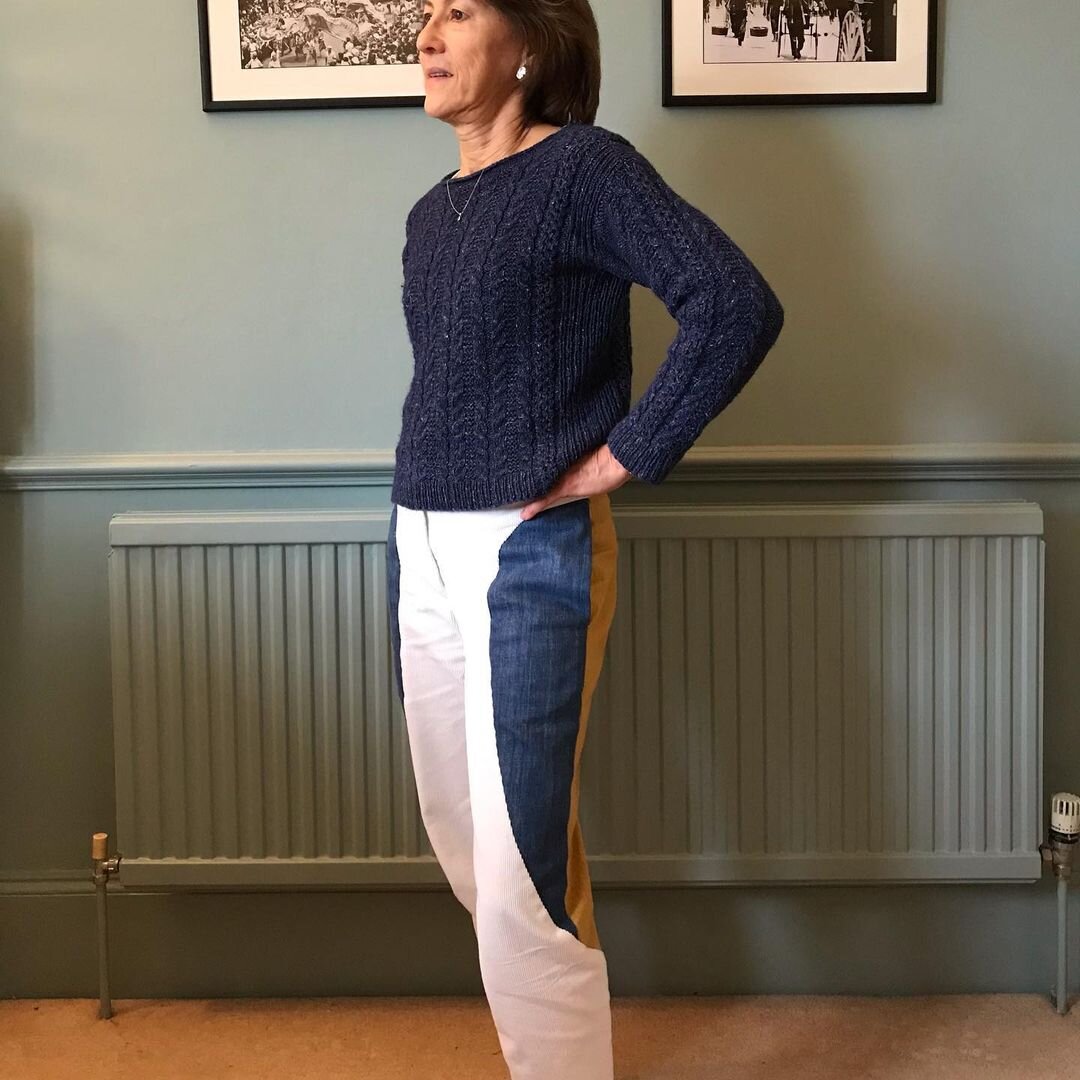
How to adjust the rise on the Darlow pants pattern
Hi Emily,
Firstly I want to say I love your ethos and thank you for designing such an interesting pattern that is the Darlow Pants. I've made two muslins now (one is wearable!) But I wanted to ask if you had any suggestions as to how to best adjust the overall rise on the pants. The issue I'm having is, they are sitting approx 1.5 inches below my natural waist. I am tall (5"10) and carry a lot of my height in my lower torso so it is not unusual to lengthen the rise of pants patterns up to 2.5 inches for me. I tried with my second muslin to lengthen the front and back crotch both by 2" thinking that if it was too much it will be easy to see how much, rather than going under and having to make yet another muslin. However, it really distorted the pattern piece for the upper part of the front leg, and makes me think it needs to have length added to the sides as well as the crotch. I've only ever lengthened the rise on pants with a side seam before. So I'm feeling a little lost as to how to adjust it.
I do really love the pattern, and think that if I can just work this out it'll make me feel so good seeing them up in my beautiful heavyweight linen ❤️ It's taken me a couple of months to get to this point, and I have really enjoyed your instructions and design.
Thanks for your time.
A
Hi there,
I am so pleased to hear you are enjoying the Darlow pants pattern and are working on making the fit just right for you.
You're right, the panel lines on the Darlow pants means that you have to go about things in a slightly different way. I'm happy to say though that it's not too hard at all, just a different approach to what you're used to!

Step 1
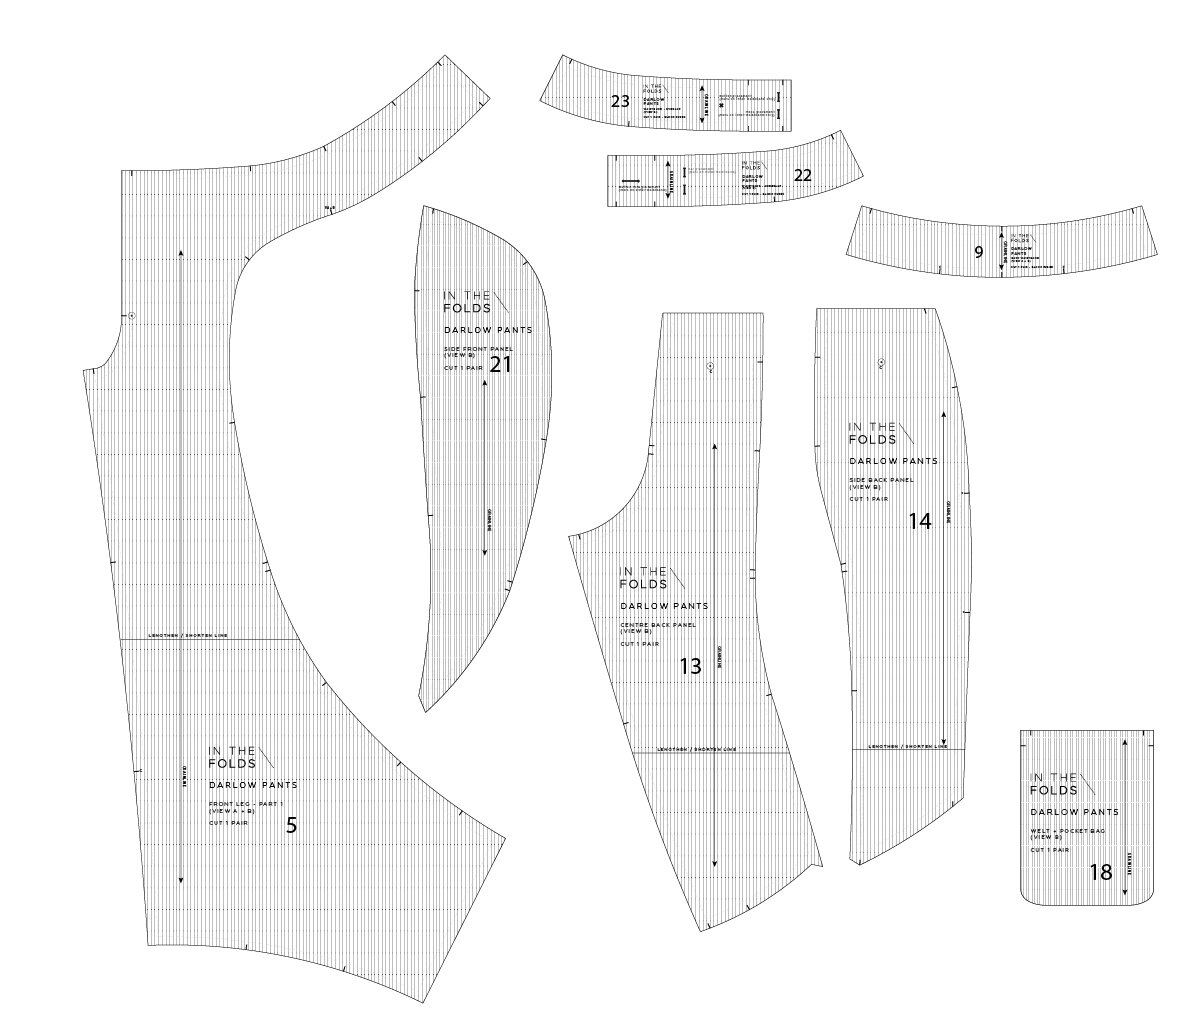
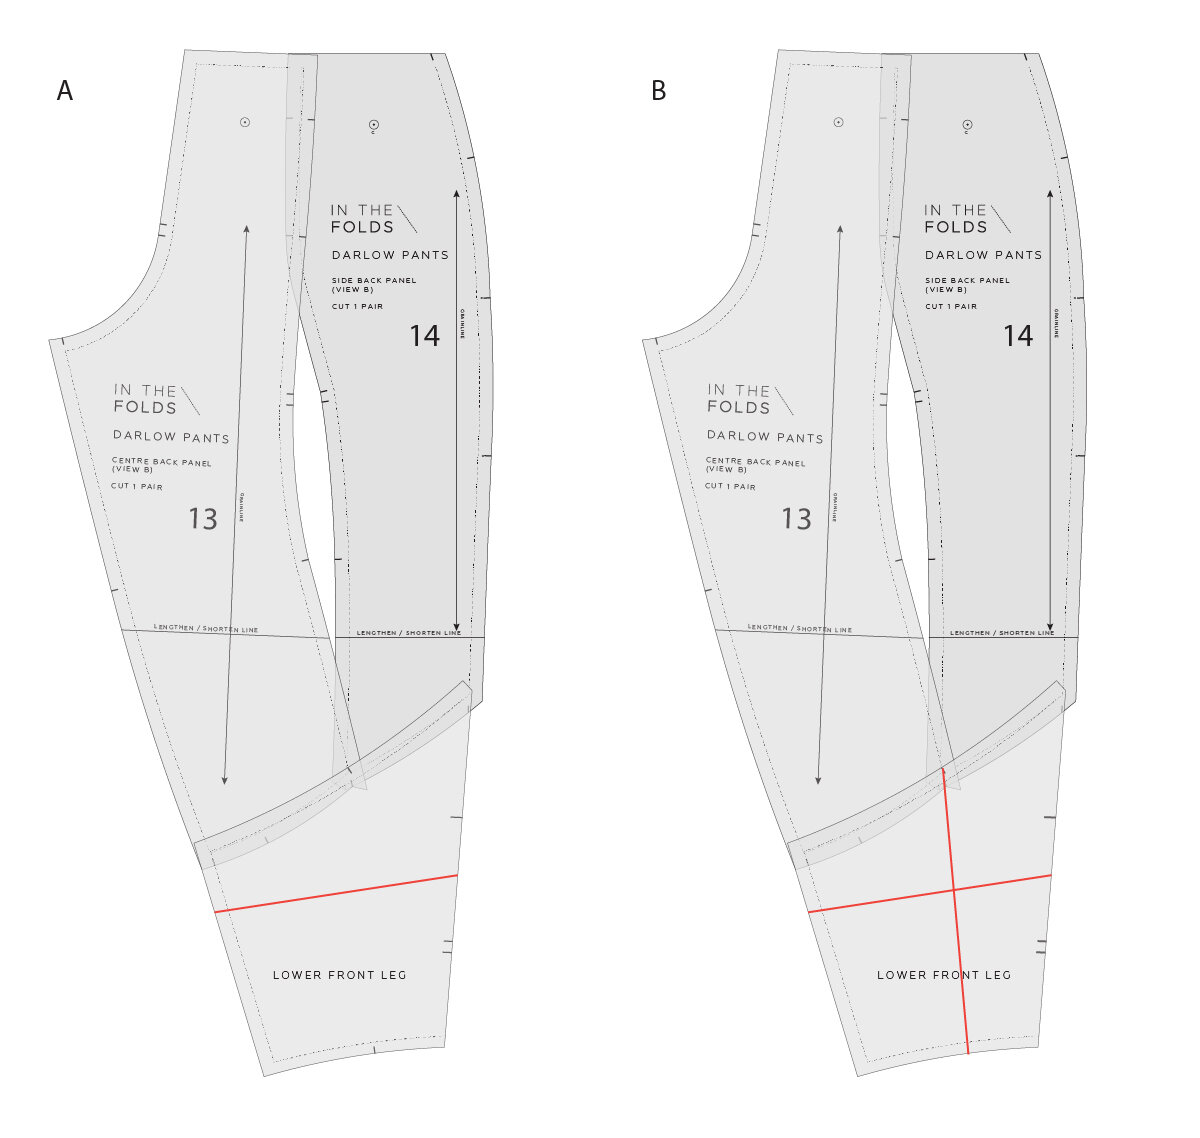
Take the pieces from the style you are making (this will work on either style) and mark a horizontal line across each piece in the position you would like to add the length. It’s best to position this line above the curve of the crotch on the FRONT [5]. Use the notches to help you line up the pieces so that you can put the horizontal line in the same position on all the pieces.
Extend the grainline on each piece to that it is on both sides of the line marked. Move the grainline if required (just make sure it’s parallel to the original grainline).

Step 2
Cut through the horizontal lines.

Step 3
Tape pieces of pattern paper on the lower section of each pattern piece (top edge of each piece). Extend the grainline onto the paper.

Step 4
Mark a horizontal line on each piece to indicate how much height you would like to add. This needs to be the same amount for each piece as we are adding length the whole way around the pants.

Step 5
Attach the top section of each pattern piece onto the pattern paper, lining up the bottom edge with the line marked in the previous step. Use the grainline markings to help you keep things lined up correctly.

Step 6
Re-draw the seam lines with gentle curves across the alteration.

Finalise the pattern
Once you have made the alteration, just make sure to check the seams. This is really important when making any alterations to a pattern. You can see this post for an example of how to do that.
Happy sewing,
Emily
For more issues of the Q & A series, you can check out the archive here.
What you’ve been making

Collins top made by @fabric.swagger

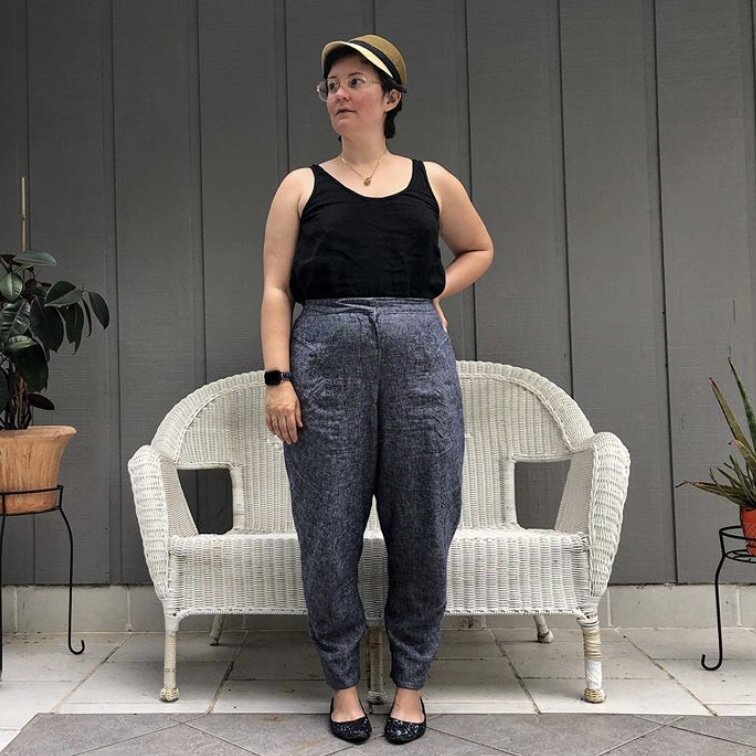
Darlow pants made by @lee_does_stuff_


Peppermint wrap skirt made by @calexan4