THE Q & A SERIES
Ormond coat questions answered!
With each new Curated by ITF project we release we get lots of fantastic questions from our members in our private online community. From new sewists to the more advanced, there’s ALWAYS something to learn.
And of course, we love to answer them! Our daily to-do list includes checking in with our community to get to know them, see what they’ve been chatting about and answering their questions in ways that make their sewing experience easier and more enjoyable.
Here’s a few we’ve answered recently which you might find helpful too.
INTERFACING ON ORMOND VIEW A BUT NOT VIEW B?
Question from Curated member, Kim:
I was flipping through the instructions and note that on View A the coat hem and sleeve hems are interfaced but the View B ones are not. I’m assuming it has something to do with the length, but curious as to why the hems (especially the sleeves) are interfaced?
Emily’s answer:
Good question Kim! I went back and forth about this decision and opted for only interfacing on View A because of the length and the more traditional style of View A.
Interfacing adds a bit of extra weight to the hems, so this helps it sit nicely and helps with the folds. For View B, because it's a more casual style I decided to leave off the interfacing. You could add interfacing to View B if you wanted to.
BIAS BINDING WIDTH FOR THICK FABRICS?
Question from Curated member, Michaela:
Emily, you mentioned about not buying bias binding yet if using a thick fabric, to ensure it’s wide enough. I’m using a vintage pure wool blanket for View A. What would be the best way to work out what width bias binding I need?
Emily’s answer:
What I'd do is stack three layers of your fabric together and sew them together with a 1.2 or 1.5cm seam allowance.
Start with the binding width you think would work best and test it out by sewing it to one edge. If it's not wide enough, trim it off and sew the seam again and then try with a wider binding. Sara (our pattern tester who made the wool version) said that the bulk through the vent is the main place she needed the extra width in the binding. She made her binding 4cm so that's the width I would try at first.
ORMOND COATS FOR MEN?
Question from Curated member, Lucy:
How would it be best to adjust the Ormond coat pattern for men? Just from chest down straighten it?
Emily’s answer:
This is a good question! To be honest, I'm not sure. I'm a womenswear patternmaker so only have very limited experience with mens patterns. For the G-P range you would need to alter the pattern due to the bust dart, but for the A-J range I think it would be worth giving it a go.
My approach would be:
Choose size based on chest measurement (in relation to bust)
Definitely make a toile to check the fit. The areas I'd be wanting to have a good look at would be across the back and shoulders and through the arms / bicep
Due to it being a raglan sleeve it is easier to make adjustments through the shoulder than a set-in sleeve, so I'd be sewing the shoulder seam with a basting stitch so it's easy to unpick if you need to add in some of the seam allowance.
I think the pattern would be easy enough to alter for menswear after you've looked at the toile to check everything.
Check the length of sleeves, length of body of jacket and pocket position.
Comment from Curated member, Jo:
I just noticed that Friday Pattern Company have a blog post up about adjusting a cis male jacket pattern for cis female body shape - the principles in reverse might help you. Here it is.
TOPSTITCHING ADVICE?
Question from Curated member, Sarah:
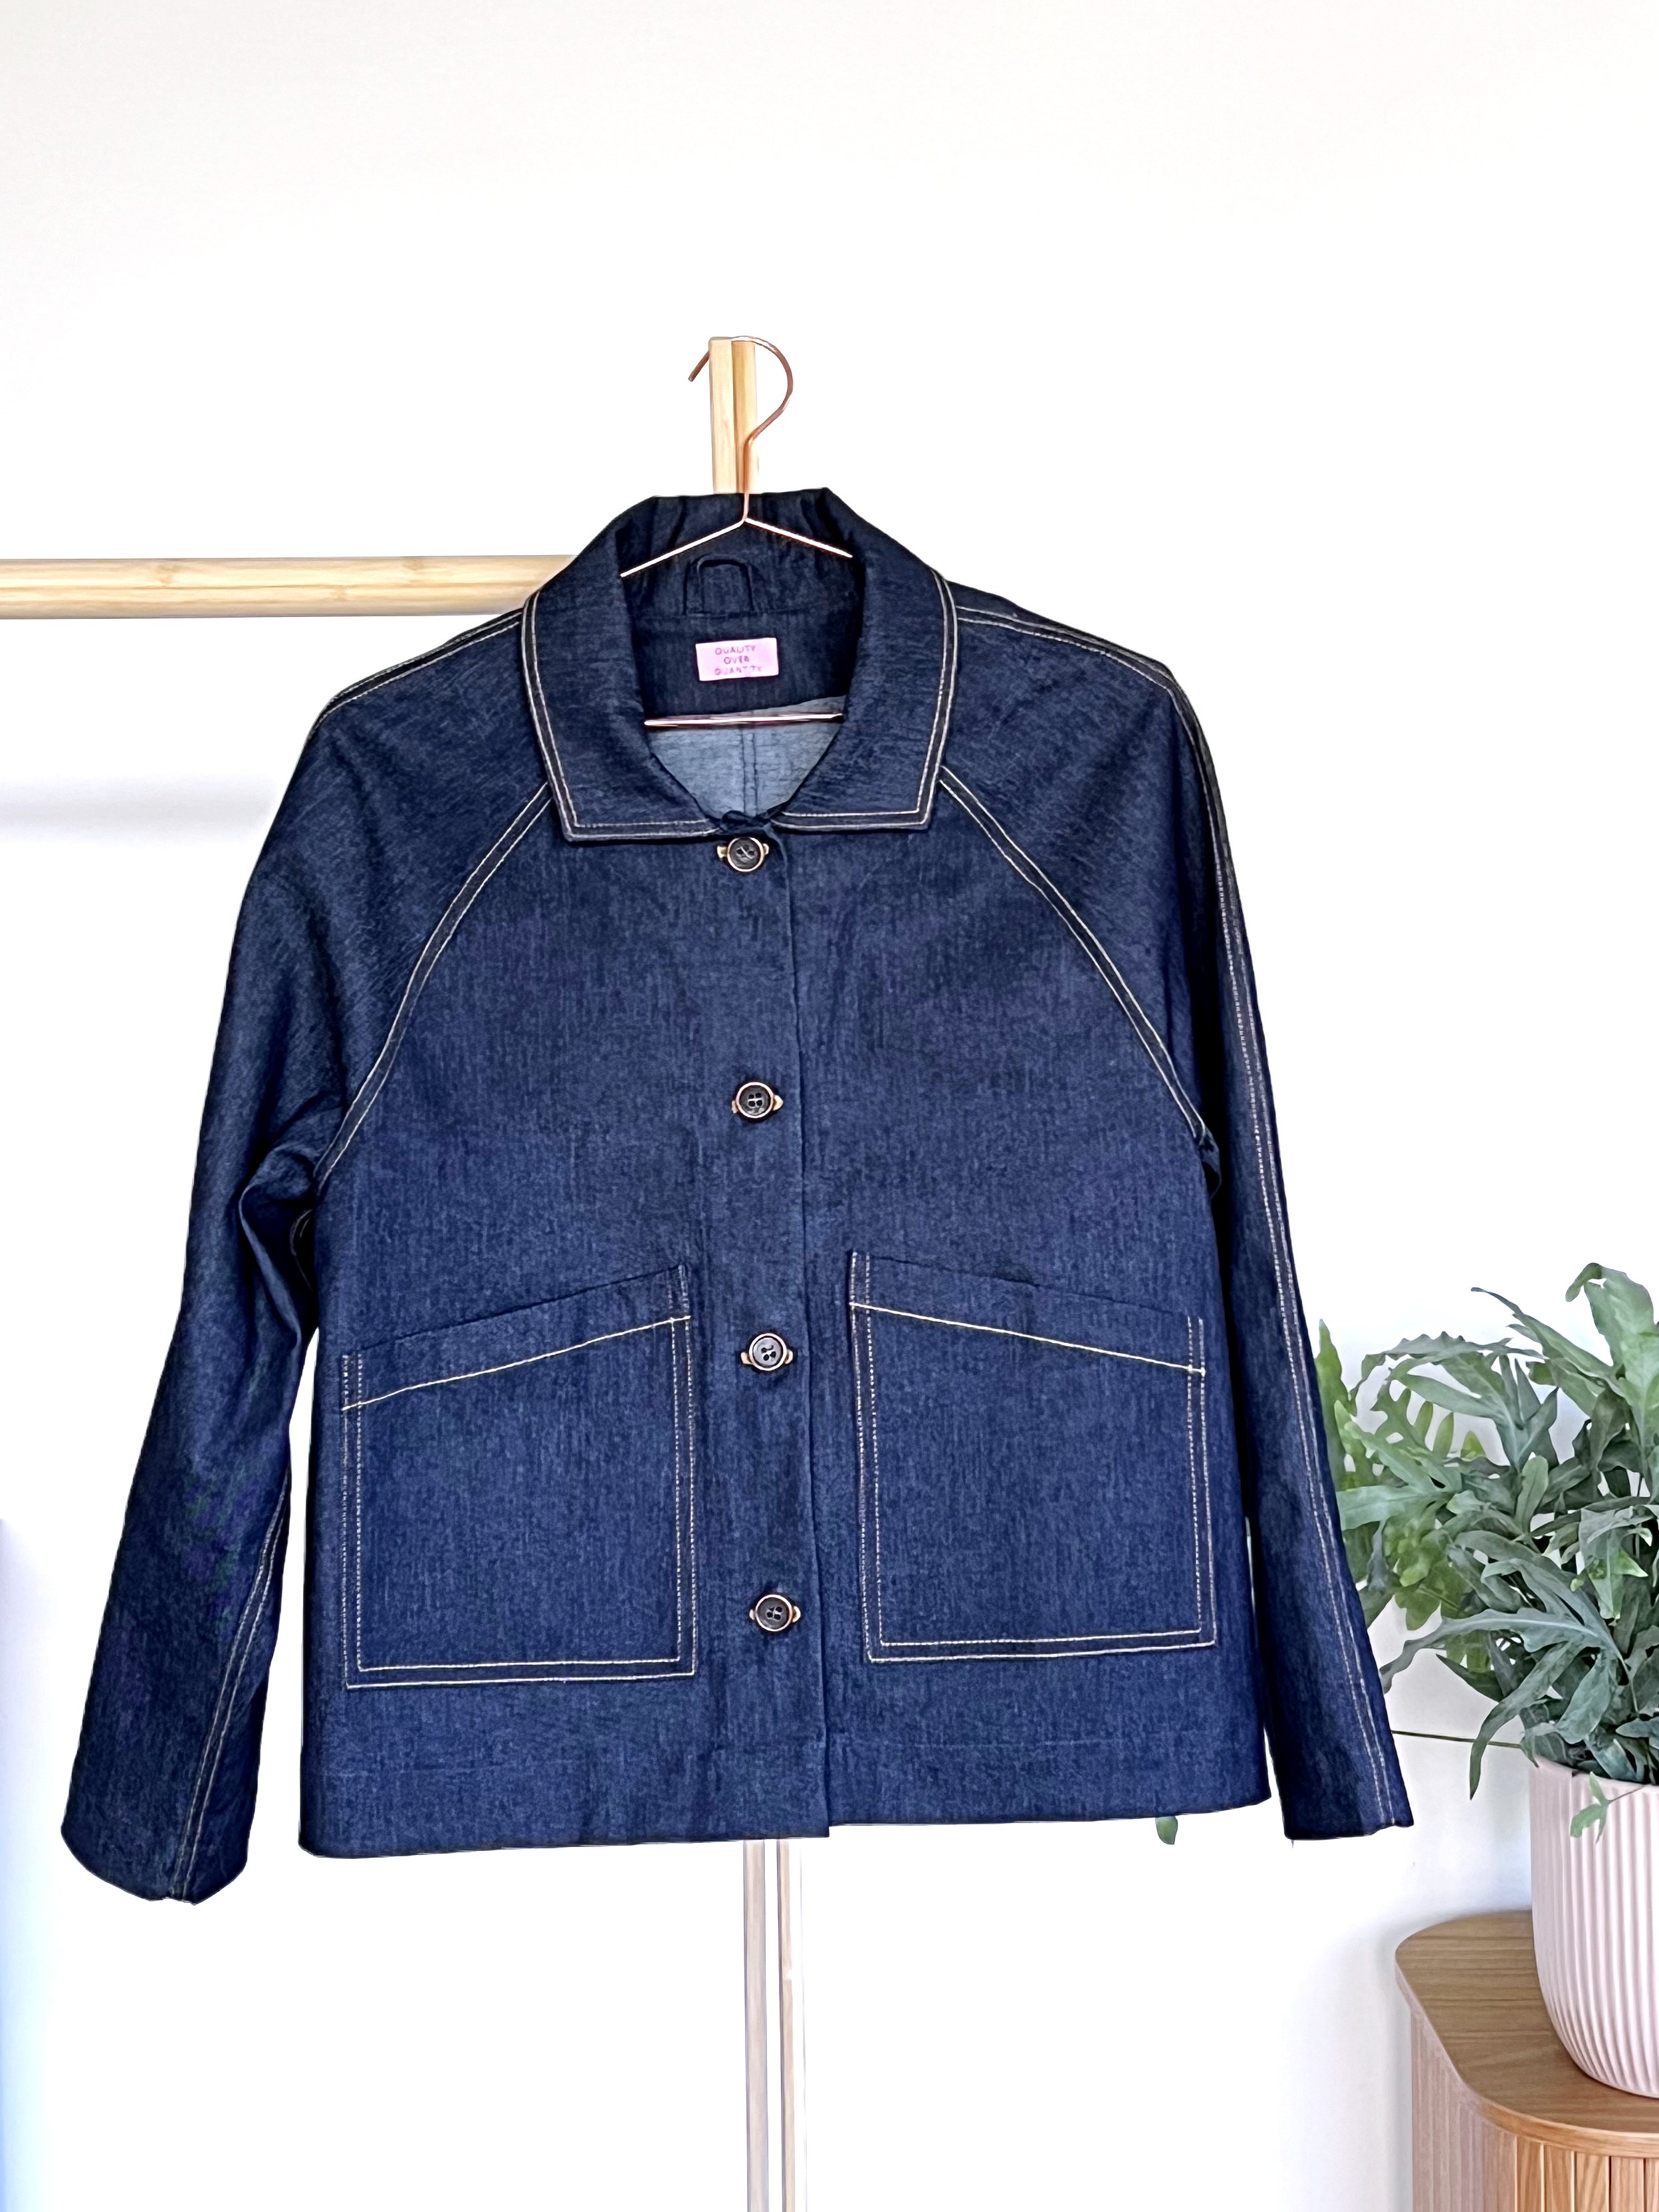
I'm interested to try contrast topstitching. I have a dark sea green cotton twill and am considering a cyclamen pink thread. Do I use the one thread for everything or swap it in when there is an obvious top stitch?
Leanne’s answer:
That sounds like such an awesome combo! I would only switch in the topstitching thread in areas where you want topstitching to be visible.
For other purposes like stay stitching or anywhere you don't want visible top stitching (in my case that meant the facing stitch line and hems) then just use your regular matching thread.
FYI - I used 2 spools of top stitching thread for my Ormond Coat but I played thread chicken at the end, it was really down to the wire. Having three spools on hand would have helped ease the stress levels! (But I also did have to unpick and redo a couple of topstitched areas, so you might find you can get away with two spools, depending on which size you are making. (I made an E) Hope all this helps!
And finally—a tip from Curated member, Lynda!
Today I finished a lined wool jacket and thought I'd share a tip I wish I'd known. The fabric is mid blue and I used the white interfacing I had, not knowing it would show when I cut open the large thick buttonholes which have two layers of wool + interfacing (boo!). A fusspot sewist thing for sure that only I will see, but next time I'll definitely consider the colour!
As well as giving you a little insight into the kind of place our private online community is (read: fun, happy, super inclusive and ALL about sewing!), I hope these questions have helped you on your sewing journey. And if you’d like to have help just like this at your fingertips, sign up to our Curated by ITF sewing subscription and get the Ormond coat pattern as well!
Happy sewing,
Emily
RESOURCES MENTIONED IN THIS ISSUE
Our private online community is an In the Folds sewing resource available exclusively to members of our Curated by ITF subscription. Each month we share additional resources that relate to the current project, as well as answer questions our members might have about anything sewing related. Past issues are now available for purchase by current subscribers.
For more issues of the Q & A series, you can check out the archive here.
WHAT YOU’VE BEEN MAKING
Rushcutter dress made by @hollyhenmakes
Rushcutter dress made by @yellowdoormakes


