THE Q & A SERIES
WHAT YOU NEED TO KNOW TO
SEW PANTS THAT FIT
How do you make a pants pattern fit?
Thanks,
Nancy
Hampton Georgia, United States
Hi Nancy,
That’s a great question. How to sew pants that fit is a question we have answered in great detail in this month’s Curated by ITF project, the Pants Fitting pattern & Fit Kit!
We all know that fitting pants can be a little overwhelming. Just like our mantra here at In the Folds, what we suggest you do is slow down, take the pressure off and take it one step at a time. Keep reading to see what we believe you need to know to sew pants that fit, plus we share a Pants Fitting Checklist that you can use whenever you’re working through the fitting process.
BE WARY OF OVER-FITTING
Before getting started with fitting a pair of pants we suggest you get a clear goal in mind.
It is important to remember that the goal is not to make pants that have no creases. This is called “over-fitting” and indicates that the pants have no ease in them. As you can imagine, this would make them very uncomfortable to wear and to move around in! The goal is to make pants that are comfortable to wear and that you like the look of.
It can be easy to get caught up in fitting a garment perfectly - especially as you're standing in a static pose, in front of a mirror, wearing calico.
Try to remember that as you move and use the real fabrics, the creases that seem to stand out while standing still most likely won't show up as much as they do in calico.
TAKE ACCURATE MEASUREMENTS
It’s a very good idea to take accurate body measurements with a tape measure before getting started. To do this, we recommend putting on some tight clothes, like leggings or just your underwear.
Take your waist and hip measurements first. Be sure to measure at the fullest part of your hips. Do this in front of a full length mirror and check from the side that the tape measure is not dipping up or down. It’s also a good idea to take your waist and hip measurements while sitting down, to ensure you will have enough ease while sitting.
If your measurements are between sizes, use the finished garment measurements from the pattern to help you decide if you should select the smaller or larger size. This measurement shows the amount of ease in the pattern. If a pattern is somewhat fitted, we recommend selecting the larger size for your toile, as it is easier to remove fabric from the toile than add fabric in.
ALWAYS MAKE A TOILE
We all know what it’s like... You purchase (or draft) a new pattern and you just want to get into it and make it so you can wear it!
While this approach may work for some garments, when it comes to sewing pants, we strongly recommend you make a toile first. A toile is a test version of a garment, made from a similar, but often cheaper, fabric. You can read more about making a toile here. By making a toile you can check the fit of the garment, and make any adjustments before cutting into your 'real' fabric.
Consider increasing the stitch length on your machine. This makes sewing your toile faster, but also means it's a lot easier to open up seams if you want to make an adjustment during the fitting process. We suggest that you trace a copy of the pattern before making any adjustments. This way you always have a copy of the original pattern to refer to.
FITTING YOUR TOILE
Once you have selected your size and made your toile, you can do a fitting to check if you need to make any alterations.
This is a good time to mention that most of us will require some alterations. This is not to deter you, but to let you know that it’s completely normal to need to make alterations!
Patterns are designed to a standard shape, but most of us are not the standard. By reminding yourself of this you can see pattern alterations as another skill to add to your repertoire and see it as just another part of the sewing process instead of a chore.
When fitting your toile, try to be methodical. It can be easy to be overwhelmed by the process, but just remind yourself that one effective alteration can make a world of difference and will often resolve multiple issues.
Because of this, it’s also good to remember not to make too many changes once. Just make one alteration to your toile and then re-fit before doing anything else you think you need.
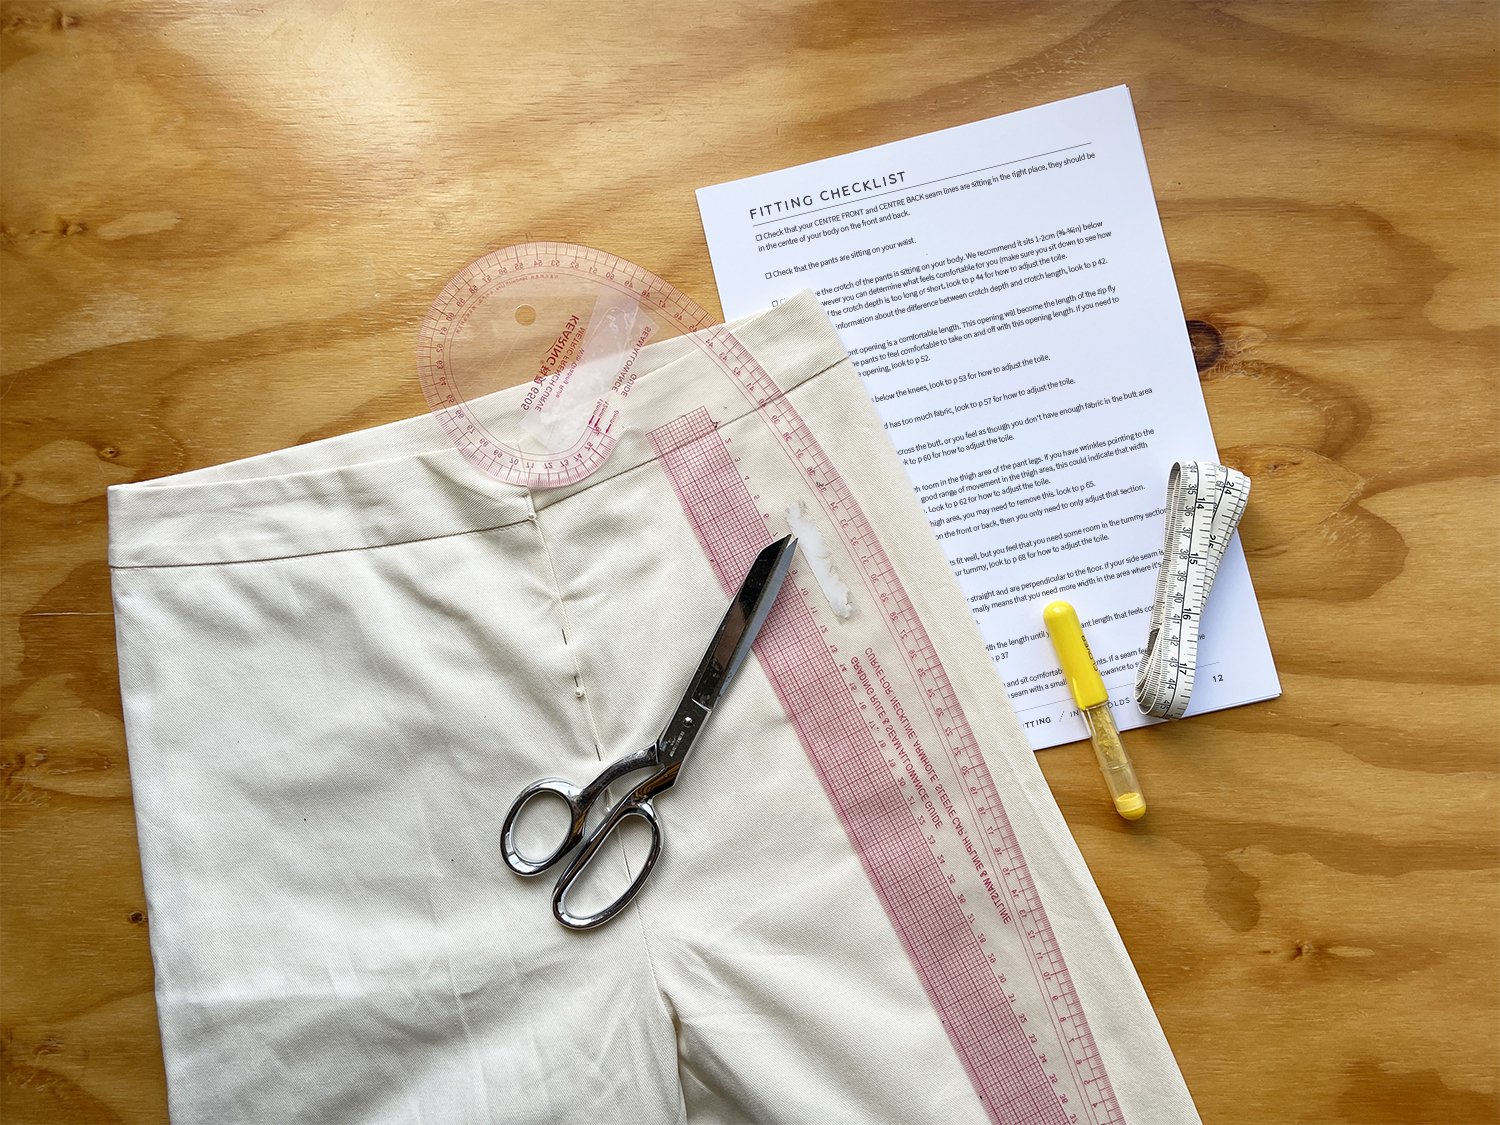
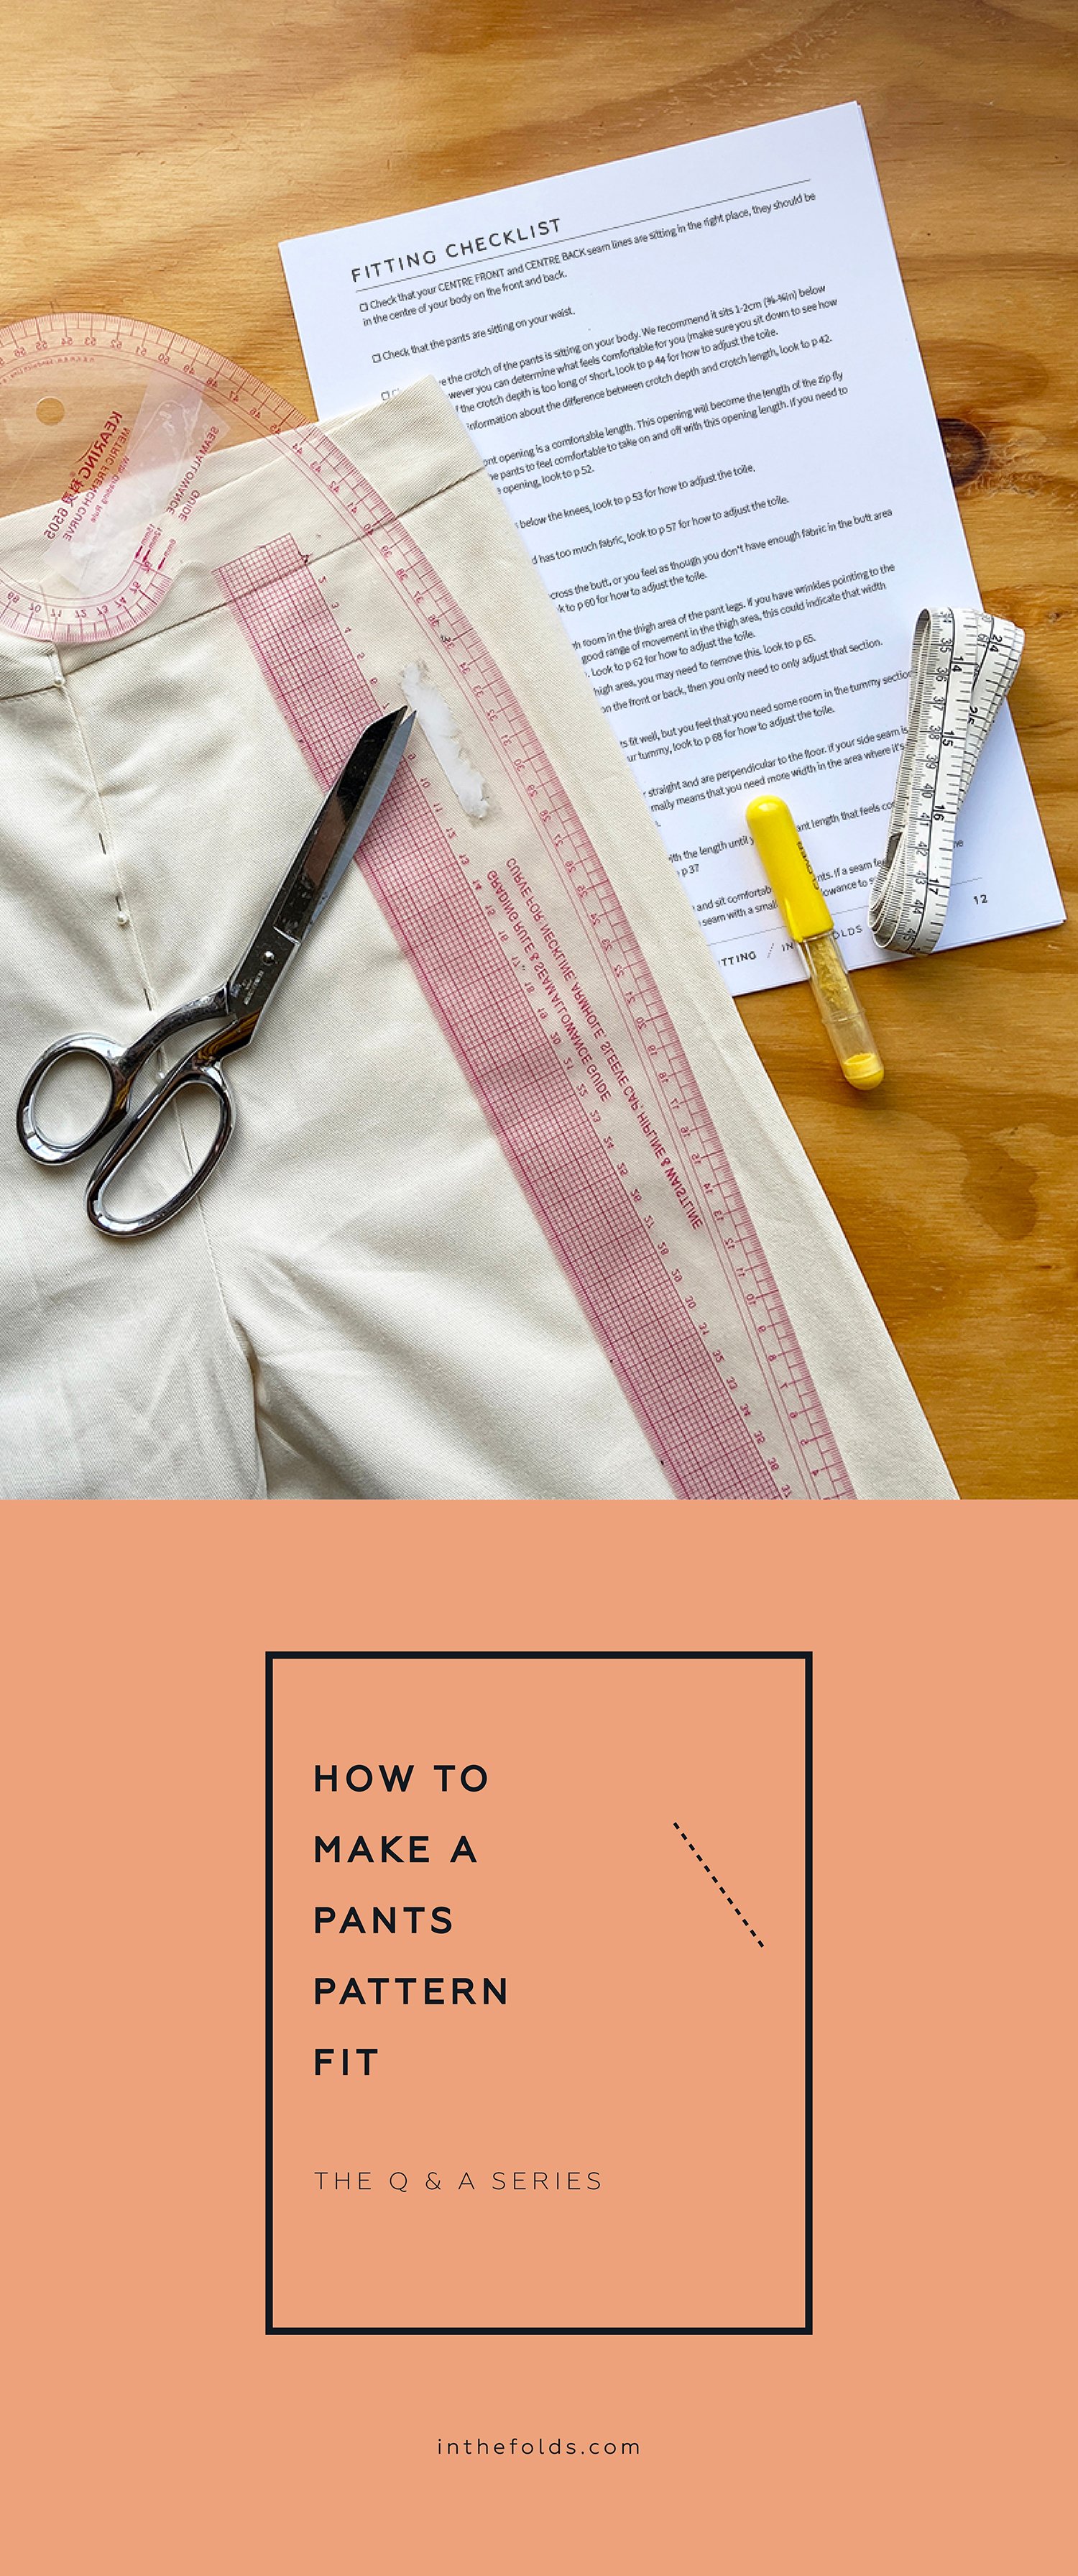
PANTS FITTING CHECKLIST
Our current issue of Curated by ITF includes an extensive Pants Fitting Checklist. We thought we’d share a few of the main things with you so you know where to get started:
Check that your CENTRE FRONT and CENTRE BACK seam lines are sitting in the right place. They should be in the centre of your body on the front and back.
Check that the pants are sitting on your waist (or where they are supposed to be sitting).
Check where the crotch of the pants is sitting on your body. Where this sits will depend on the pattern and how it has been designed.
Check that the opening is a comfortable length and you can get in and out of the pants easily. For example, with our pants fitting pattern it has a front opening for a zip fly front.
Check for drag lines on your toile. Drag lines are lines in the fabric that form when fabric is being pulled across a part of the body. It may indicate that there is not enough length or width in a certain part of the garment. Sometimes it can be easier to spot drag lines by taking a photo of your toile. Ask a friend or family member to take the photos or use a tripod or balance your phone on something and use a self-timer to take photos of yourself. Be sure to take photos from all angles.
Check that you have enough room in the thigh area of the pant legs. It’s a good idea to check while sitting too.
Check that you have enough room in the tummy area. If the waist and hips fit well, but you’re experiencing pulling across the front, you may need some extra room in that area.
Check that your side seams appear straight and are perpendicular to the floor. If your side seam is pulling towards the front or the back, this normally means that you need more width in the area where it's pulling.
Check the hem length. Have a play with the length until you get a pant length that feels comfortable for you.
Check that you can move and sit comfortably in the pants. Move around. If a seam feels tight, let out the seam with your seam ripper and re-pin the seam with a smaller seam allowance to see if this helps.
We hope this helps you get started on your pants fitting journey. If you feel like you still need a bit of extra support and encouragement, be sure to sign-up to Curated by ITF this month and work alongside our community!
Happy fitting,
Emily
RESOURCES MENTIONED IN THIS ISSUE
The Pants Fitting pattern & Fit Kit is the second part in our Pants Sewing project series, which is available through our Curated by ITF subscription. Past issues are also now available for purchase by subscribers. More information can be found here.
How to (and why) make a toile - read the tutorial here.
For more issues of the Q & A series, you can check out the archive here.
WHAT YOU’VE BEEN MAKING

Collins top made by @megmadesewing

Peppermint Peplum top made by @kali.makes


