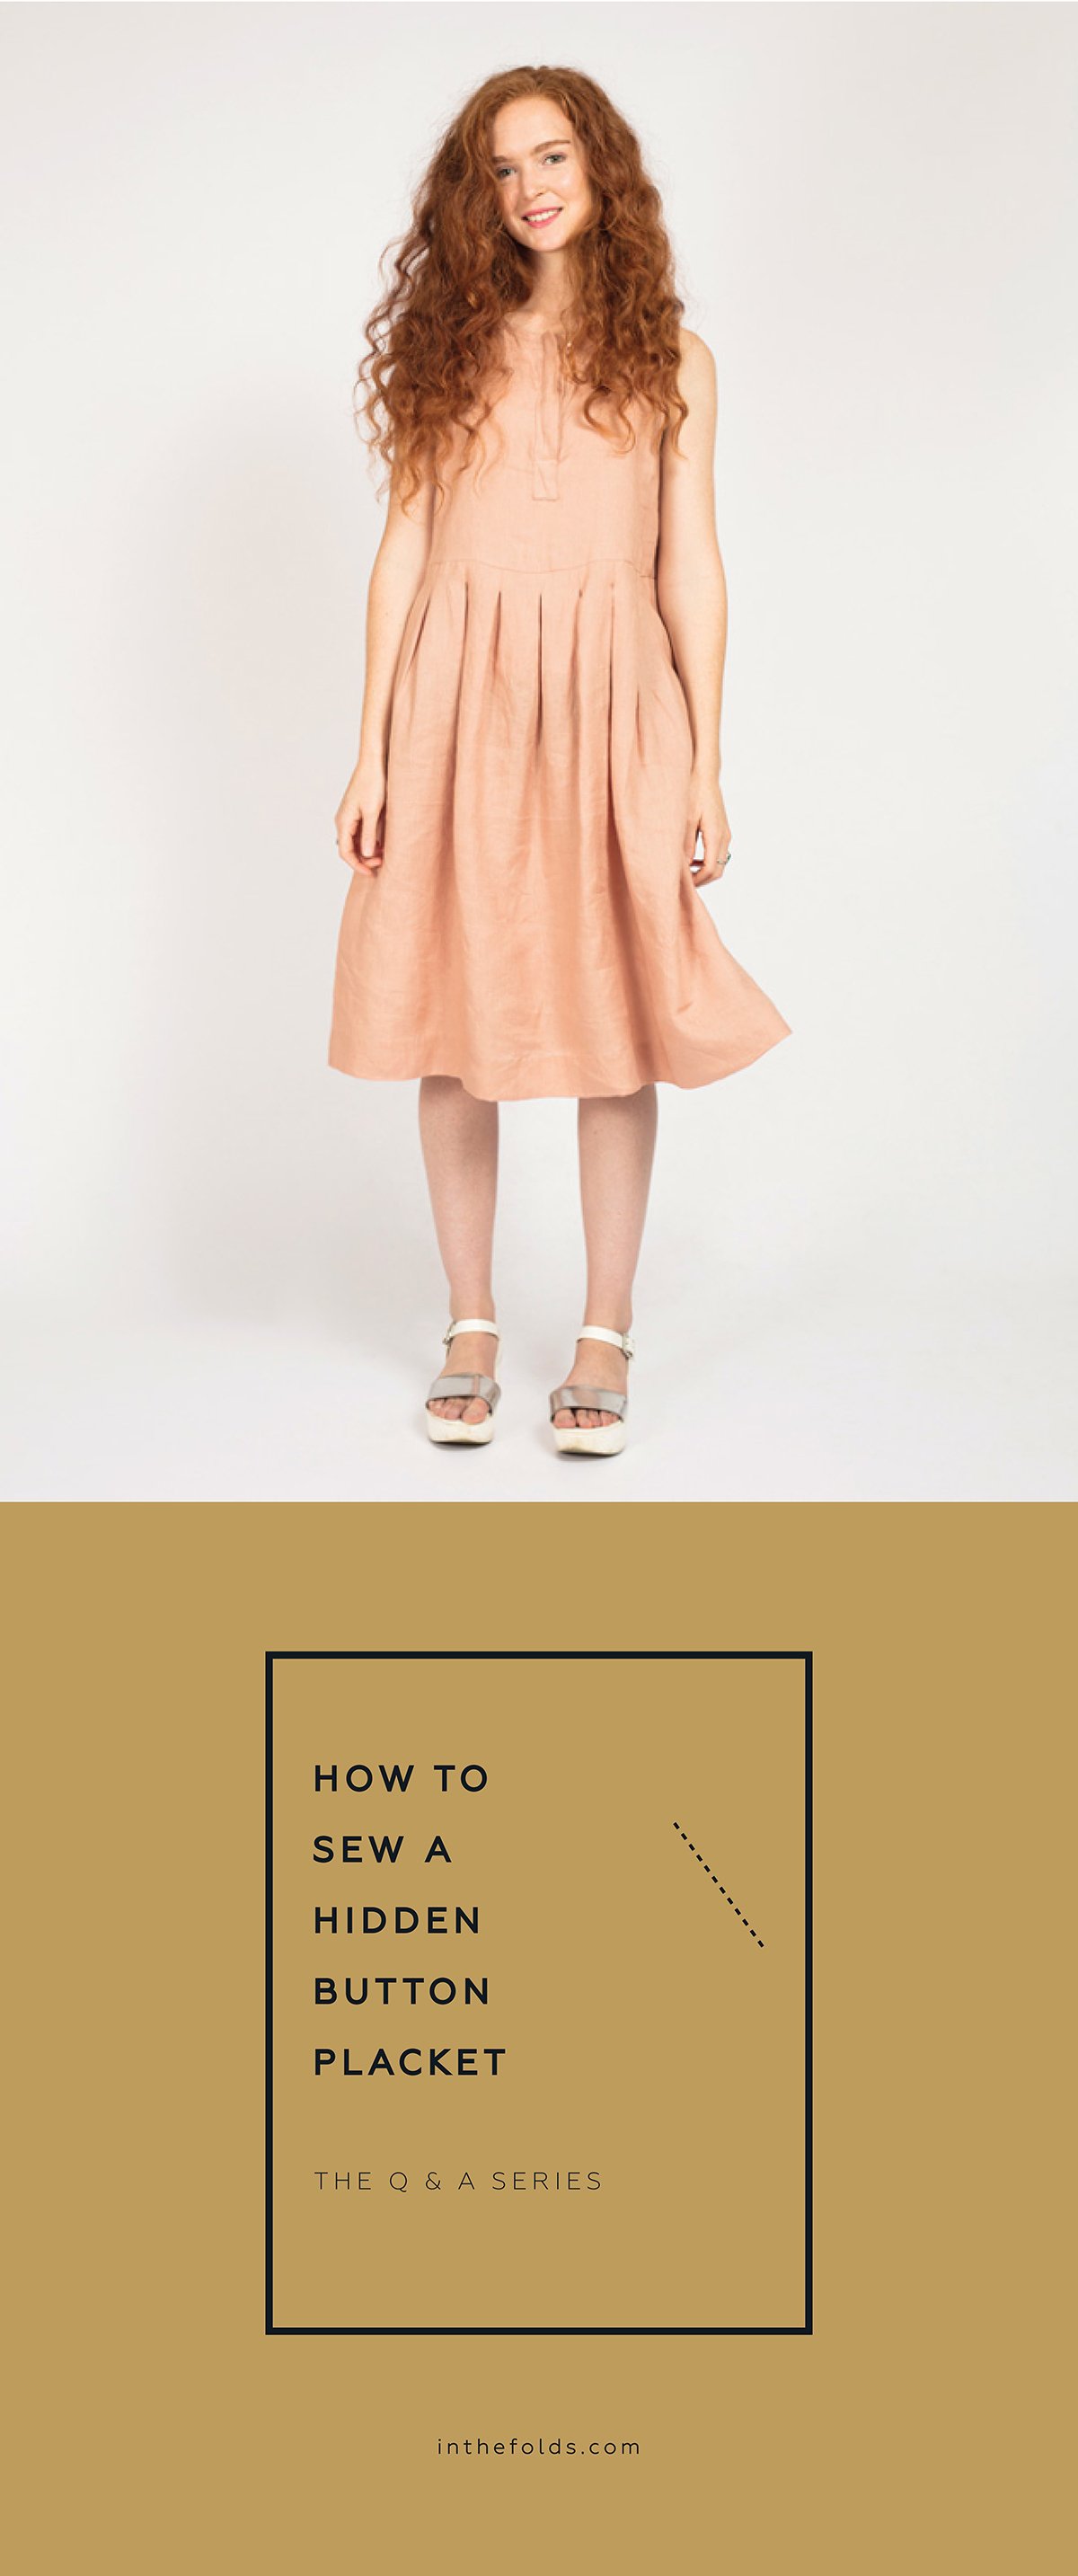
THE Q & A SERIES
How to sew a hidden button placket
What a lovely pattern the Peppermint Pleated dress is! I've been practicing the placket on some scraps before destroying some pretty linen, but I keep getting stuck on the last three steps. If ever you have a chance, a tutorial on how to make this button placket would be so appreciated.
Hi there,
It's always a good idea to practice new techniques on a scrap of fabric, so well done for doing that!
It's especially important for techniques such as cut-in plackets (like this one) and welt pockets as, due to needing to cut into the fabric, they are much more difficult to fix if you run into strife.
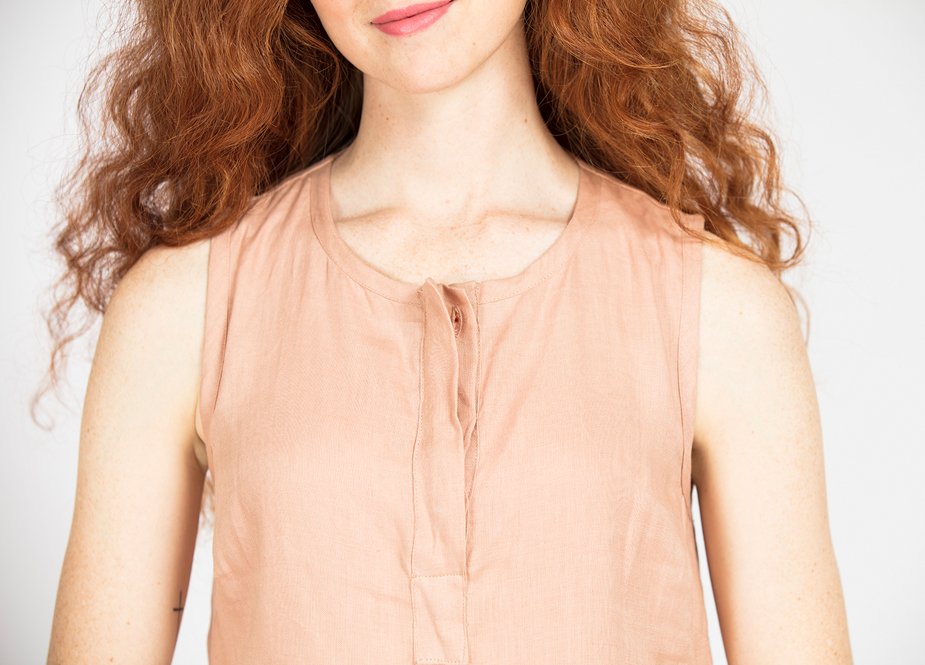
The placket on the Peppermint Pleated dress involves a number of steps and when you're done you will have a really gorgeous placket! Hopefully seeing some photos of the process will help you get your head around it so you can get the dress started!
A note before I get started - we normally only use these type of photos to aid in the instruction illustration process, so we apologise that for a couple of steps we don't have photos. Sometimes as we are photographing the steps we find a better way to do a particular technique, so this sometimes means we don't have a photo of the exact step. This will give you a little behind the scenes of how our instructions come together!
Prepare your placket
To start, prepare your placket according to the instructions (STEPS 7 and 8). Accuracy is very important when it comes to sewing plackets, so by taking these steps at the beginning you will make the sewing process much easier for yourself.
Attach placket
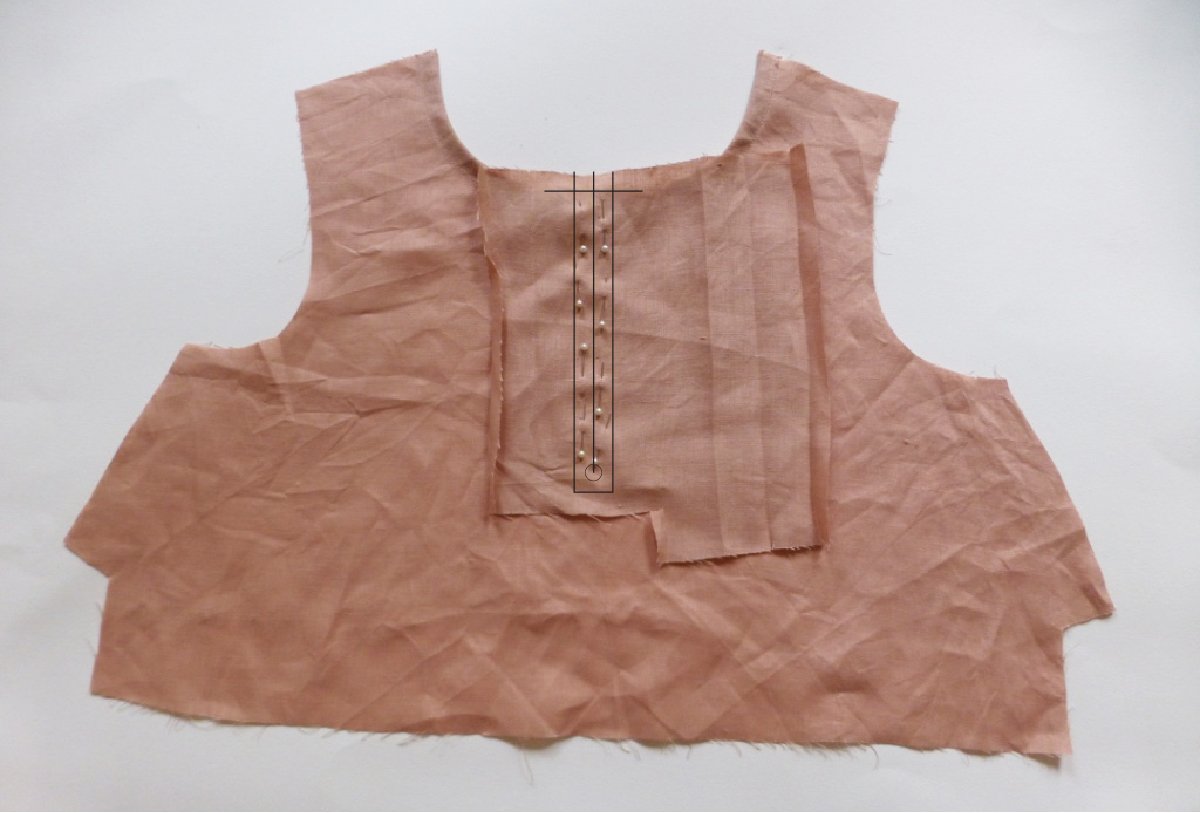
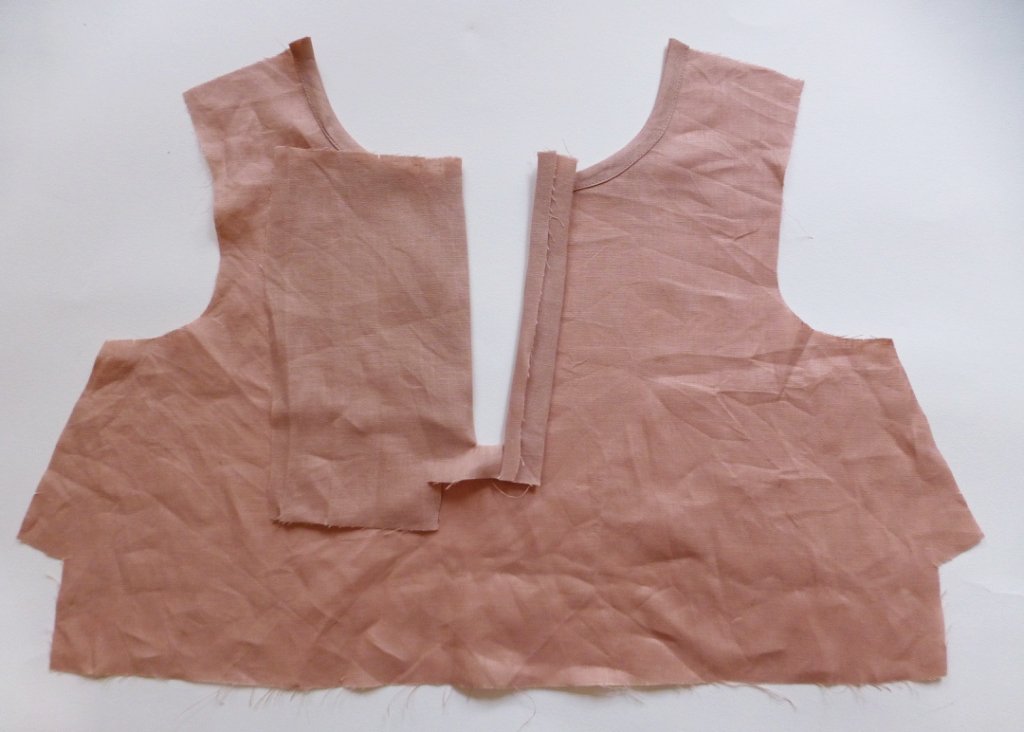
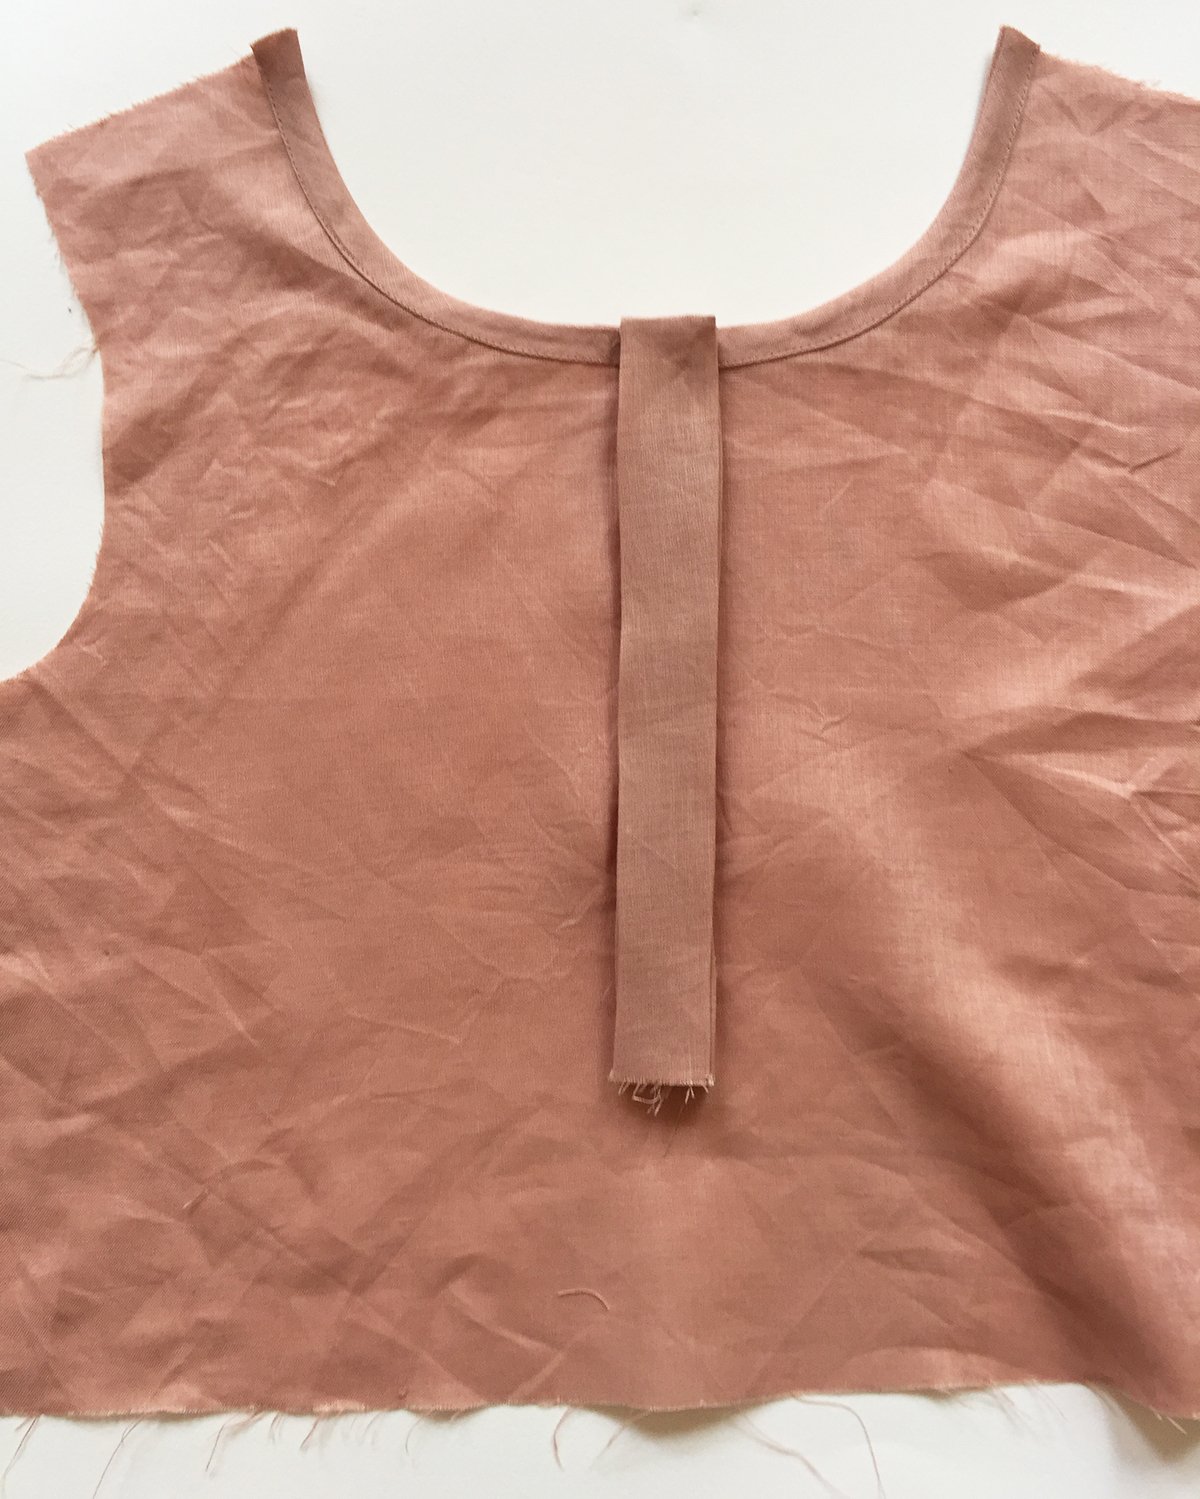
Take your FRONT BODICE [1] and fold the neckline in half. Use a pin to mark the centre front.
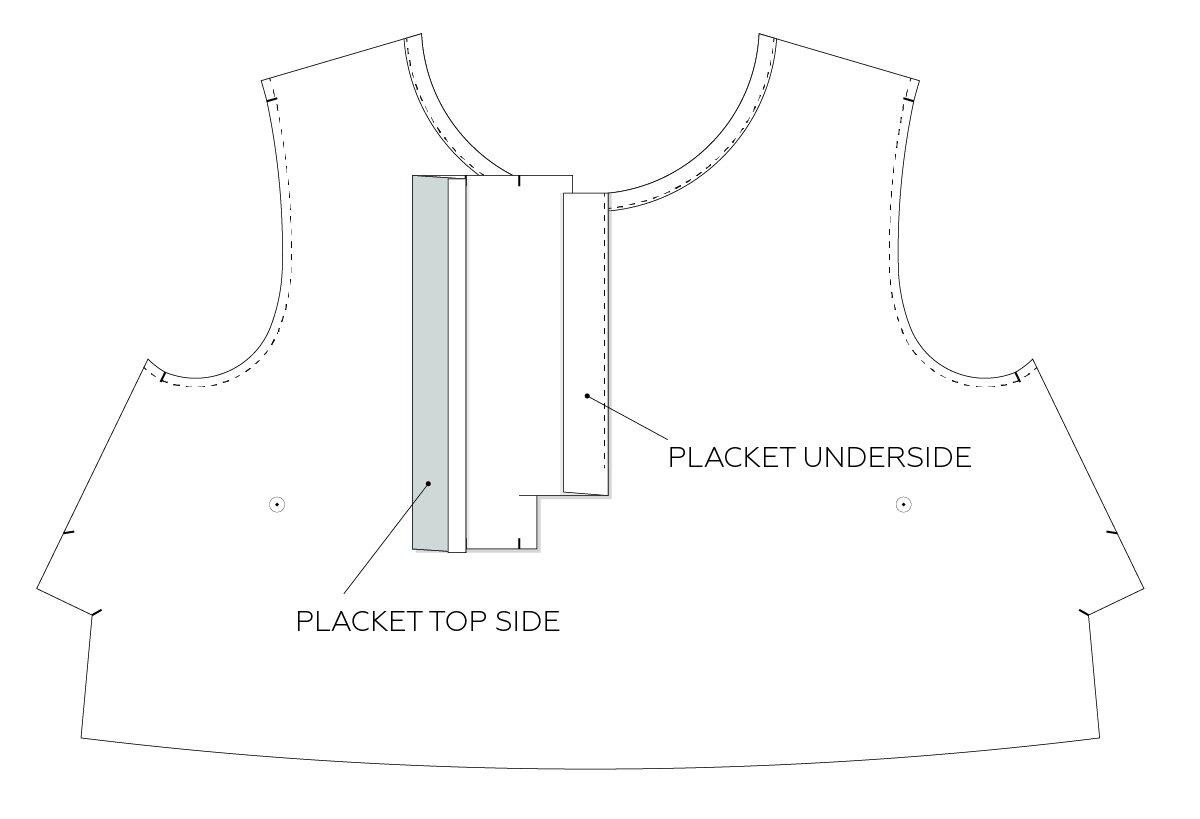
Take the PLACKET [5] piece and place it right side down on the wrong side of the FRONT BODICE [1]. Line up the 1cm (⅜in) guideline on the top of the PLACKET [5] with the neckline of the bodice. Align the cut line marked on the placket with the pin on the bodice and the drill hole underneath.
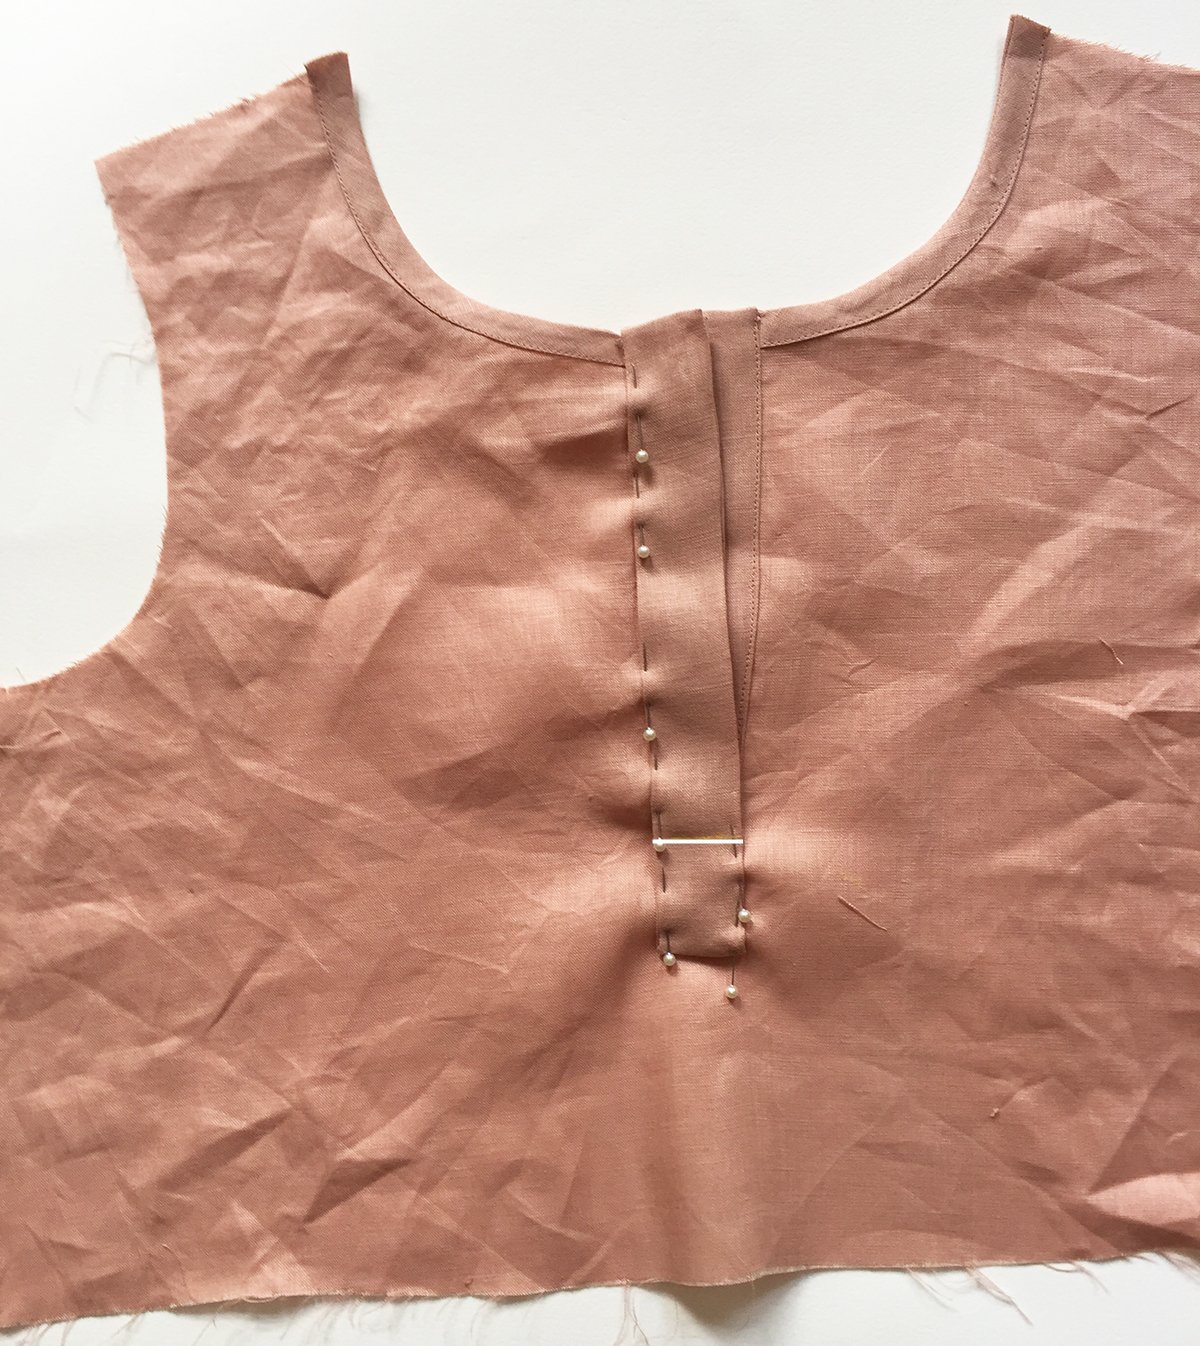
Pin PLACKET [5] in place along the lines of the “box” marked.

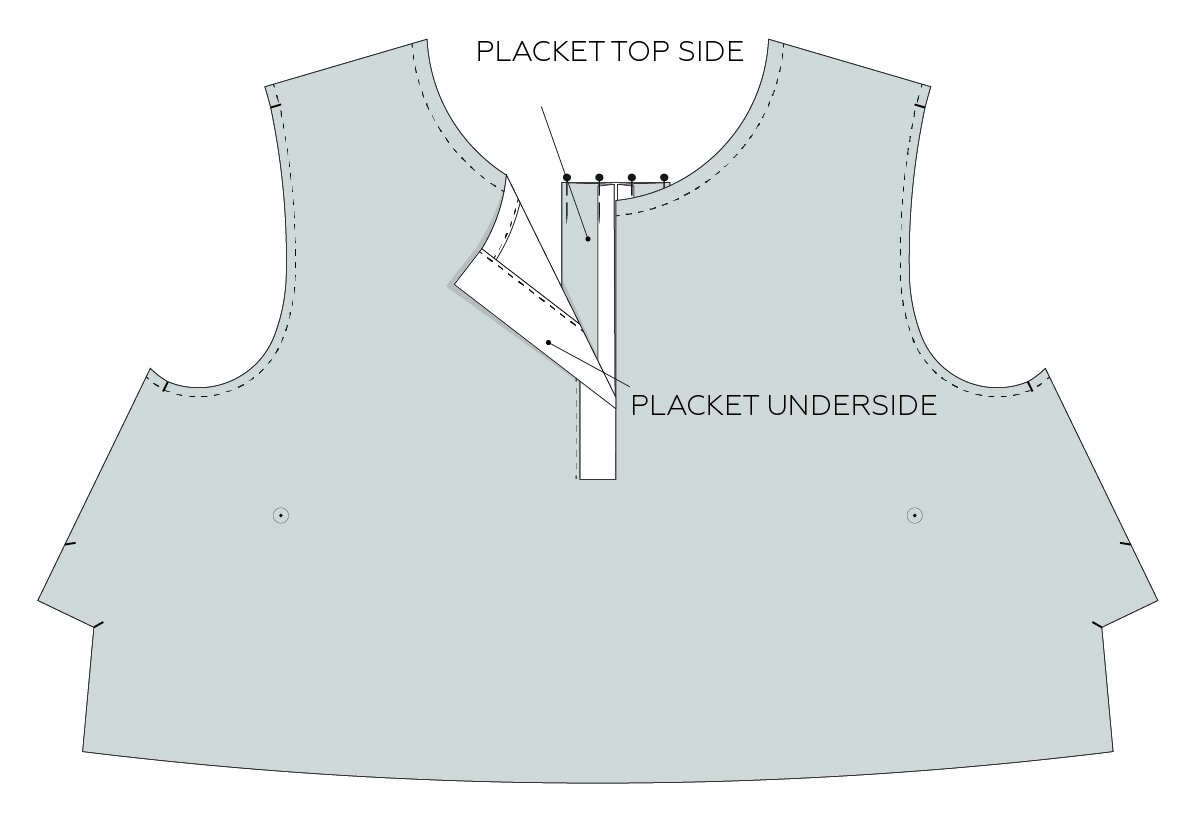
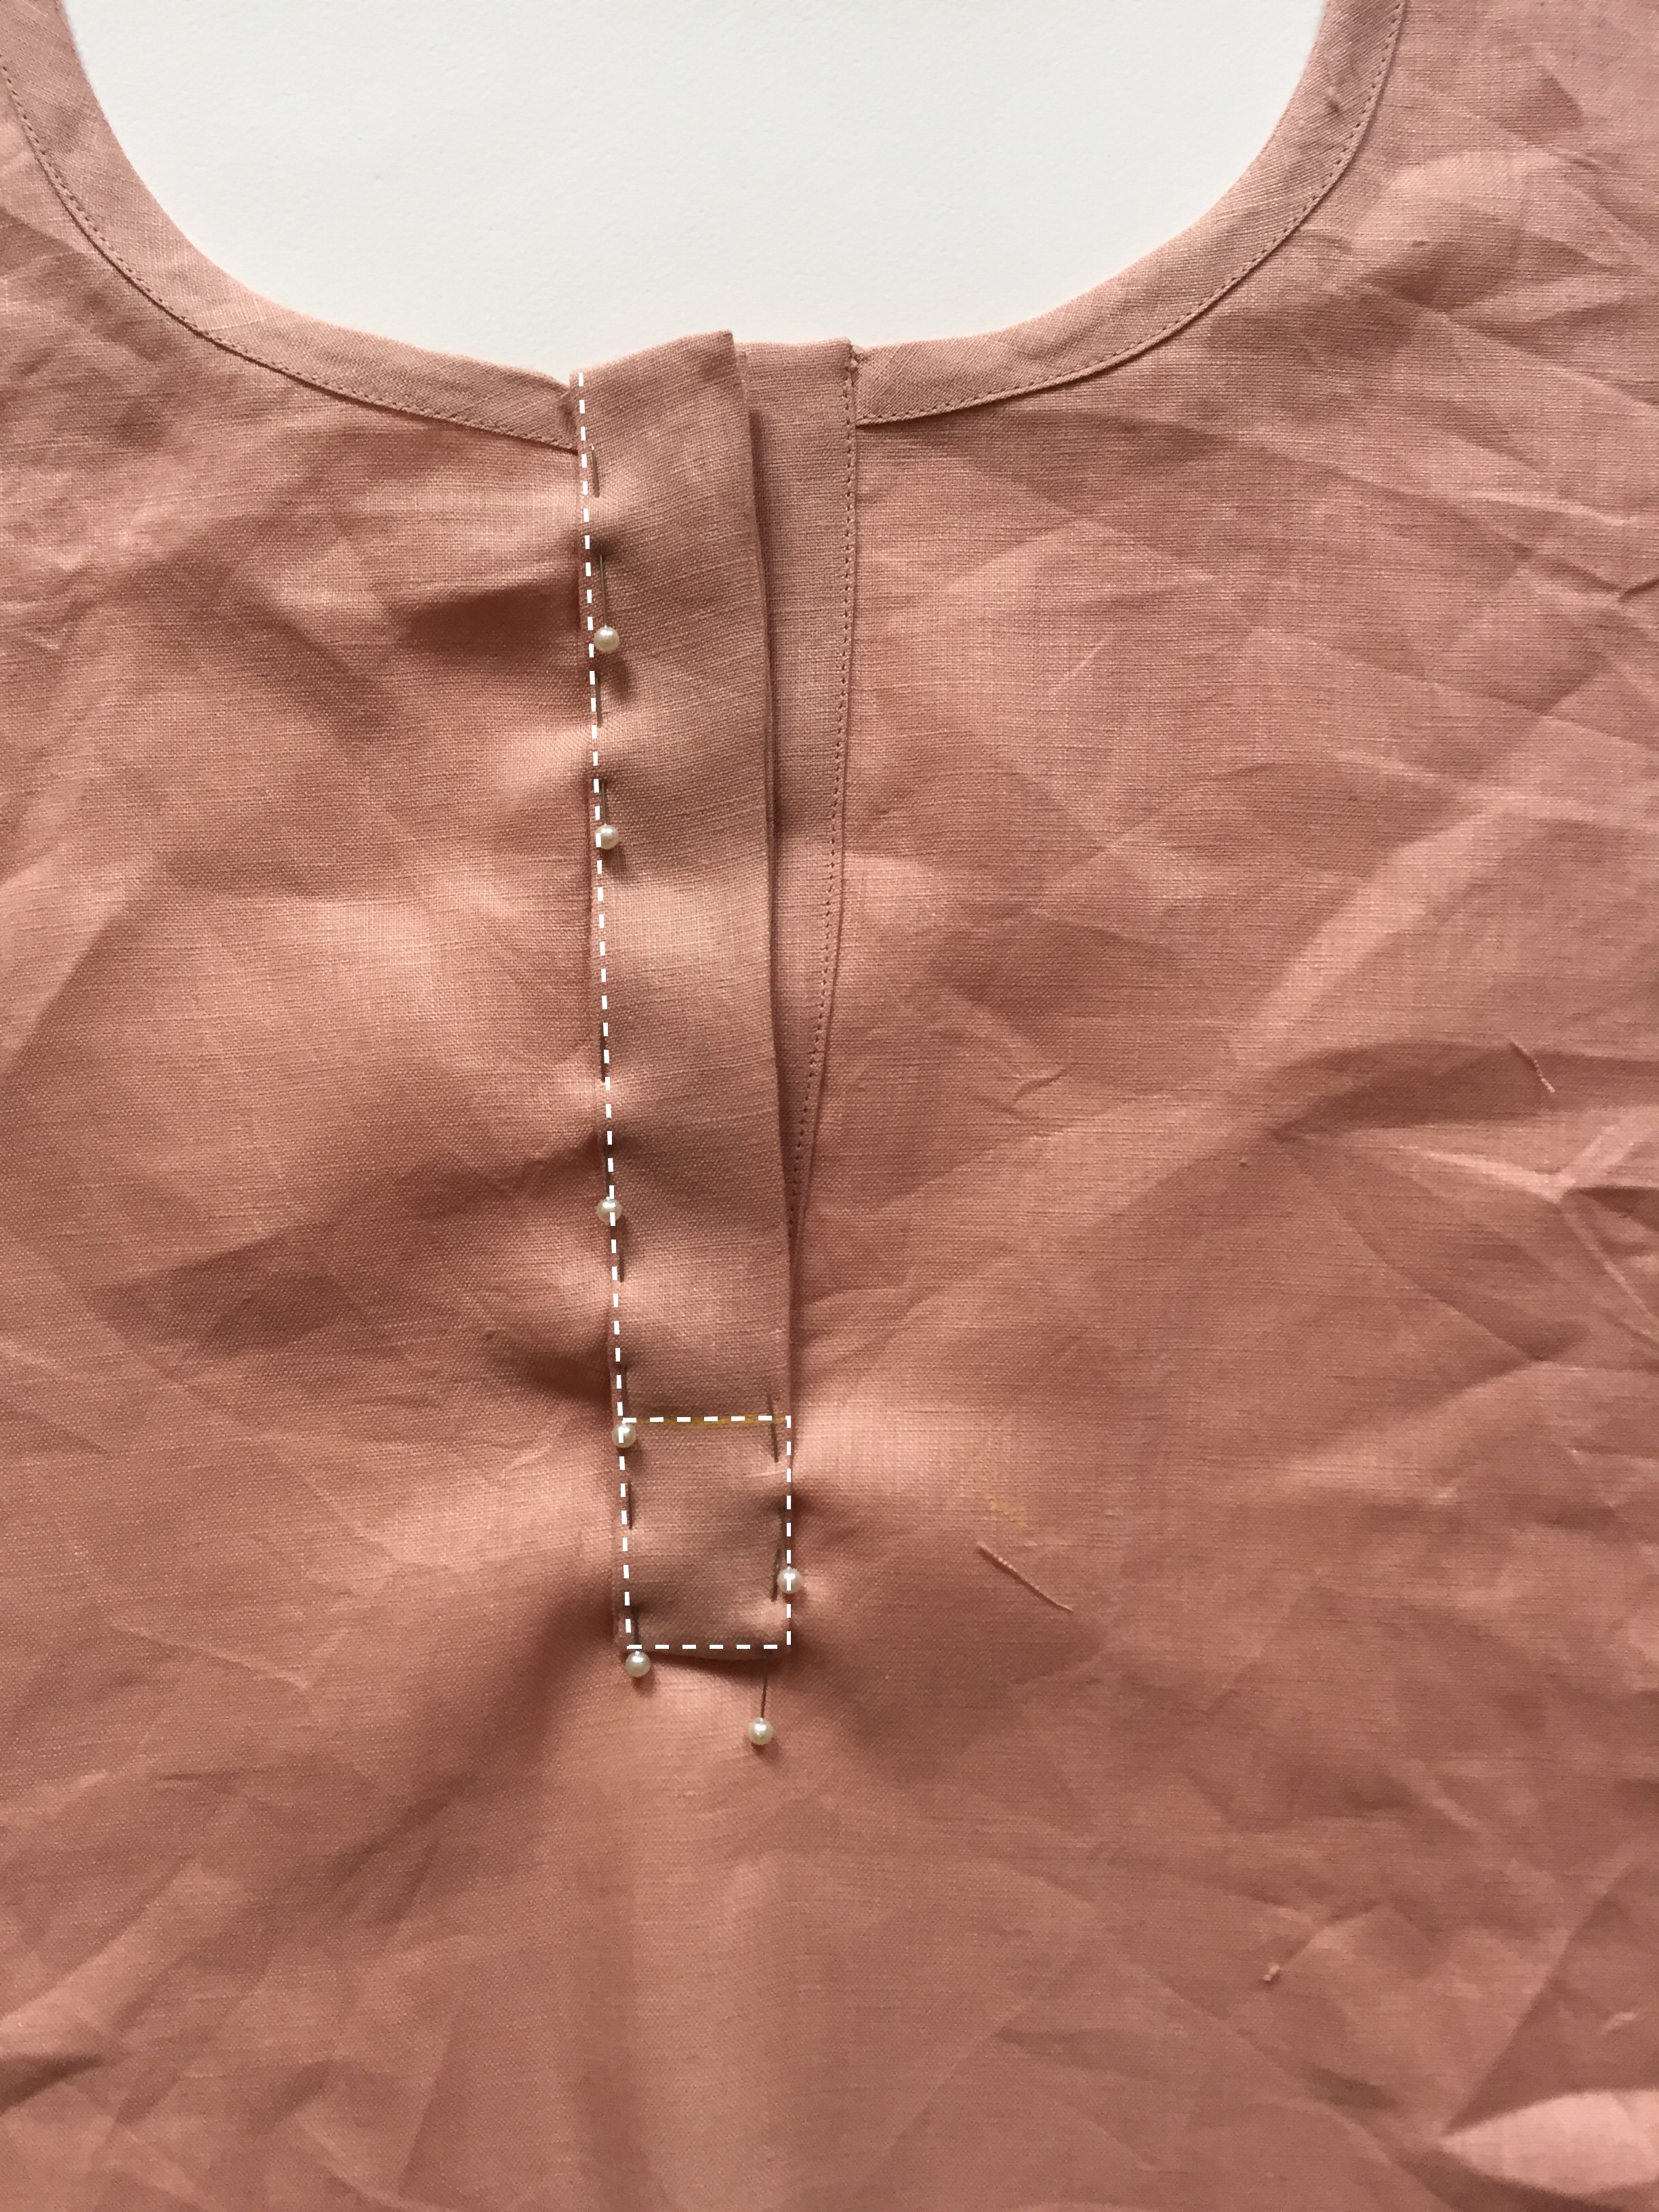
Stitch a box around the cut line (following your guide line marked) - walking in the stitches at each corner to ensure it is sewn precisely.
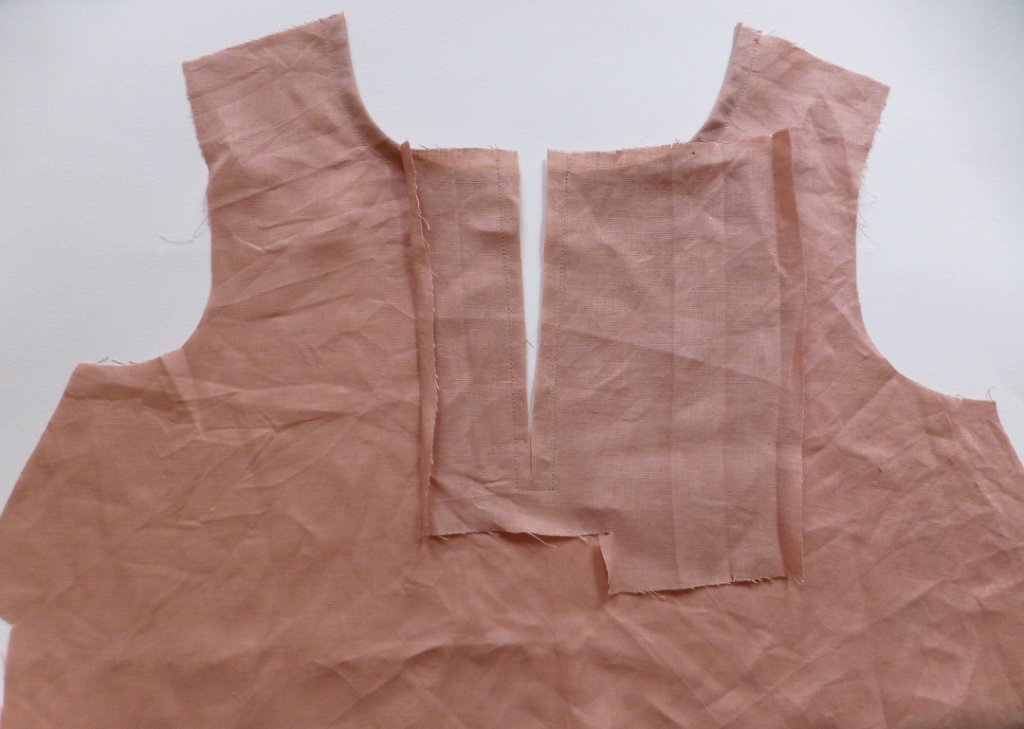
Carefully cut along the cut line, through the PLACKET [5] and the FRONT BODICE [1].
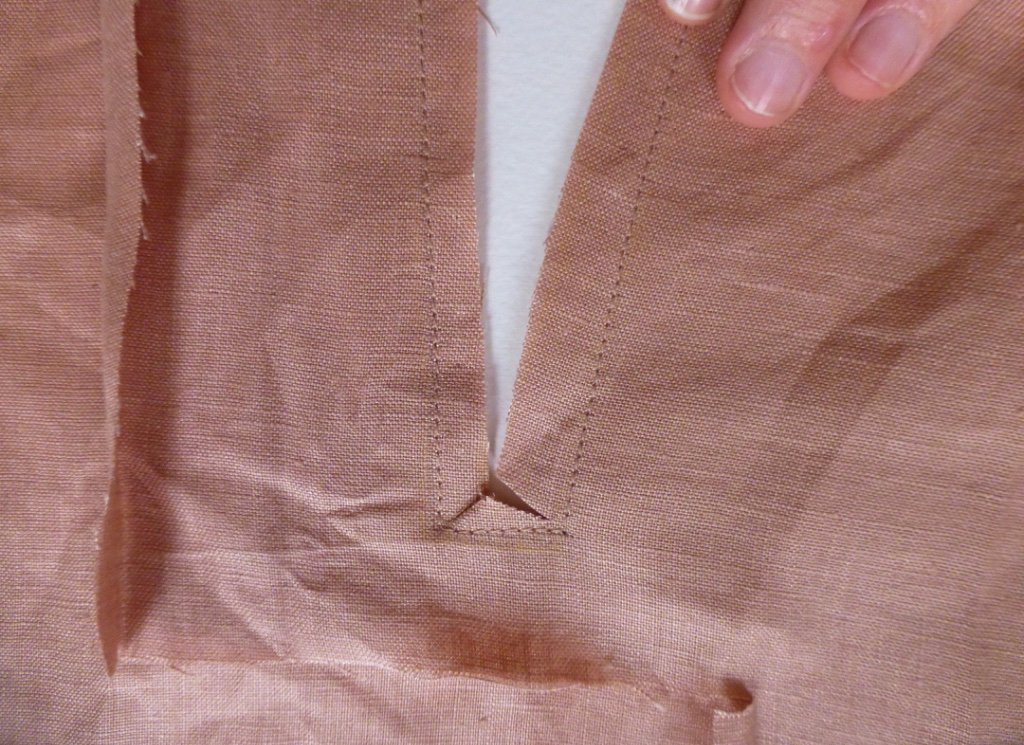
Cut in to each corner of the rectangle, getting nice and close to the stitch line, but not cutting through it.

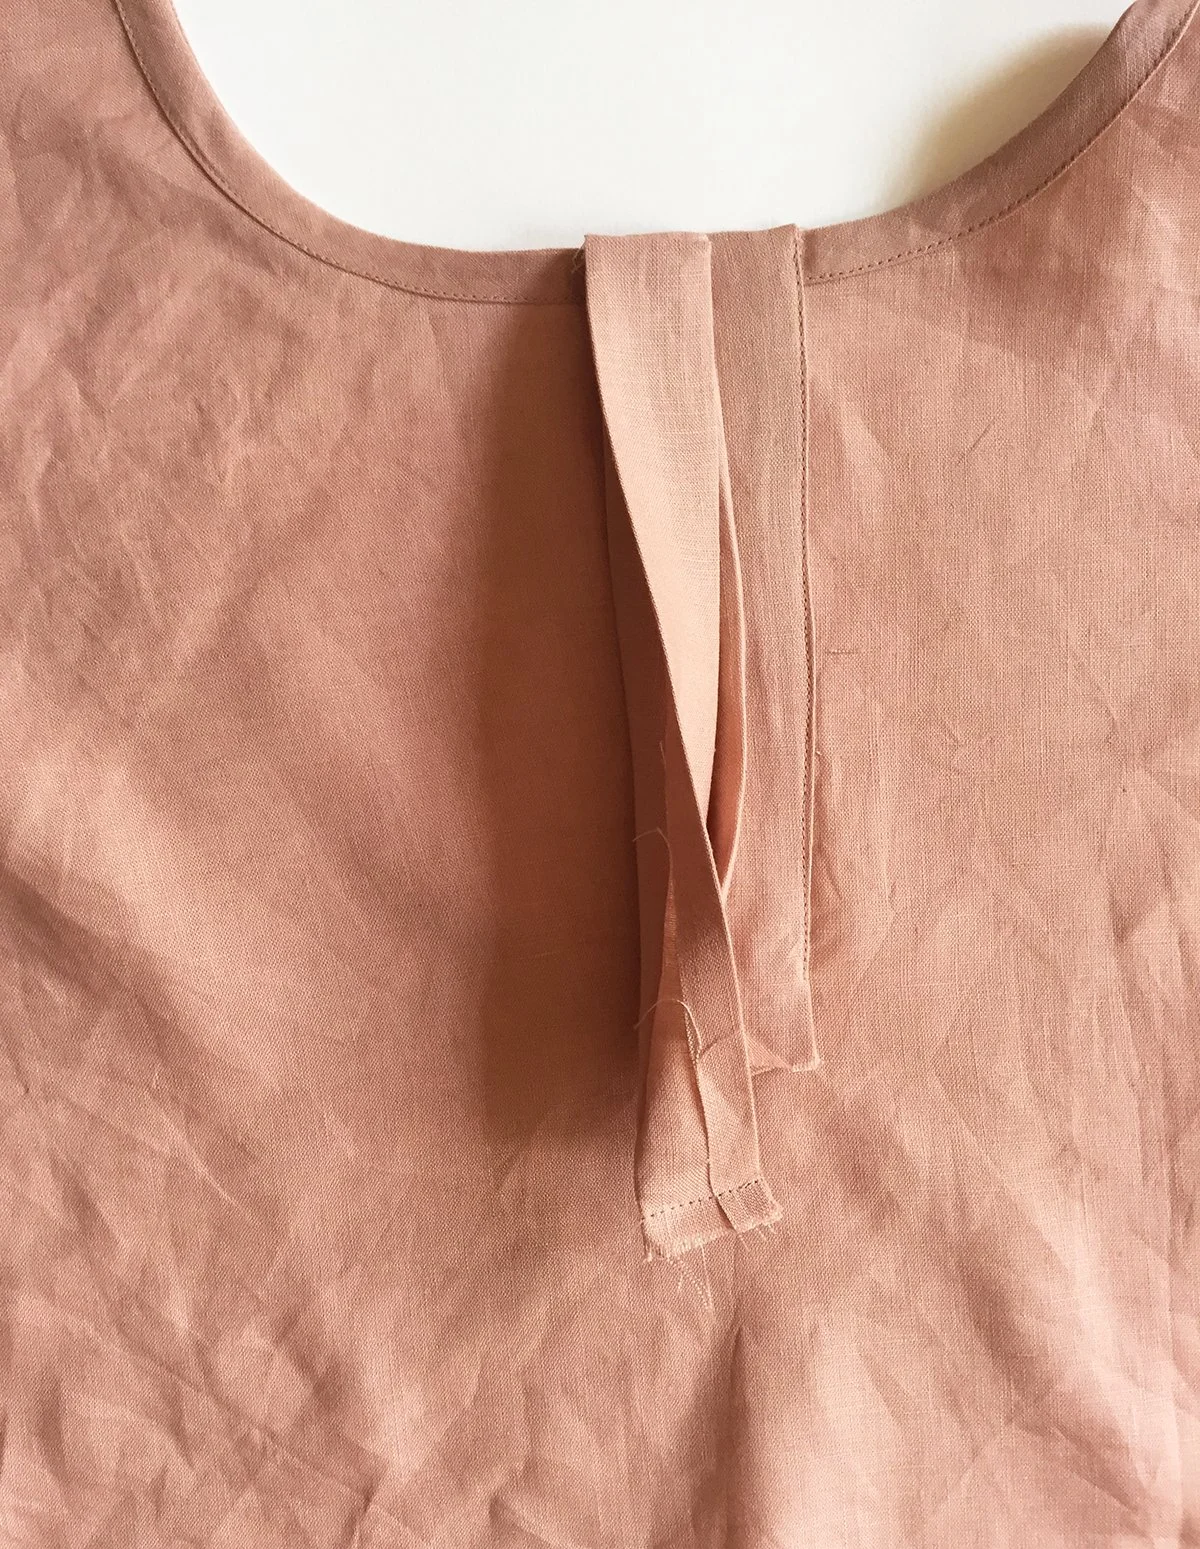
Flip the PLACKET [5] to the right side of the FRONT BODICE [1] and give it a good press along the seams and corners.
We will start by finishing the top edge of the PLACKET [5].
Focussing on the underside of the PLACKET [5], press the folded edge towards the seam of the opening, using the notches to guide you, so that the piece has right sides together.
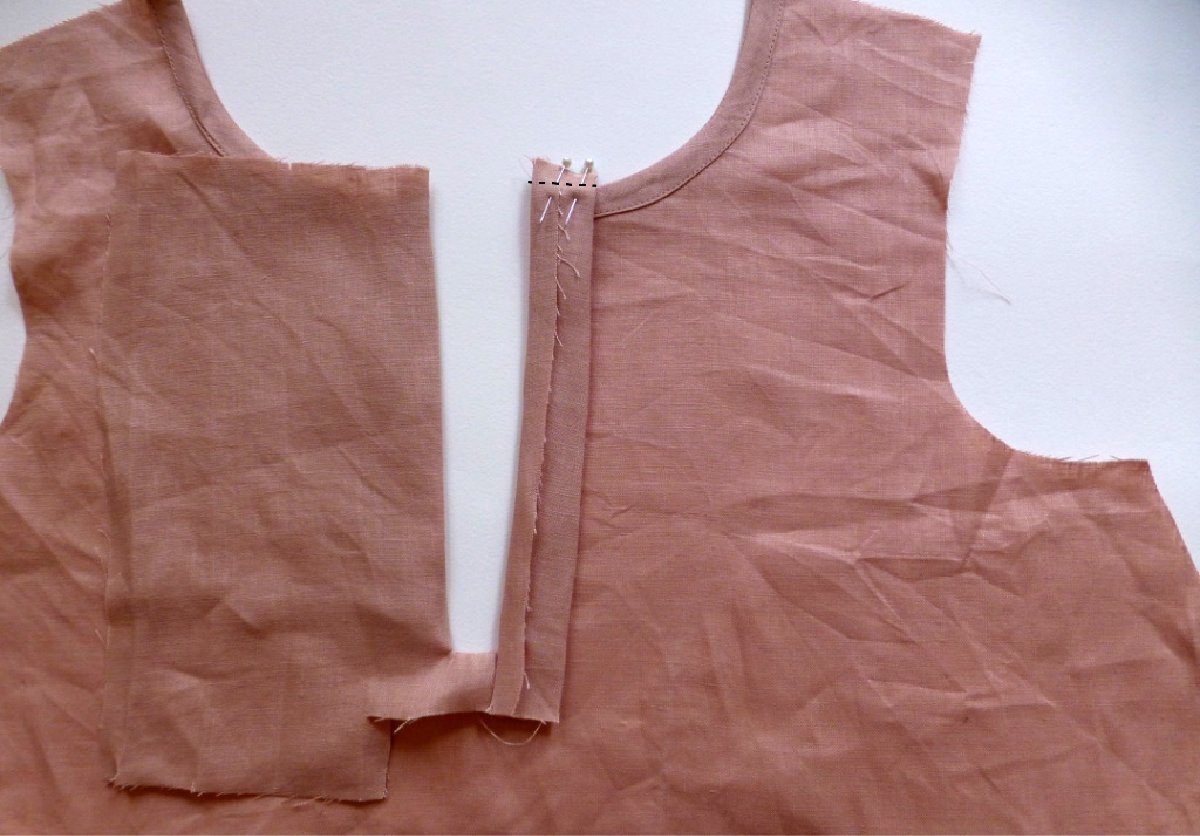
With tailors chalk, mark a straight line along the top of the PLACKET [5], 1cm (⅜in) down from the top edge. Pin in place.
Stitch along the line, getting as close as possible to the edge of the binding. Trim back the edge to minimise bulk.
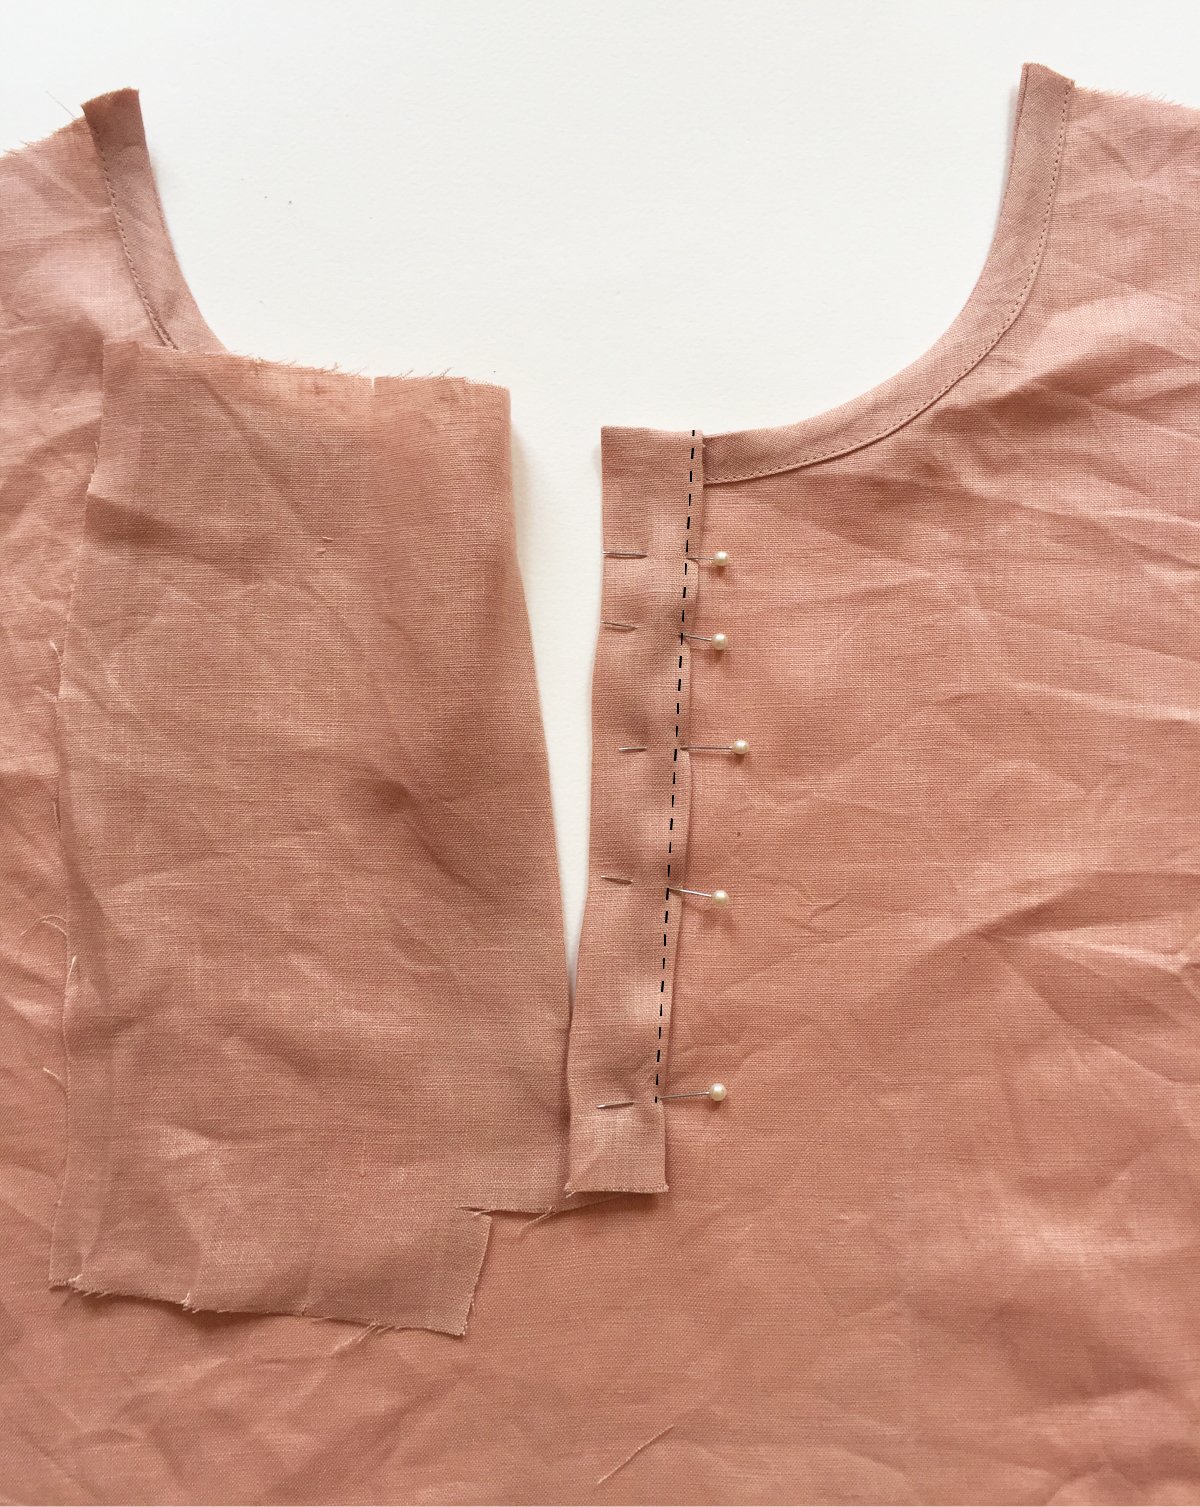
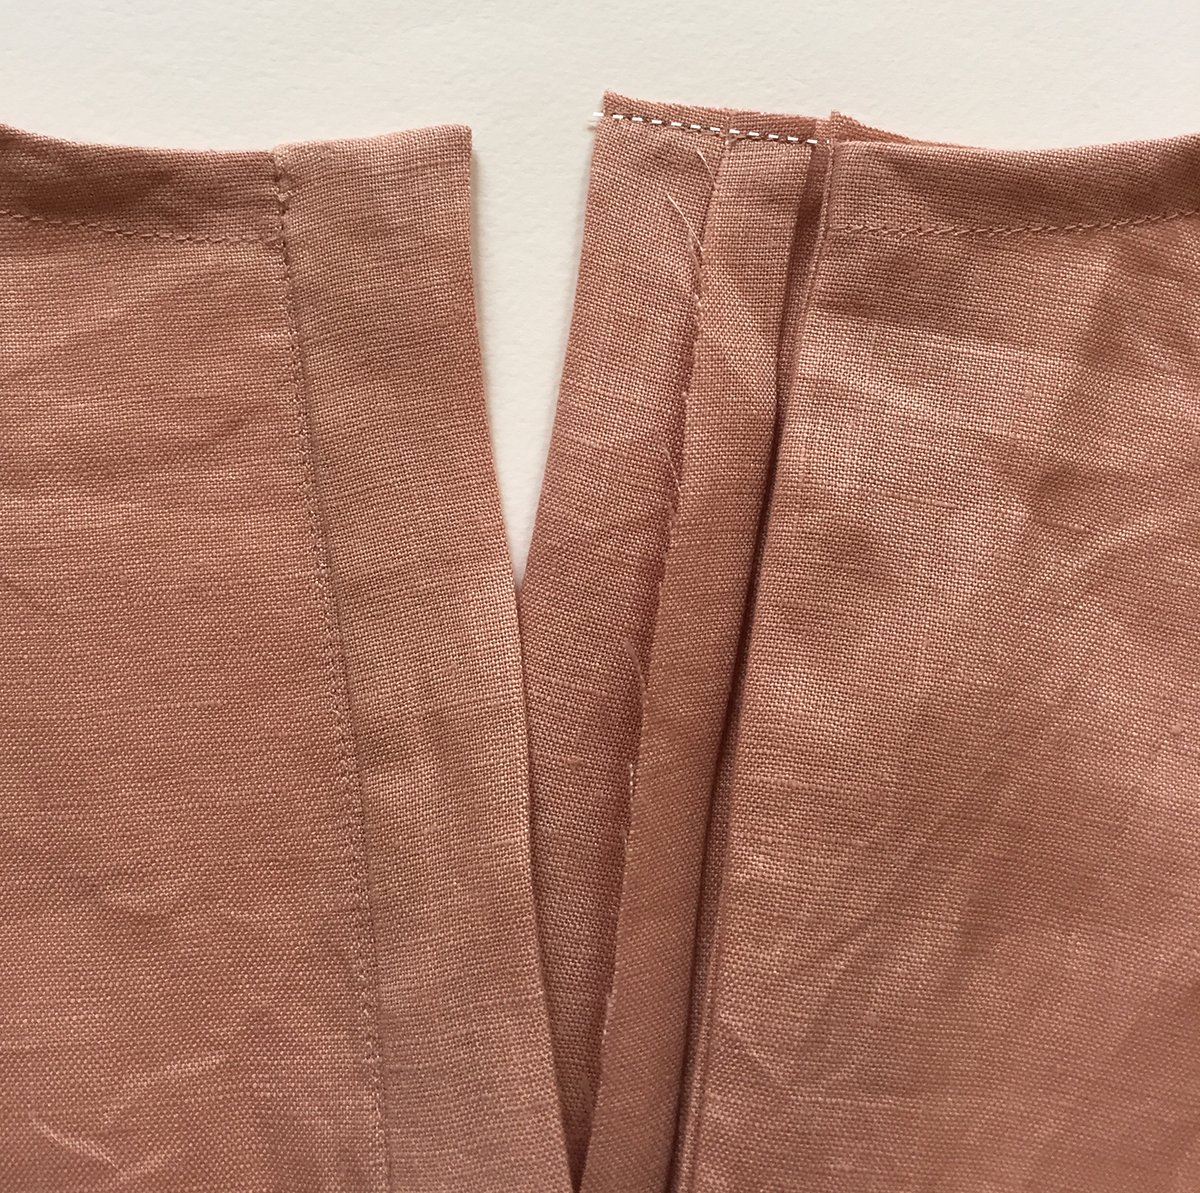
Turn the PLACKET [5] right side out, using a corner turner to turn the point of the PLACKET [5]. Press along the fold line (now in the opposite direction) and press PLACKET so that the fold just covers (by about 1mm) the stitch line underneath.
Pin in place from the top, down to the point where the opening ends (2cm / ¾in up from the bottom of the placket).
Stitch down from the top to the last pin, close to the folded edge.
Now it’s time to assemble the other side of the PLACKET [5]. Using the notches closest to the left side, make a crease in the placket. Make sure that the long edge of the PLACKET [5] is still folded under.
Again we’ll start by finishing the top of the PLACKET [5]. This side is slightly different to the first, as it is made up of two pieces, so that the buttons will be covered by a shield. Flip the FRONT BODICE [1] so that you can access the wrong side. Fold the PLACKET [5] into two sections, using the notches to guide you. Mark a line across the top (1cm / ⅜in from the top) and pin in place.
Stitch along the line.
Trim back the seam allowance to minimise bulk.
Turn the PLACKET [5] right side out - using a corner turner to help you to get a nice point on each of the corners. Fold the raw edge inside the PLACKET and press flat.
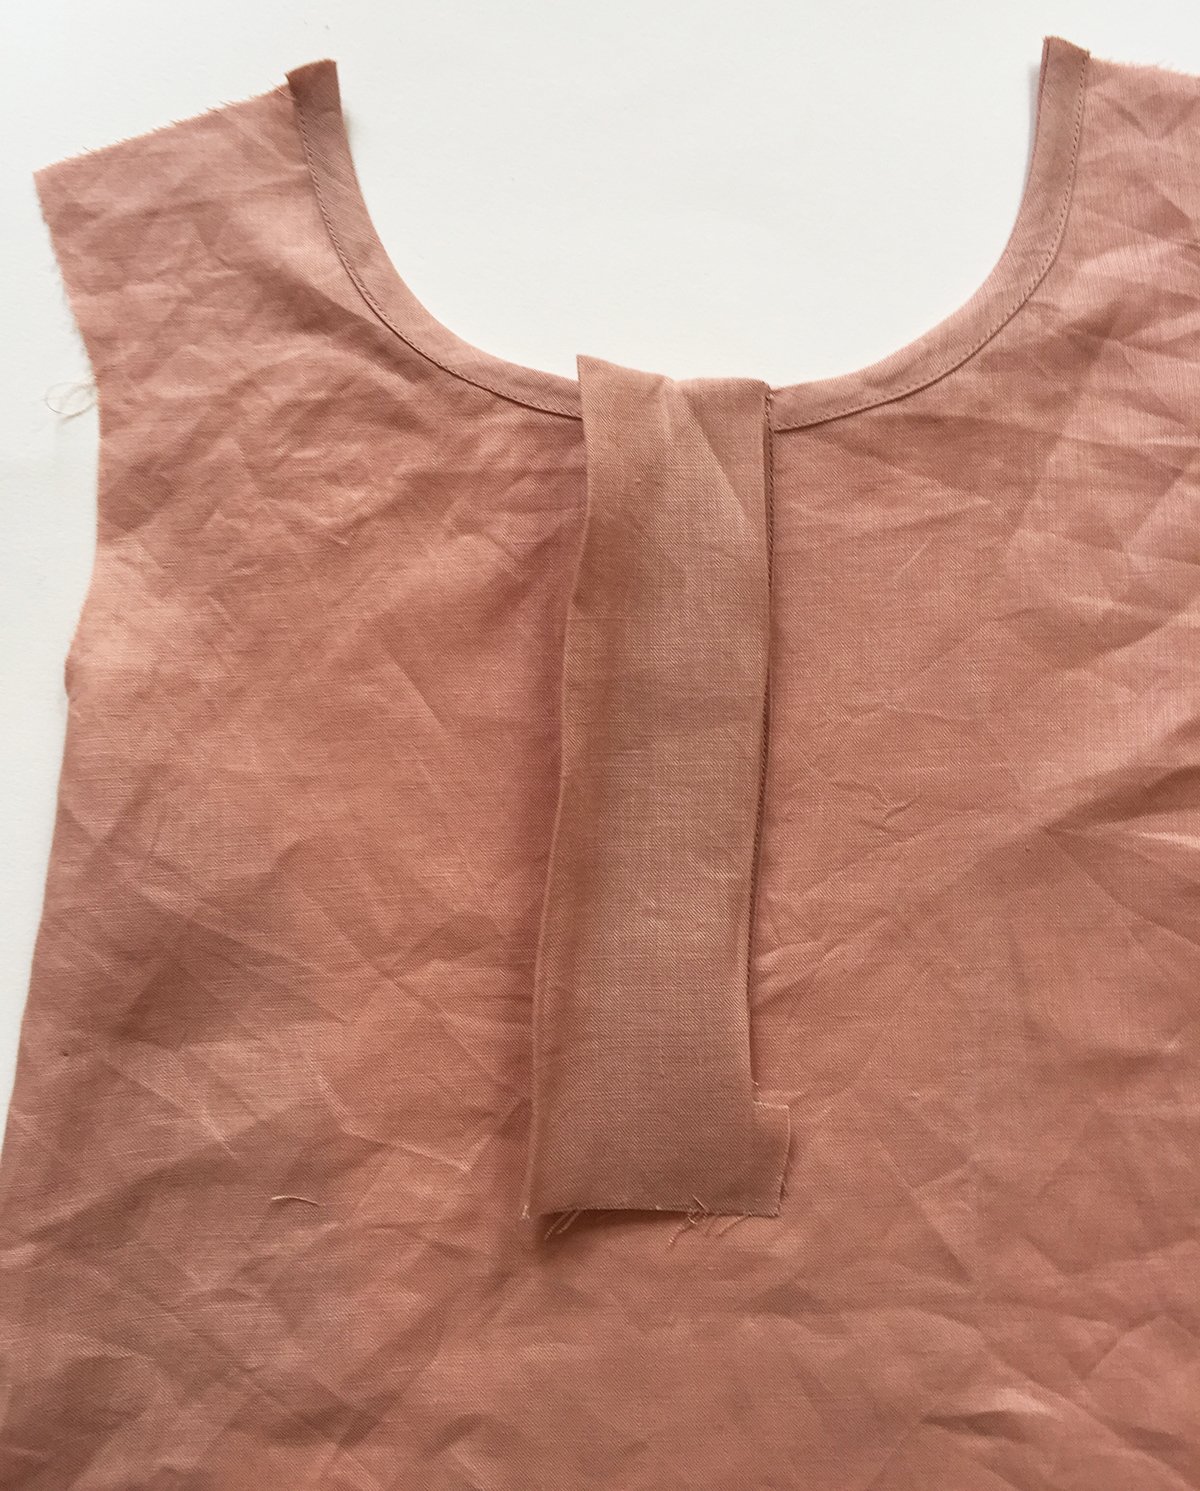
Carefully fold the PLACKET [5] so that each section of the placket is neatly stacked on top of the section underneath (the two sections of the PLACKET TOP SIDE should be sitting on top of the PLACKET UNDERSIDE). The left side of the placket will still be open.
Give it a good press.
To finish the bottom edge of the PLACKET (top side), with the raw edge still folded back, reverse the direction of the internal fold, so that the right sides come together and you can pin the bottom of the placket together.
Stitch with a 1cm (⅜in) seam allowance. Draw in the stitch line with tailors chalk before sewing if you feel the need. Trim back the seam allowance and turn corner with a corner turner.
Give the PLACKET [5] a good press and then pin in place. You will want to be pinning through both sections of the top placket and ensuring the fold is covering the stitch line underneath.
Mark a horizontal line across the PLACKET [5] 5cm (2in) up from the bottom of the PLACKET [5].
Carefully stitch the PLACKET [5] in place, through all the layers.
I hope this tutorial gives you the confidence to give it a go!
Happy sewing,
Emily
RESOURCES MENTIONED IN THIS ISSUE
Peppermint pleated dress pattern can be found here.
For more issues of the Q & A series, you can check out the archive here.
WHAT YOU’VE BEEN MAKING

Peppermint peplum top made by @rena_sewsolo

Rushcutter dress made by @amchan22


Collins top made by @yarnovergirls


