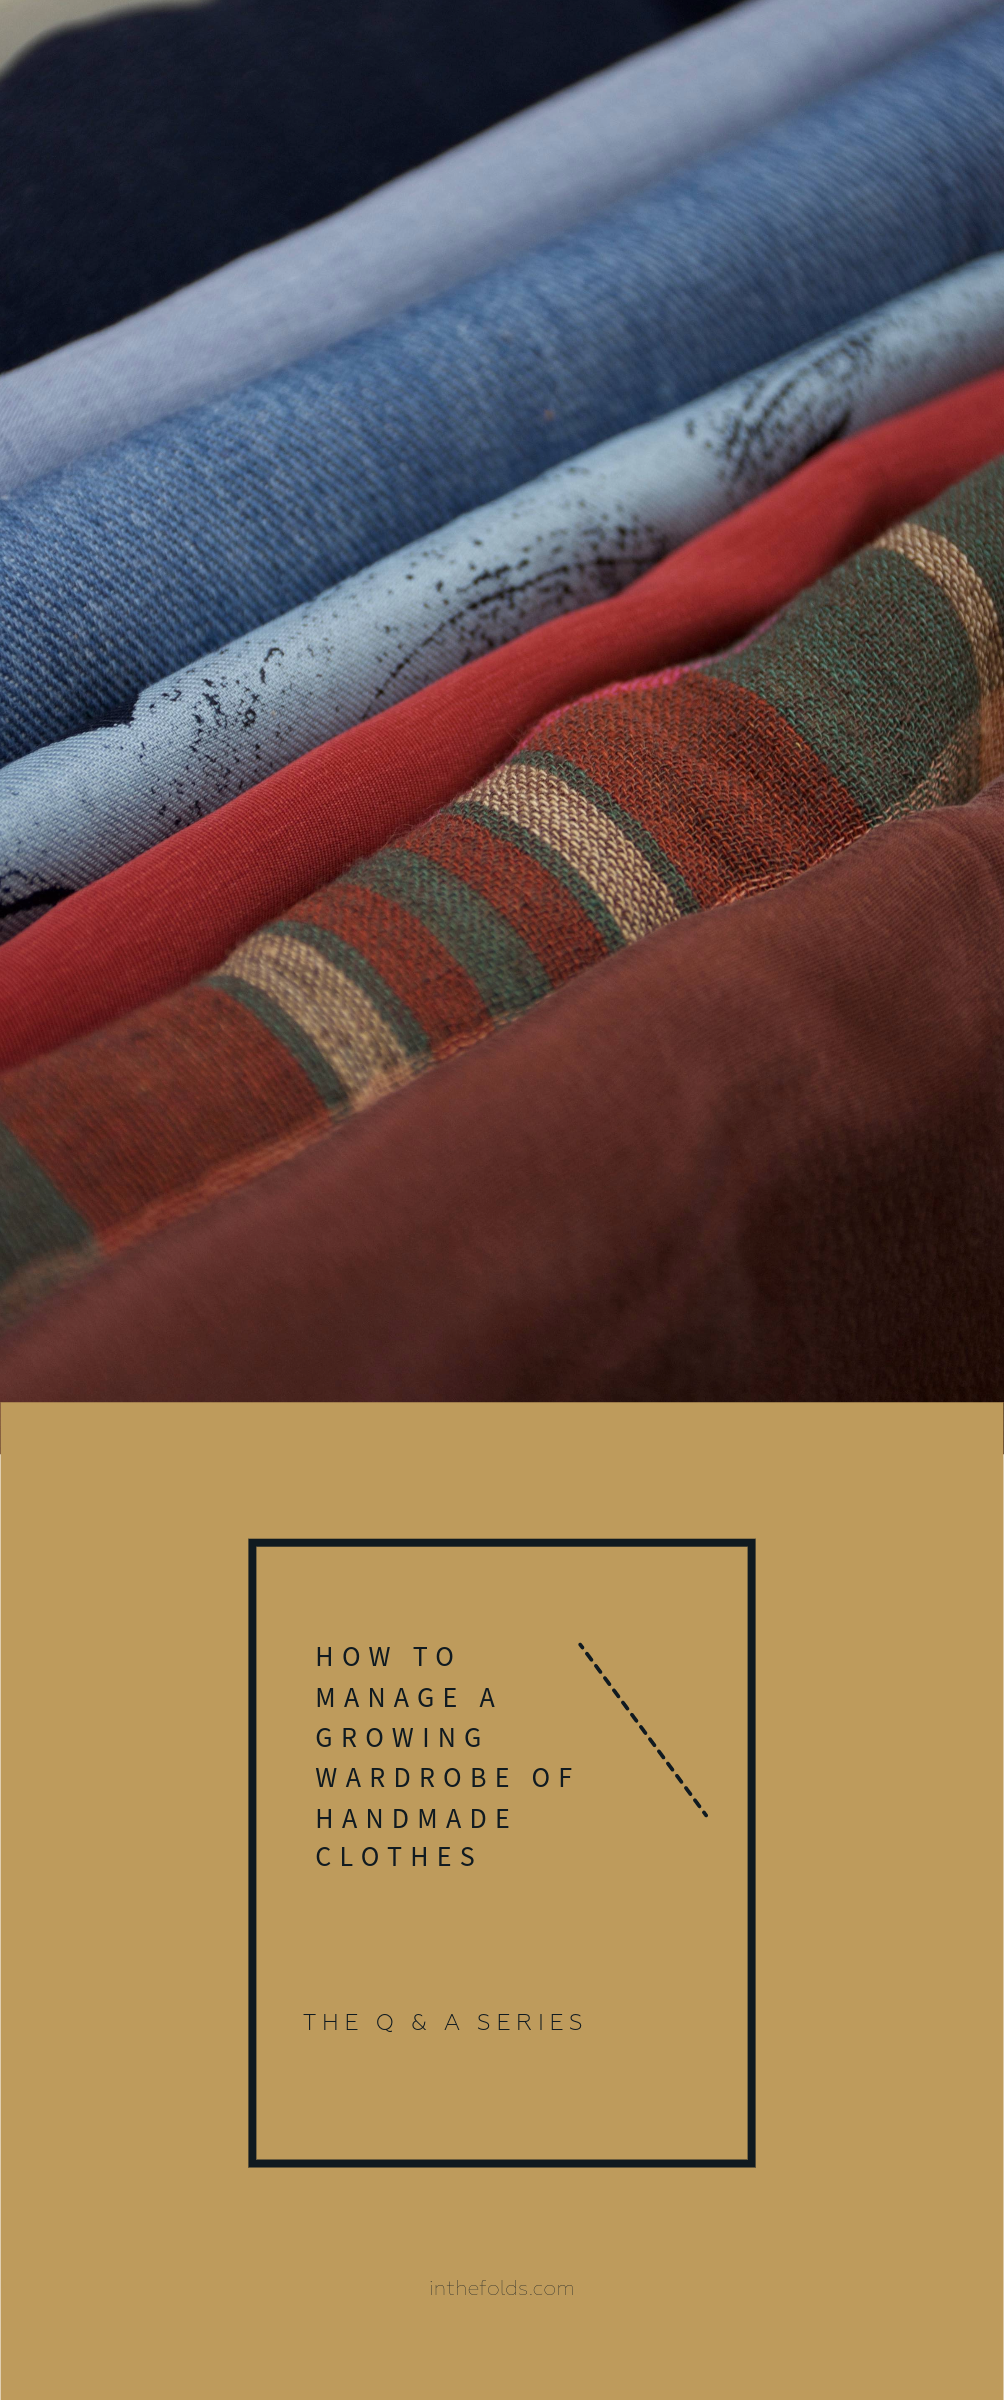
THE Q & A SERIES
Sewing a hem split and French seams
Firstly thank you so much for creating such patterns that allow a novice to create their own handmade wardrobe and learn the intricate techniques through your instructions and guidance.
My question regarding the everyday dress is that instead of finishing the edges using zigzag stitch (I do not own a serger) and then just hemming it as usual, can I use the french seam method for the sides like you've shown in the wrap top pattern instruction? This way my dress would not fray in wash and will always be neat from inside. I am not sure if it will take up a lot of seam allowance or if it was at all possible due to the side pockets. Hence I wanted to know from your end regarding this.
Looking forward to hear from you soon.
Thanks,
Sharvari
Hi Sharvari,
Great to hear you'll be giving the Everyday dress pattern a go and would like to get those insides looking as beautiful as the outside!
This is the perfect question for us to answer this week as we have just released our latest Curated by ITF pattern - the Rennie dress. This pattern (and all the resources we will be sharing throughout the month in our online sewing community) is all about beautiful finishes to elevate your handmade wardrobe.
The reason the side seams for the Everyday dress pattern are sewn with a regular seam (zig-zag or overlocked to finish) is because of the hem splits.
You could do a french seam along the side seam, it’s just when you get to the split you wouldn't be able to press those seams open. When we were designing the Rennie dress this is something we wanted to find a solution for! We wanted both French seams and a hem split, so we got to work figuring out how we could have both… and we did! So in today’s post we will be showing you how to sew French seams when you also have a hem split.
What is a French seam?
French seams are a technique used to finish seam allowances to prevent fraying. We love them at ITF because they give a beautiful, clean finish without the need for an overlocker (serger).
It's a great option if you do not have one of those machines and want a better finish than you can get with a zig-zag stitch. In fact, I'd even go as far as to say, it's far preferable to a regular overlocked or zig-zagged finish and you should use it wherever you can!
French seams are great for light to mid-weight fabrics, especially those that are prone to fraying. French seams are also the best choice of finish if you are using a sheer fabric because it prevents unsightly overlocking being visible through the fabric.
Although French seams are more time consuming than using an overlocker (serger), they are very satisfying and give one of the most beautiful finishes possible.
How to sew a French seam
I'm not going to go into how to sew French seams right now, but you can find a step-by-step of how to sew a French seam in a past issue of the Q&A series here.
How to sew a French seam and a hem split in the Everyday dress

Step 1
With wrong sides together, pin the FRONT [1] to the BACK [2] on both sides. Pin down from the armhole, around the pocket and down to the upper drill hole. Take a ruler and chalk and mark a point 1.2cm (½in) above the upper drill hole on the side seam edge. From this point, draw a diagonal line to the first upper drill hole.
(For these instructions we already have attached the pocket bags. To see how to attach the pockets with French seams read this past issue of the Q&A series.)
Stitch the side seams with a 6mm (¼in) seam allowance. Stop stitching when you get to the diagonal guideline and put your needle down. Lift your machine foot and turn towards the drill hole. Put the foot down and stitch along the guideline towards the drill hole. Stop stitching on the drill hole (you may need to walk your last few stitches in) and then back stitch.

Step 2
Clip into the corners between the IN-SEAM POCKET [3] and the body of the dress, before trimming back the whole seam by half.
Snip into the seam allowance towards the upper drill hole at a right angle. Then cut in again, parallel to the line of stitching, removing a small triangle from the seam allowance.

Step 3
Turn the dress inside out and press the seams with right sides together. Use a corner turner to get a nice sharp corner at the bottom of the seam.
Mark the stitch line from the bottom of the IN-SEAM POCKETS [3] down to the lower drill hole that marks the top of the hem split on each side. Pin the seam from the armhole, around the pocket and down to the lower drill hole.
Stitch the seam with a 6mm (¼in) seam allowance, sewing down to the lower drill hole. Press the seams and IN-SEAM POCKETS [3] towards the FRONT [1].

You have now finished the side seam with a French seam, but can press the hem split open.
If you’ve been wanting to up your game when it comes to seam finishes, now would be a great time to join Curated by ITF. You can give these techniques a go (along with many more) along with the support of our incredible online community, and our ITF team are available to answer any questions you might have!
Happy sewing,
Emily
RESOURCES MENTIONED IN THIS ISSUE
For more issues of the Q & A series, you can check out the archive here.
WHAT YOU’VE BEEN MAKING

Peppermint Playsuit made by @phebe_sews

Peppermint Wide leg pants made by @marthahata