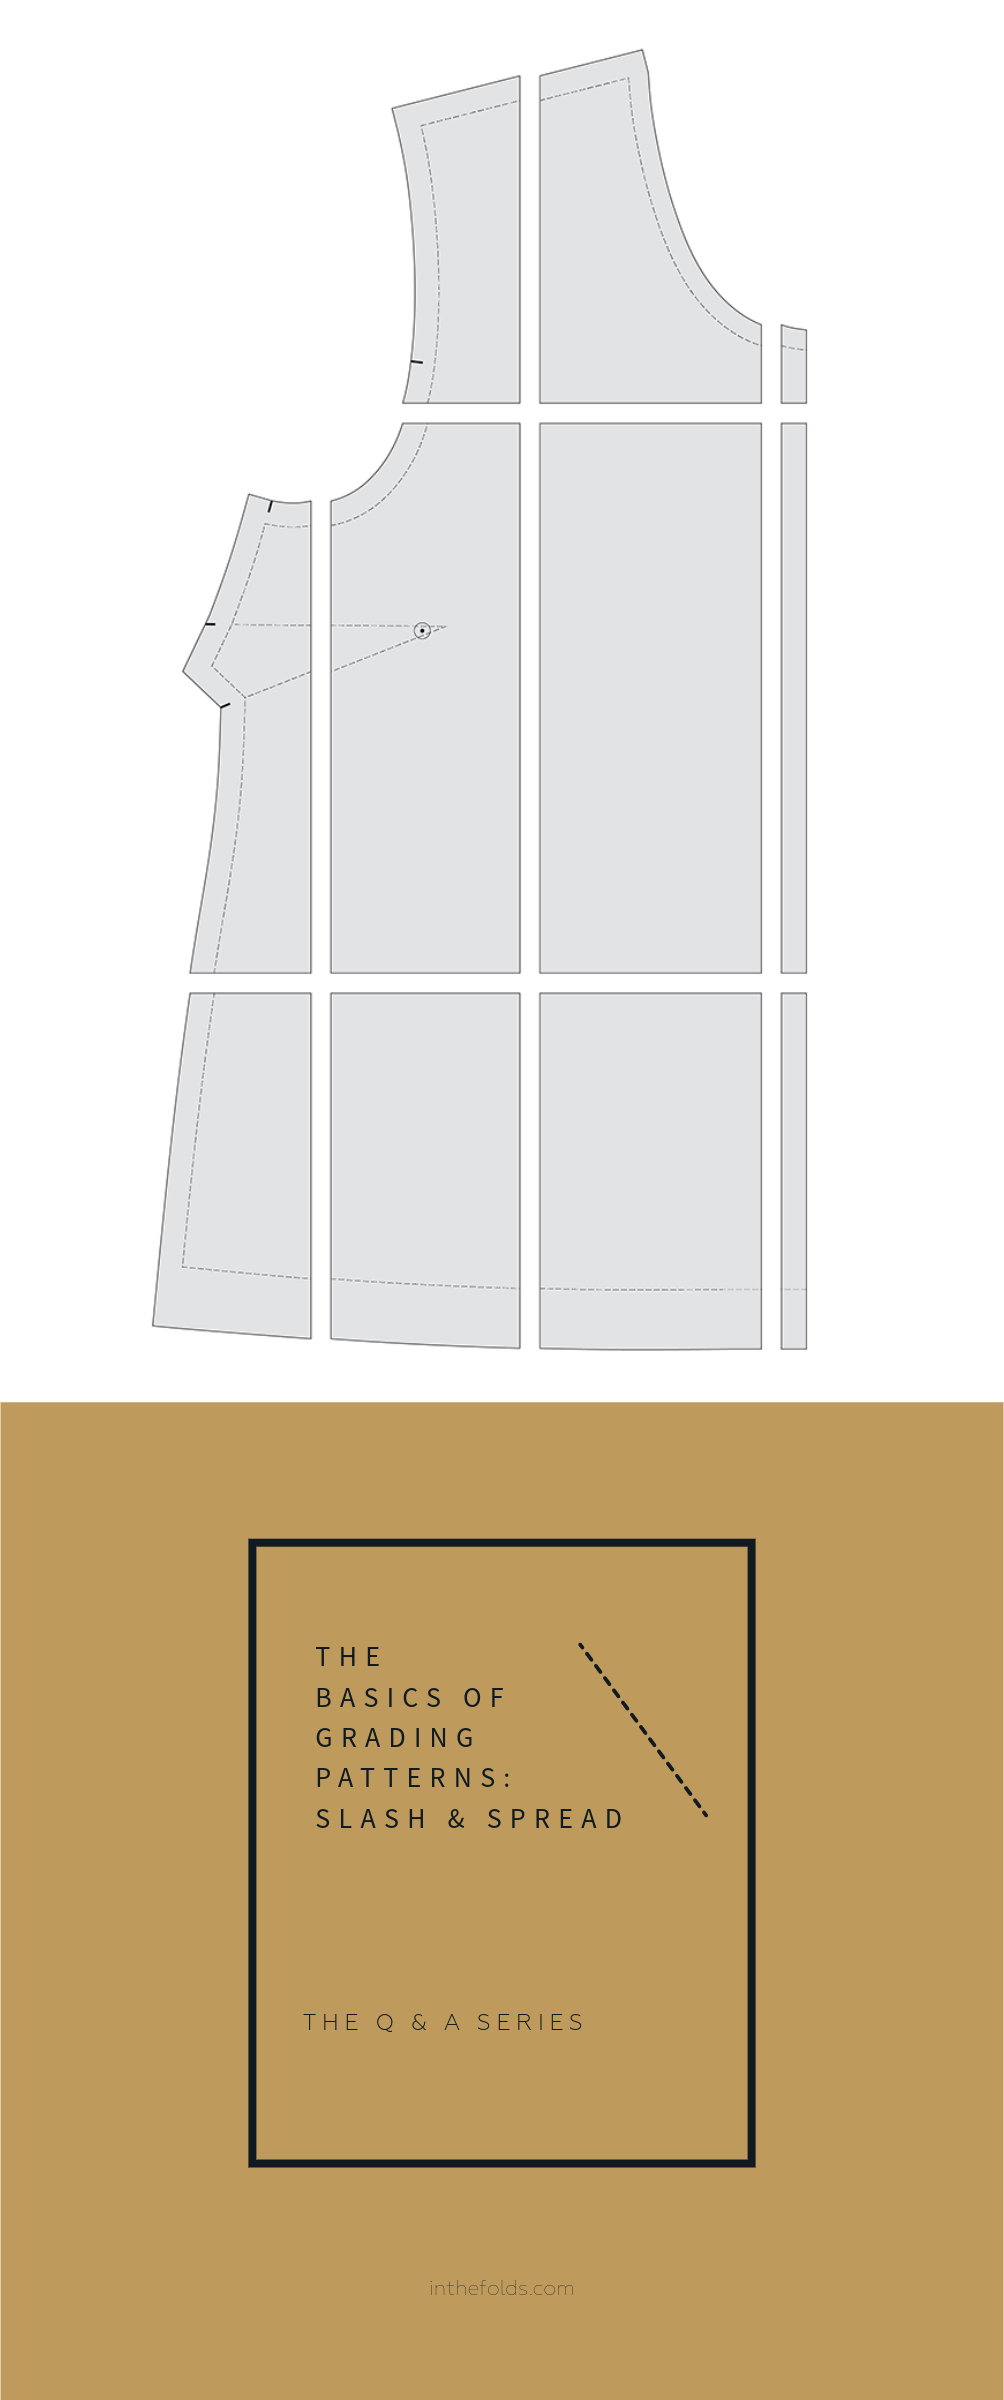
THE Q & A SERIES
How to check a self-drafted pattern
Hi Emily,
I’ve been loving the recent pants fitting and designing content and it’s got me feeling confident to give drafting my own pair of pants a go! I have a design in mind and am about to get started on the pattern. I’m still quite nervous though about everything going a bit awry once I alter the pattern.
Any tips or words of wisdom to give me some confidence would be greatly appreciated.
Thanks,
Susan
Hi Susan,
I’m so pleased you have been enjoying our Pants series! This is a great question.
Firstly, with the release of our three month pants sewing project, (check them out here: Pants Sewing Skills, Pants Fitting Pattern and Fit Kit, and Pants Designing) our aim has been to ensure makers feel as confident as possible to make the pants they want to wear! This means really breaking down the process into manageable chunks so you can face one thing at a time.
We started out by concentrating on sewing skills that particularly relate to pants. Think fly fronts, welt pockets and slash pockets, among others! In the second month we focused on pants fitting with the release of our Pants Fitting pattern and Fit Kit. This month we’re bringing it all together with our Pants Designing Kit.
I understand that it can be daunting making your first pattern and to feel confident to cut into your precious fabric to sew it up. That’s why we thought sharing some tips of things to keep in mind when going from drafting your own pattern to sewing it up would be a good way to round-out the series.
3 STEPS TO FOLLOW AFTER YOU’VE DRAFTED OR ADJUSTED A PATTERN

Step 1 - Check and true the pattern.
I teach first year pattern making at a local university here in Sydney and one of the first things we teach is how to check and true a pattern.
What this means is that you need to “walk” your seams together as if they have been sewn to check they come together correctly. At first this seems like a bit of a chore, but once you realise how much time (and fabric) it can save you in the long run, it will become one of the most important skills in your tool belt!
We have two tutorials that show you how to check patterns - this tutorial focuses on straight seams, and this one is for curved seams.

Step 2 - Make a toile.
If you’ve only made small adjustments (such as altered the length or added a pocket) and have already made a toile then you may be able to skip this step.
For any larger alterations - such as raising or lowering the waist on a pair of pants or changing the shape of the pants considerably, we’d suggest making a toile to check you are happy with the changes you have made.
If you have only made changes to the upper section of the pants, you may consider making a shorts version as a toile to save on fabric.
If you’ve added panel lines, or made an alteration that doesn’t change the fit of the pant, but you’d like to see what the new design is going to look like, you might be fine just to make one pant leg, rather than a full toile.
When it comes to designing your own patterns, you no longer have the instruction booklet to guide you through every step. In this situation, making a toile gives you a chance to experiment with the best order of construction. We suggest taking notes and photos as you go so you have a record to refer to when you sew up your final pair.

Step 3 - Sew samplers.
For Issue 13 of Curated by ITF we practiced pants sewing techniques by sewing samplers.
What is a sampler?
A sampler is a piece of fabric, or small portion of a design, used to practice sewing techniques. They’re a great way to create a personal reference of techniques that can be referred to again in the future.
Due to their size, they are easy to store and refer to. Consider stapling them to the printed instructions for each technique and putting them in a binder. Alternatively, you can staple folded cardboard to the top of each sampler, punch a hole in one corner and hang on a ring in your sewing space. Consider transferring the pattern pieces to card so they are durable and able to be used again and again.
Sewing a sampler is a great way to learn a new technique or build confidence before sewing a garment. Trying out skills on samplers is far less intimidating than sewing on an actual garment and allows you to slow down, relax and enjoy the process of learning something new. Like any new skill or hobby, getting good at it will take time. By sewing just a small part of a design, you can gain confidence and have something to refer to when you make your pants.
I hope this gives you the confidence to go from drafting a pattern to sewing a garment!
A QUICK REMINDER…
This will be our last Q&A email for 2022 as our little team takes a pause for some much needed rest and relaxation and I start maternity leave. New Q&As will be back in your inbox in the new year, but if you’re worried you’re going to miss learning with us too much, remember that our whole Q&A archive is on our website. So why not take a deep dive into learning something new these holidays?
Happy sewing,
Emily
RESOURCES MENTIONED IN THIS ISSUE
The Pants Sewing Skills Kit, Pants Fitting pattern & Fit Kit and the Pants Design Kit are the first, second and third parts of our Pants Sewing project series, which is available through our Curated by ITF subscription. Past issues are also now available for purchase by subscribers. More information can be found here.
How to check and true patterns - tutorials for straight seams and curved seams.
How to and why make a toile - tutorial can be found here.
For more issues of the Q & A series, you can check out the archive here.