THE Q & A SERIES
ALTERING A SLEEVE FOR A FORWARD SHOULDER ADJUSTMENT
Hi there!
I just made a forward shoulder adjustment to the Rennie dress, but I’m not sure what to do with the sleeve. I know the front and back sleeve is symmetrical, but with the alteration I now need the sleeve head to move forward to line up with the shoulder seam. How do I adjust the sleeve to match with the altered pattern?
Hi Amy,
I’m so glad to hear you’re learning new sewing skills using our Rennie dress pattern!
Sometimes it can be difficult to know what the next step is when making pattern adjustments - which is exactly why we came up with our Curated by ITF subscription - what’s better than having professional garment designers you can go to to ask all your sewing questions, after all!?
But knowing that when you make one change to a pattern it usually means there will be other changes to make is definitely half the battle, and the fact that you knew to ask the question is a big indicator that you have a good understanding of the pattern making process. Well done!
And I’m very happy to be able to help you with a solution to your question.
If you aren’t sure what a Forward Shoulder Adjustment is and whether you need one, check out this tutorial first!
HOW TO ALTER A SLEEVE WHEN DOING A FSA
Step 1
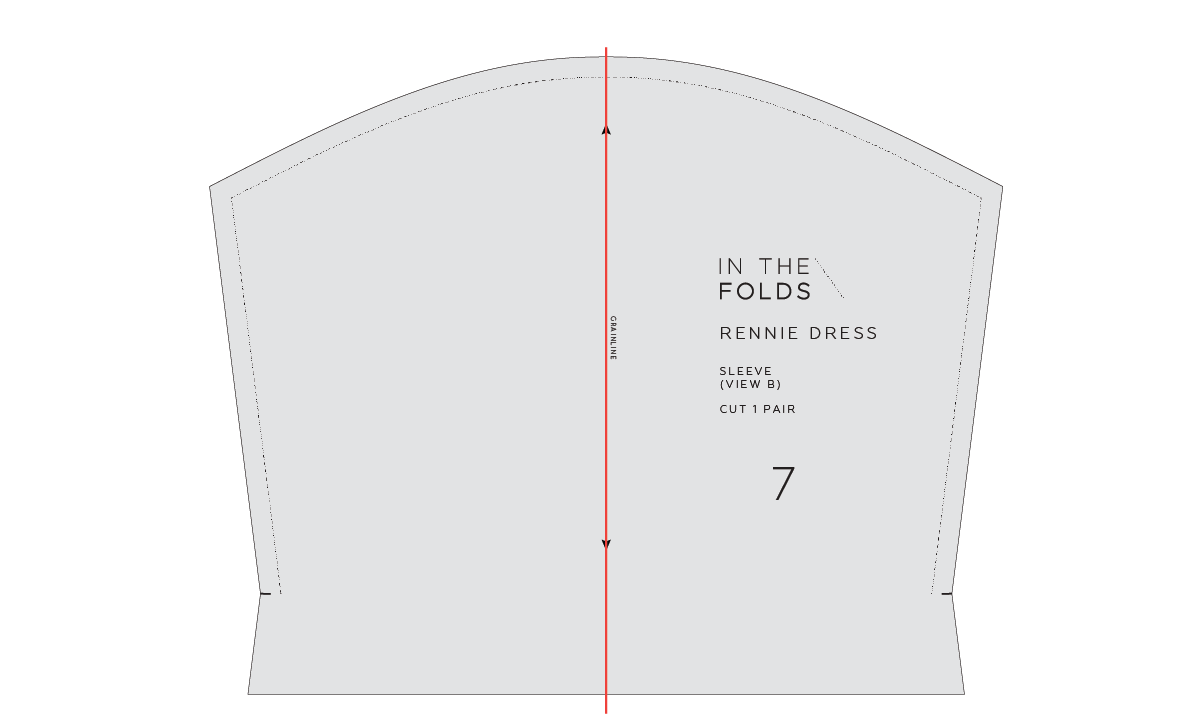
Extend the grainline so it runs through the whole pattern piece.

Step 2
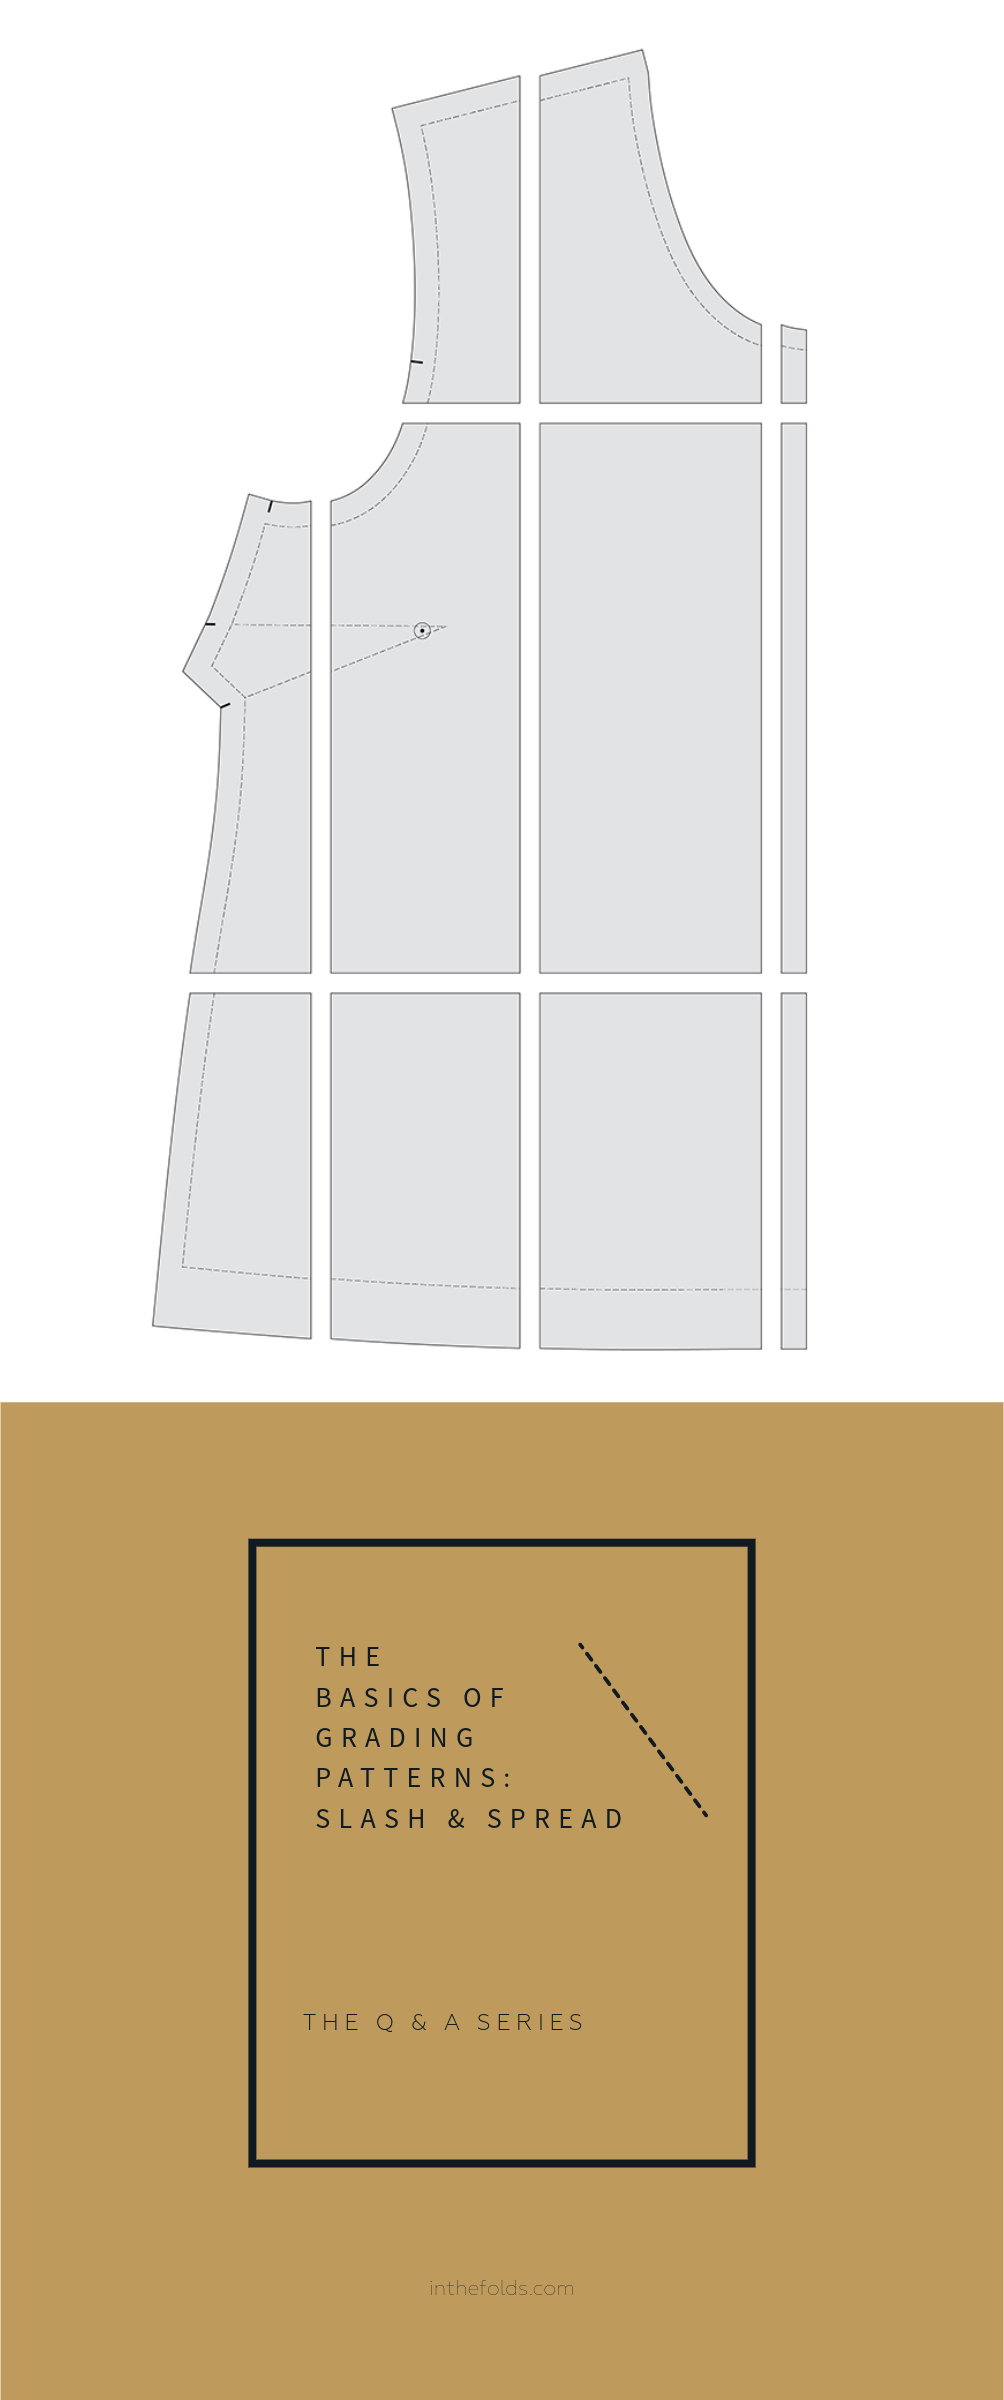
Draw slash lines from about 1/3 of the way down the front and back sleeve cap (measuring from the grainline), down to a point on the grainline about halfway down.

Step 3
Cut through the slash lines, creating a hinge where the lines intersect at the grainline.
Refer back to your pattern to see how far forward you moved the shoulder. Mark this point on the front of the sleeve cap - measuring from the slash line towards the underseam (the seam that joins the two sides of the sleeve). As the Rennie dress (in the size A - J size range) is the same sleeve cap for front and back, you will need to mark one of them as the front.

Step 4
Use the hinge to move the sleeve cap forward until the stitching line meets the line marked in the previous. Tape in place.

Step 5
Use a scrap of paper to fill the opening at the back sleeve cap.

Step 6
True the sleeve cap by drawing a smooth curve over the alterations on both the stitch line and the edge of the pattern. You can now see that the centre of the sleeve cap (along with the shoulder notch) is tilted towards the front to match the altered pattern.

Step 7
Cut off excess paper and re-draw the grainline by extending the original grainline from the lower section of the sleeve up towards the sleeve cap.
Happy sewing,
Emily
RESOURCES MENTIONED IN THIS ISSUE
Rennie dress pattern - this pattern was released in Issue 12 of our Curated by ITF subscription. It will be available as a standalone pattern in 2023.
How to do a forward shoulder adjustment - tutorial here.
For more issues of the Q & A series, you can check out the archive here.
WHAT YOU’VE BEEN MAKING

Hacked Rushcutter dress made by @alicoutrements

Peppermint wrap skirt made by @beksmakestings