THE Q & A SERIES
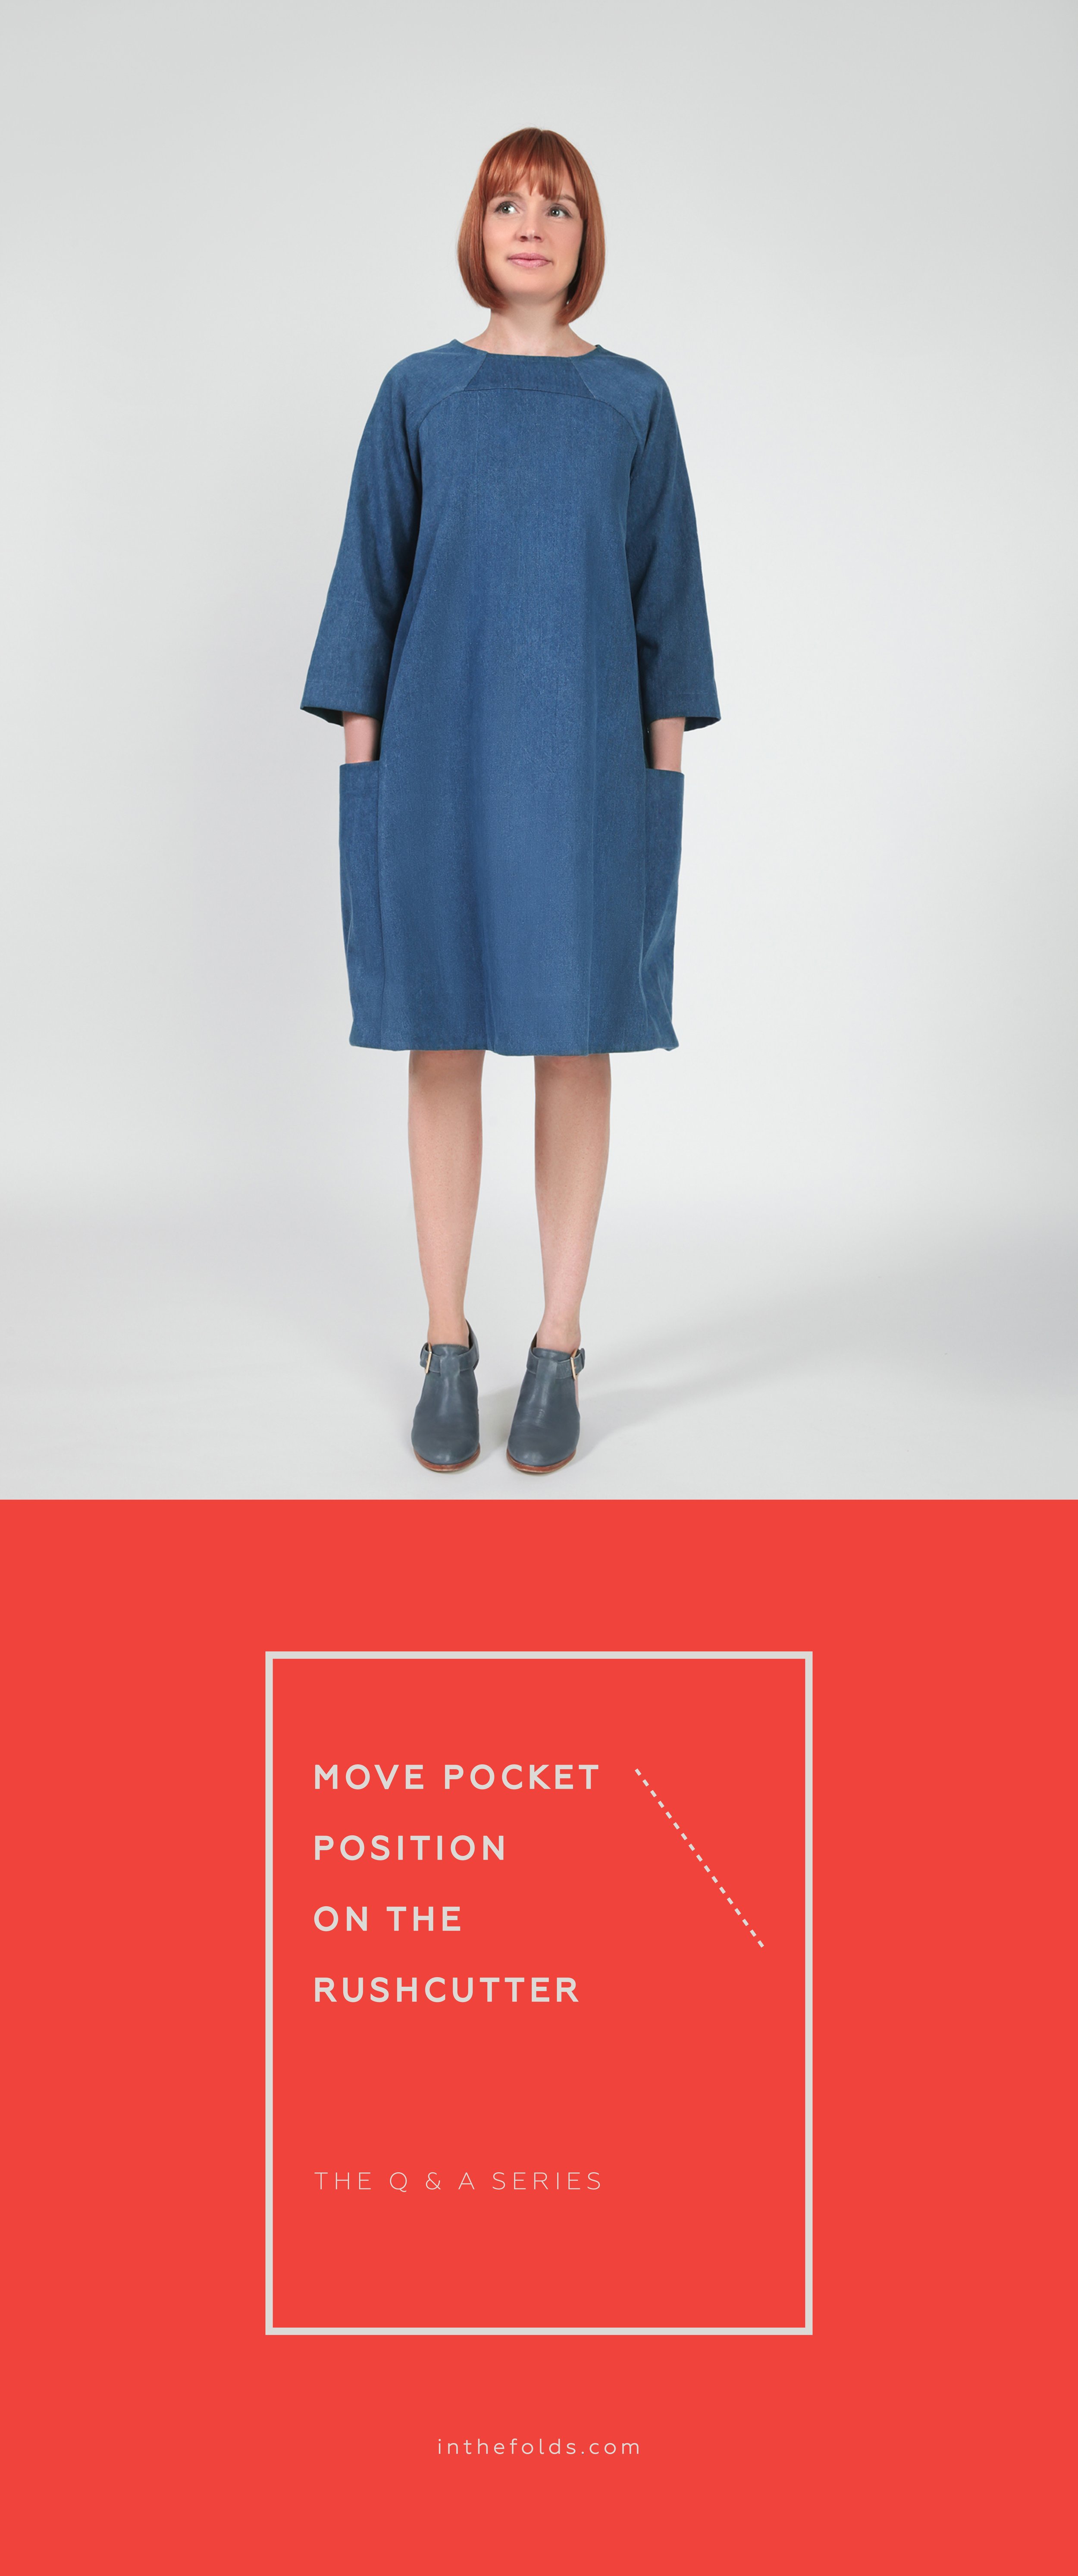
How to move the position of the pockets on the Rushcutter dress
Hi there,
I have just made a test of the Rushcutter dress. I had to take about 10cm off the length. The dress fits great but the pockets are too low down... my hands jus reach the top couple of inches. What is a good way to raise the position of the pockets on this pattern?
Thank you.
Sue
- Ajijic, Mexico
Hi Sue,
I'm excited to hear you're making the Rushcutter dress! The pockets are my favourite thing about this pattern, so you definitely want to make sure you can use them!
How to alter the pocket will depend on how you have shortened the pattern. There are two ways to alter the length of most patterns - you can remove length from inside the piece using LENGTHEN / SHORTEN line on the pattern (this means the hem circumference will remain the same as it was) or remove from the hem. I'll show you how to alter the pocket for both cases.
Remove length from the LENGTHEN / SHORTEN line

Step 1
I'll just show you this process of shortening the side panel of the dress, as this is the one that impacts the pocket. If altering the length of this pattern, you also need to alter the front and back pieces in the same way.
Cut along the LENGTHEN / SHORTEN line on the pattern.

Step 2
Mark the amount you would like to shorten the pattern by on the upper section of the pattern piece with a line parallel to the cut line. In the case of the example, this is 10cm.

Step 3
Slide the lower section up to meet the line marked in the previous step. Use the grainline to ensure you are lining things up correctly. Tape / glue in place.

Step 4
Re-draw the seam lines by drawing a straight line across the alteration. This will mean shaving off a small amount on the lower section and adding a small amount to the upper section. I normally use masking tape to extend the sides of a pattern by a small amount or to fill gaps - rather than using larger pieces of paper.
Alter the pocket piece

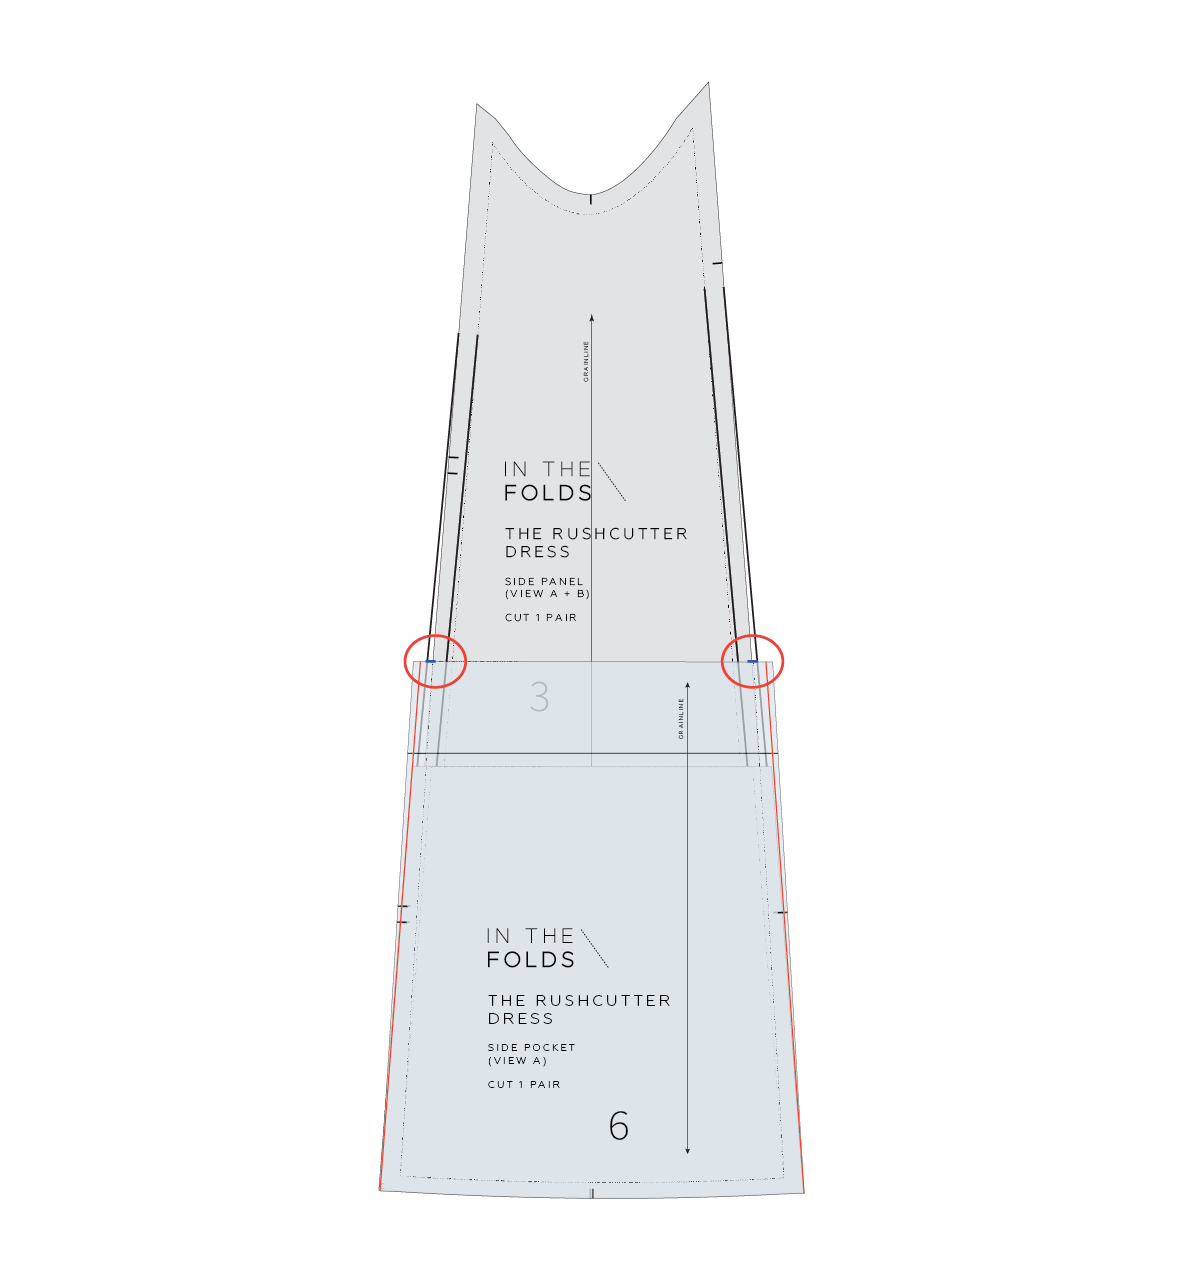
Before altering the pocket piece, it's a good idea to see how the pocket pattern was originally drafted so you can use the same method of altering your pocket piece.

In the illustration I have placed the pocket on top of the side panel - the top edge of the pocket has been folded back as it is when it is sewn. The sides of the pocket extend past the side panel by 0.5cm on each side. This is so that when the pocket is attached to the side panel it has a bit of volume in the top section, rather than sitting completely flat.

Step 5
Take the pocket pattern piece and fold along the top stitch line - using the notches to guide you. This is the top hem allowance which needs to be out of the way while checking how the pockets sits on the altered side panel piece.

Step 6
Place the pocket piece onto the side panel - lining up the hemline and the hemline notch. If you would like to check you are happy with the pocket position, pin the pocket onto the side panel and hold the panel up to your body to check.
When you are happy with the pocket position, hold pocket in position with a pattern weight (or a tin of food) and mark two points on the top edge of the pocket - 5mm from the side panel edge on each side.

Step 7
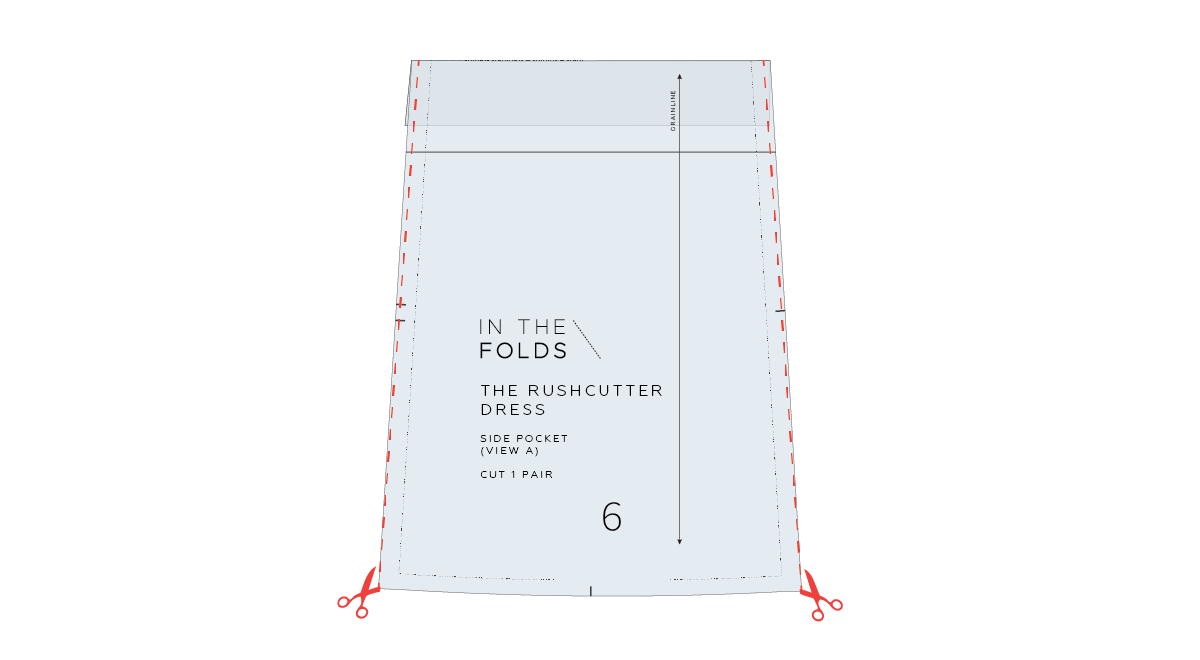
Re-draw the sides of the pocket by joining the points marked in the previous step to the bottom corners.
Step 8
Mark notches on the side panel at the top edge of the pocket on both sides of the panel.
Step 9
Remove the pocket piece from the side panel. With the top edge still folded, cut along the new seam lines.
Shortening from the hem

The process is very similar if you have removed length from the hem like in the illustration above.

Step 1
Take the pocket piece - with the top edge folded down like we did earlier - and place on the side panel piece. If you would like to check you are happy with the pocket position, pin the pocket onto the side panel and hold the panel up to your body to check.
When you are happy with the pocket position, hold pocket in position with a pattern weight (or a tin of food) and mark two points on the top of the pocket - 5mm from the side panel edge on each side.

Step 2
Re-draw the sides of the pocket by joining the points marked in the previous step to the bottom corners of the side panel piece. If you can't see the bottom corners of the side panel through your pocket, try holding the pieces up against a window.

Step 3
Due to removing length from the side panel from the bottom, the notches on the side no longer match up. Transfer the notches from the side panel onto the pocket.
Mark notches on the side panel piece at the top edge of the pocket on both sides of the panel.

Step 4
Remove the pocket piece from the side panel. With the top edge still folded, cut along the new seam lines.
Happy sewing,
Emily
resources mentioned in this issue
Rushcutter dress pattern can be found here.
For more issues of the Q & A series, you can check out the archive here.
WHAT YOU’VE BEEN MAKING

Rushcutter dress made by @the_sewist

Rushcutter dress made by @shuaychong

Peppermint wrap top made by @laura_made_this

Peppermint wrap skirt made by @juanitaflett


