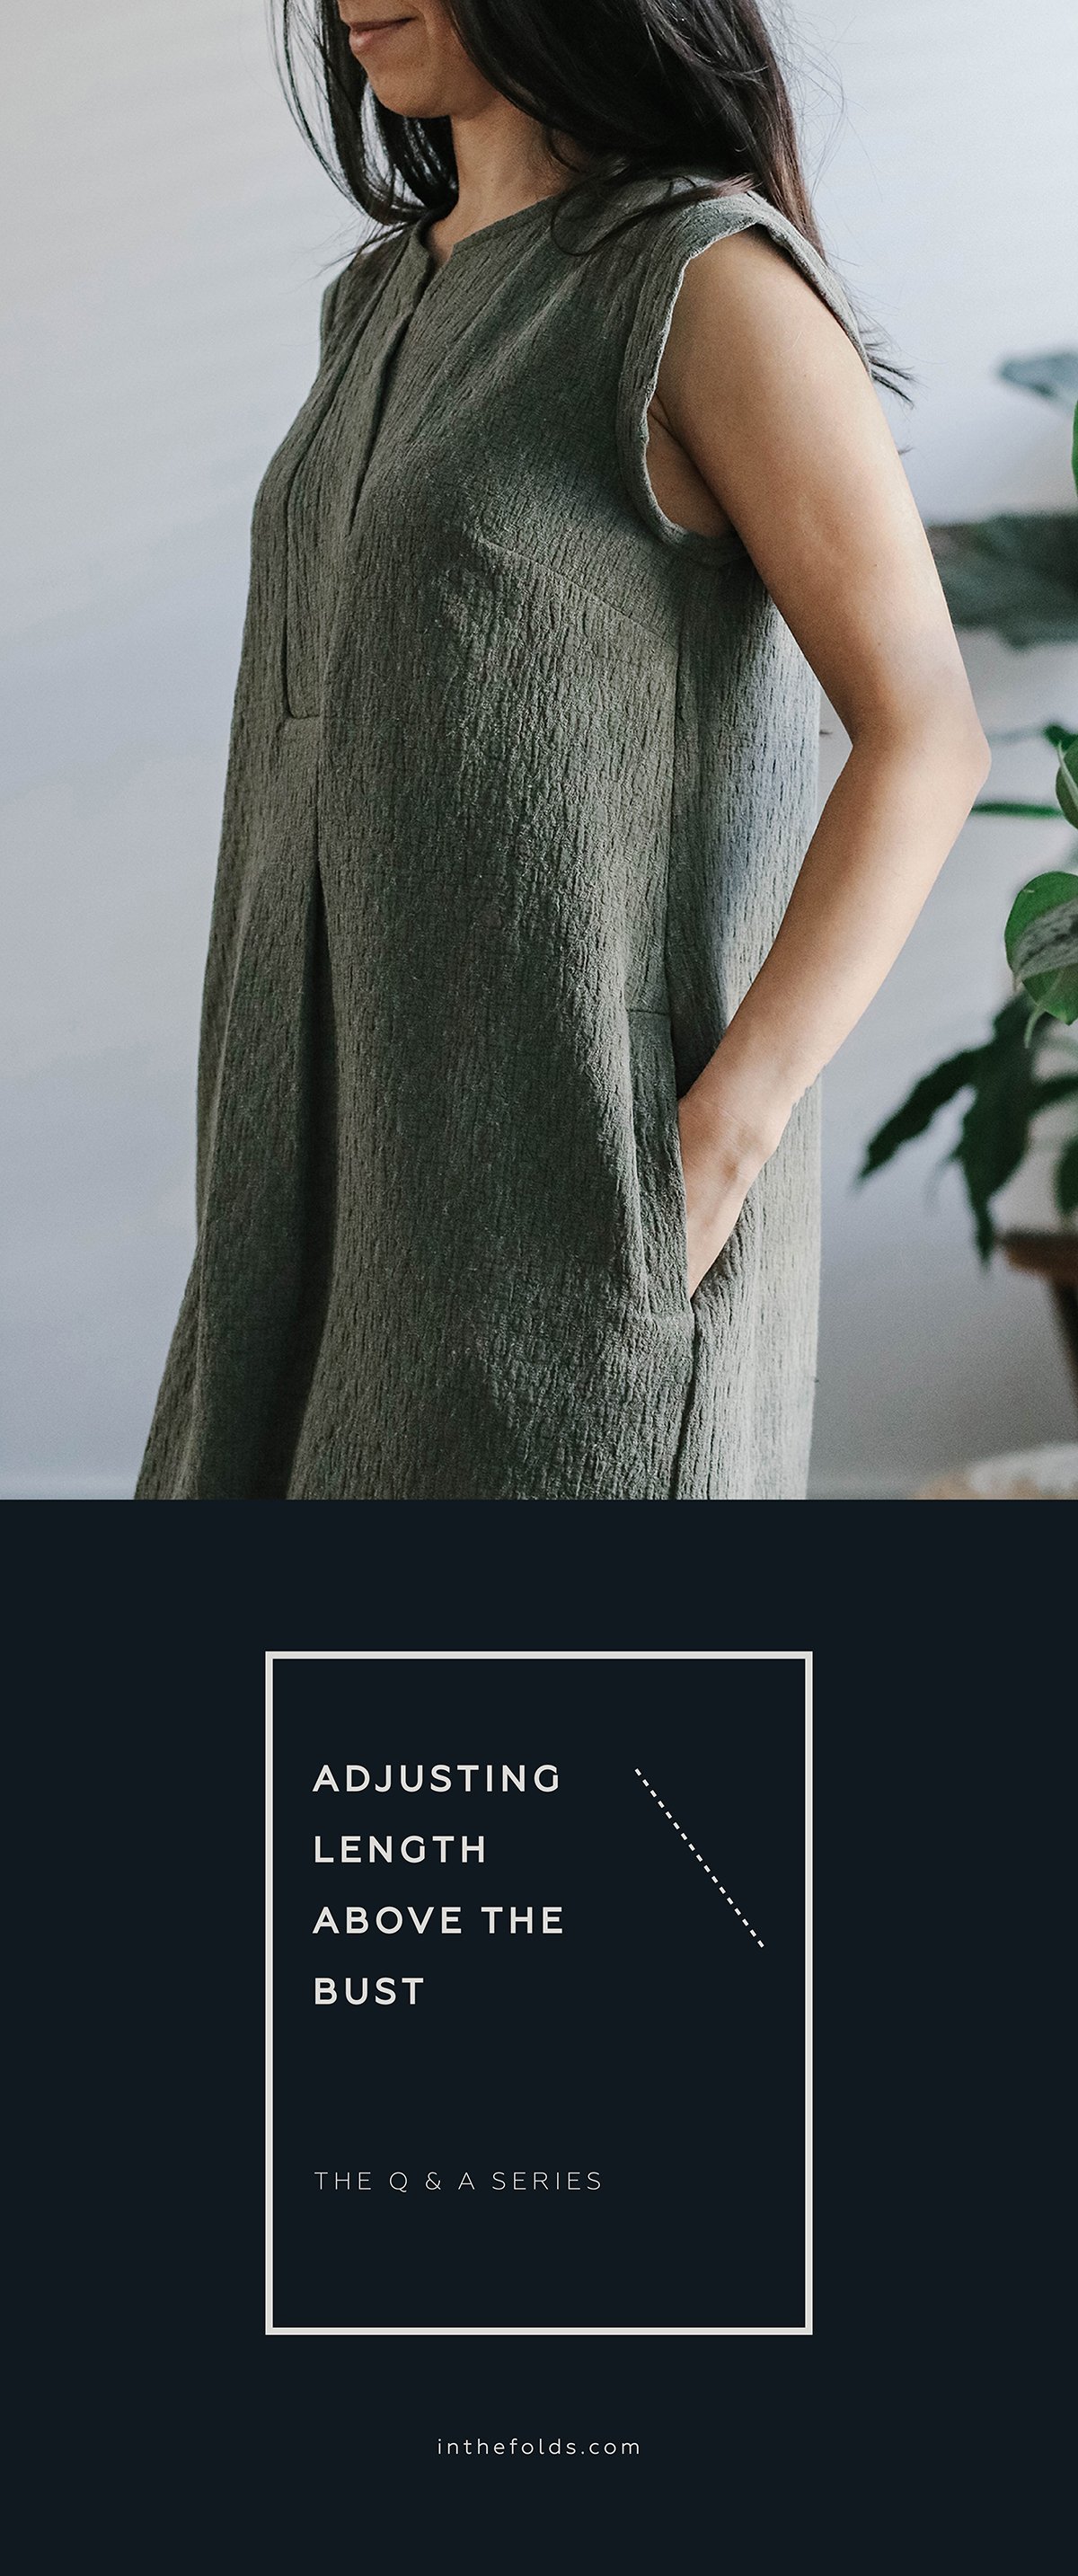
THE Q & A SERIES
Adjusting length above the bust
As a petite person (152 cm tall) I often need to make adjustments to the bodice area of a pattern to shorten it, in addition to adjustments at the usual shorten/lengthen line in a pattern.
Usually this might be about 2.5 cm above the bust line and a similar adjustment at the usual length adjustment line.
Do you have any recommendations for adjusting the Sawtell dress pattern as there are a few more pieces to take into account?
Hi there,
This is a great question! I think a lot of us assume then when thinking about adding or removing length, we are only talking about the hemline. Adding or removing length from other parts of a pattern can make a huge difference and can ensure you achieve a great fit, so I am glad you have found this technique allows for you to achieve a good fit!
Before getting started on this alteration, I'd suggest making a toile (even just of the top section). The fit of the Sawtell dress is fairly forgiving and you might find you don't need to do this. In saying that though, In the Folds patterns are drafted for a height of 170cm (5'7") so it is likely you will need to alter the length for a height of 152cm.

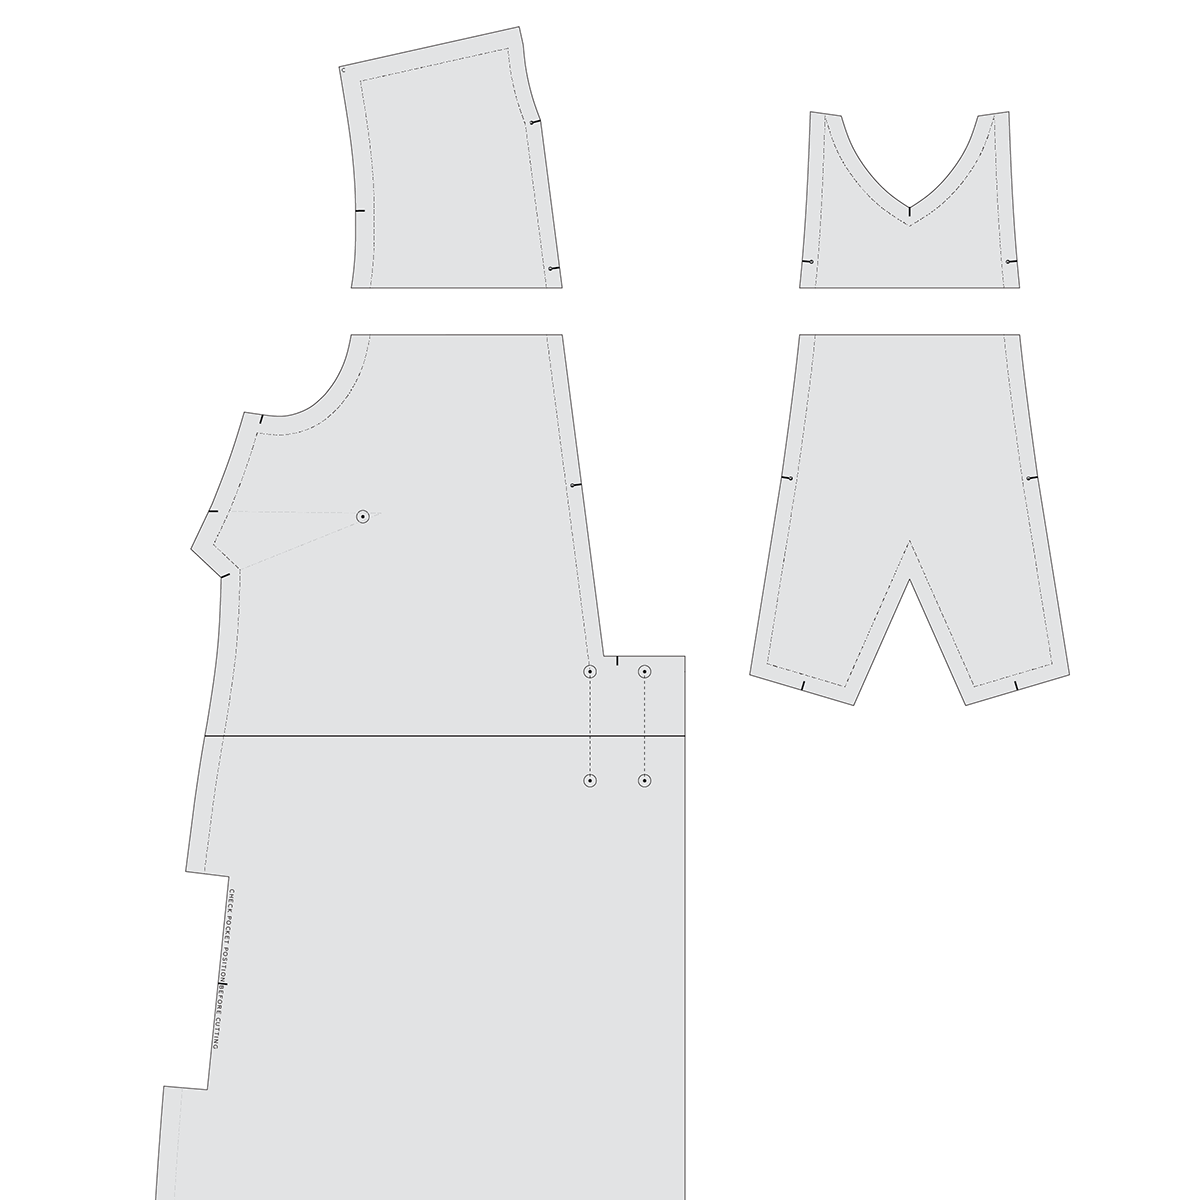
Mark the position of the alteration
Step 1
Mark a line on the FRONT pattern piece and PLACKET in the position you will be removing length. The position is up to you and having a toile to refer to is handy! As you can see, I have put the line in the same position on the FRONT and the PLACKET (in relation to the notches) so that the alteration is consistent between pieces.
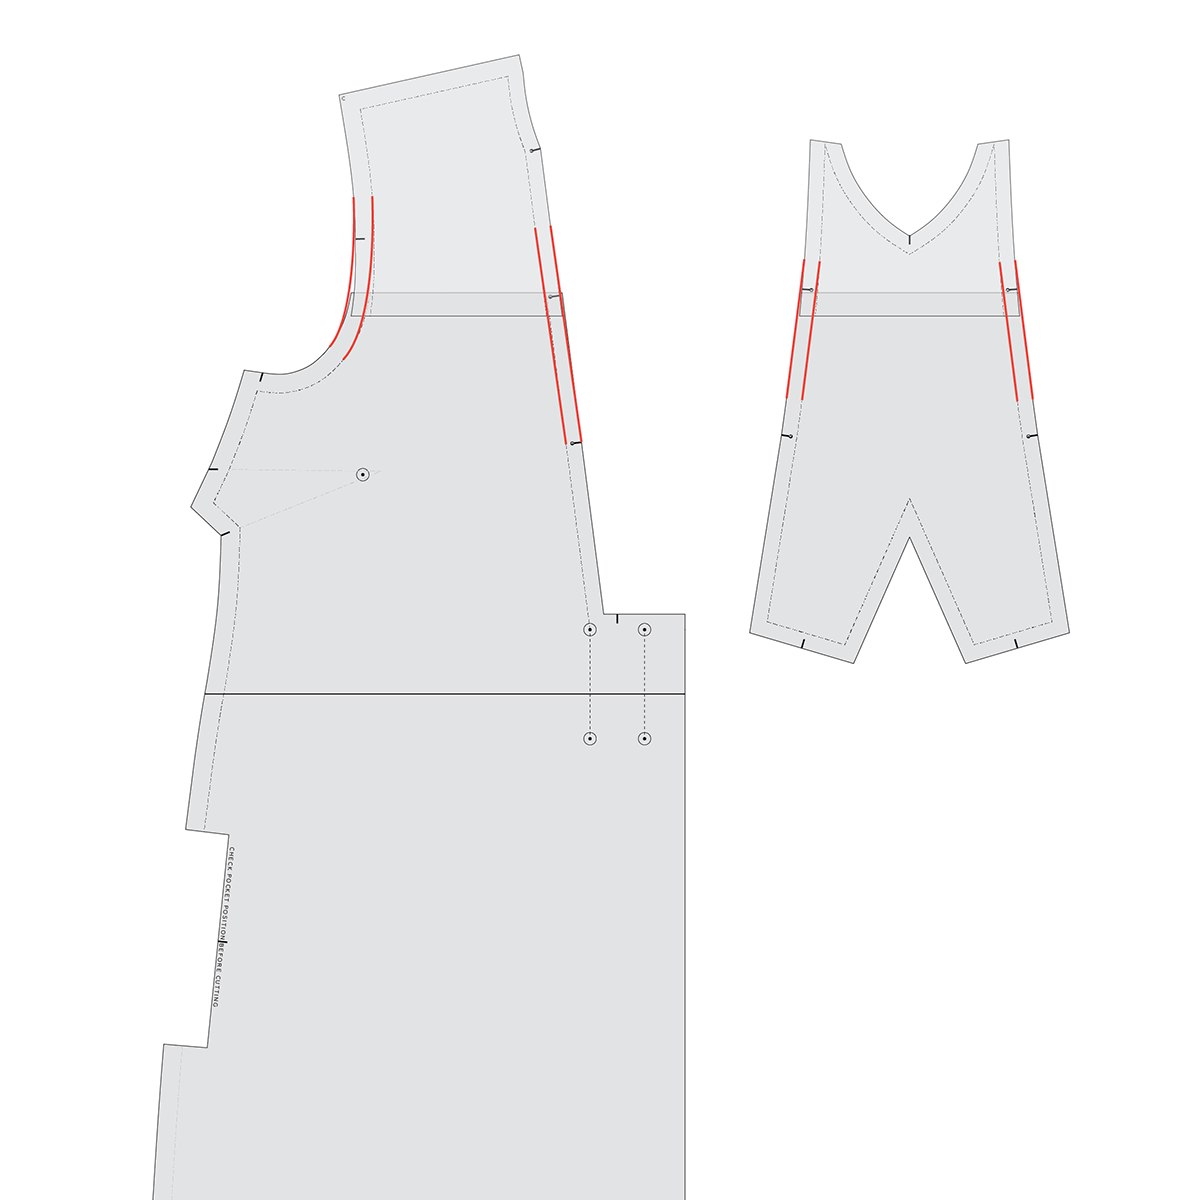
Step 2
Carefully cut through the lines.

Mark the amount you would like to remove
Step 3
On the lower section of the pieces, mark the amount you would like to remove from the pattern. Keep the line parallel to the cut line.
Adding length? Check out this post which shows you how to do the opposite alteration.

Step 4
Slide the top section down to the line marked in the previous step. If making a larger alteration it can be helpful to draw a vertical line across the cut line (or extend the grainline up to the top of the piece) so that you can use it to ensure things are matching up correctly either side of the cut line.
Step 5
Re-draw both the stitch line and cut line on the altered sections, smoothing out the lines over the alteration. More about this technique can be found in the Sawtell dress Fit Kit.
Walk your placket seam into your FRONT dress opening seam to check that the lines match up and the notches are placed correctly.

If you also need to make this alteration to the back, I'd suggest splitting the alteration between the back piece and the yoke piece so that the proportions of the design remain intact.

Step 6
You will also need to alter the sleeve as we have removed length from the armhole. It is helpful to rotate the sleeve of the Sawtell so that it matches the armhole. Place the adjustment line in a similar position as you did on the FRONT (using the notches to guide you). If you have also removed length from the back, you will need to do the same for the back of the sleeve.
The outer single notch on the sleeve indicates the front side of the sleeve, while the double notch indicates the back.

Step 7
Remove length from the sleeve in the same way you removed length from the body of the dress. Walk your altered sleeve into the armhole to check that the pieces match.
Happy sewing,
Emily
RESOURCES MENTIONED IN THIS ISSUE
Sawtell dress pattern and Fit Kit was released as part of the Curated by ITF subscription and is not currently available as a standalone product. To stay in the loop about new releases, sign up to our newsletter here, or learn more about Curated by ITF here.
How to lengthen a pattern above the bust - tutorial can be found here.
Checking curved seams - tutorial can be found here.
For more issues of the Q & A series, you can check out the archive here.
WHAT YOU’VE BEEN MAKING

Sawtell dress made by @mamasuesews

Rushcutter dress made by @mandytootellartist

Sawtell dress made by @shuaychong
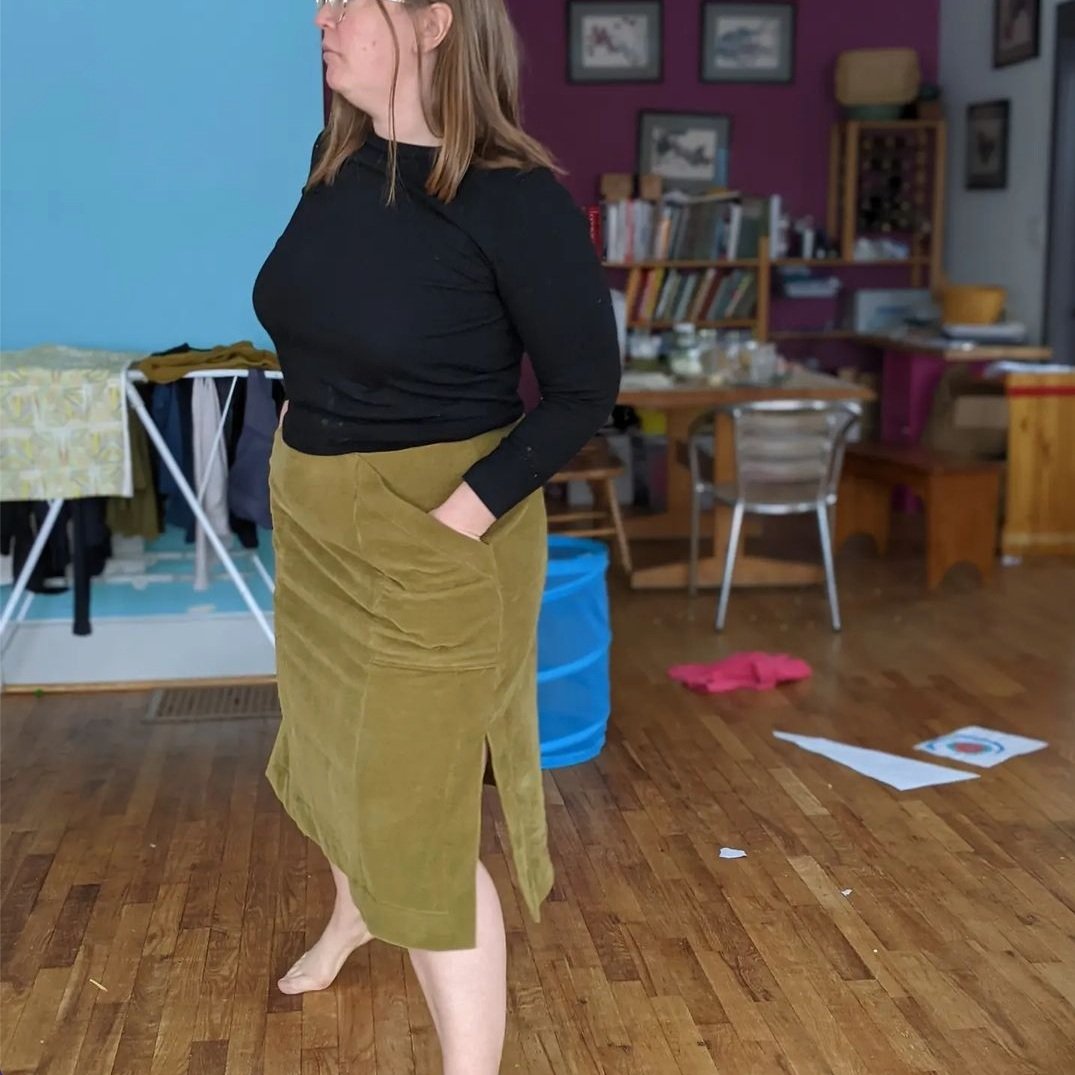
Barkly skirt made by @nina.in.specs


