If you have been following along with the Acton sew-along, you will have seen that yesterday we finished up View A (the A-line version).

Now it's time to start sewing view B (the wrap skirt version), which I am very excited as I must admit it is my personal favourite!
Construct the bodice

Construct the bodice in the same way that you would construct View A - check out this post if you need some guidance. Follow the same method to assemble the lining.
Attach the bodice front to front skirt
The method for attaching the skirt to the bodice for the Acton, is probabaly a little different to any method you have used in the past, don't worry about that. Just follow the instructions carefully and I promise it will all come together beautifully!

Take the SKIRT FRONT and lay it right side up on your cutting table. Place the bodice right side down (so the pieces now have right sides together), aligning the opening in the centre front of
the bodice with the drill hole in the centre front of the skirt. Pin in place.
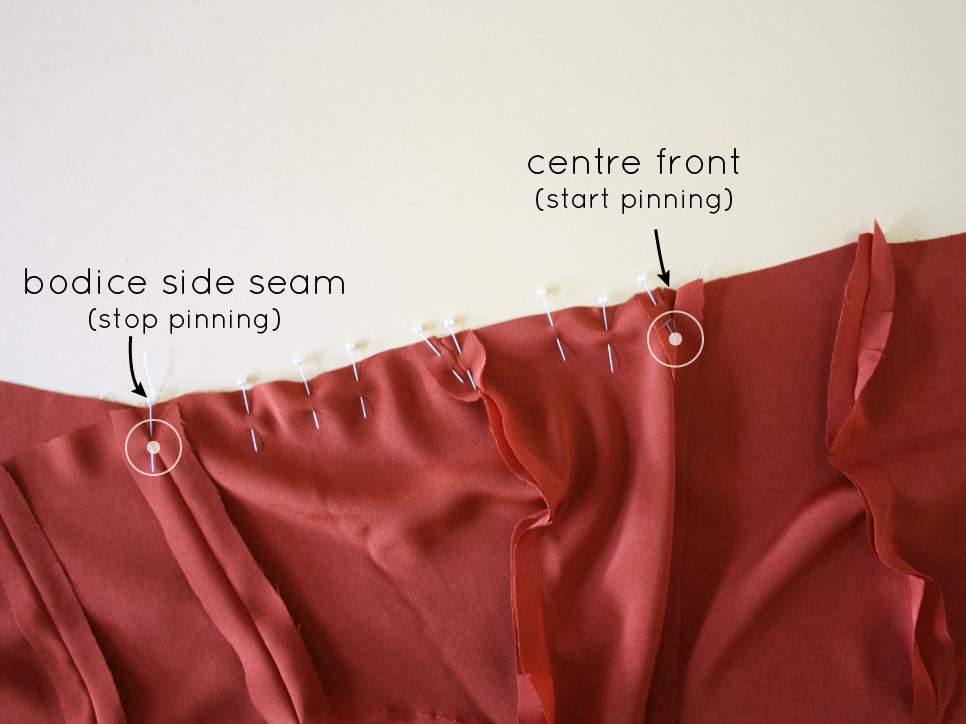
Using the notches on the skirt to guide you (they align with the princess seams on the bodice), pin the front of the bodice front to the skirt on just one side. Stop pinning when the side seam of the bodice lines up with the drill hole on the skirt front.
Move on to the other side of the front bodice, pinning from the centre front to the bodice side seam on the other side (you will notice that the small opening in the bottom of the centre front bodice seam really helps with this bit).

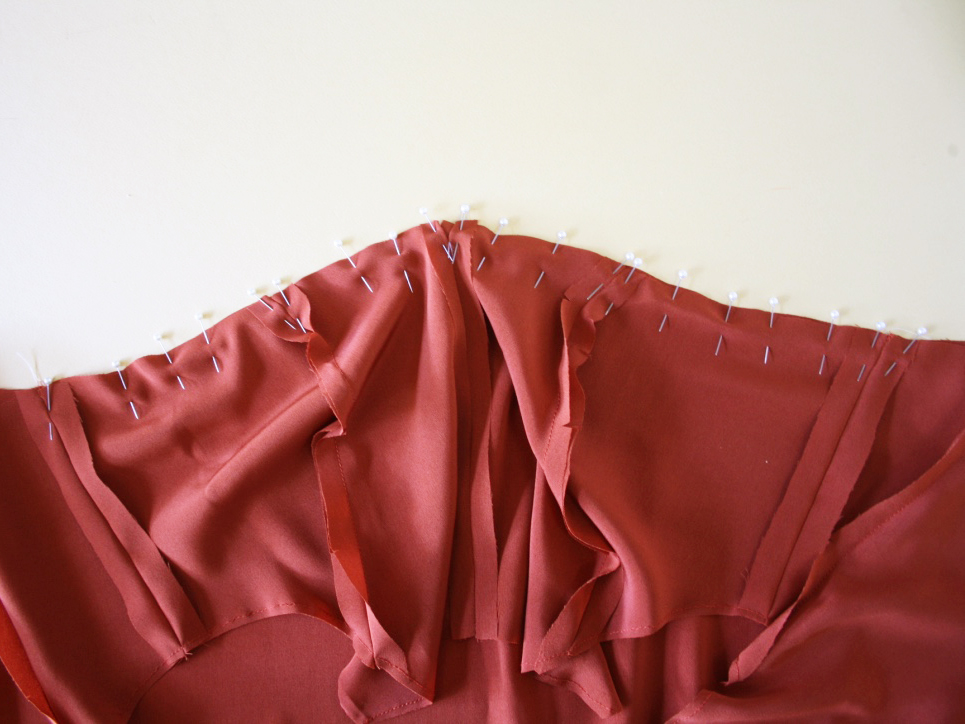
Stitch from one drill hole / bodice side seam, to the centre front, with a 1.2cm (1/2in) seam allowance. As you approach the centre front, go nice and slow - walking the final stitches if you need to. Insert the needle in the centre front and turn the corner before sewing to the other drill hole / bodice side seam.

Press the seam allowance up towards the bodice, before checking that there is no puckering at the point where the centre front bodice and skirt meet.
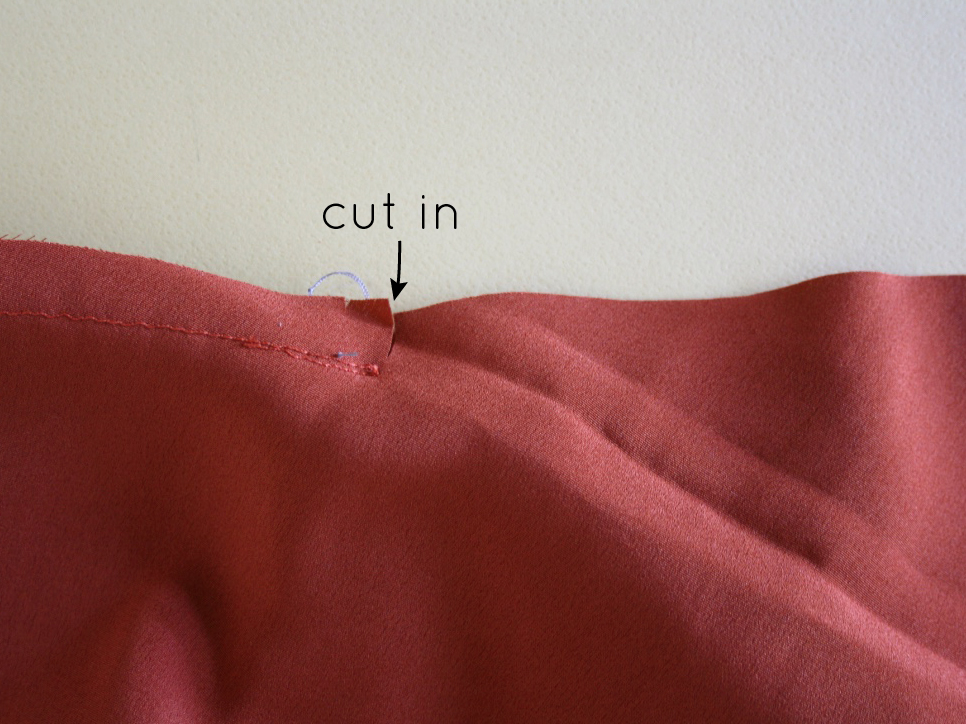
While the dress is still wrong up, make small cuts in the skirt piece. To do this, from the top edge of the skirt, at the point where the stitching stops, carefully snip into the seam allowance, towards the line of stitching (be careful not to cut through the stitches). This will help you achieve a clean finish when it comes to joining the top edges of the front and back skirt. Repeat on the other side.
Attach the bodice back to back skirt pieces
Take the the back pieces of the skirt and finish the raw edges of the centre back on both pieces. If you would like to get a really beautiful finish, consider finishing with a Hong Kong bind.

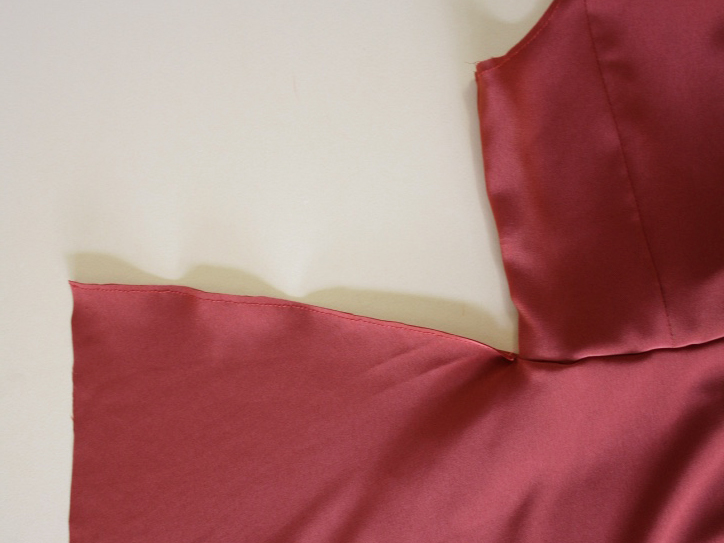
With the dress right side up, fold back the SKIRT FRONT so that you can access the back
waistline on the bodice.

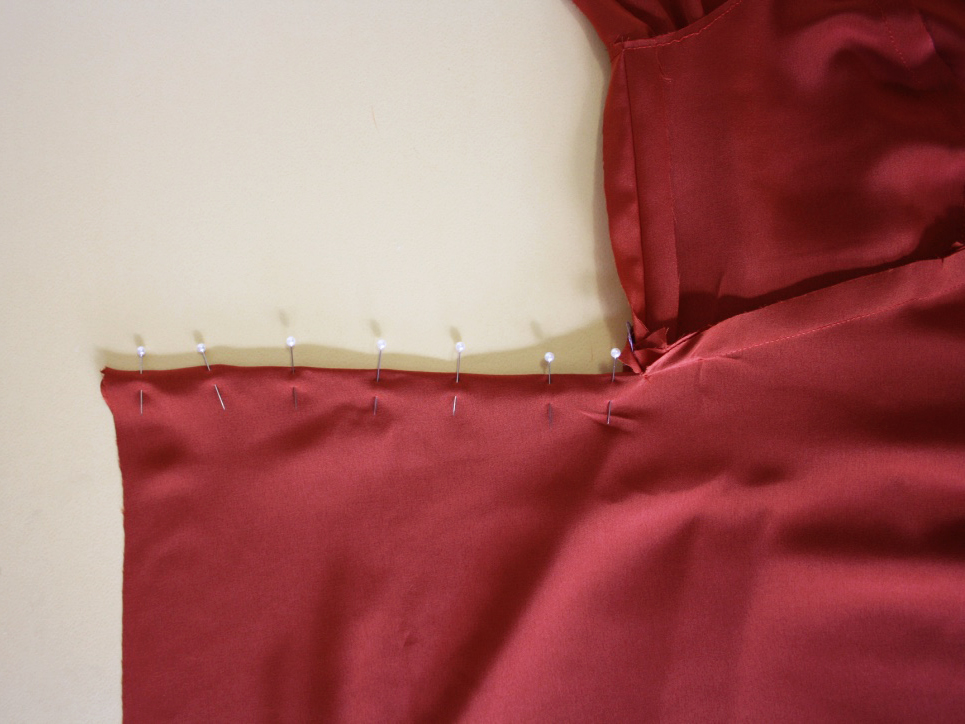
Take the SKIRT BACK and, matching the centre back on the skirt to the centre back on the bodice (with right sides together), pin the skirt waistline to the bodice waistline. Use the notches to guide you like you did with the front bodice. Pin until you reach the drill hole on the skirt back and the side seam on the bodice.

Fold back the unpinned part of the skirt to check that the seam is pinned up until the front skirt meets the bodice, but is not overlapping.

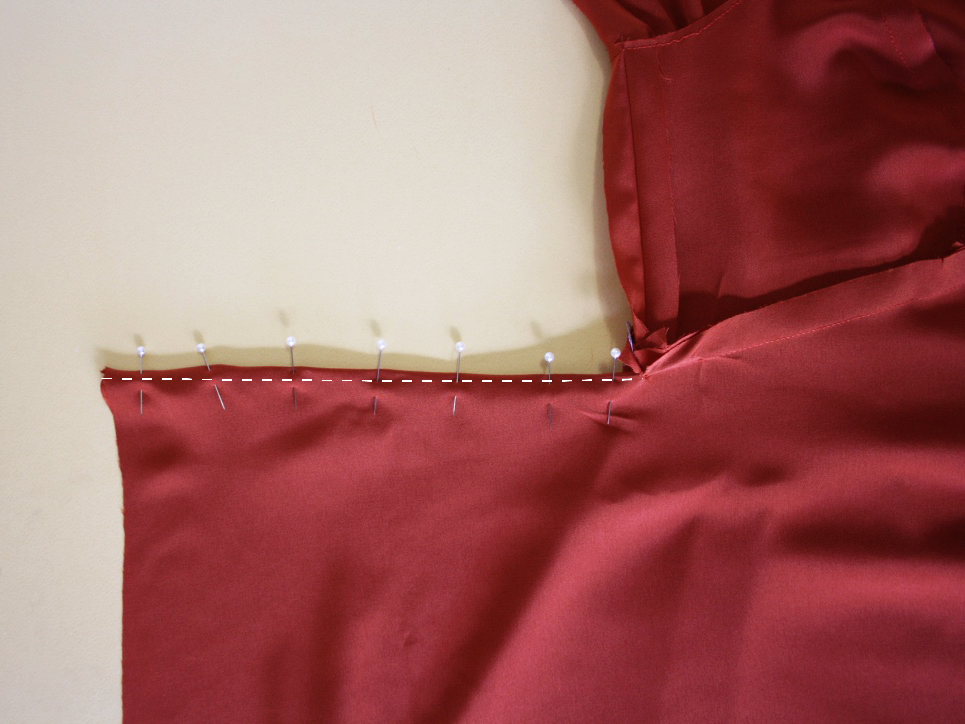
Stitch seam with a 1.2cm (1/2in) seam allowance, going nice and slow as you approach the drill hole.

From the top edge of the back skirt, at the point where the stitching stops, carefully cut into the skirt seam allowance towards the stitch line (in the same way that you did for the front skirt). Repeat on the other side.
Join the front and back skirt

You will now join the top edges of the front and back skirt with a french seam (for more info on french seams, check out this tutorial). Turn the dress right side out and pin the top edge of the front skirt to the top edge of the back skirt.
Stitch with a 6mm (1/4in) seam allowance.
Trim down the seam allowance by 2-3mm (⅛in).
Turn the dress inside out and press the seam flat. Pin the seam, enclosing the raw edge inside the
seam.
Stitch with a 6mm (¼in) seam allowance.

Go nice and slow as you approach the bodice, being careful to meet the stitch line at the waistline. Repeat for the second side.

Turn the dress to the right side and give it a good press.
That's all for today's post. I hope you didn't find it too tricky! Tomorrow we'll be making the waist ties and sewing up the side seams of the skirt.