I can't believe that I am saying this, but it is finally time to start sewing today! If you have been following the Acton sew-along, you will know that I have gone through A LOT of alterations (check them out here). When it comes to the Acton, fit is important, and I really wanted you all to feel confident to make any alterations you require.
But by now, you should have printed the pattern, made the alterations required to the pattern, got some inspiration, cut your fabric and be ready to sew.
We'll be starting with the bodice. You will notice that seam allowances vary in my patterns. This is to help you get a really nice finish. Different seam types require different finishes. For example, when putting in a zip, you will want a 2cm (3/4in) seam allowance, to get a really nice finish, while around an armhole or neckline (which is quite a sharp curve), 1cm (3/8in) will work much better. So be careful to check wjat seam allowance is required for each step.
Join the centre front bodice pieces

Take the CENTRE FRONT BODICE pieces and pin together, down the centre front, with right sides
together. With a 12mm (1/2in) seam allowance, stitch down from the neckline to the drill hole (the point marked at the bottom of the seam). This little opening at the bottom of the seam will help you get a really nice point, when you join the bodice to the skirt. Repeat for the lining pieces. Seam allowances can be left raw, as the bodice will be fully lined, but if your fabric is prone to fraying, you may choose to overlock the seams (or cut with pinking shears).
You can press the seam allowances open at this point, or wait to the bodice and lining are constructed and press all at once (I always wait until I have multiple seams to press at the same time, as it can be a big time saver).
Stitch the princess seams

Pin the SIDE FRONT BODICE pieces to the CENTRE FRONT BODICE (with right sides together), using the notches to guide you. The seam on the CENTRE FRONT BODICE is straight, while the panel line on the SIDE FRONT BODICE piece is curved, so you will need to ease the curved seam into the straight seam. It may seem like the curve is longer than the straight seam, but the stitch lines are the same length, it is just the added seam allowance that changes the length of the seams. Once your panels are nicely pinned, stitch with a 12mm (1/2in) seam allowance. Repeat for the lining.
Assemble the back bodice
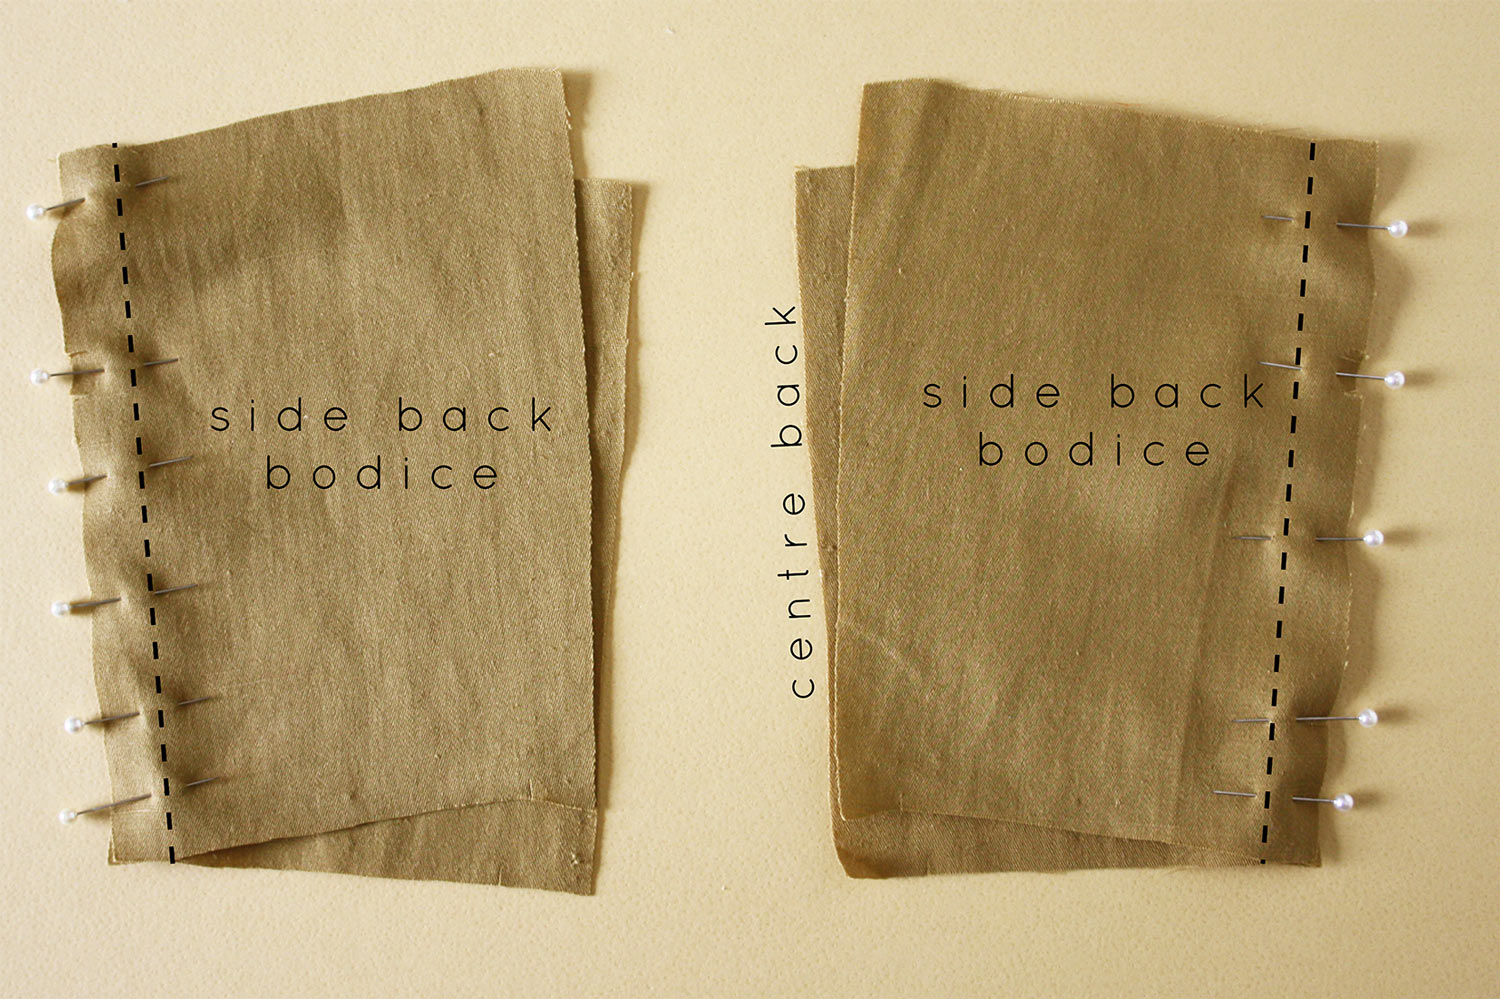
Take the SIDE BACK BODICE piece and pin to the CENTRE BACK BODICE, using the notches to guide you. These pattern pieces are quite similar to one another. If you think there is a chance you will mix them up (which could lead to an upside down bodice), put a pin, or chalk mark on the centre back pieces. Stitch seam with a 12mm (1/2in) seam allowance. Repeat for the lining pieces.

With right sides together, pin the front bodice to the back bodice at the side seams, before stitching with a 15mm (5/8in) seam allowance. Repeat for the lining.
Press seams
Press all seams open (on both bodice and lining) - carefully clipping into the princess seams if you feel the need. This is a great time to use a tailor's ham if you have one. It can help you get a nice smooth curve over the bust.

Once pressed, carefully stay stitch (a line of stitching that is sewn along a shaped - or bias cut - seam to keep it from stretching as a garment is being made) along the top edge of both the bodice and the lining 6mm (¼in) from the edge. This will mean the stay stitching remains inside the seam allowance (the seam allowance along the armhole / neckline is 1cm / 3/8in).
Your bodice and lining can be set aside for the moment. Tomorrow we will be moving onto the skirt... starting with attaching the pockets!