One of my favourite things about the Acton is the lined bodice. It really helps you get a beautiful finish on the inside, and aligns well with the dressy and glamorous feel of the dress. In todays' post for the Acton sew-along, I'll be showing you how to attach the lining to the bodice.
Prepare the lining
You should have assembled the bodice lining at the same time as you assembled the bodice. If you haven't done it already, check out this post for how to do it (it's exactly the same as the bodice).

Take the bodice lining and with right side facing down, fold back the centre back seam allowance 2cm (¾in) and press flat on both sides.

With the lining still face down, turn up the bottom edge by 1.2cm (½in) and press.
Attach the lining to the bodice

With the dress right side out, pin the lining to the bodice, starting at the centre back, with right sides together. Be sure to have the zip open and the centre back seam allowances pressed flat and not folded. Pin until you reach the side seam. You will need to sew the top edge in small sections, as the straps make it difficult to get the top edge to lie flat. Stitch this section with a 1cm (⅜in) seam allowance.
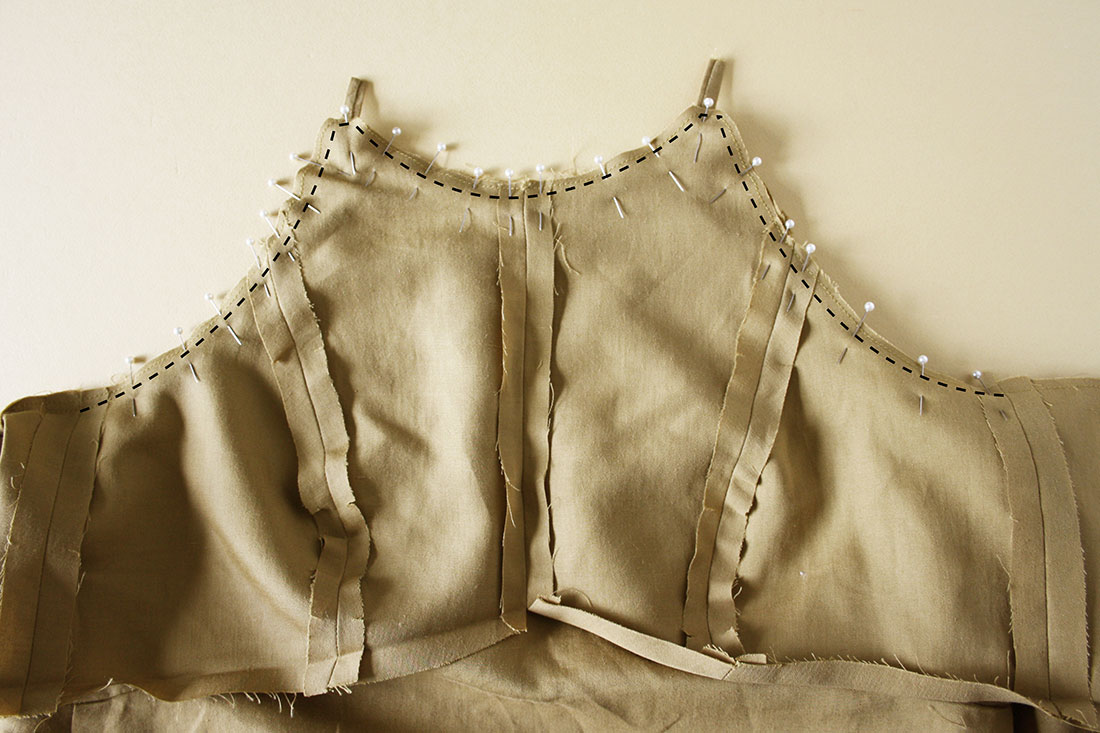
Next, pin from the side seam, around the armhole, neckline and second armhole, until you reach the side seam on the other side. Again, stitch with a 1cm (⅜in) seam allowance.
Pin the remainder of the seam in place, before stitching with a 1cm (⅜in) seam allowance.
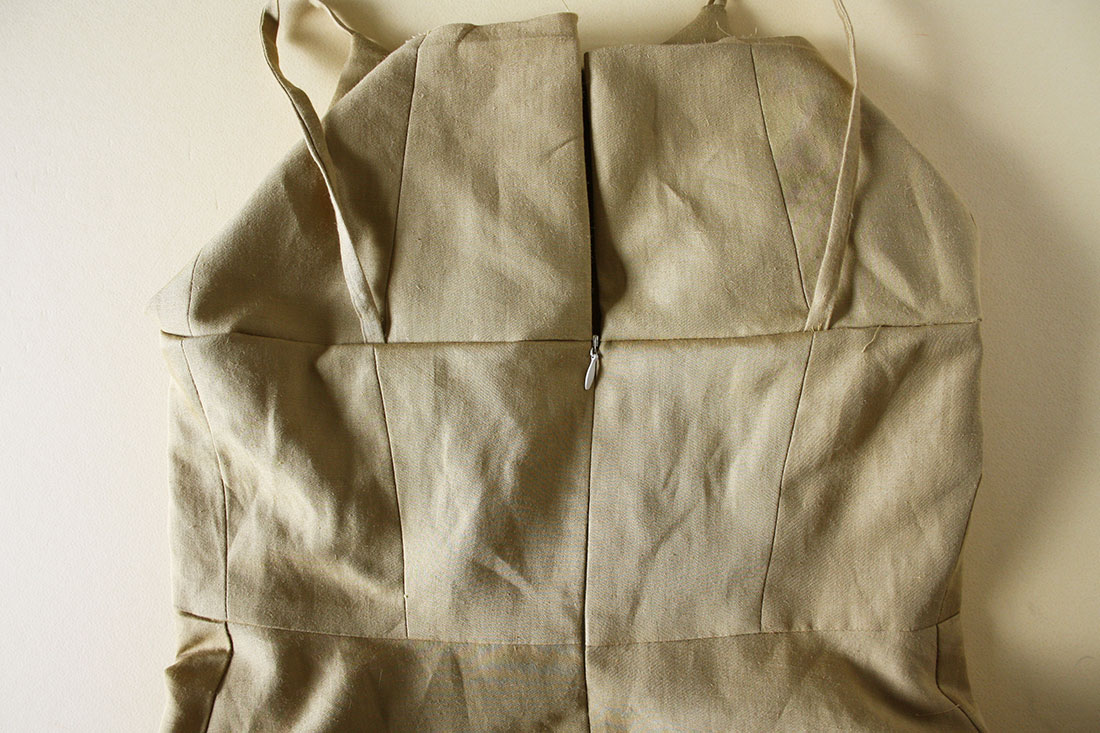
Before continuing, turn the dress to the right side and with the facing flipped up, check that the seam along the top edge is even on either side of the zip. Clip into the seam allowance (particularly around the curves).
Understitch
Lay the seam flat, and with the seam allowances pushed towards the lining, understitch (stitch the seam allowances to the lining). Start 2-3cm (1in) from the centre back and stitch as close as you can to the strap, before back stitching and moving on to the neckline and second armhole

With the bodice turned inside out, pin along the centre back seam - sandwiching the zip between the bodice and the lining. Keep the bottom edge of the lining turned up by 1.2cm (½in) and pin in place (this is when the crease you made earlier comes in handy).

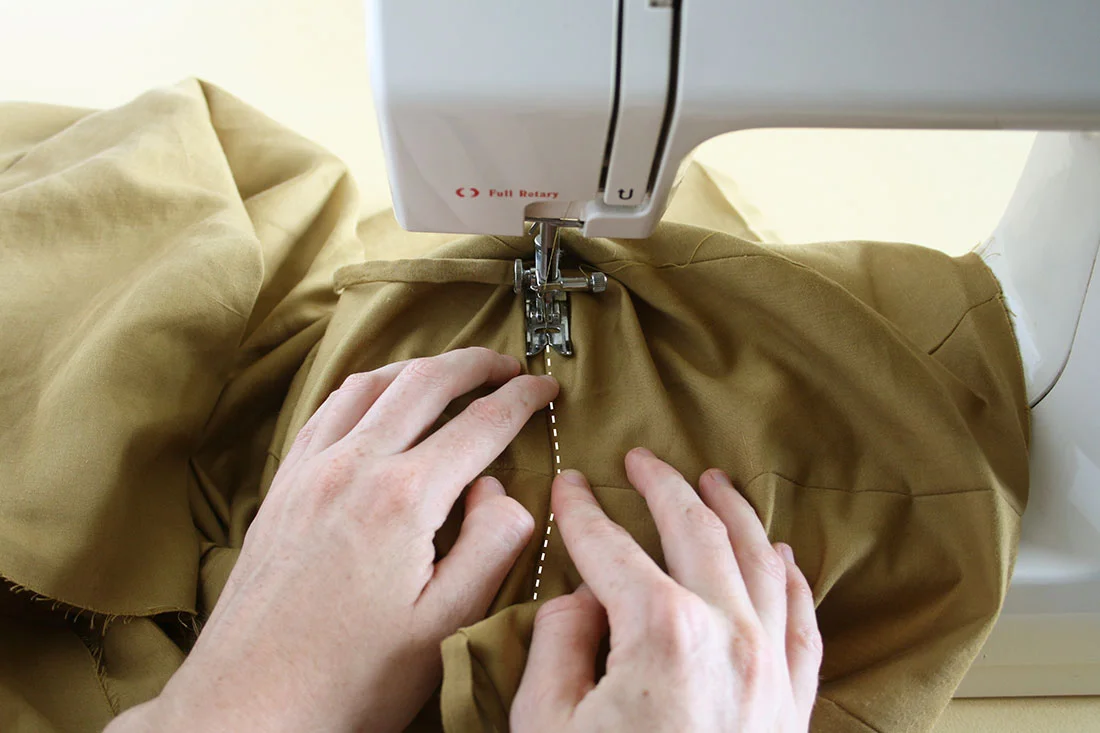
With a regular zipper foot. Stitch the lining in place by sewing close to the zip on either side.
Clip the corners
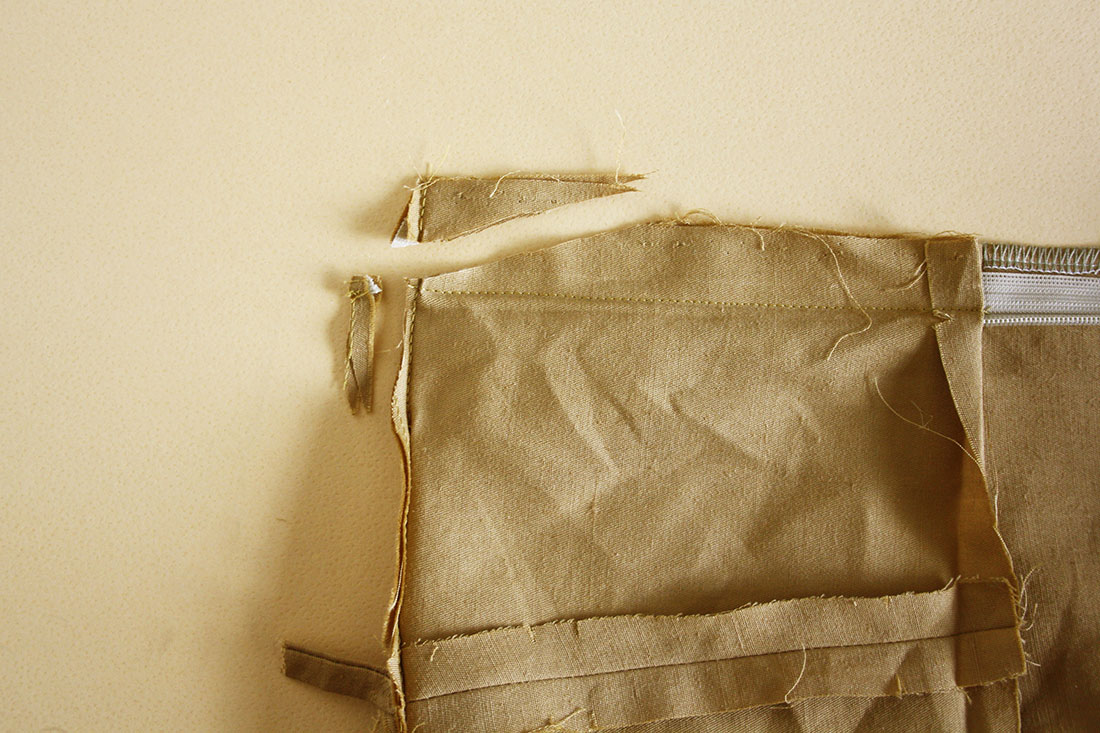
Trim back both sides of the corner at the top of the zip. This will help you get a nice sharp corner and a lovely clean finish.
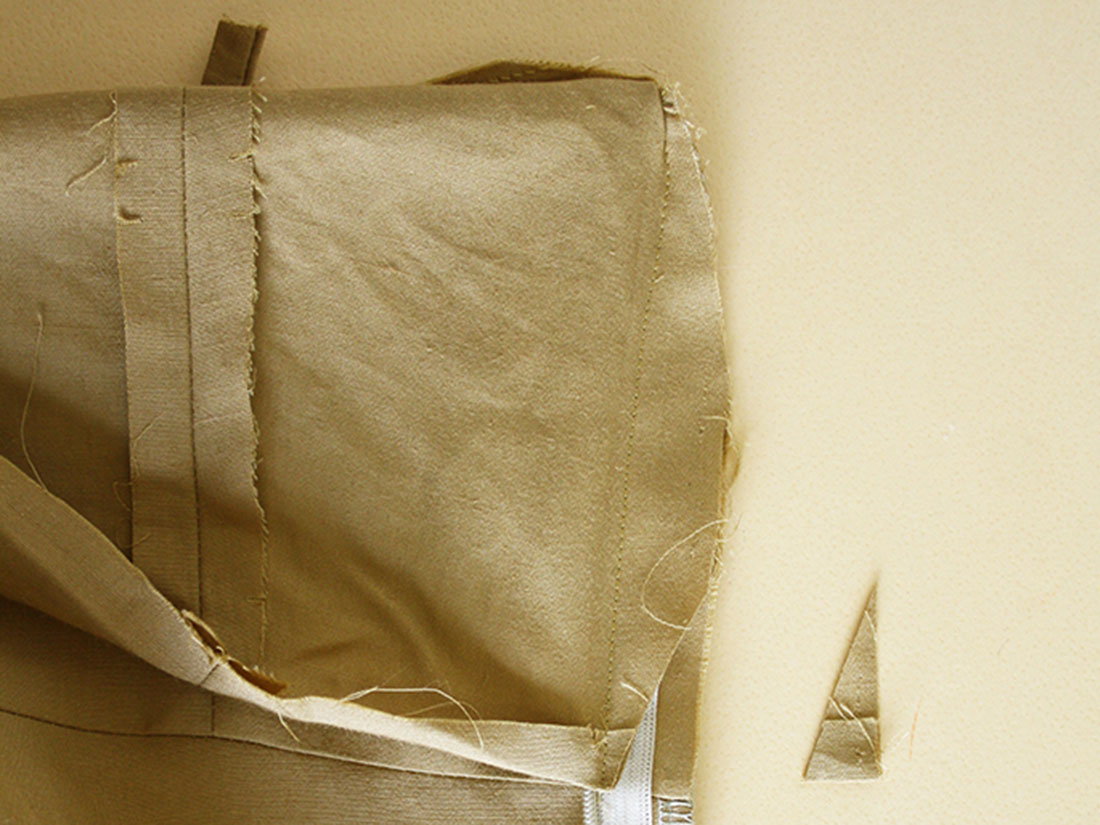
Trim back the seam on the lining only from close to the waist seam, to minimise bulk around the zip and waist seam.
Turn the bodice right-side out

Turn the bodice right side out and use a corner turner (or pencil) to get a nice sharp corner at the centre back, before giving the bodice a good press. It's looking pretty nice, right?!
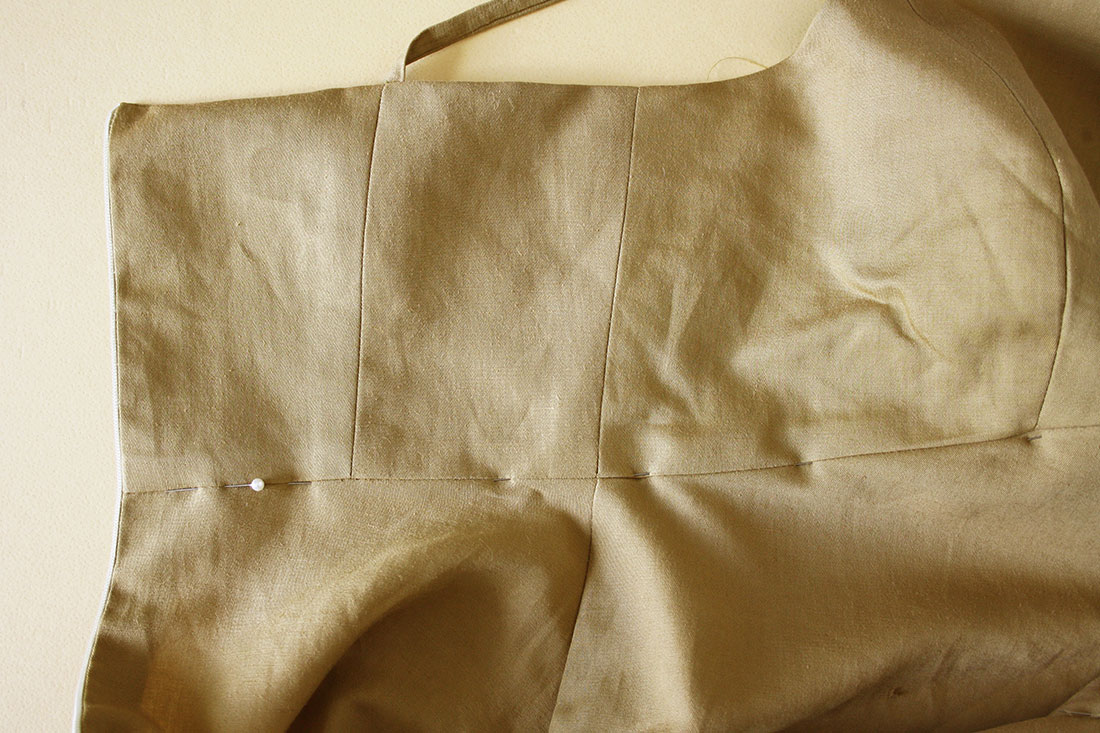
Attach bodice at the waist

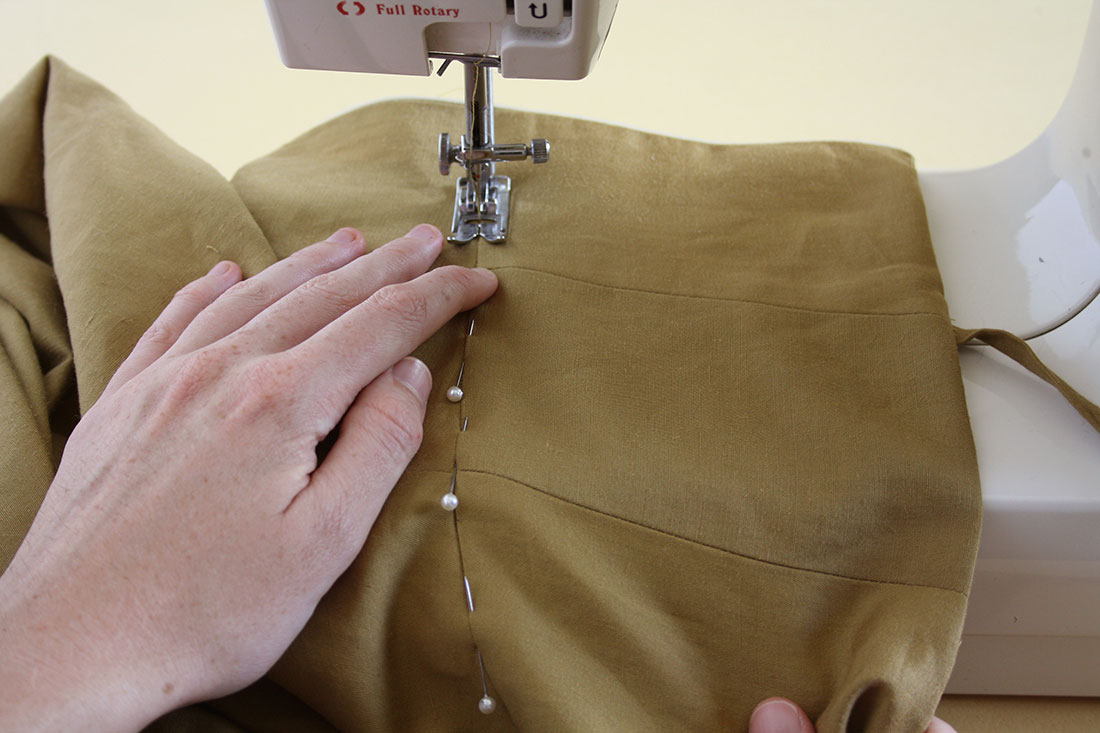
Turn the dress inside out and with the seam allowance still folded under, pin the lining to the bodice, along the waistline. In the next steps I will show you how to attach the lining to the bodice using a sewing machine. If you would prefer to stitch by hand (to get a more discreet finish), I will show you how to do that later on in the sew-along (when we're working through view B).
Turn the dress over to the right side and pin along the waistline, checking regularly that you have caught the lining on the wrong side. Remove the pins from the wrong side.
Stitch the lining in place by carefully stitching in the groove created by the waist seam (this is called stitching in the ditch).
You'll see that we're almost done! Just to hem and then you'll be ready to wear your Acton!