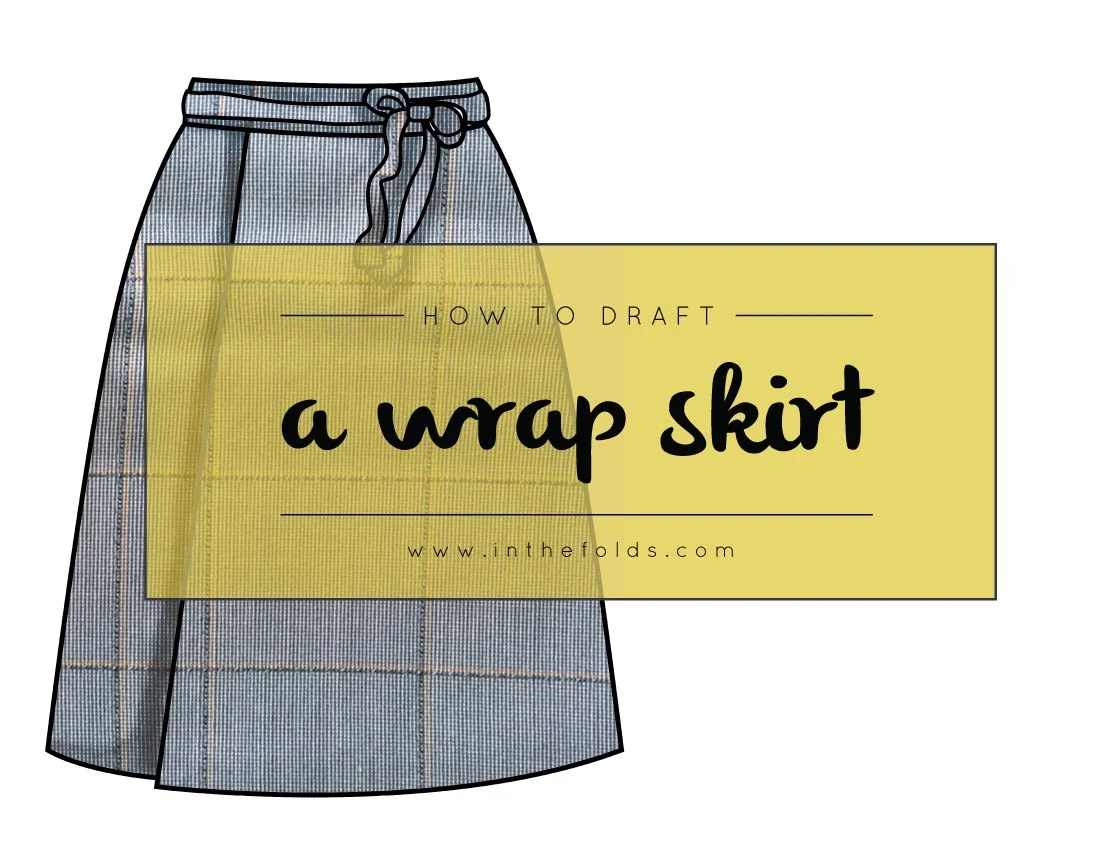
Today I am continuing on with The Skirt Series by showing you (as the title suggests) how to draft a wrap skirt! It is a nice and easy pattern to draft, and an even easier pattern to sew, as it doesn't need a zip or buttons (just one button hole).
DRAFT THE SKIRT BLOCK
To draft a wrap-around skirt, start by drafting a basic skirt block (if you haven't already). This is the longest part of the process, but once you have your block made, you will have it ready for all skirt and dress patterns in the future!
CUT AND SPREAD TO CREATE AN A-LINE SKIRT
Once you have drafted the skirt, you can move to transforming the basic straight skirt into an A-line skirt.
ADD MORE VOLUME (IF YOU WISH)
If you would like more volume in the skirt, after making the standard A-line skirt, you can add more volume by following this tutorial.
DRAFT A WRAP SKIRT
The back pattern requires no more adjustment, and can be marked 'Cut on Fold' as no zip is required.
The front pattern piece needs some adjustment though - taking it from an A-line skirt to a wrap skirt.
Mark the grainline

Take a large sheet of pattern paper, and draw a straight vertical line close to the centre. This will become the grainline of your pattern.
Trace the pattern

This pattern needs to be cut as a full front (not "place on fold," as is often the case for skirt fronts) as the wrap extension extends beyond the centre front. You will need to create a full front pattern piece.
To do this, align the centre front of your A-line skirt pattern with the grainline you just marked, and trace the pattern.
Flip the pattern over and trace the other side - ensuring the pattern is lined up with the centre front, waistline and hemline.
Create the wrap
Have a think about how far you would like the skirt to extend beyond the centre front (the wrap). You will want it to extend enough that you get coverage when you walk / sit / dance / move. As an indication of what works, I was making a size 10 and chose to extend by 12cm (which was just over halfway between the centre front and the right side seam of the pattern piece).
Draw a line, the length of the extension, on the right side of the pattern, perpendicular to the centre front.

Now, draw a line that is square (meets the waistline at a ninety degree angle) with the waistline and passes through the endpoint of the line drawn in the previous step.
Continue the line until it intersects with the hemline.
Cut along the line to remove the excess. You now have your front pattern piece.
Create the front facing
A facing is required to finish the front opening. The process is basically the same as drafting a pattern for a hem facing.

Take the front of your wrap skirt pattern and work out the desired width of your front facing. As a guide, I chose to make mine 9cm wide. I like to have sturdy facing that provides stability to the garment and hides all unfinished seams, but the best option will depend on your fabric choice (If your fabric is lightweight, you may choose to finish the raw edges with a binding instead of a facing).
Mark the desired width close to the waistline and hem of the pattern (perpendicular to the line of the opening).
Join the endpoints of these lines with a straight line that runs right through the pattern.

This section will become the front facing.
Trace the facing piece
Take a seperate piece of pattern paper and trace a copy of the front facing.

You can have a facing that is separate to the main skirt (simply add seam allowance to both patterns). Although, I prefer to attach facings to the main garment, when possible (in this case, it is possible).
Attach the facing to the pattern

To do this, cut out the facing piece, flip it face down and line it up with the front pattern, as if you were sewing them together.
Once in position, tape in place.
When the pattern is cut out in fabric, this line will become a fold.
Draft a hem facing

You will now need to draft a hem facing, by following this tutorial. Draft the facing from the centre front to the side seam only.

You will need to trace a copy of the hem facing piece and reflect it to create a complete hem facing (the easy way to do this is to trace it once, then fold it along the centre line and cut it out - use some pins / a staple to hold the pieces in place, if necessary).
Go back to your skirt pattern, and fold back the front facing piece. Now place your hem facing piece in position, and mark the point where the front facing piece ends. You do not want to create unnecessary bulk by facing the corner twice (at the hem and centre front), so by marking the position of the front facing, you will be able to cut down the hem facing to the right size.

Cut off the excess, before adding seam allowance to all pattern pieces.
Although we still need to draft the waistband, I am going to leave it there for the moment, as I don't want to overwhelm you! Check back next week, to see how to finish off this pattern.