THE Q & A SERIES
How to alter a raglan neckline
Hi Emily,
How do I make a raglan neckline smaller? Is it as simple as lengthening each of the four seam lines or is there more to it to maintain the shape?
Katie
Long Beach, USA
Hi Katie,
Raglan sleeves have been on our mind this month as it’s one of the tutorials included in our Cartwright dress Hack Kit, so we thought this would be a great question to tackle! And the raglan sleeve design has to be one of our favourites. Two of our first patterns ever released included it - the Rushcutter dress and the Collins top!
And I’m pleased to tell you, you are correct! To raise the neckline on a raglan sleeve (which will make it smaller) you need to continue the seam lines to your chosen neckline height.
I wanted to show you this on the raglan sleeve we drafted from the Cartwright dress + top pattern but realised the neckline couldn’t get much higher, so I’ll show you how to lower it first and then add back on… as I realised that someone out there might like to learn how to do the opposite!
How to lower the neckline on a garment with a raglan sleeve

Step 1
First you need to know how much you would like to lower the neckline by. You can work this out by referring to your toile (if you have one).
On the pattern, measuring from the STITCH LINE, mark in your new neckline with a broken line - marking the distance you would like to lower the neckline by.
For my example, we are lowering the neckline by 2.5cm (1in). Mark the new neckline on the FRONT, BACK and SLEEVE.
If you would like to see how we mark a curved line with a broken line you can check out this video.

Step 2
Join the broken line with a ruler or French curve. Make sure your new neckline meets the CENTRE FRONT and CENTRE back at a right angle.

Step 3
Before adding seam allowance, it’s a good idea to line up the pieces, stitch line on stitch line, to check the flow through of the neckline.
Checking the flow through means that you check how a line will look when the garment is assembled. You want lines to transition smoothly across seams with no lumps or bumps.
For more information on checking the flow through, or checking and truing, read this post.

Step 4
When you’re happy with the new neckline, add seam allowance. We suggest using a seam allowance of 1cm (3/8in), although if you prefer sewing a neckline with a seam allowance of 6mm (1/4in) that works too. Cut along the line to remove excess paper.
How to raise the neckline on a garment with a raglan sleeve

To raise the neckline, do the opposite.
Tape or glue some paper onto the top section of each pattern piece, so that you can “grow on” the new neckline.
Extend each STITCH LINE by the desired amount, following the angle of the seam.
Mark the new neckline by marking it at regular increments, measuring up from the original line.
As we did when lowering, it’s a good idea to check the flow through of the lines before adding seam allowance.
How to draft an alternate RAGLAN neckline

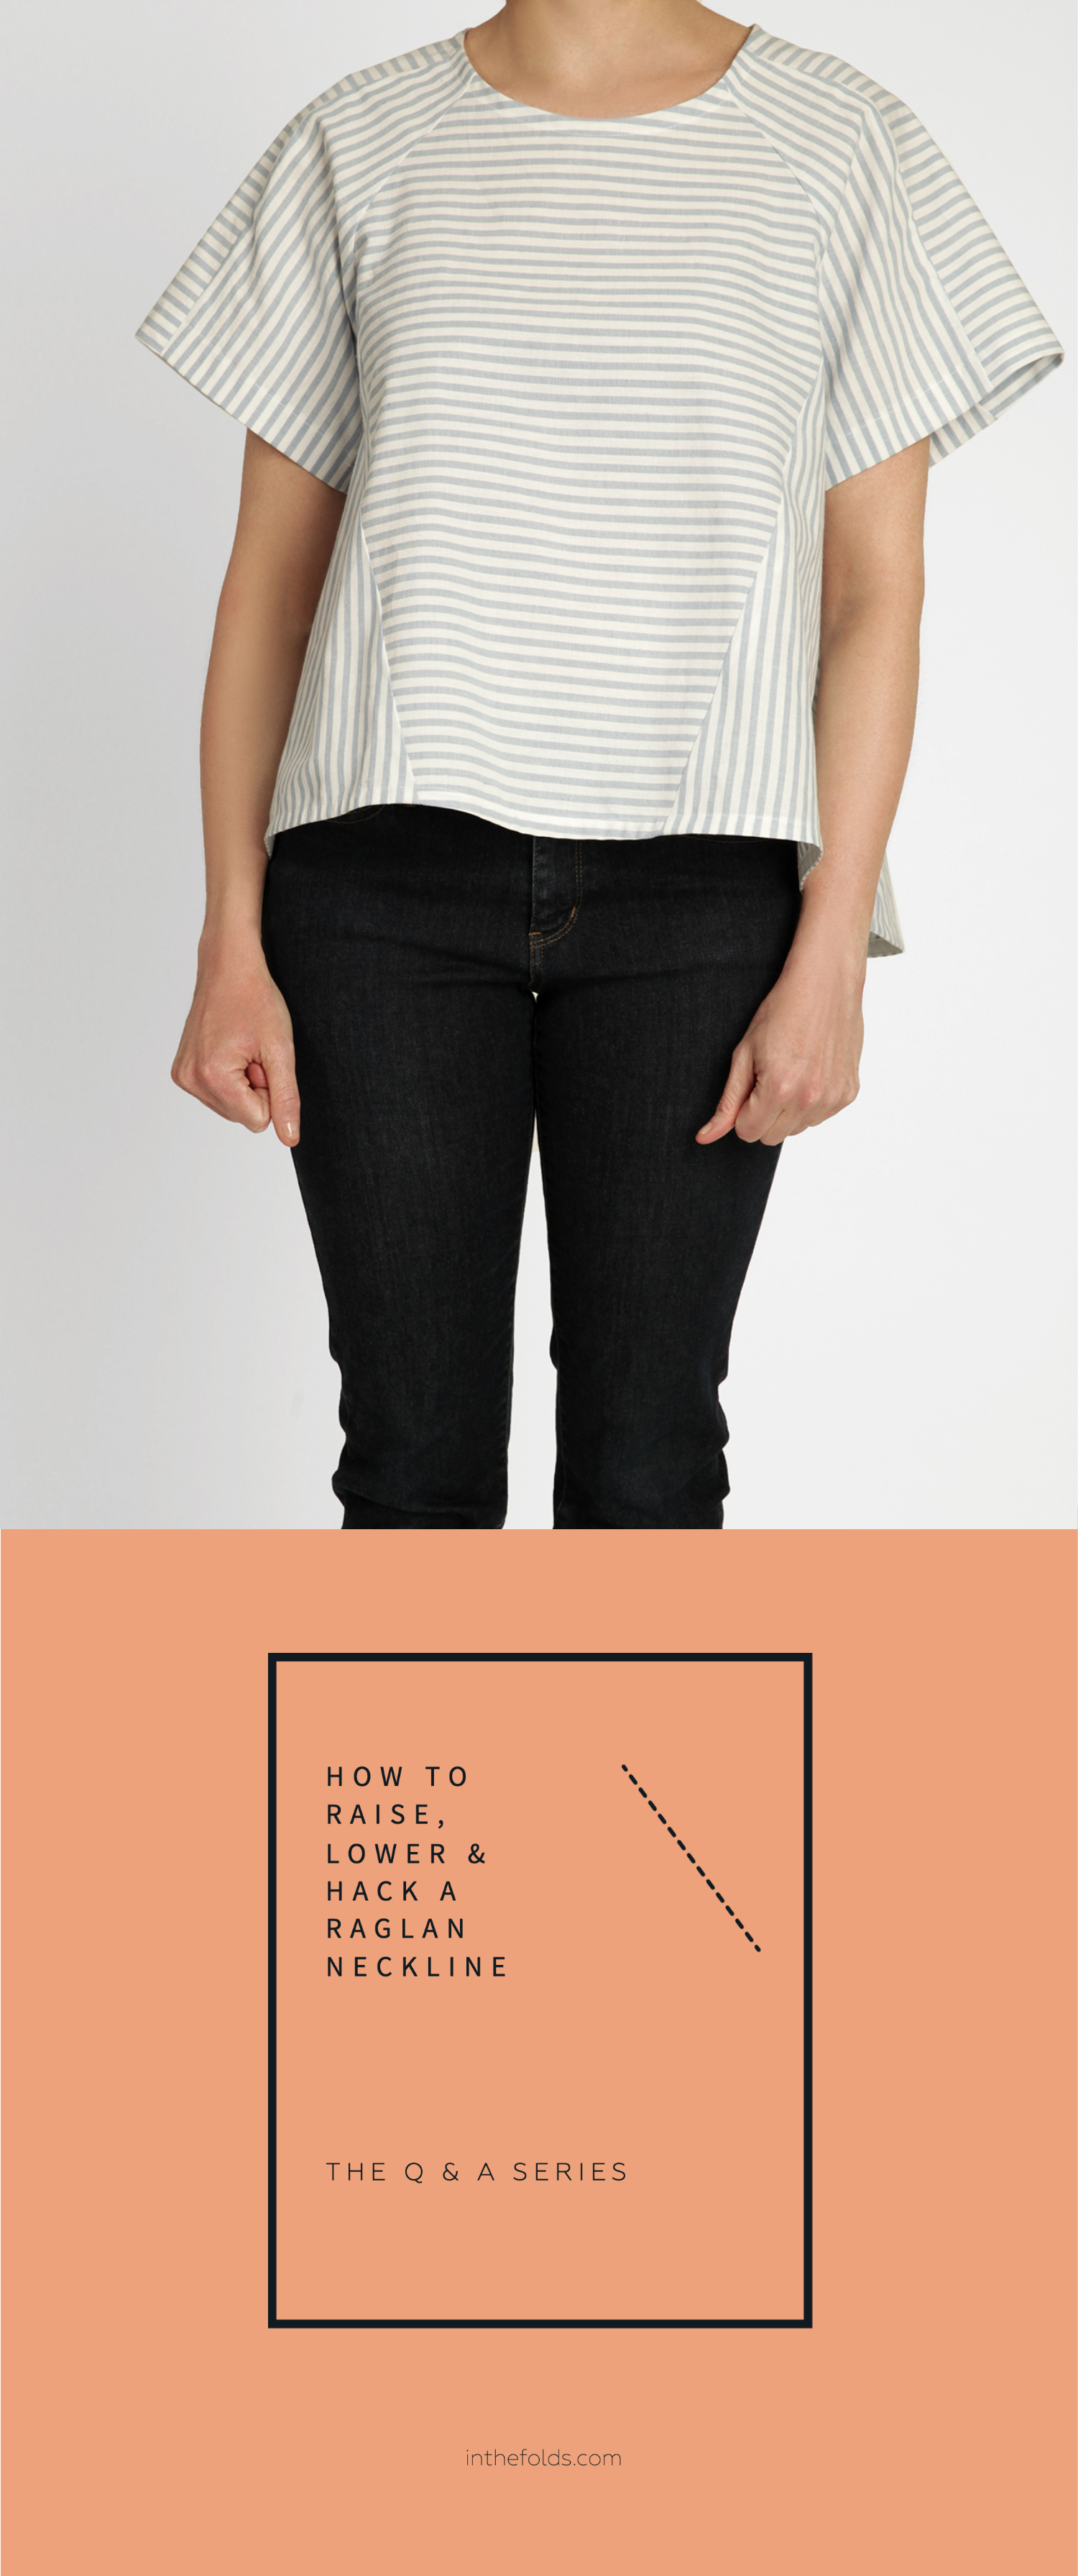
While we’re talking about necklines and raglans, I thought it would be fun to show you how to change the design of a raglan neckline - so, rather than just raising or lowering, how to change the shape like in the V-neck raglan neckline above.
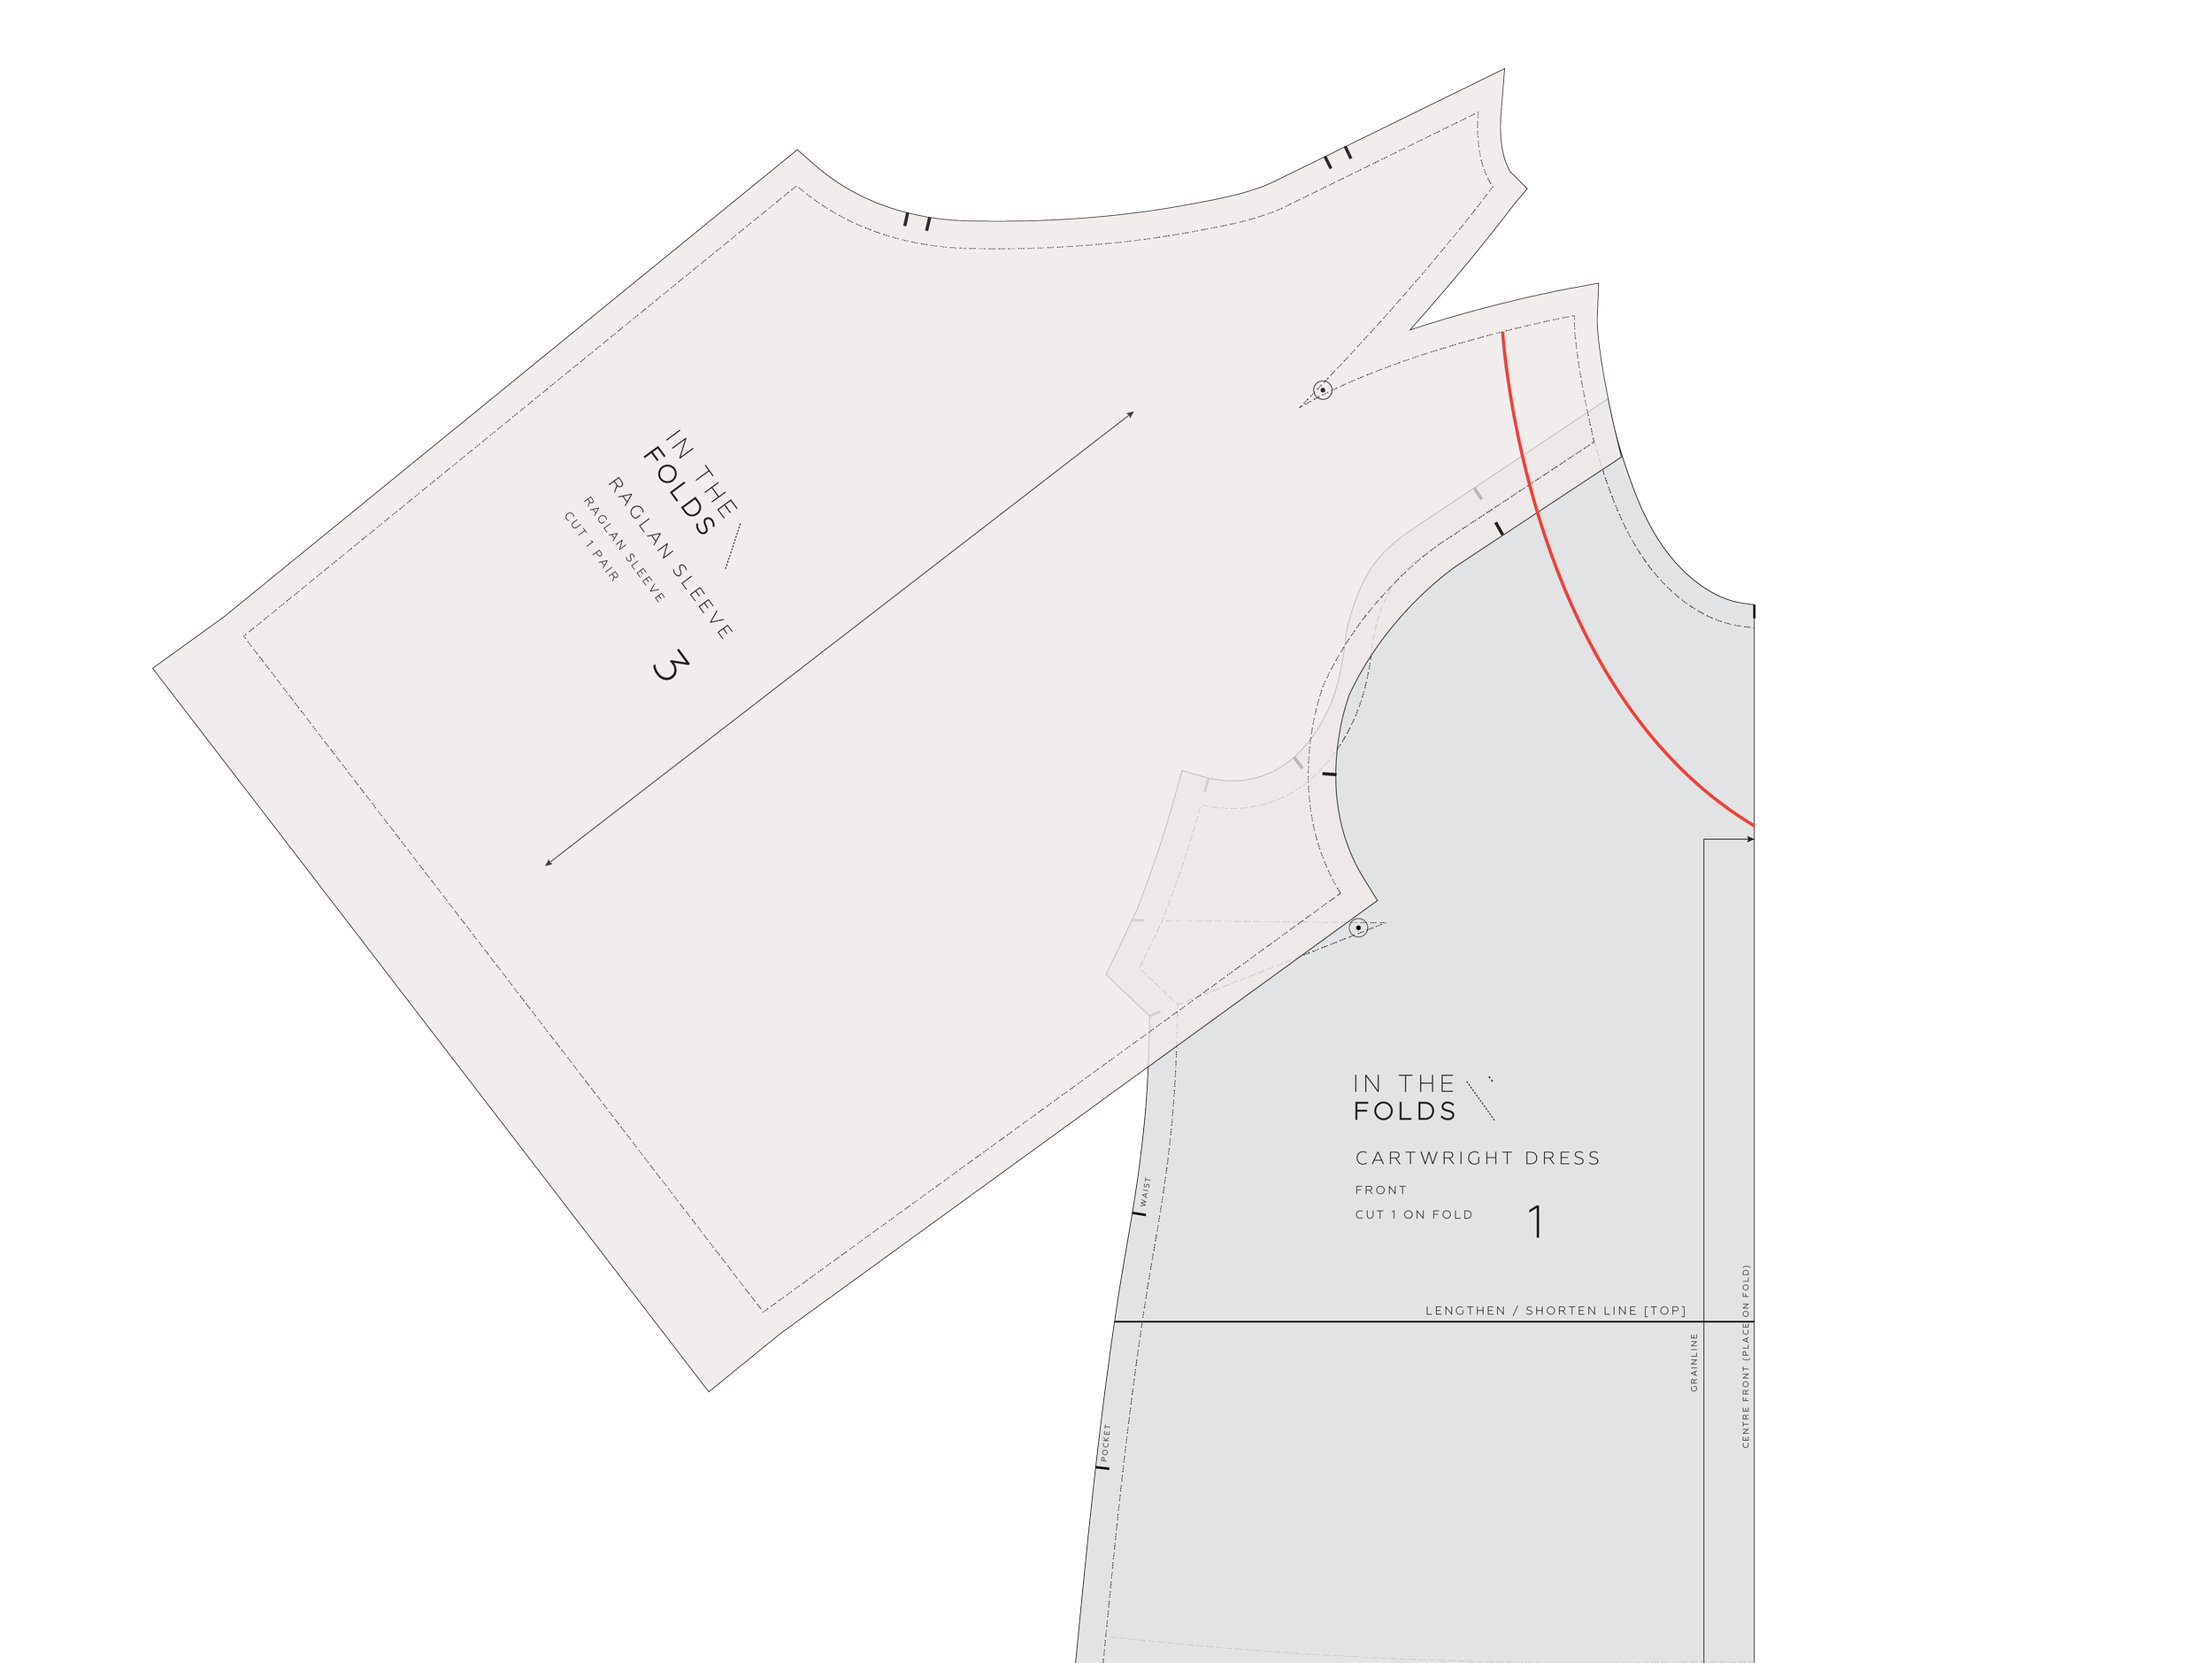
Step 1
Place the SLEEVE on the FRONT, stitch line on stitch line, as if it has been sewn. Draw in your new neckline going from the shoulder dart to the CENTRE FRONT.

Step 2
On the dart STITCH LINE, measure down to determine how much you have lowered the neckline at this point. Mark this same amount on the other side of the dart. This will ensure the two sides of the dart meet cleanly when you sew the dart.

Step 3
Place the SLEEVE on the BACK, stitch line on stitch line, as if it has been sewn. Draw in your new neckline going from the point marked in STEP 2 to the CENTRE BACK.
And you’re done! I hope this tutorial gives you the confidence to start altering necklines on raglan sleeve patterns so you can make them exactly how you want them to be!
If you’re interested in learning more about patternmaking and hacking, our sewing membership, Curated by ITF, is the perfect place. With a new project each month, a back catalogue of past issues to keep you busy, support from industry experienced teachers and an inspiring online community you’ll learn everything you need to know to turn patterns into whatever beautifully finished garments you want to wear, and that fit perfectly!
Happy sewing,
Emily
RESOURCES MENTIONED IN THIS ISSUE
The Cartwright dress Hack Kit is part two of a two-part series, featuring the Cartwright dress + top pattern. Both projects are available with a Curated by ITF subscription. The Cartwright dress Hack Kit is the July 2023 project and can be purchased here, or after July by current members in our Past Issues section. More information about the subscription can be found here.
The Rushcutter dress pattern can be found here.
The Collins top pattern can be found here.
How to mark a stitch line on a pattern with a ruler - watch this video.
How to add seam allowance to a sewing pattern - blog post.
How to check patterns - blog post.
For more issues of the Q & A series, you can check out the archive here.
WHAT YOU’VE BEEN MAKING

Rushcutter dress made by @apple_franca

Collins top made by @carly.makesclothes