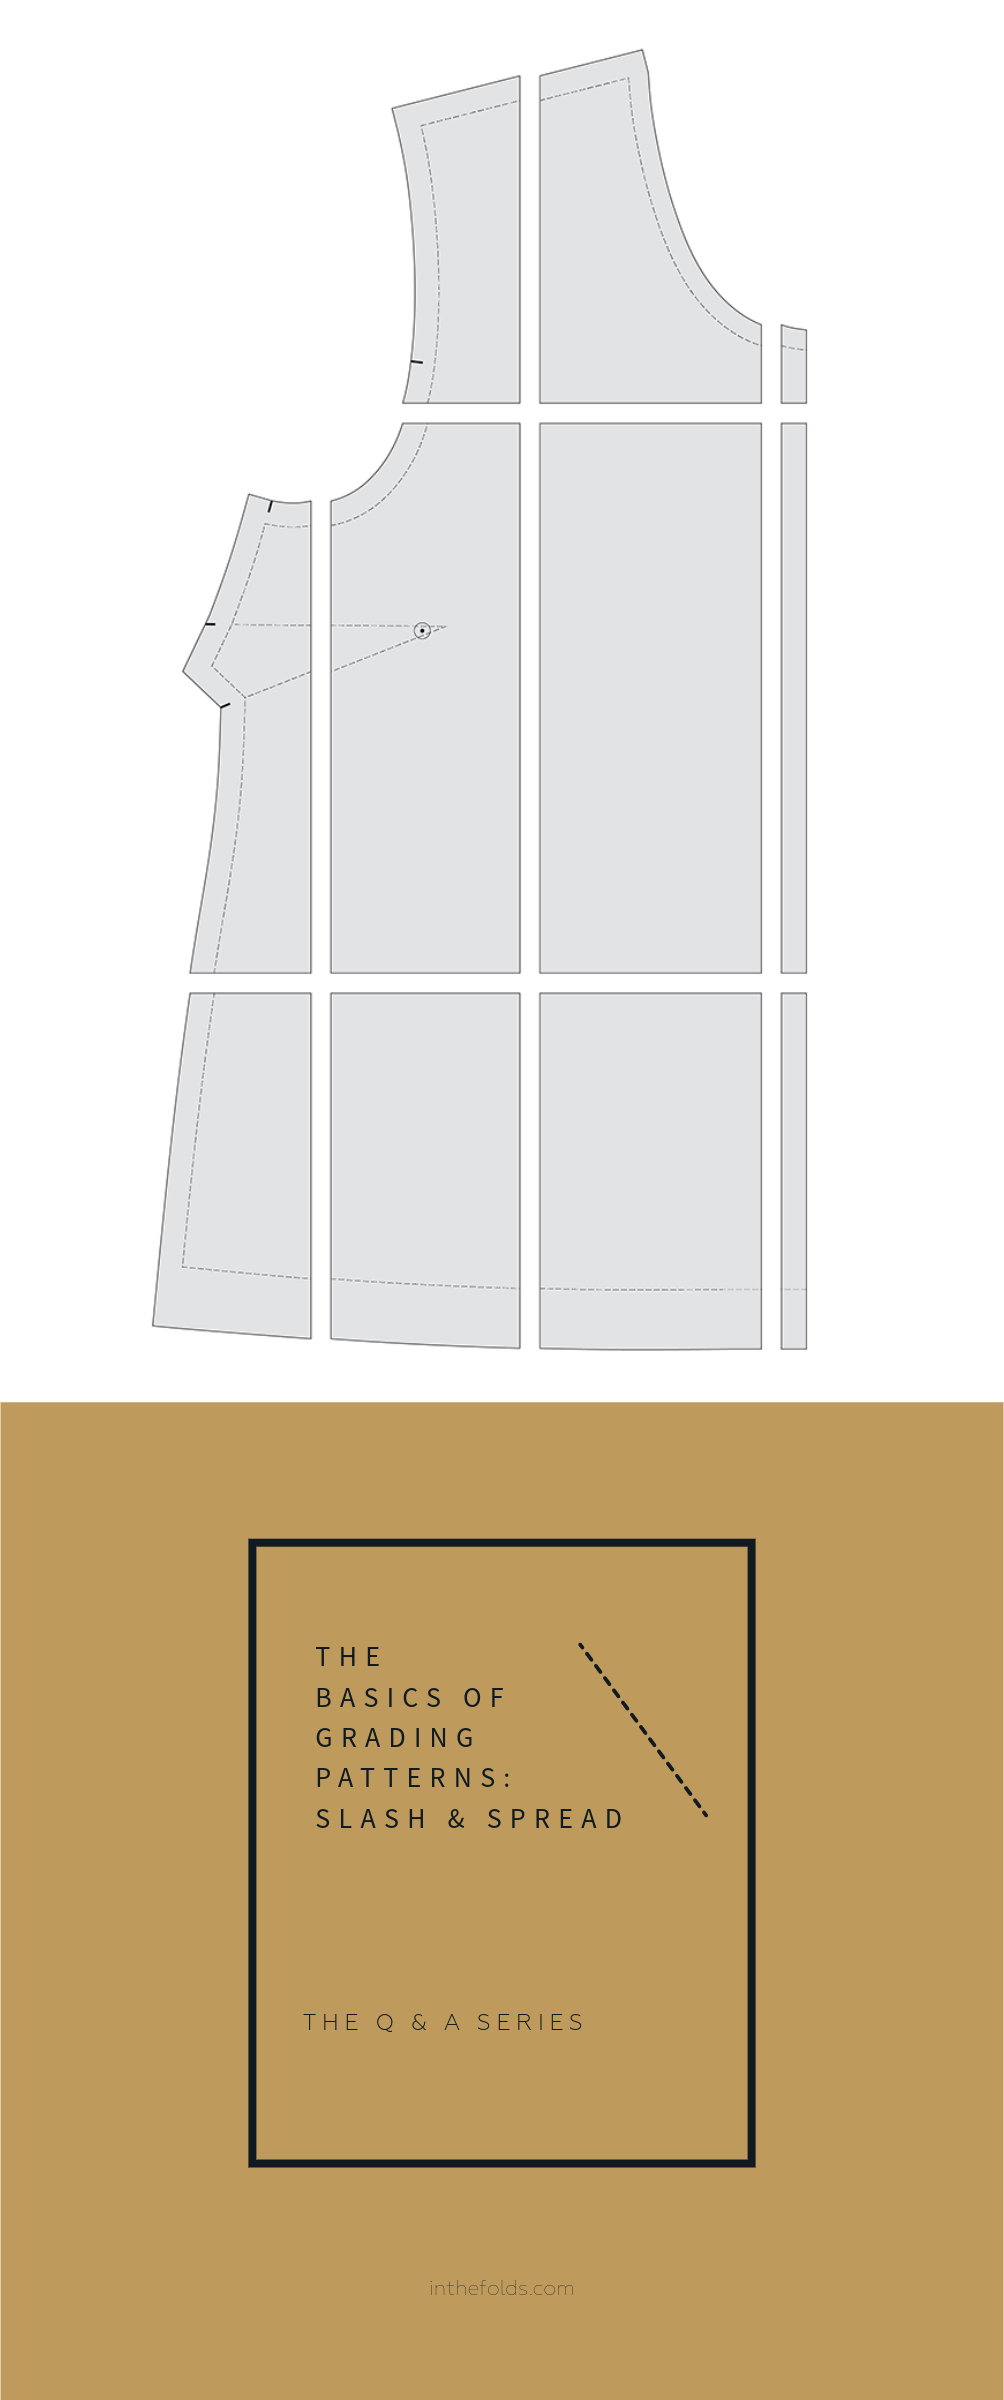
THE Q & A SERIES
Swapping sleeve styles between patterns
Hello!
Thanks for this forum and for answering our questions.
Do you have any tips for adding sleeves to a sleeveless pattern or changing the style of sleeves on an existing pattern? Do you need to match up curves at the armhole if you have sleeves from another pattern you would like to use?
- Sarah
Auckland, New Zealand
Hi Sarah,
Great question!
We have a tutorial on our blog about how to add sleeves to a sleeveless style. In the tutorial we show how to add sleeves to the Peppermint Peplum top. When adding sleeves to a pattern that normally doesn’t have sleeves, you will need to use a pattern with a similar shape / amount of ease.
In terms of swapping sleeves between styles, that's definitely something you can do too. We included a tutorial about this in a past issue of Curated by ITF and I thought I'd share it with you all today.
Considerations when swapping sleeves between patterns
You cannot just take one sleeve and attach it to an armhole from another pattern. The sleeve caps are very likely to be different between the styles, which prevents you from being able to simply swap the pattern pieces.
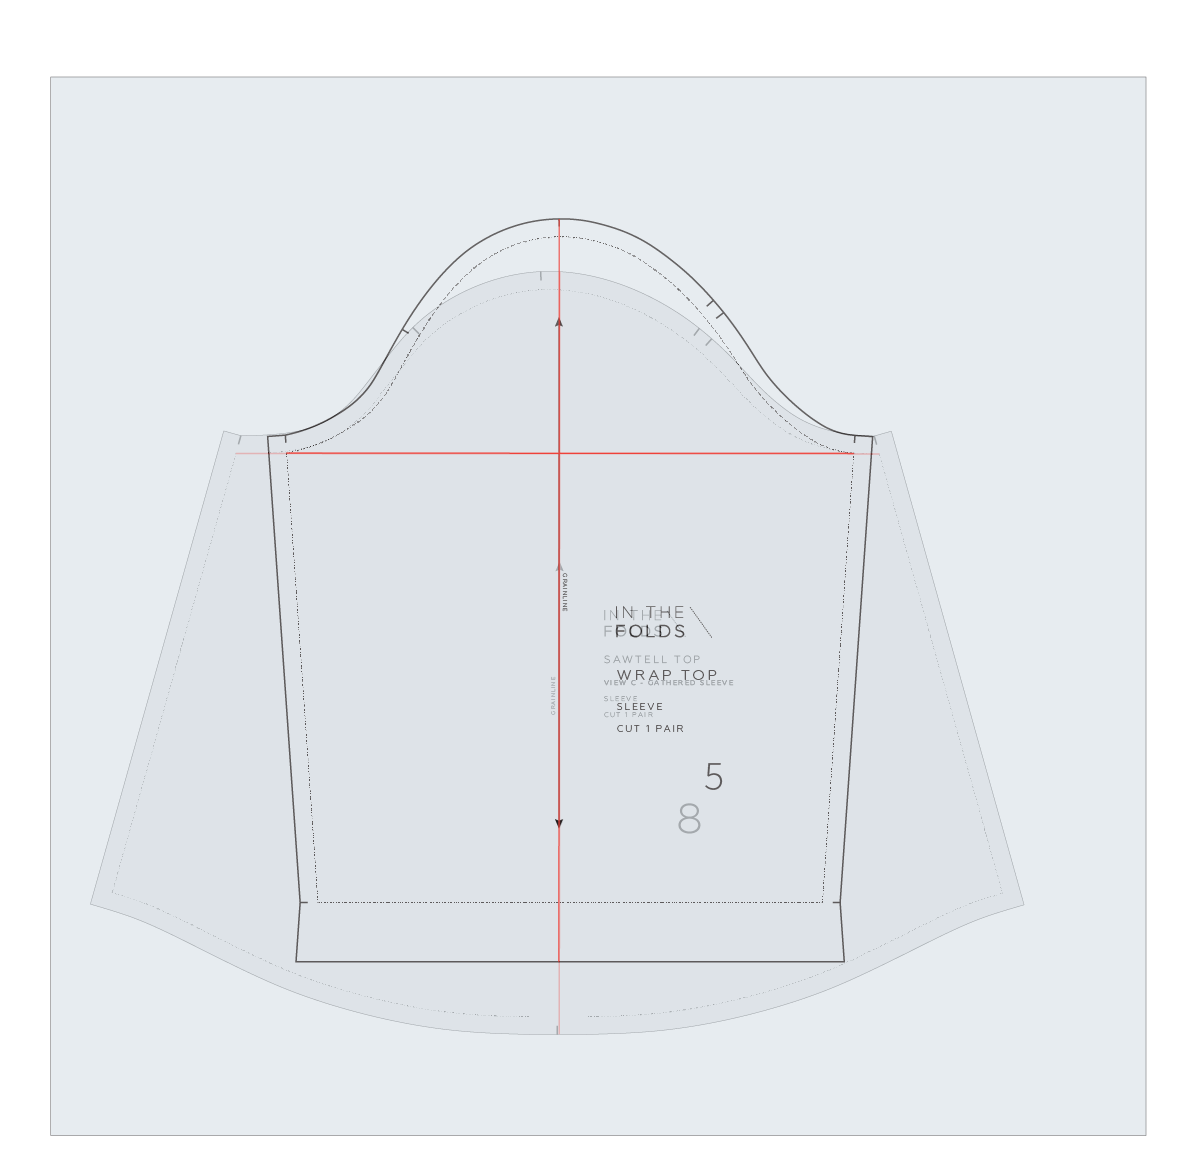
In this tutorial, we will show you how to take one of the Sawtell top sleeves and transfer the design to a sleeve from another pattern - in this case, the Peppermint wrap top.

Step 1
Trace the sleeve piece from the pattern you will be using for the rest of the garment. Use pencil as you will erase some of these lines later.
For the example, we are making the pattern for the Peppermint wrap top with the gathered sleeve from the Sawtell top, so we will trace the Peppermint wrap sleeve piece on a large piece of paper. The amount of paper required will depend on the type of sleeve you are creating. For a gathered sleeve, you will require room on either side.
We will refer to this sleeve as SLEEVE 1 to prevent confusion.

Step 2
Extend the grainline through the piece from top to bottom. Mark in the BICEP LINE - joining the top of the underseam STITCH LINE on each side with a straight line, perpendicular to the grainline.

Step 3
Take the sleeve that you are transferring the design lines from, extend the grainline and mark the BICEP LINE as you did in STEP 2.
We will refer to this as SLEEVE 2.
Step 4
If your paper is transparent, place SLEEVE 1 on top of SLEEVE 2, lining up grainlines and bicep lines. Hold in place with a pattern weight.
If your paper isn't transparent, put SLEEVE 2 on top of SLEEVE 1 and use a tracing wheel to transfer the lines.

Step 5
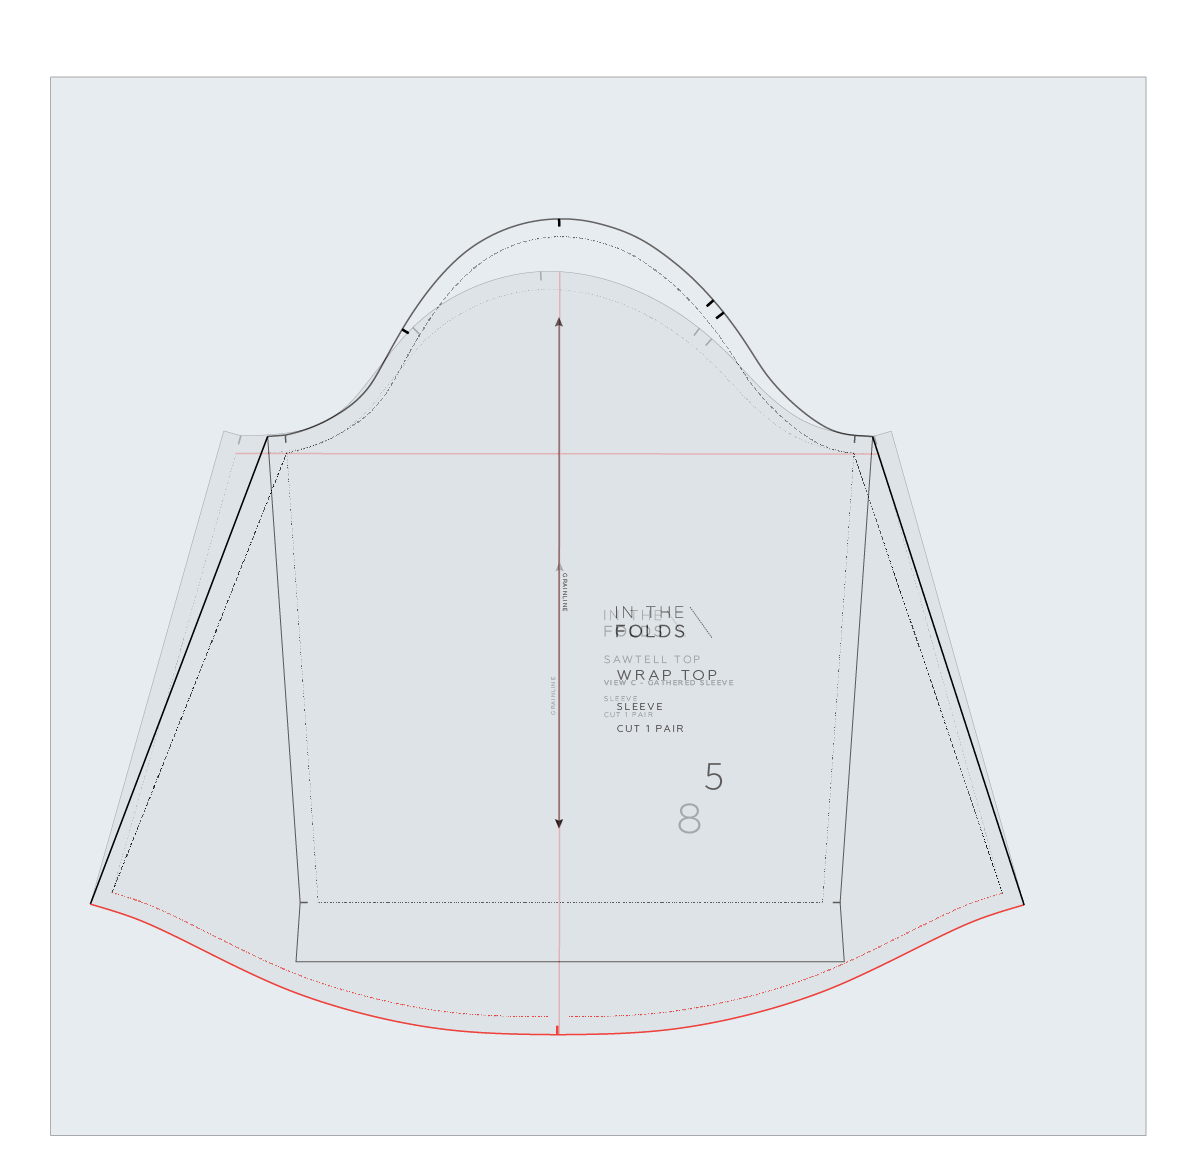
Create the new underseams by joining the top of the seam on SLEEVE 1 to the hem of SLEEVE 2 with a straight line. Do this for the STITCH LINES and the CUT LINES.
Step 6
Trace the hem from SLEEVE 2 onto SLEEVE 1. Be sure to transfer any notches.
Remove pattern paper once all lines have been transferred. Erase any lines you no longer need. If you traced using a tracing wheel, use a pencil and ruler/French curve to draw in the lines you need.

Step 7
Finalise pattern by checking all notches are correct. In the example you can see we needed to rotate the underseam notches to match the angle of the new sleeve lines. Update sleeve name.
I hope this tutorial helps you make all your sleeve dreams come true.
Happy sewing,
Emily
For more issues of the Q & A series, you can check out the archive here.
WHAT YOU’VE BEEN MAKING

Flynn jacket made by @sew.sand.sew

Hove jacket made by @indexoutofbounds