The Q&A Series
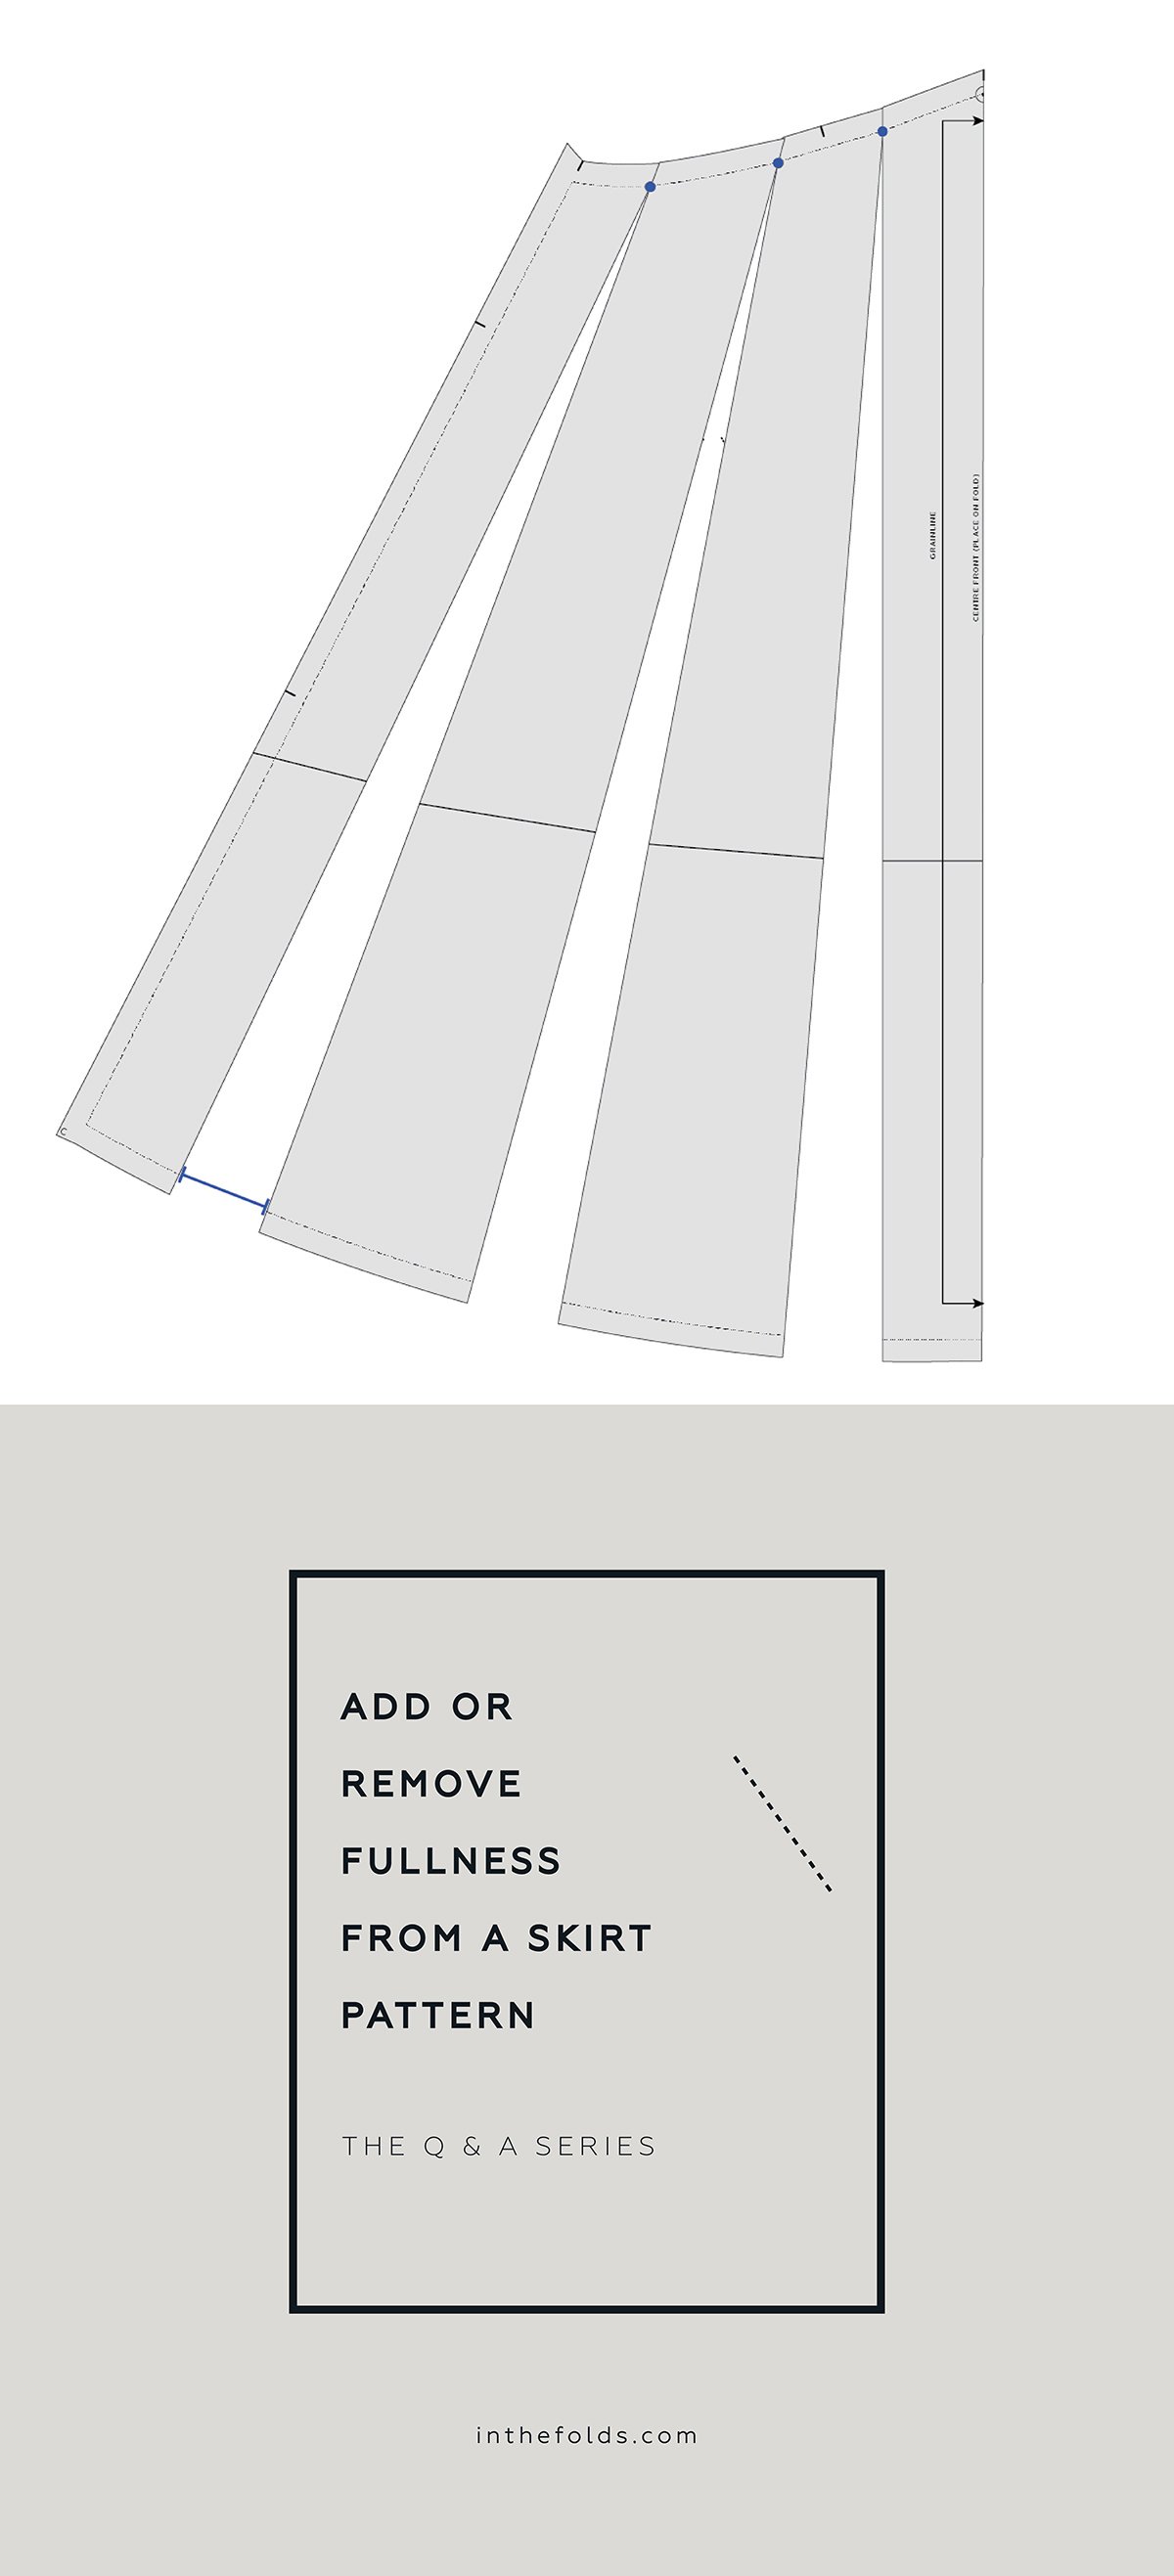
Add or remove fullness from a skirt pattern
I was thinking of making View A of the Acton dress, with capped sleeves and a slimmer skirt. Don't know how to do either of those things, so expect questions 😬
- KS
KM - I was thinking a more voluminous skirt! 😂 but also was going to have questions.
- KM
Add fullness to a skirt
If you would like to make the A-line of the skirt more full, follow the steps below. If you would like to make the skirt straighter, scroll down to the next section.

Step 1
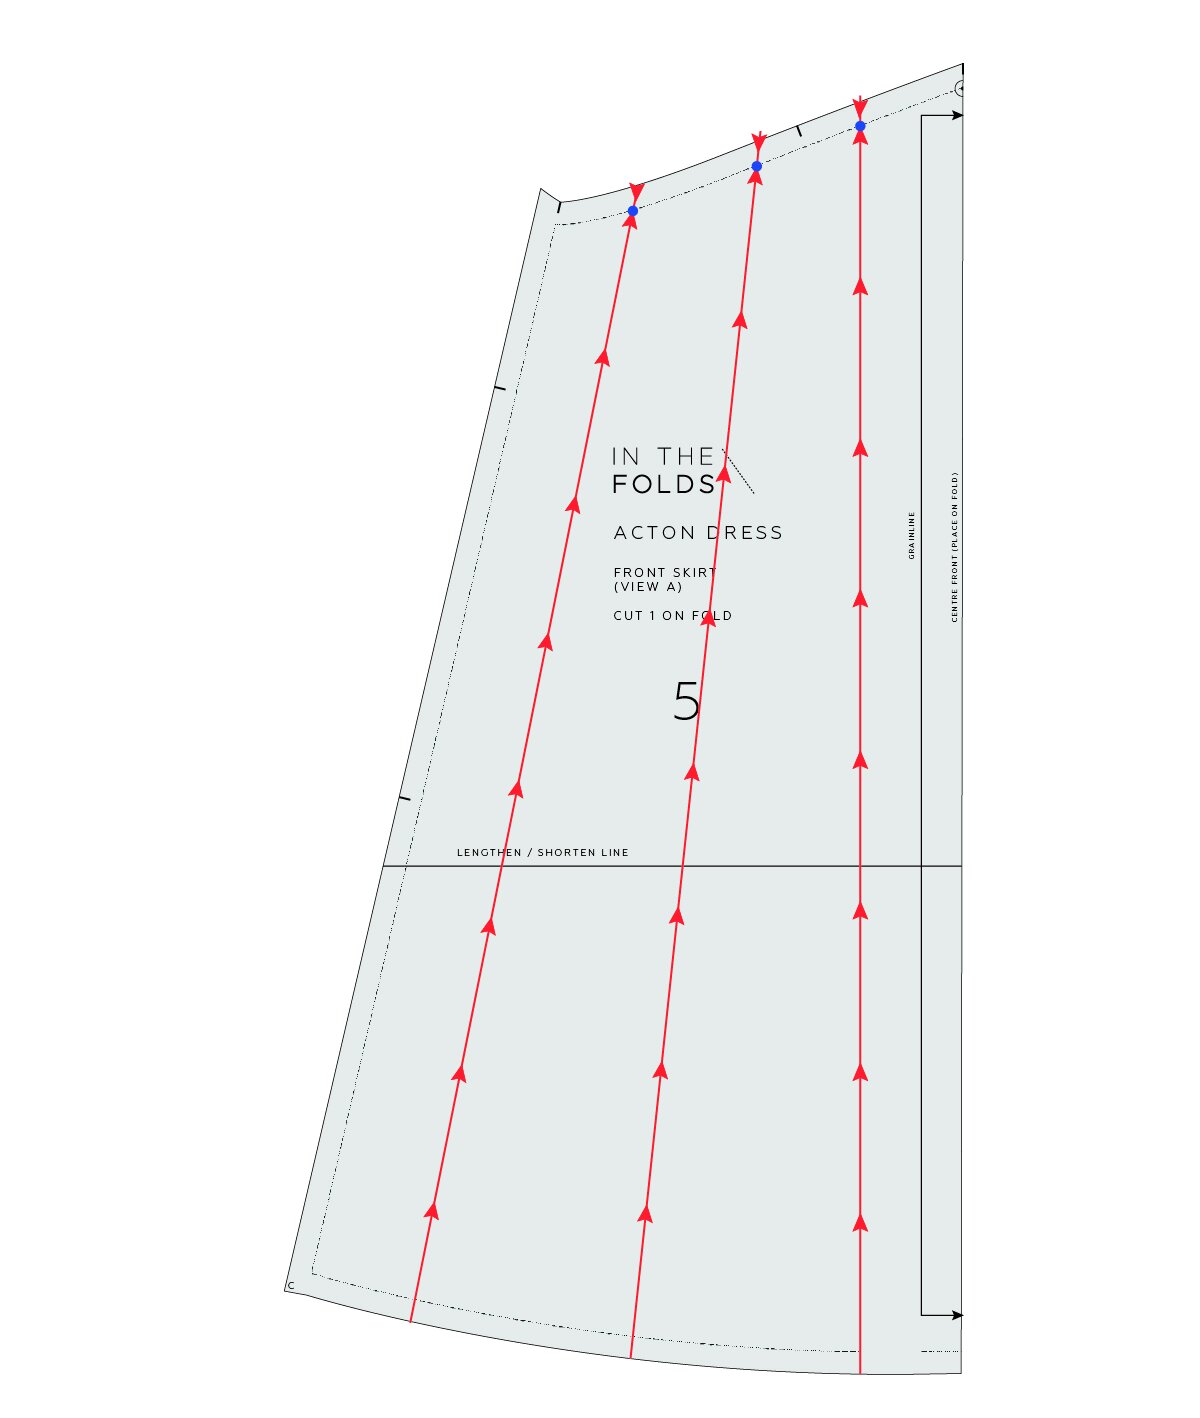
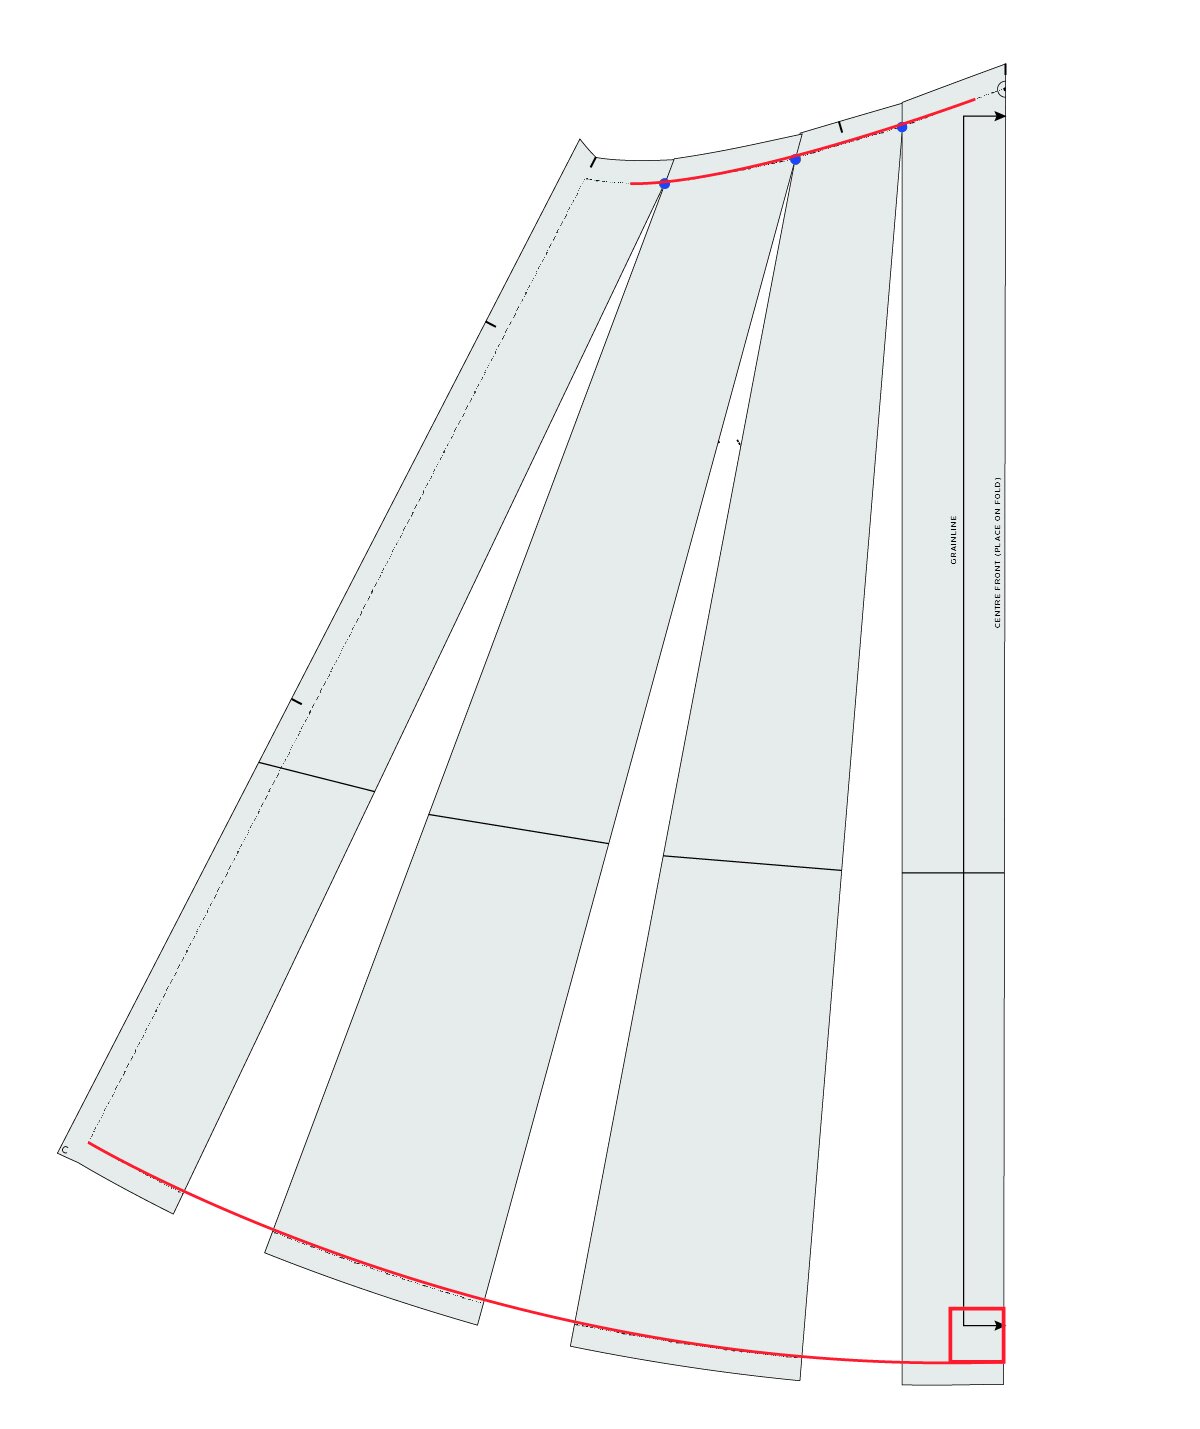
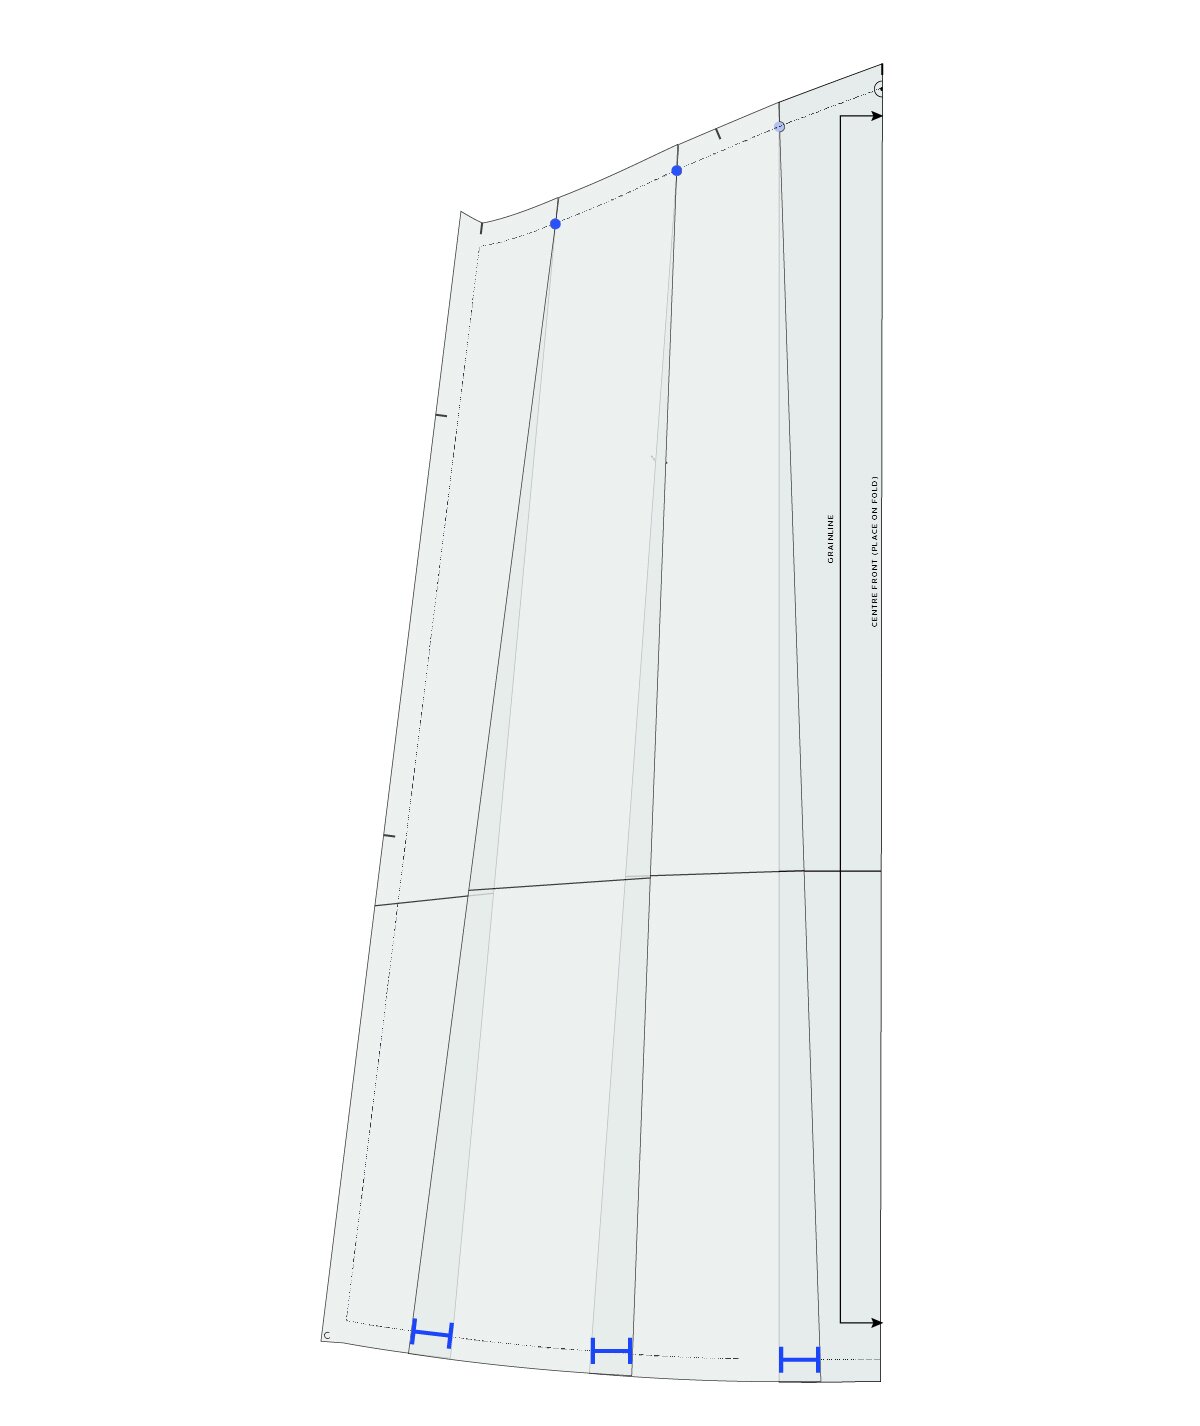
To start, trace a copy of the front skirt pattern piece with seam allowance - be sure to also trace the stitch line (the grey line on the pattern) and transfer the notches, grainline and drill hole. Cut out the pattern piece.
We will be using the 'Cut and Spread' method to add the extra fullness to the skirt. For more info on this technique, see this post from our blog.
Mark in your slash lines. You can mark in as many as you like. The more you do the more gradual the transition will be. 2-3 is a good number for a pattern of this scale. Distribute them evenly though the piece and gradually fan them out to follow the angle of the side seam (if the pattern was a straight skirt, these lines would be straight).
Step 2
Starting at the hem of the skirt, carefully cut up each of the lines. Cut up to the stitch line, but do not cut through the stitch line.
Cut the remainder of each line from the top edge (cutting down towards the stitch line). Don't cut all the way through though, stop a few millimetres from the stitch line, leaving a 1-2mm "hinge" to keep the pieces together (if they do accidentally come apart, just tape back in place).
Step 3
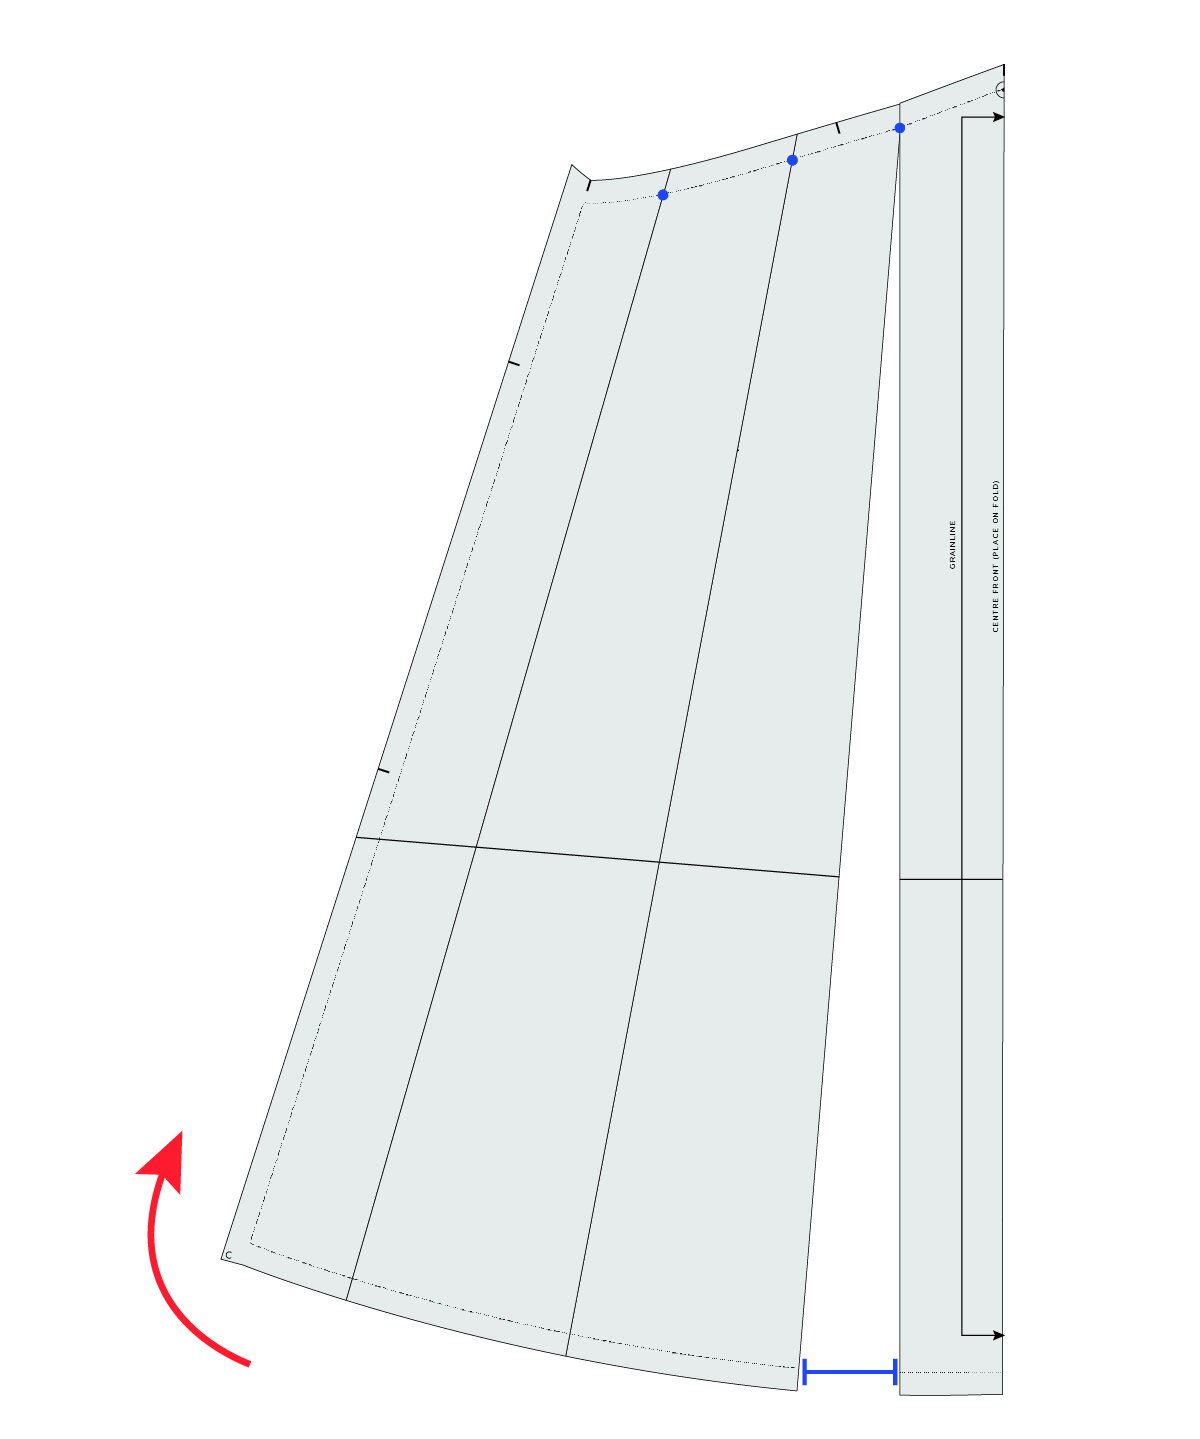
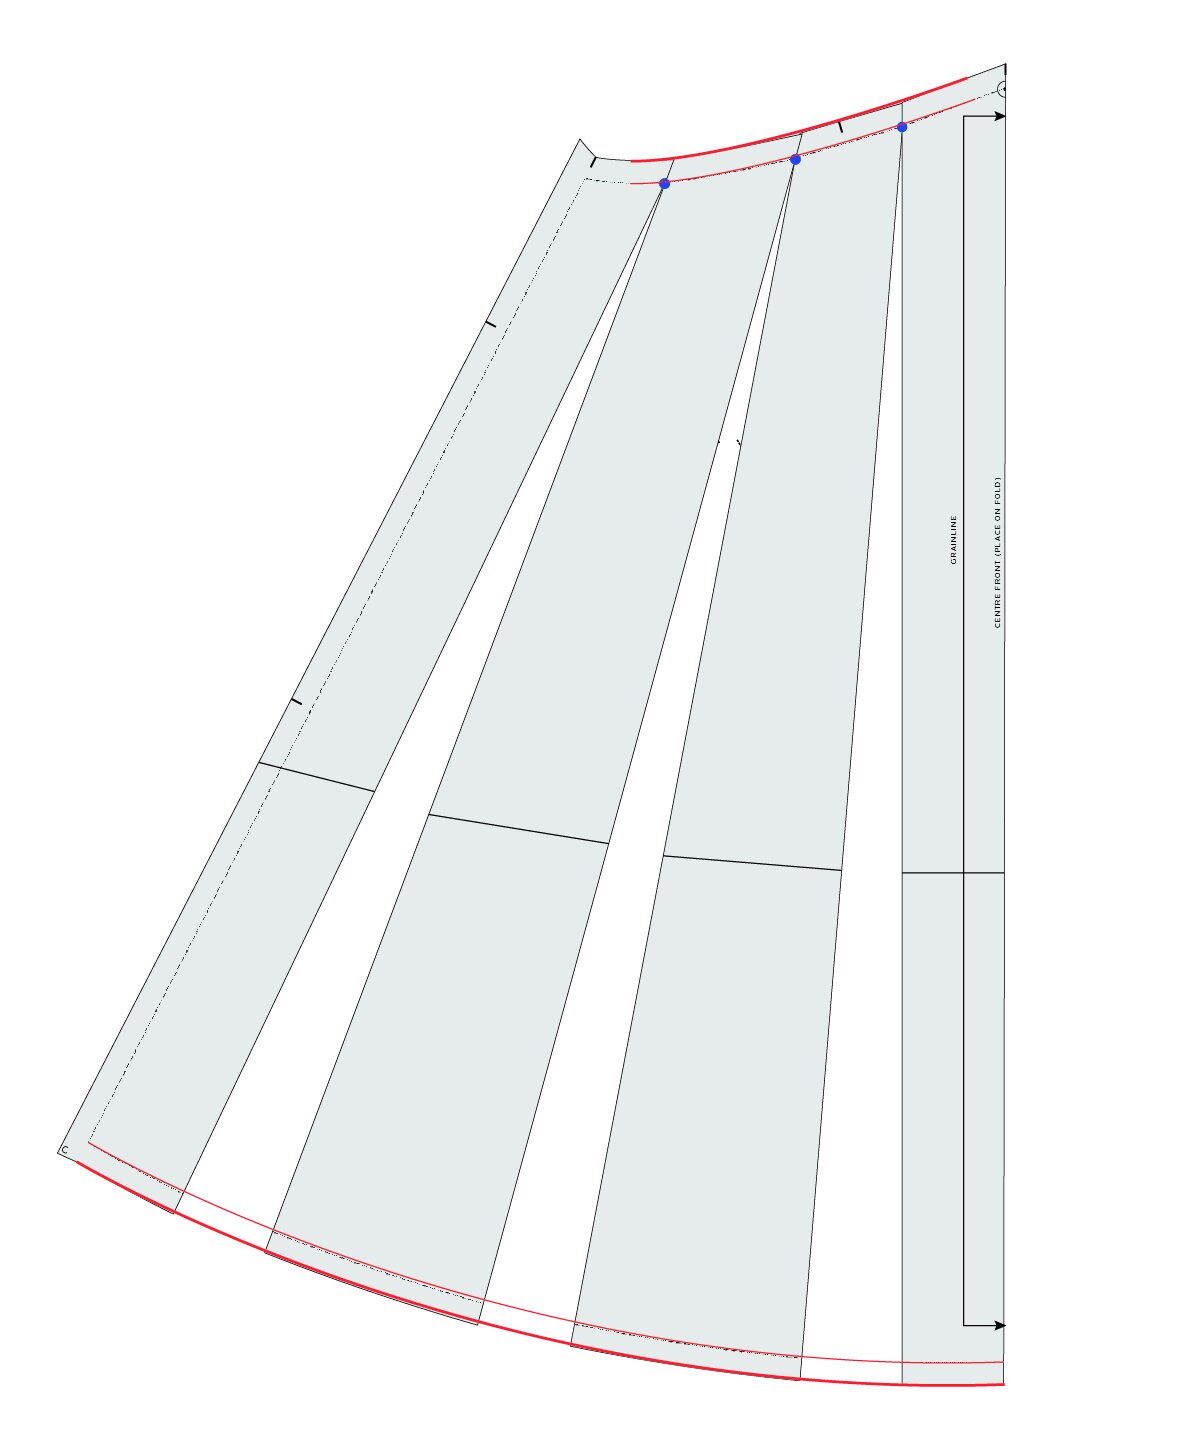
Slide a piece of pattern paper under the piece. Hold the centre front in place (you can tape it in place if you like) and slowly open up the hemline by the desired amount. We will be opening up each section by the same amount, so make sure to consider this when adding volume.
If you would like to add 60cm (for example) to the total circumference, you need to split this between the 4 parts of the body (left front, right front, left back, right back). This means that we will be adding 15cm to the hemline of each piece (60cm / 4 = 15cm). As we have 3 slash lines, we need to divide the 15cm by 3 (i.e. 5cm).
If you're not sure how much volume to add, don't worry! Have a play with the piece by sliding the slash lines open and get a feel for the amount of volume you'd like to remove.
Tape the opening in place - leaving the rest loose so you can continue altering the pattern.

Step 4
Repeat for each slash line. Tape in place.
Step 5
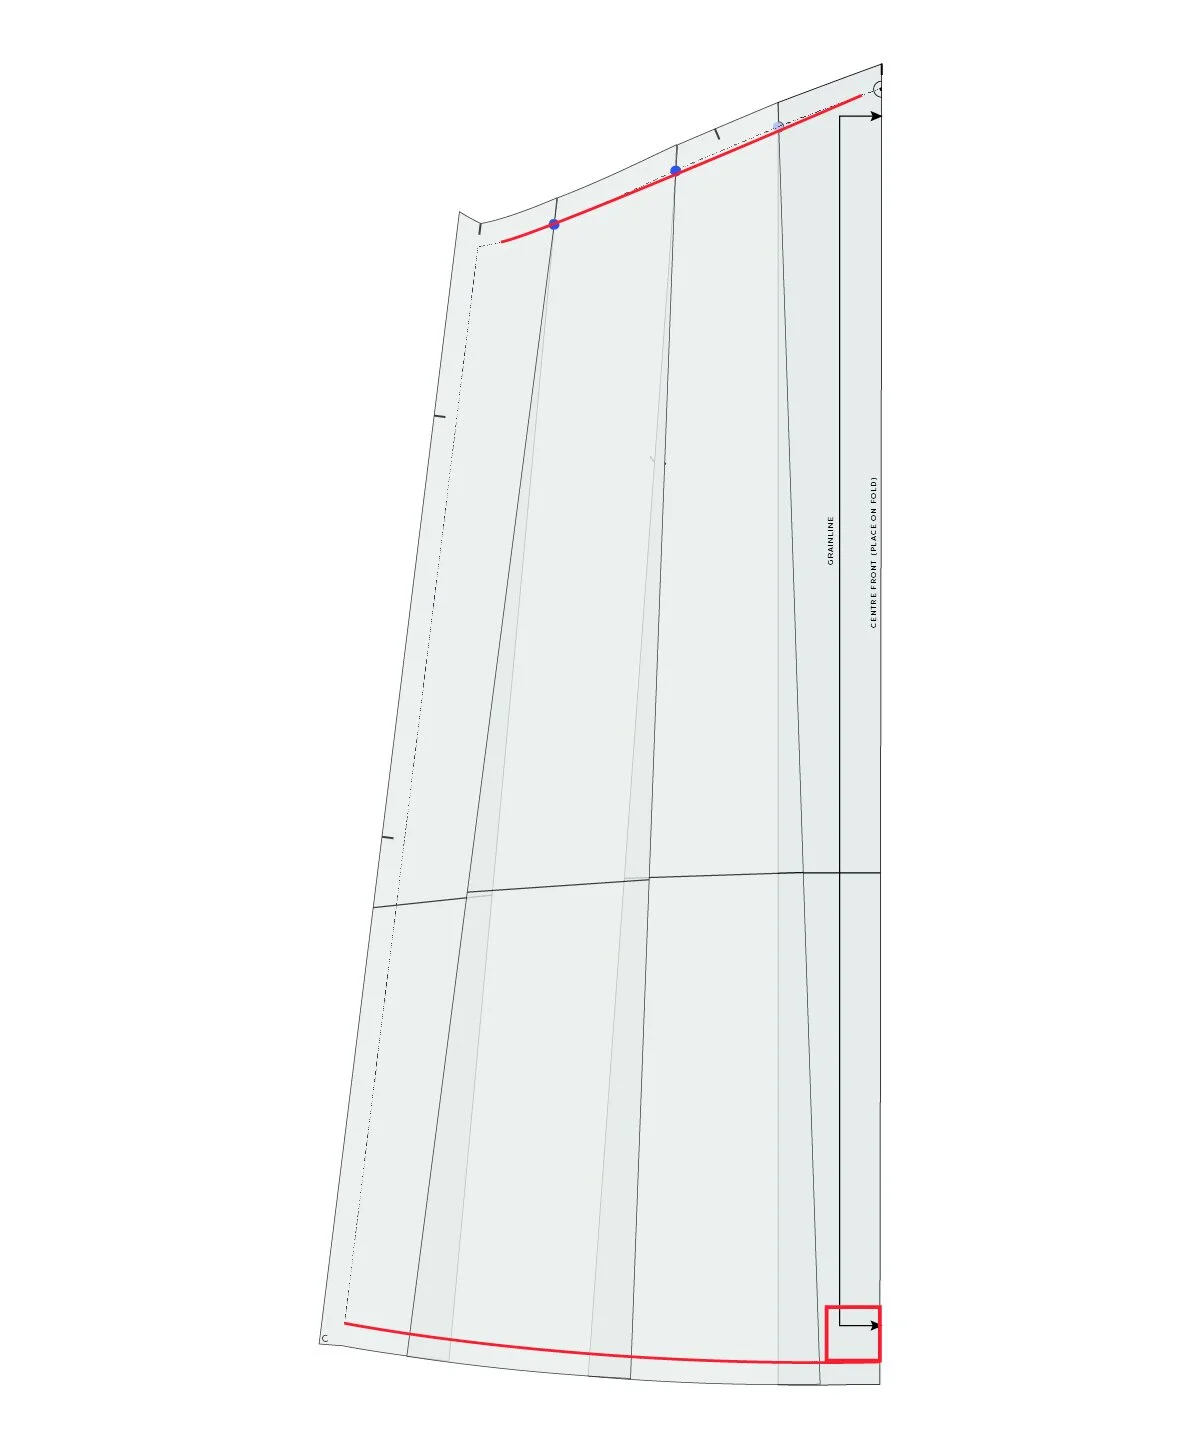
Re-draw the hemline with a gentle curve. You need to make sure you are meeting the centre front at a right angle.
Smooth out the top edge stitch line over the alteration.
Step 6
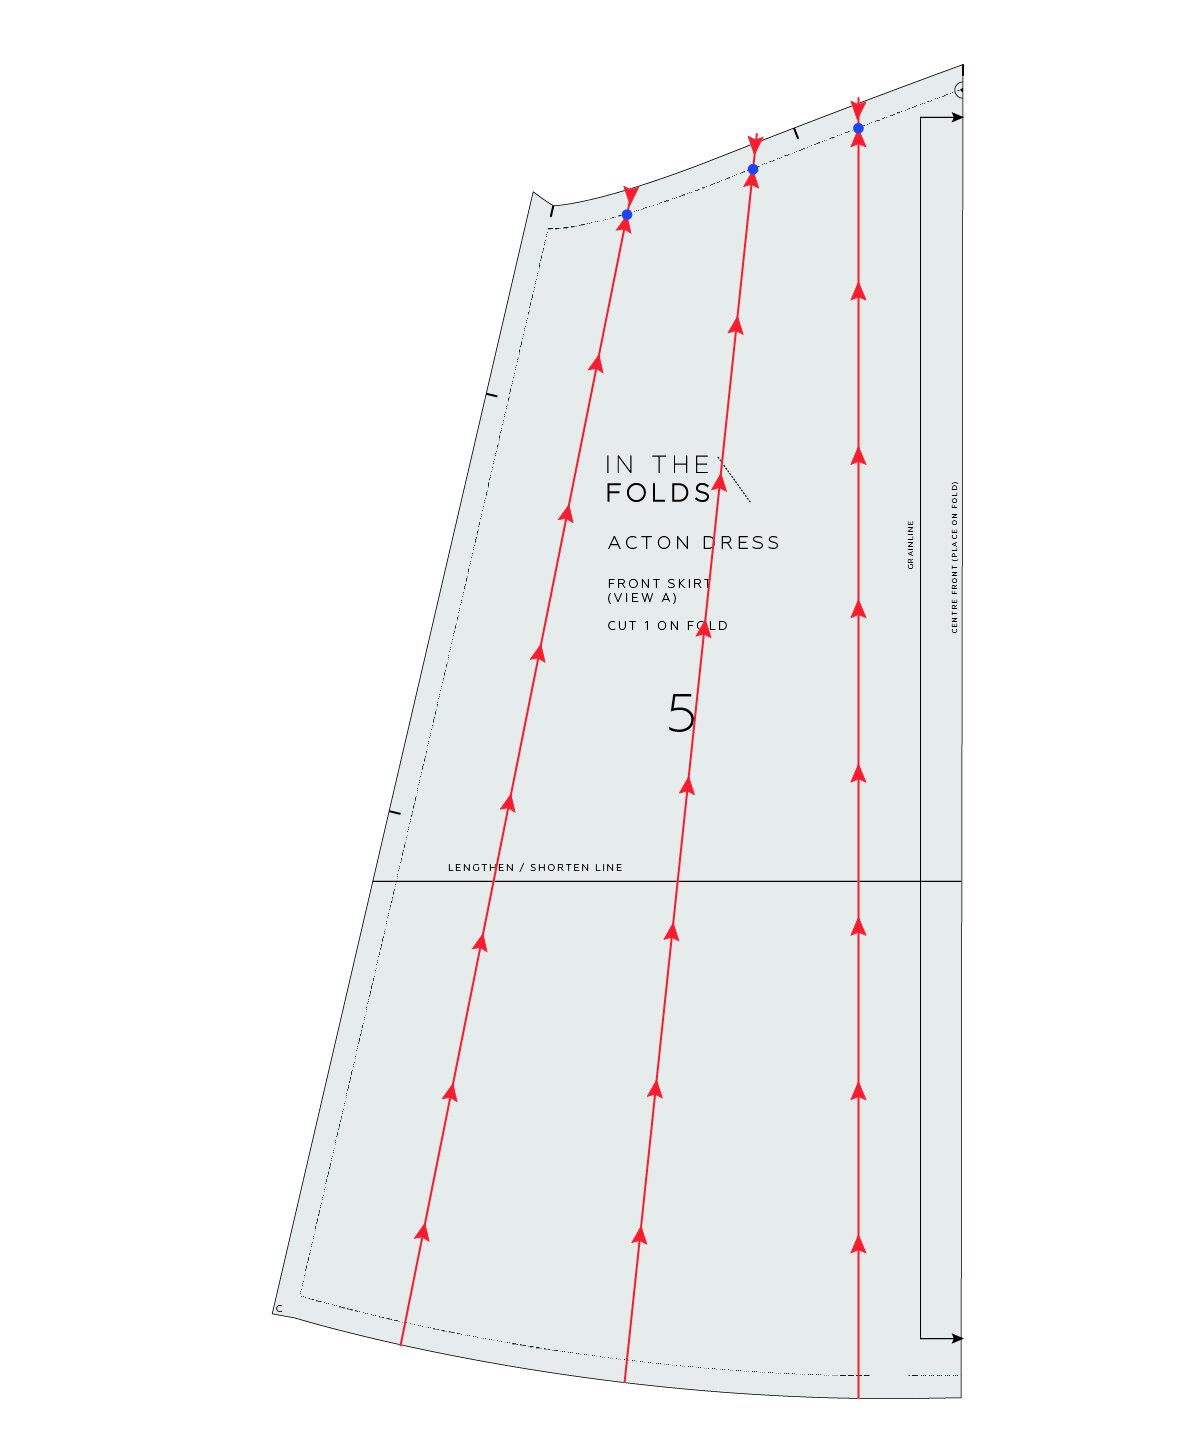
Add seam allowance back onto the altered lines.
Repeat for the back skirt.
Would you like to add more volume?
To add more volume, check out this tutorial from the Acton sew-along here.

Remove fullness from a skirt
You may want to make a straighter skirt than the original A-line shape. In this case we do the opposite with our slash lines. Instead of opening them up to add volume, we close them to remove volume.

Step 1
To start, trace a copy of the front skirt pattern piece with seam allowance - be sure to also trace the stitch line (the grey line on the pattern) and transfer the notches, grainline and drill hole. Cut out the pattern piece.
Mark in your slash lines. You can mark in as many as you like. The more you do the more gradual the transition will be. 2-3 is a good number for a pattern of this scale. Distribute them evenly though the piece and gradually fan them out to follow the angle of the side seam (if the pattern was a straight skirt, these lines would be straight).
Step 2
Starting at the hem of the skirt, carefully cut up each of the lines. Cut up to the stitch line, but do not cut through the stitch line.
Cut the remainder of each line from the top edge (cutting down towards the stitch line). Don't cut all the way through though, stop a few millimetres from the stitch line, leaving a 1-2mm "hinge" to keep the pieces together (if they do accidentally come apart, just tape back in place).
Step 3
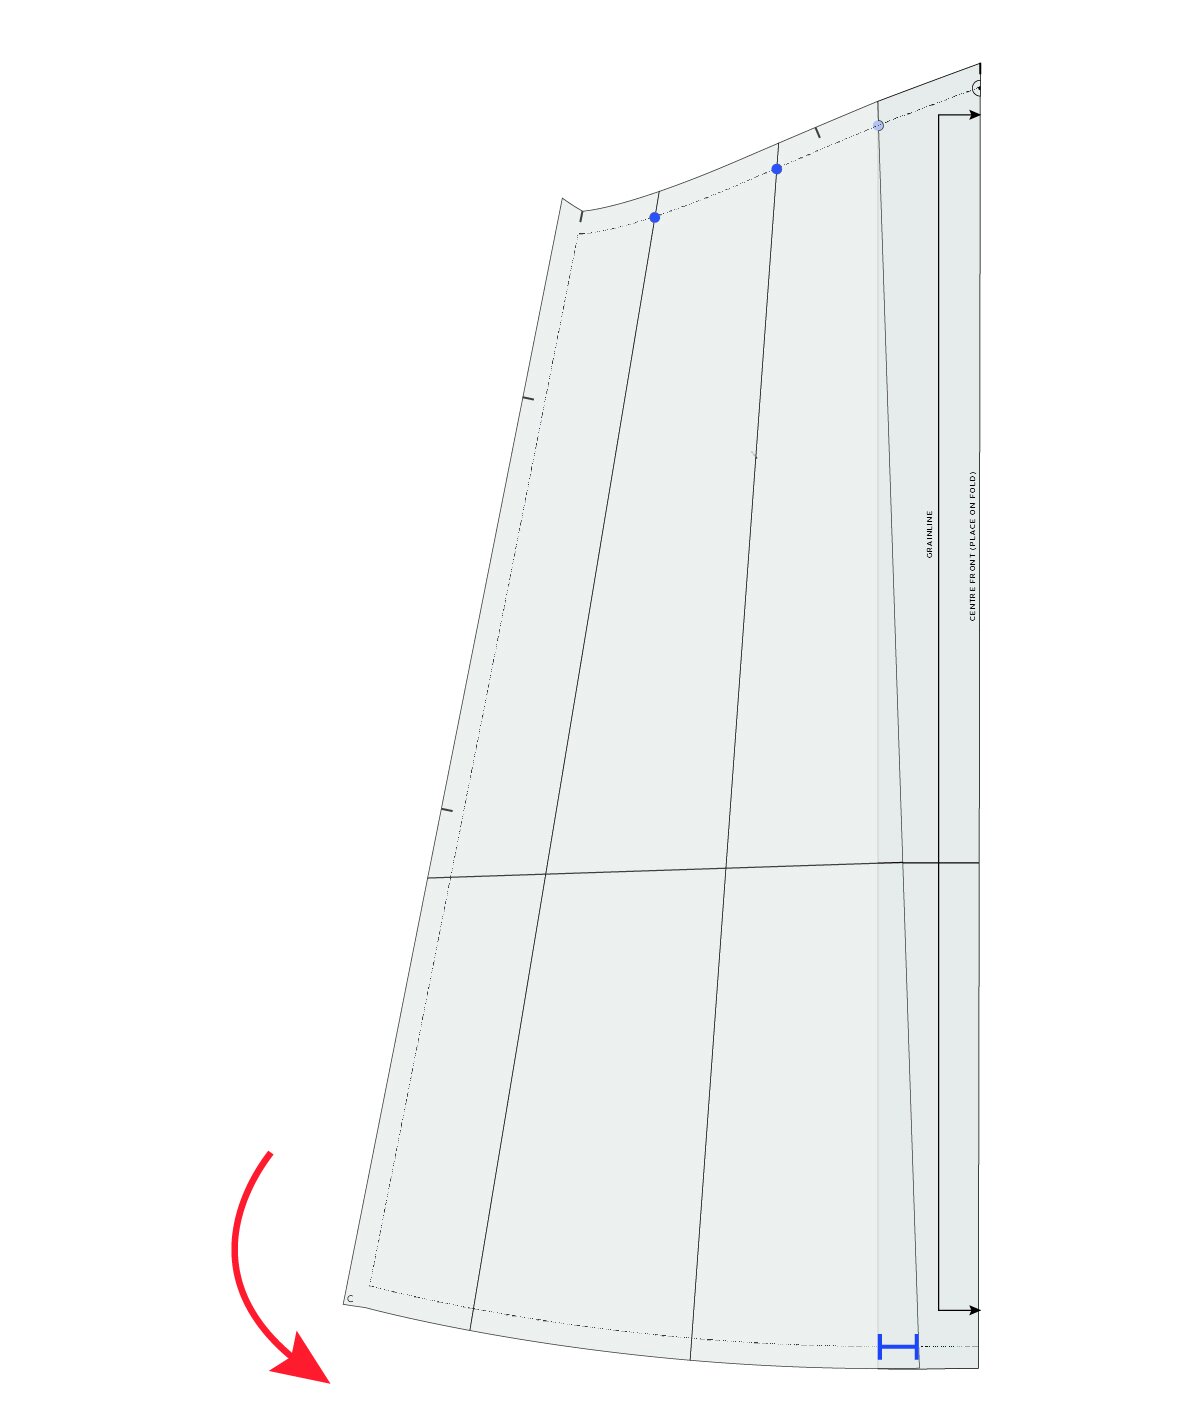
Consider how much you would like to remove from the circumference of the skirt. To remove 20cm (for example) from the total circumference, you need to split this between the 4 parts of the body (left front, right front, left back, right back). This means that we will be removing 5cm from hemline of each piece (20cm / 4 = 5cm). As we have 3 slash lines, we need to divide the 5cm by 3 (i.e. about 1.7cm).
If you're not sure how much to remove, don't worry! Have a play with the piece by sliding the slash lines closed and get a feel for the amount of volume you'd like to remove.
Slide the cut section over to centre front section - closing out the hem by the desired amount. Tape in place.
Step 4
Repeat for each slash line. Tape in place.
Step 5
Re-draw the hemline with a gentle curve. You need to make sure you are meeting the centre front at a right angle.
Smooth out the top edge stitch line over the alteration.
Add seam allowance back onto the altered lines.
Repeat for the back.
I hope you enjoy changing up your skirt patterns with this tutorial!
Happy sewing,
Emily
RESOURCES MENTIONED IN THIS ISSUE
Curated by ITF. More details can be found here.
Acton dress sleeve expansion can be found here (subscription) and here (stand-alone product).
Original Acton dress pattern can be found here.
Adding volume to a pattern. Tutorial can be found here.
How to add a full skirt to the Acton dress. Tutorial can be found here.
For more issues of the Q & A series, you can check out the archive here.
WHAT YOU’VE BEEN MAKING

Peppermint wrap top made by @grakdaks
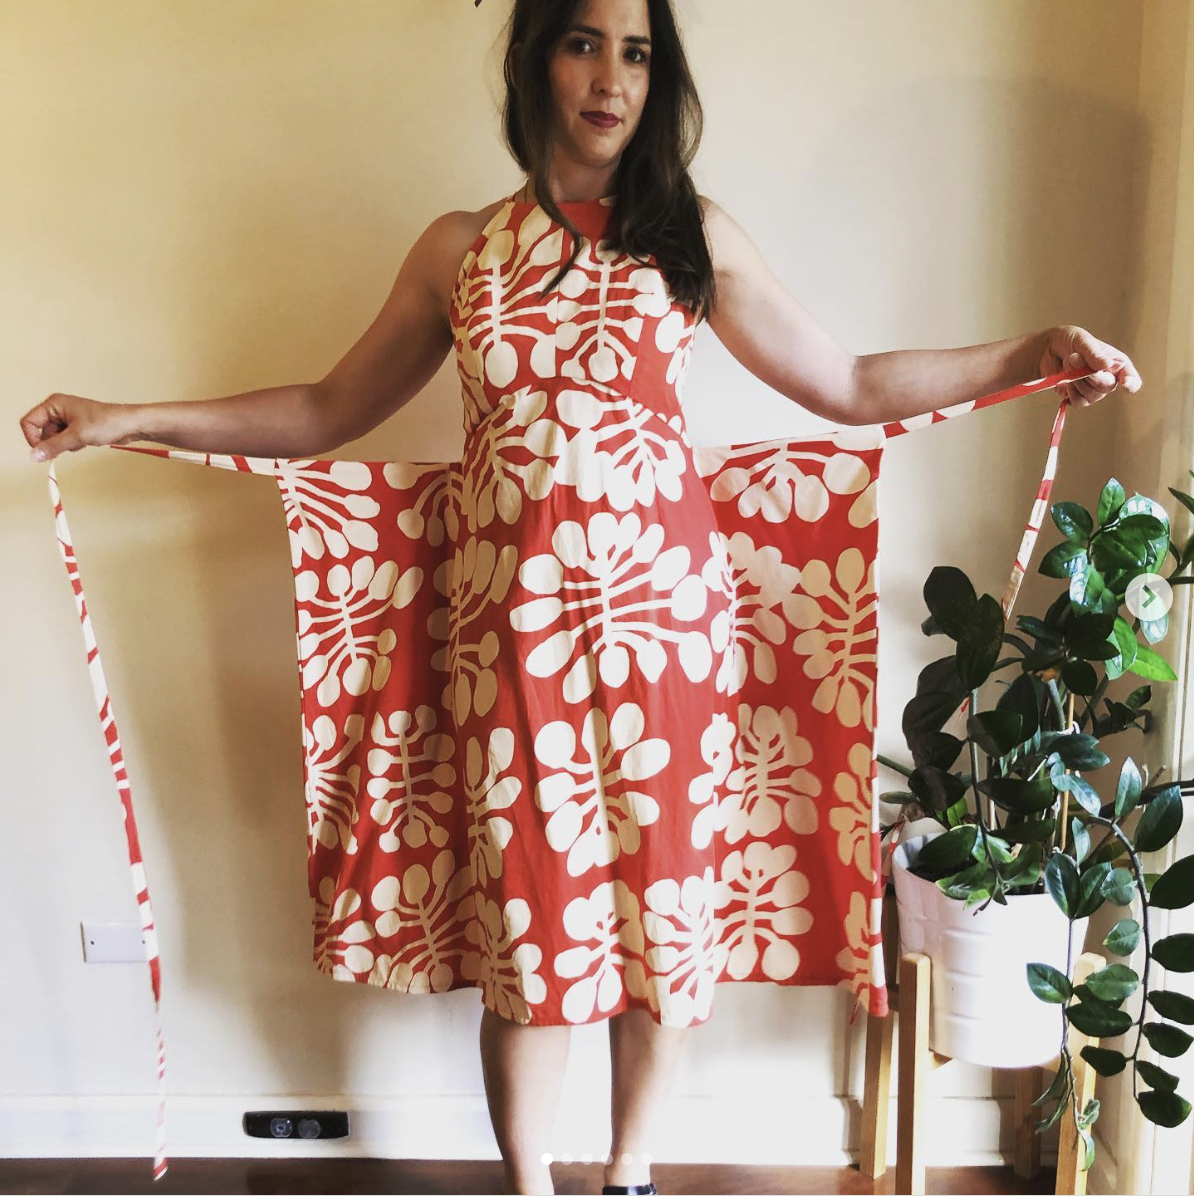
Acton dress made by @len.blueskystitch

Peppermint wrap skirt made by @made.by.min

Peppermint wrap top made by @stitchin_camaro