

Hi Emily,
I hope you're well.
I have a query regarding the body/finished garment measurements for the Peppermint Wrap Skirt. I'm trying to figure out what size to make but the waist measurement body/finished garment measurements are the same and 5cm bigger at the hip? I just want to make sure there's enough overlap so I'm not flashing - lol. My body measurements are waist size I and hips size H.
Thanks,
Melanie
Hi Melanie,
I'm excited to hear you will be making the Wrap skirt!
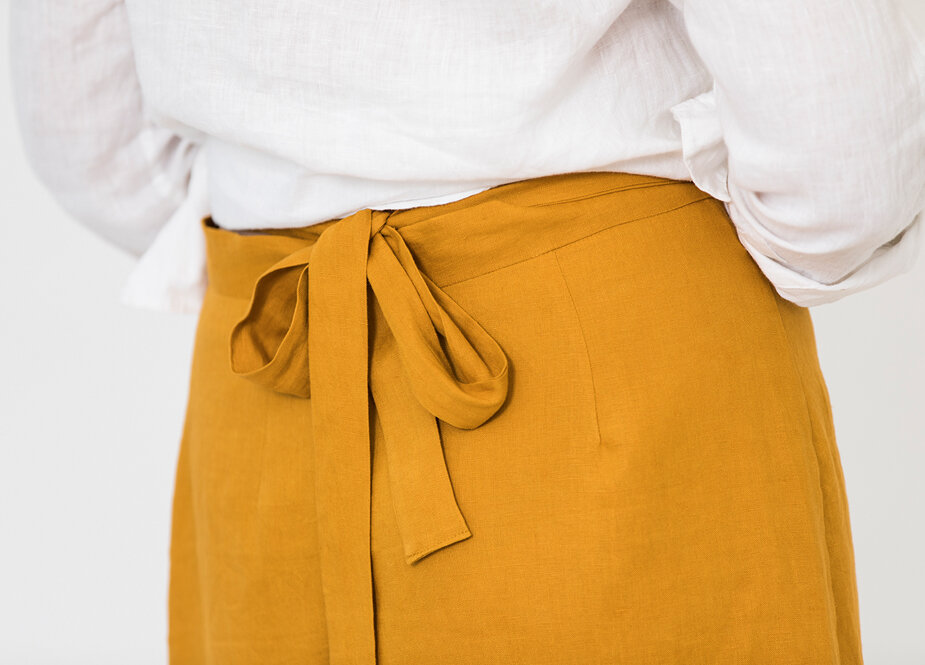
You're right - flashing is definitely the biggest concern when it comes to wrap skirts (or wrap anything, for that matter!). This is the reason I designed this skirt pattern to have two different front wrap pattern pieces.

As you can see in the illustration above (I have put one piece on top of the other, so you can get a clear idea), the front left side of the wrap is wider than the front right side. This means that there is more coverage in the part of the skirt that makes the "under wrap" - this will give an extra line of defence against unplanned flashing.

The reason the waist measurements are the same between body measurement and garment measurement is because it is a wrap garment and you can make it as tight or as loose as you like - which will change the finished waist measurement. The hip has ease built in to give the skirt some shape, but also make it comfortable to move and sit down in.
When it comes to your particular sizing question, I'd suggest cutting a straight size I - as your waist is a size I and hips are a size H. You could grade down to an H at the hip if you like, but there is probably no need for this style of garment.

If you do choose to grade between sizes, it is very easy. All you need to do is draw a line from the size I cutting line (black line on the pattern) at the waist to the size H cutting line at the hip, as illustrated above. You will want this line to be nice and smooth, so that the transition between sizes is gradual.

You will need to do this to the back skirt pattern piece, as well as both front pieces.

If you are following along at home and need to grade the opposite way - smaller size waist and a larger size hip - please see the illustration above for how to do this.
Back to Melanie’s question - if you’re not sure whether you want to grade down at the hip (as this will give you less hip circumference, which potentially is not something you want to lose if you are concerned about showing a bit too much leg), the other thing you could do is cut the pattern in a straight size I. When you get to sewing the side seams, baste* the side seams closed and then try on the skirt (you will need to pin the skirt in place as it won't have a waistband yet).
Have a look and see how the side seams are sitting - if it feels too big at the hip, or the side seams are too curved, you could always alter the side seam at this point. To alter the skirt to have a size H hip, you will need to remove about 3.7cm from each side seam (half of this from the front and half from the back), as there is a 7.5cm difference between the hip measurement of the size H and size I.
I hope this helps.
Let me know how you go!
Happy sewing,
Emily
*Baste: sew the seam with your machine on the longest stitch length. This makes it quick and easy to try things out as you are able to remove the stitches quickly and easily. You can even change your machine thread to a contrasting colour, as this makes it even easier to remove the stitches after you have checked the fit.
resources mentioned in this issue
The Peppermint wrap skirt can be downloaded for free here.
P.S. Would you like to know what the Q & A series is all about? This page tells you a little bit more about the motive behind the series. Past issues from the Q & A series can be found here.
Don't have a question, but found this newsletter helpful? I'd love to hear from you! Get in touch and say hi.
What you’ve been making
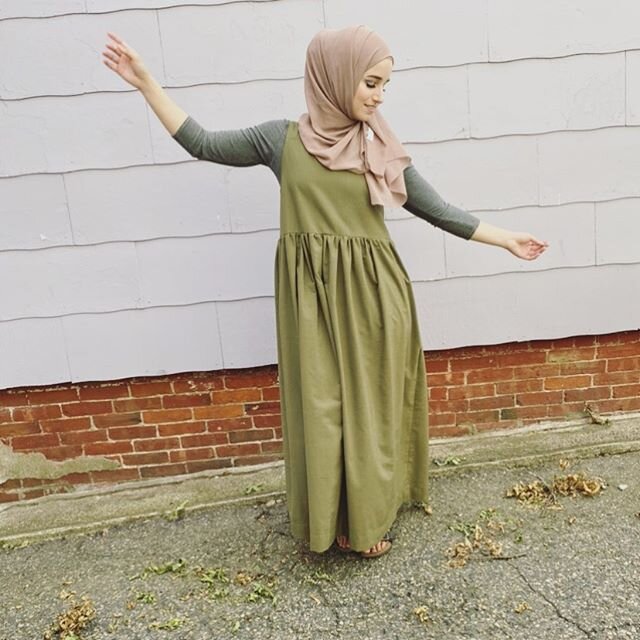
Peppermint peplum top made by @hijabi.smiles

Peppermint wrap top made by @newcrafthouse

Peppermint peplum top made by @_domum
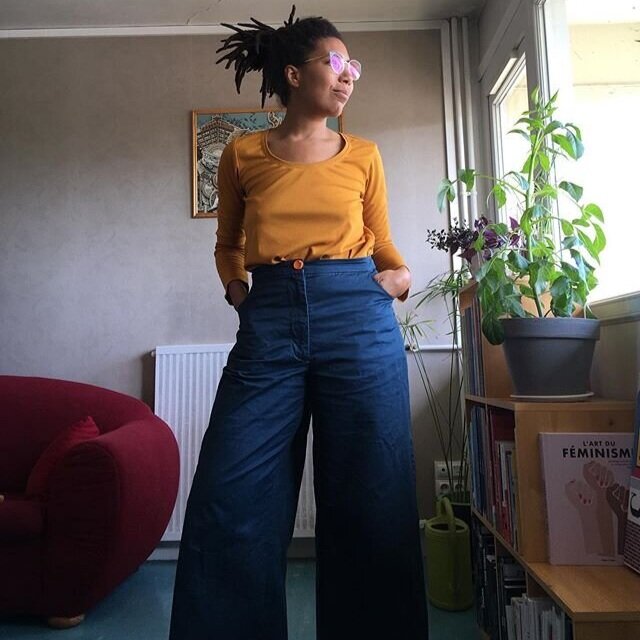
Peppermint wide leg pants made by @Iamwik


