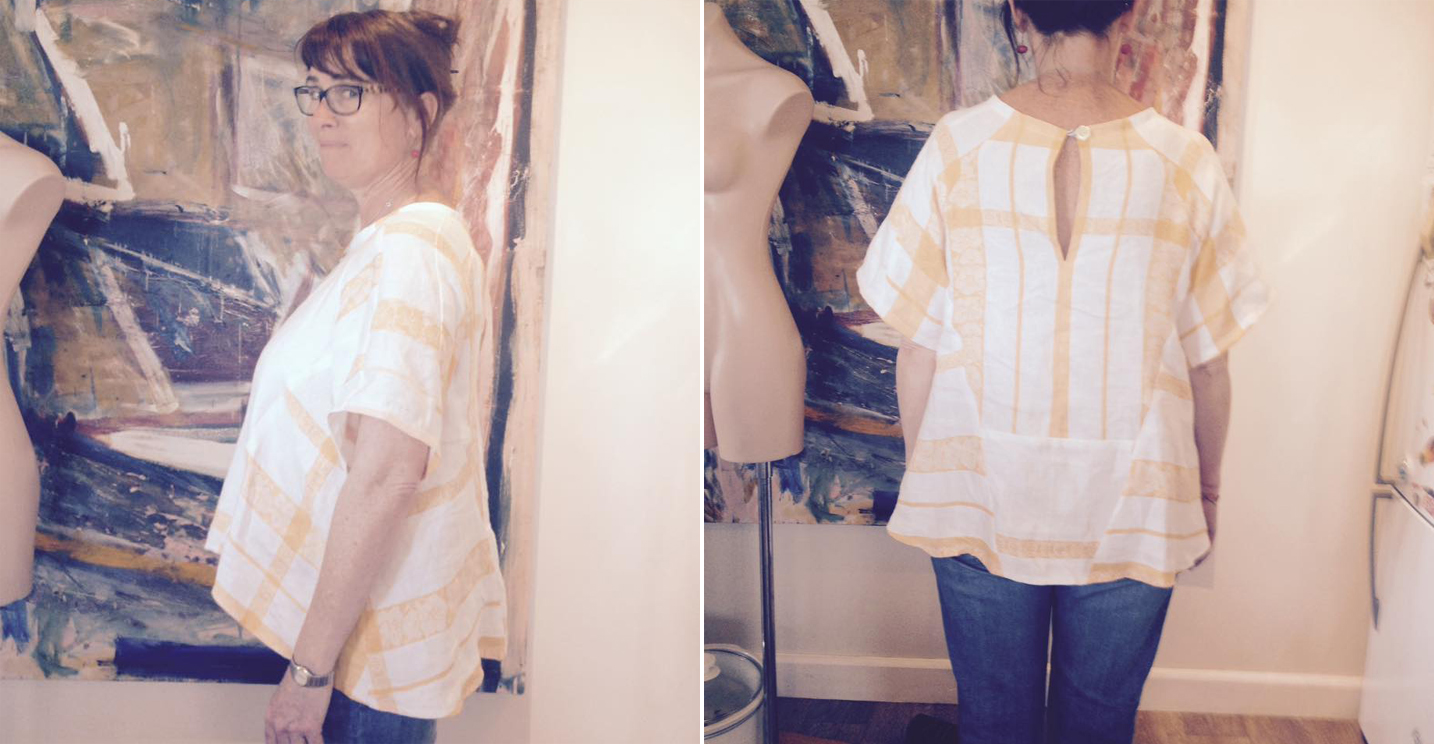
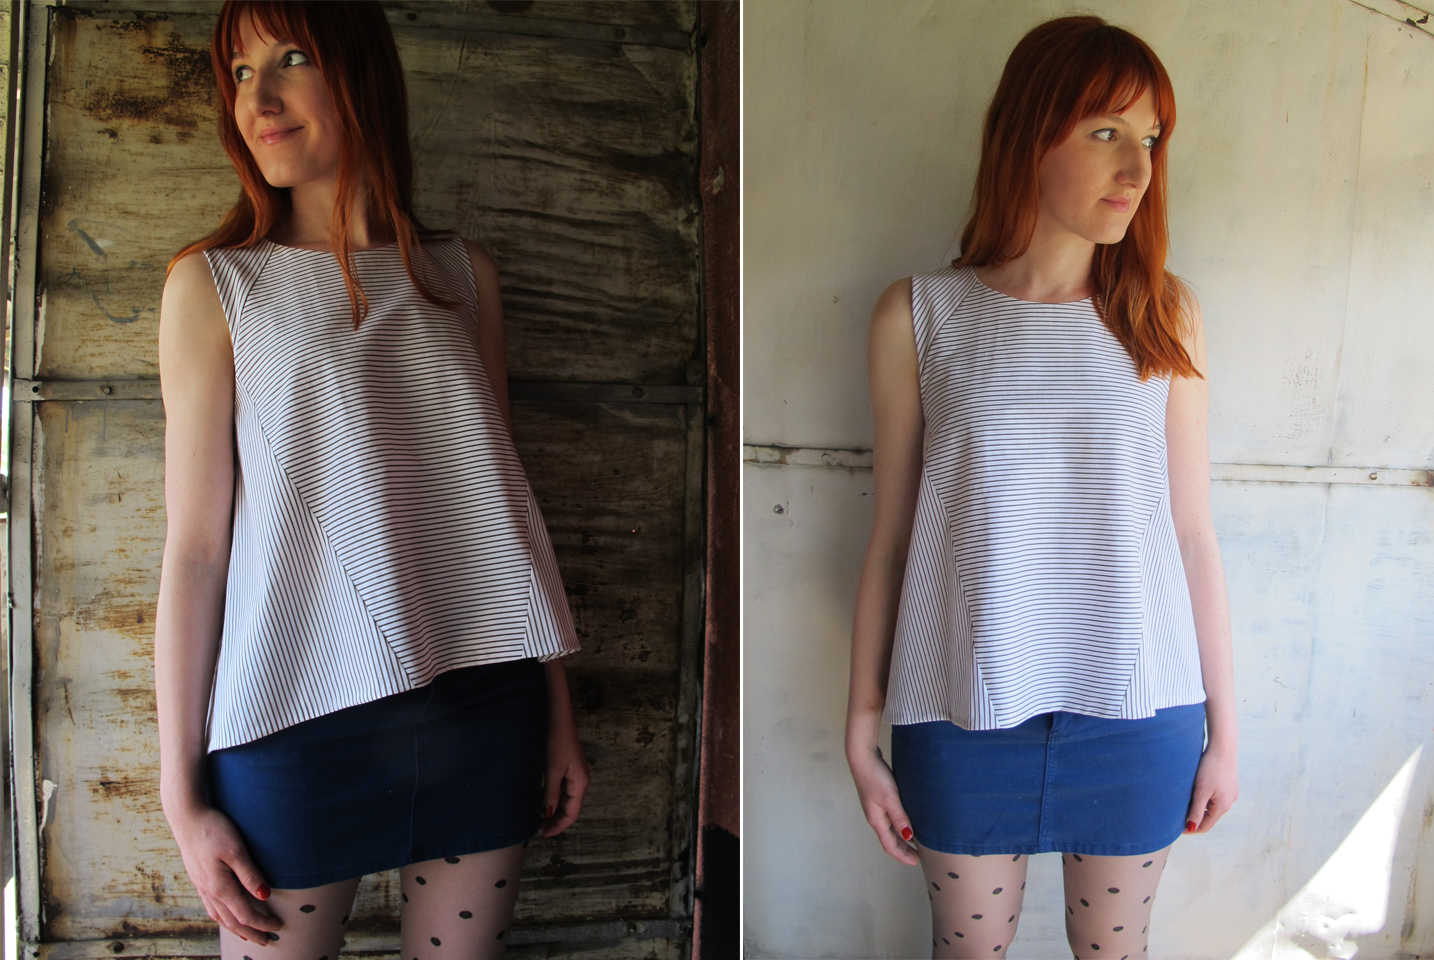
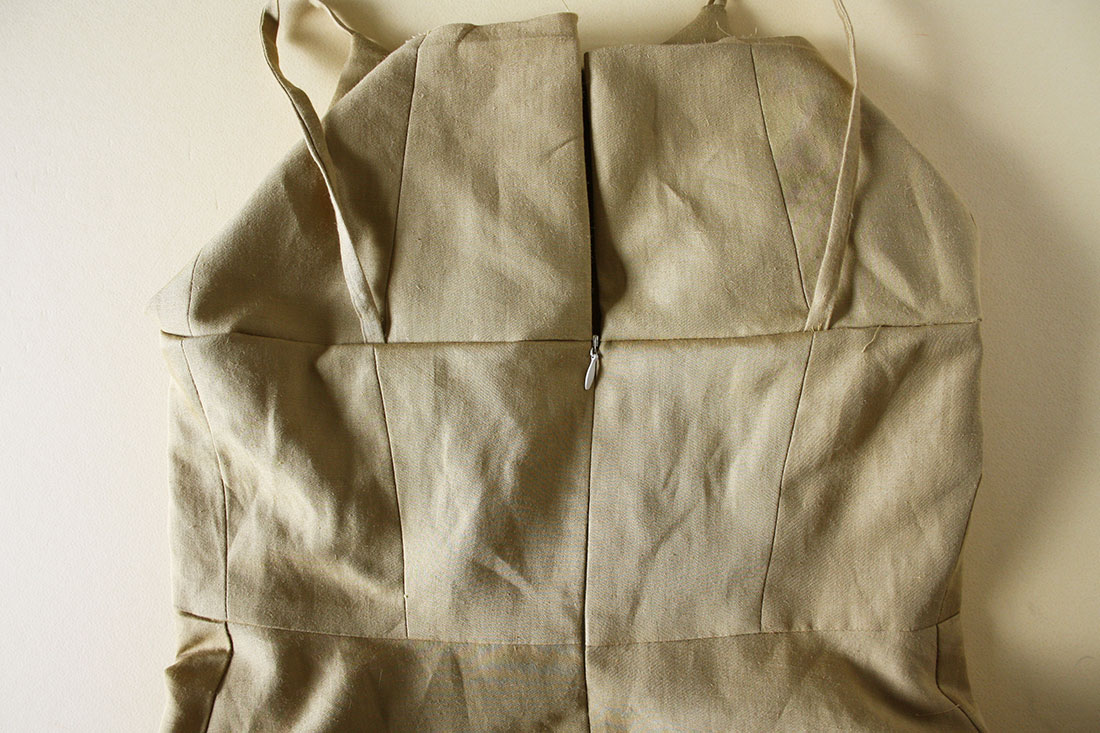
In yesterday's post, I showed you how to do a Full Bust Adjustment (FBA) on the Collins Top pattern to start off the Collins Top Sew-along. The process is a little different to a usual FBA because of the panel line in the front piece, as well as the lack of dart or bust shaping in the pattern.

In yesterday's tutorial I showed you how to add a dart to the centre front panel of the Collins Top to get some extra width across the bust, if your bust measurement is larger than the B cup In the Folds patterns are drafted for.
In today's post, I want to show you how to remove that dart, if you would prefer to keep the pattern dartless.
If you have done a little pattern making (or pattern adjusting) yourself though, you will know it is not as easy as just removing a dart. You cannot actually remove a dart, but you can relocate it or redistribute it. So basically, what we are going to do in the case of the Collins Top, is that we are going to relocate the dart to the hemline and then use it as extra fullness in the hem. I have done a tutorial on this process in the past, so if you would like to take a look you can have a look at this tutorial.
I know that the Collins already has quite a bit of ease in the hem (it is a trapeze shaped silhouette after all), so I will also show you how to remove the extra fullness later in the tutorial too. Please bear with me, it is quite a long tutorial, but the process isn't complicated. Just take it one step at a time.
Getting started
Step 1 :
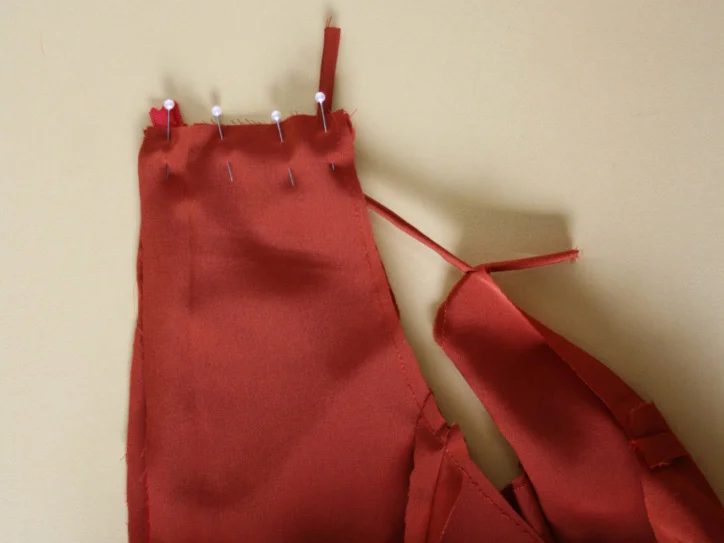
Use the first Full Bust Adjustment tutorial to add a dart to your Collins Top. You will only need to follow steps 1 - 14 of the tutorial to get to where you need to be to follow this tutorial.
Remove the dart
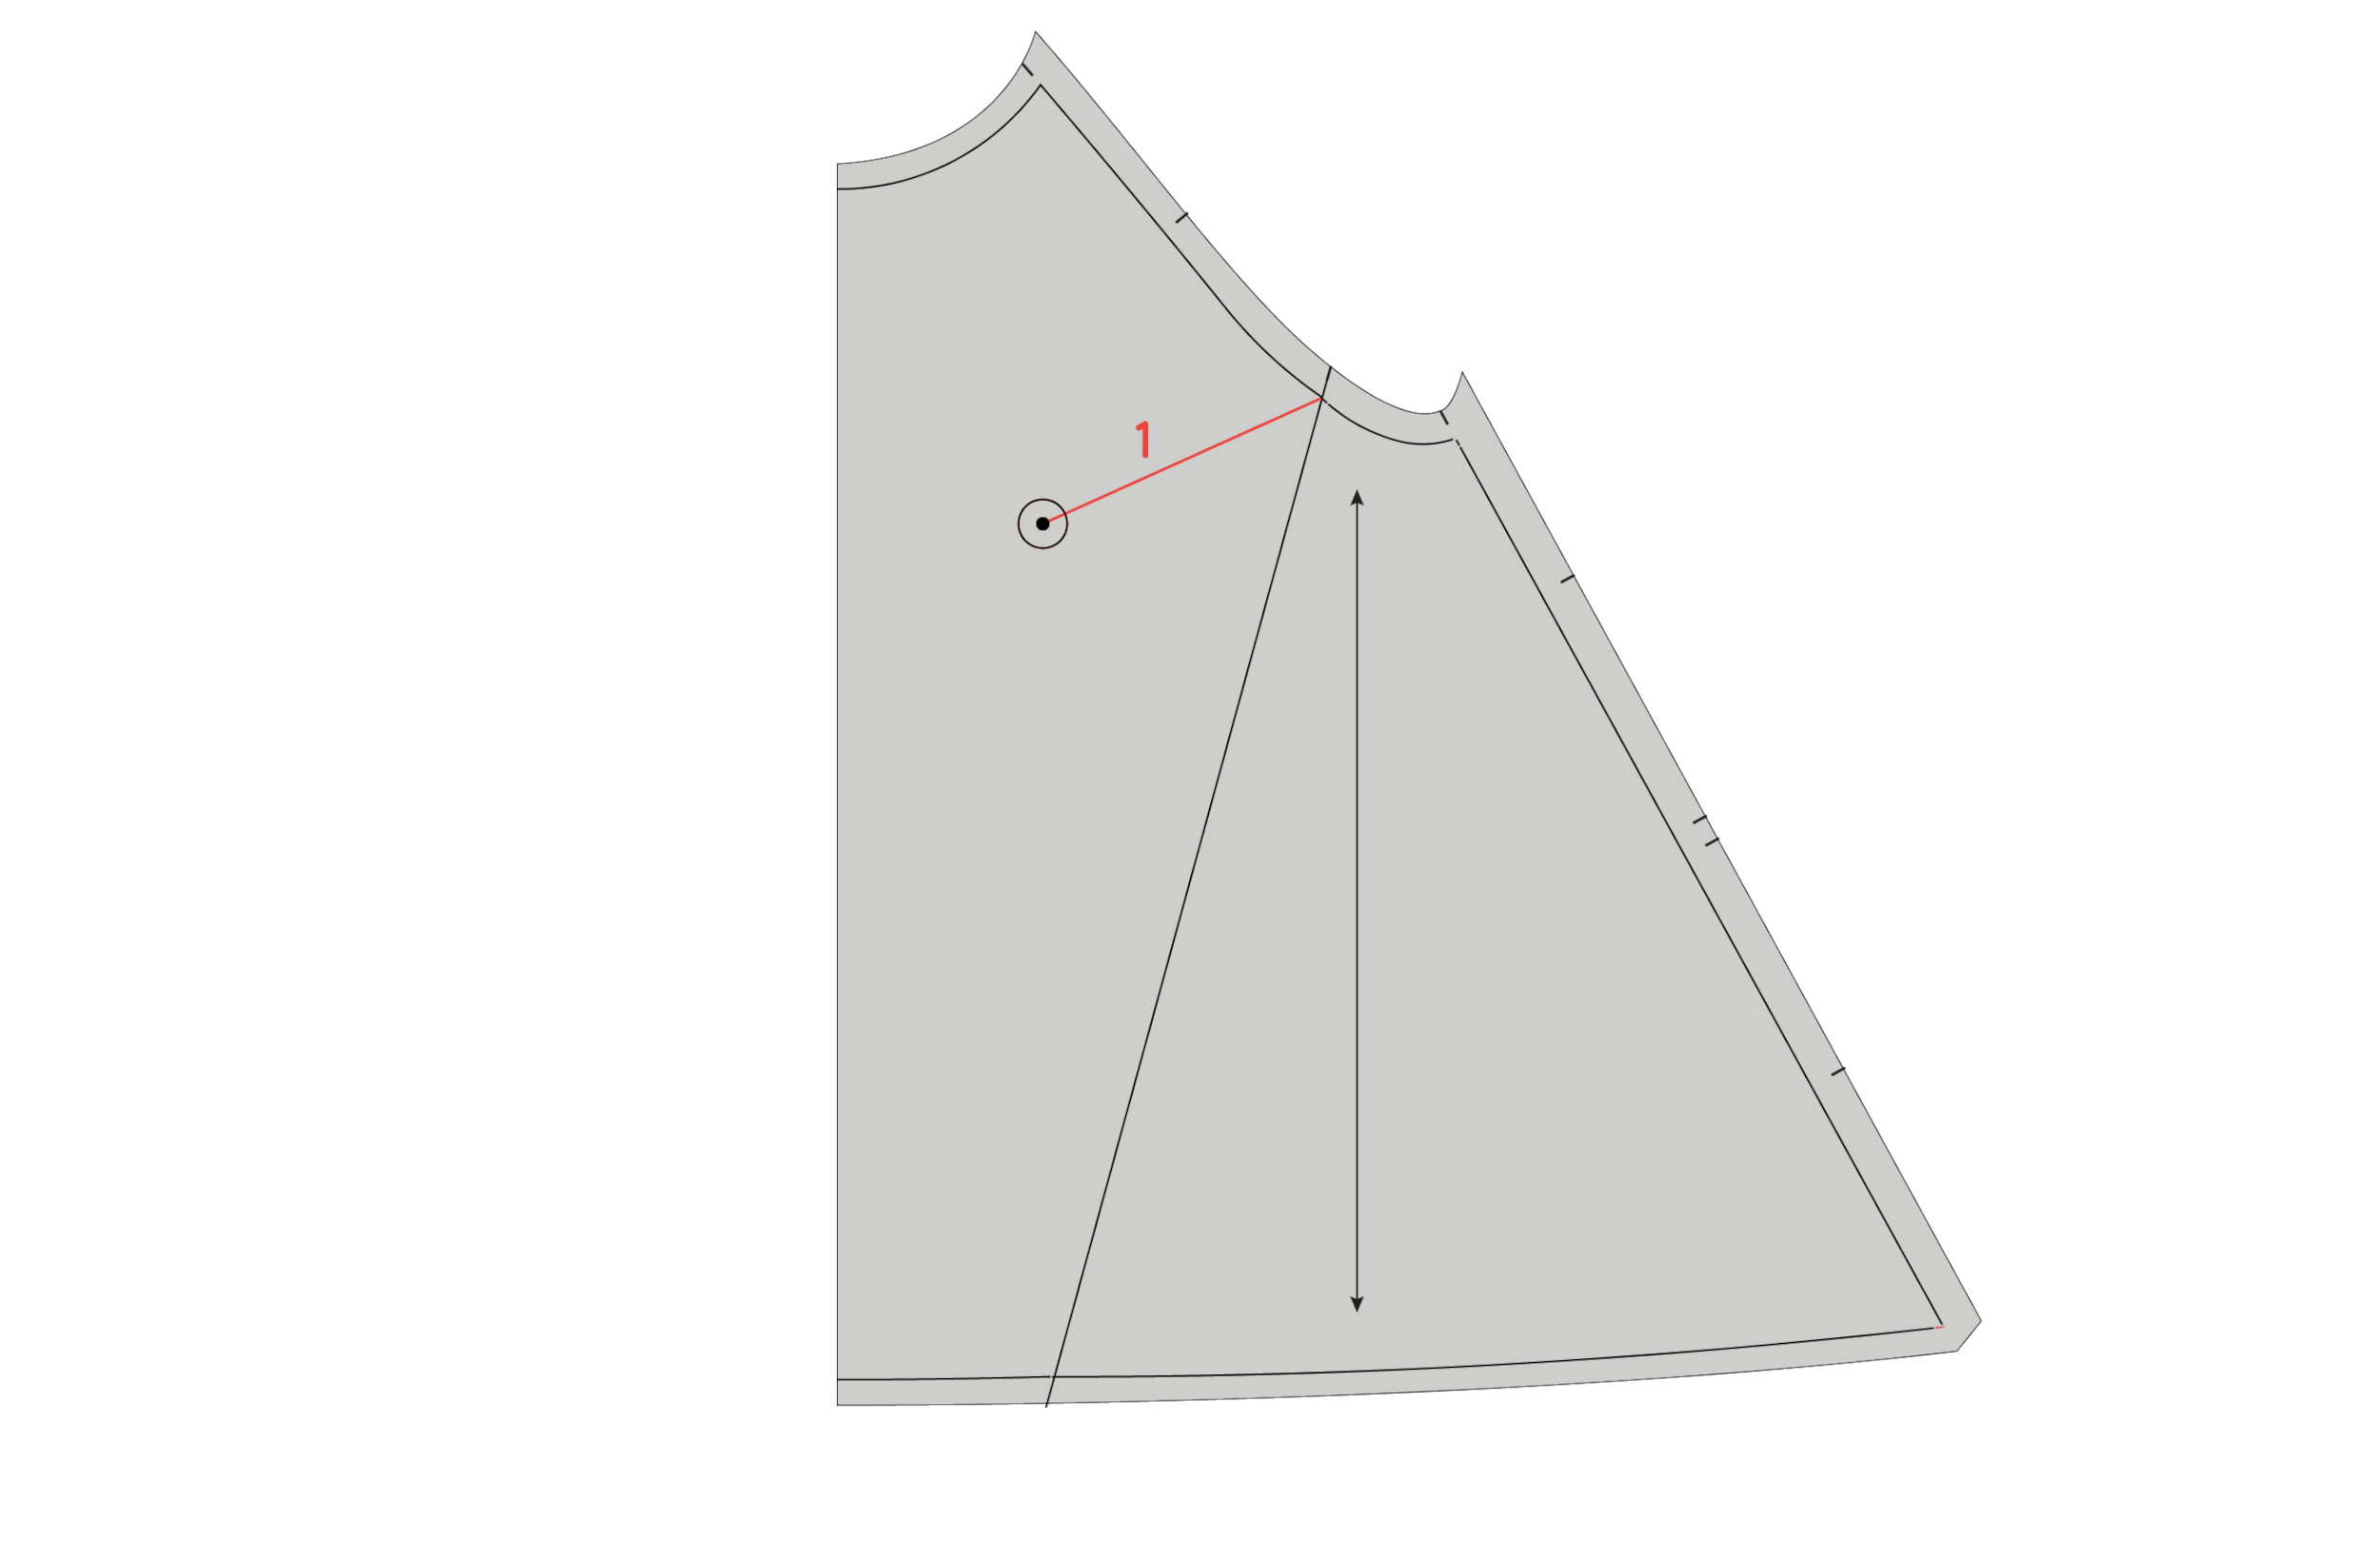
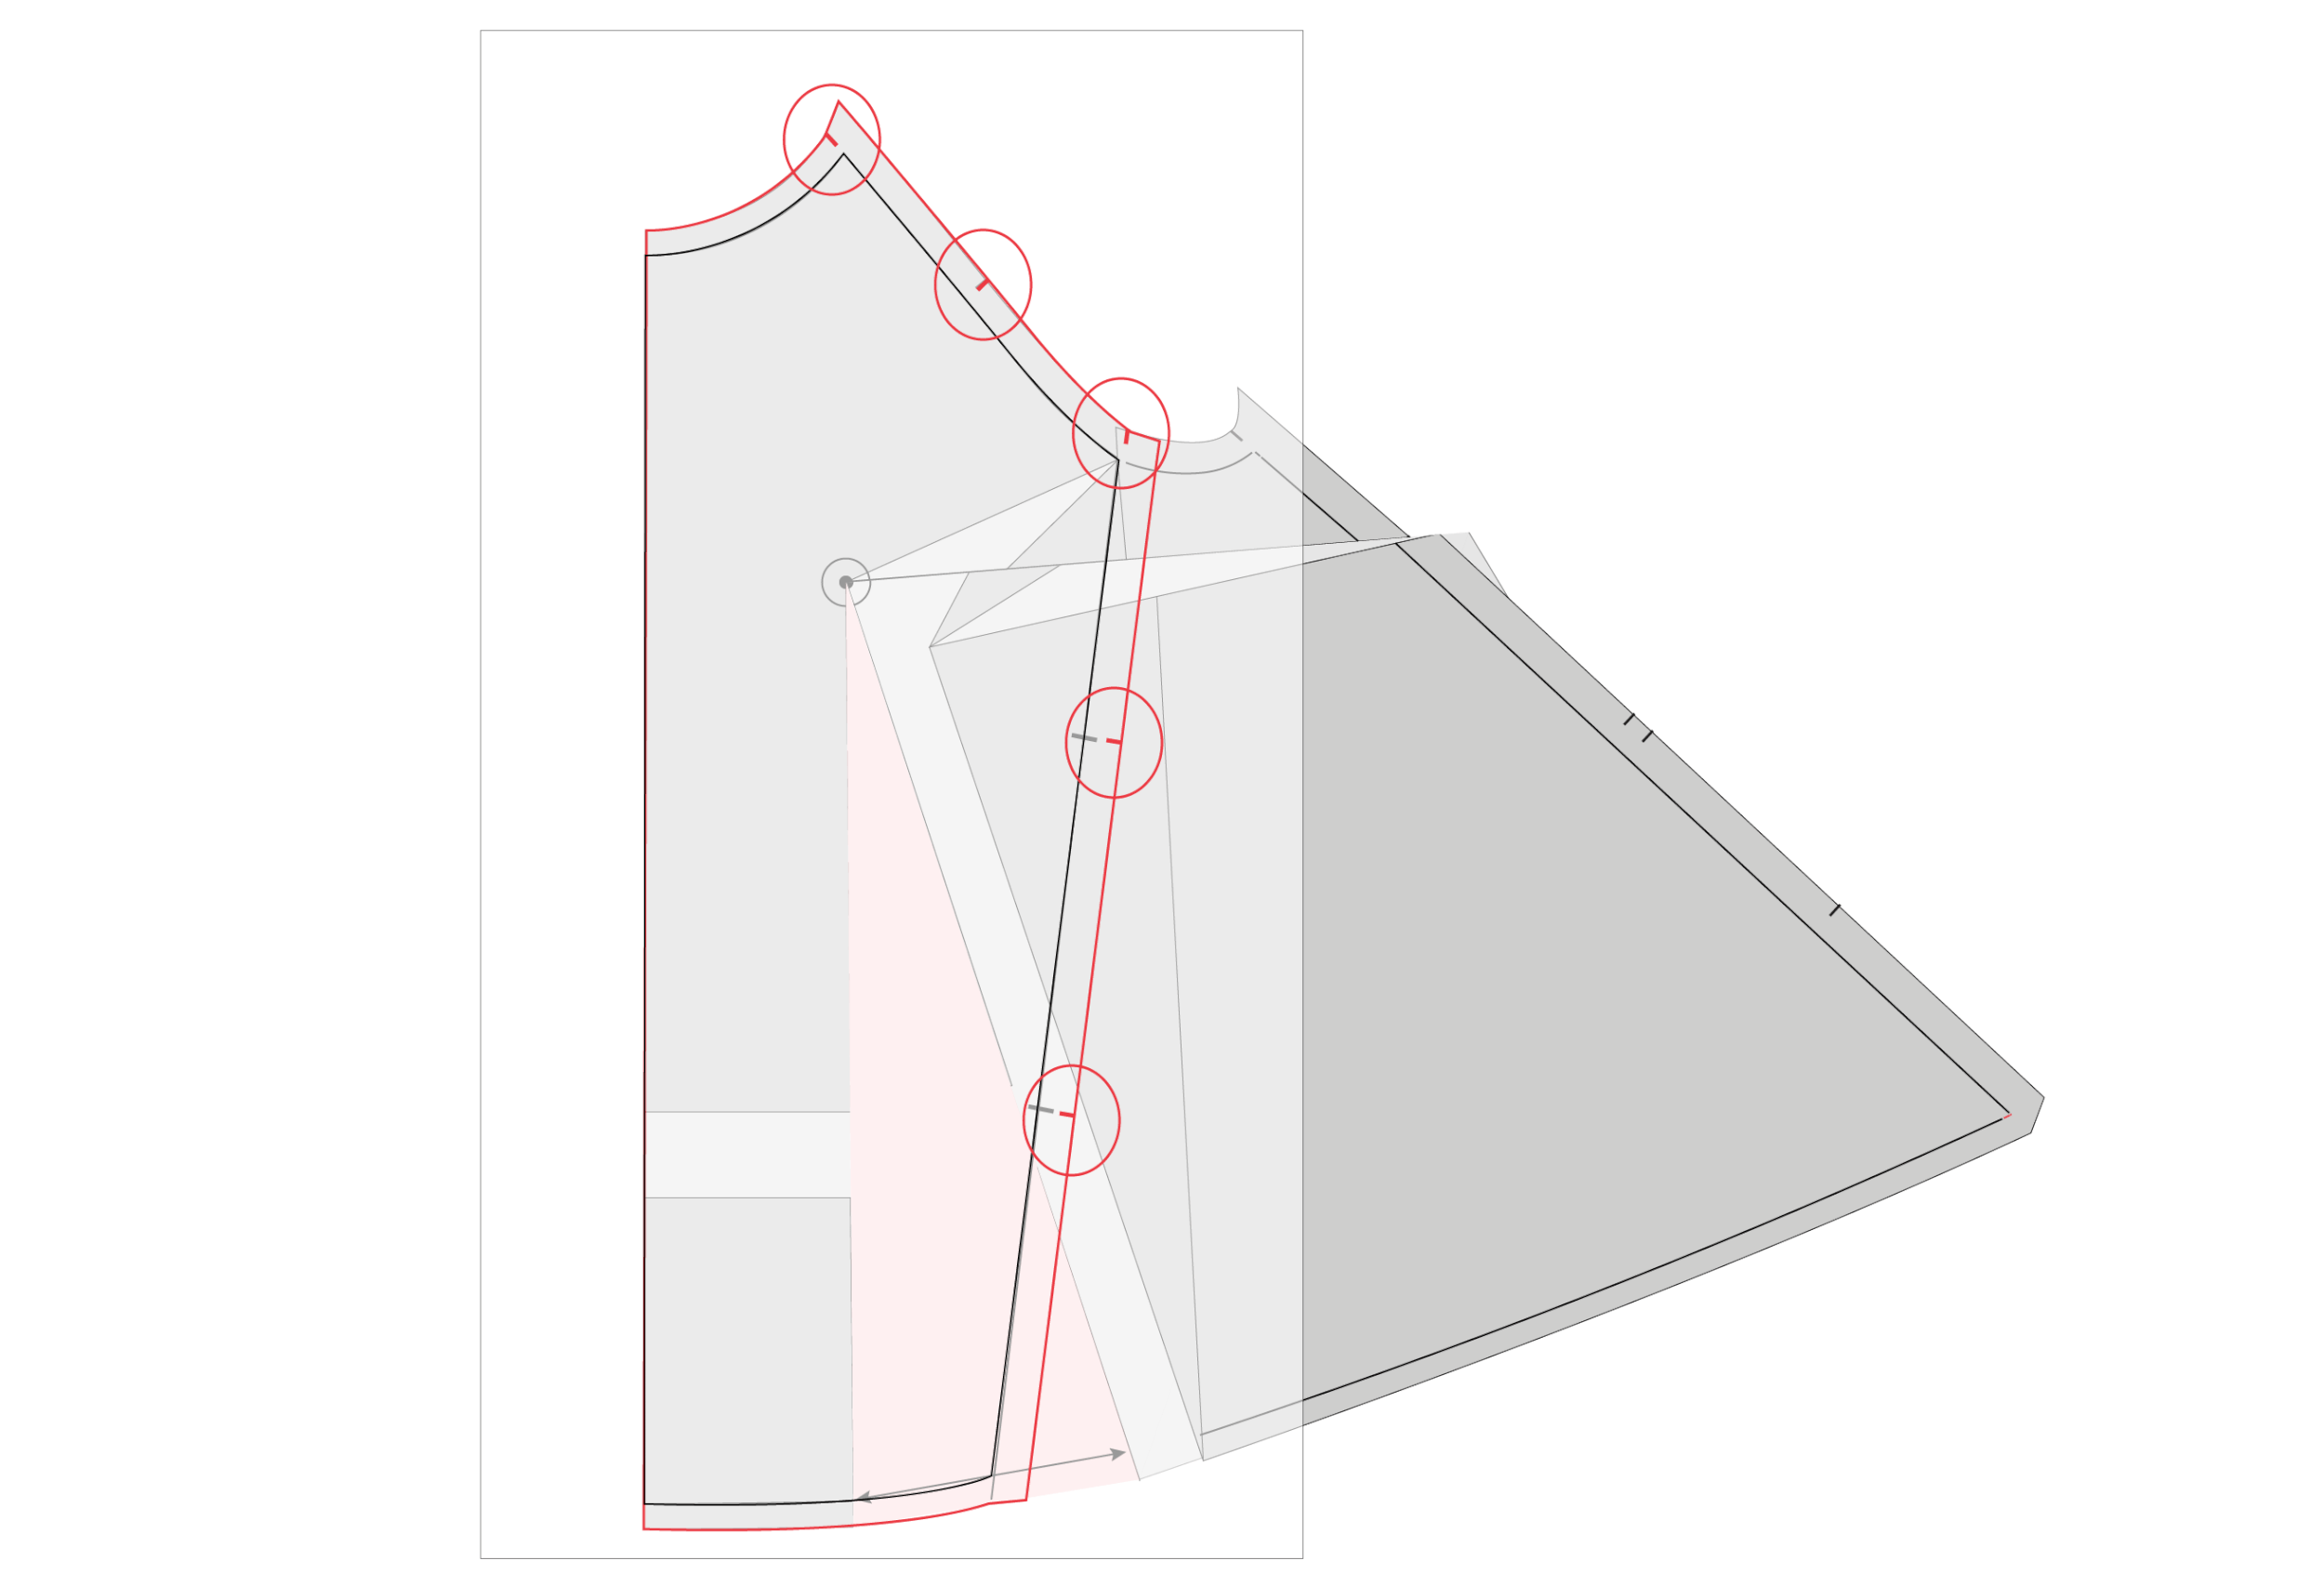
Step 2 :
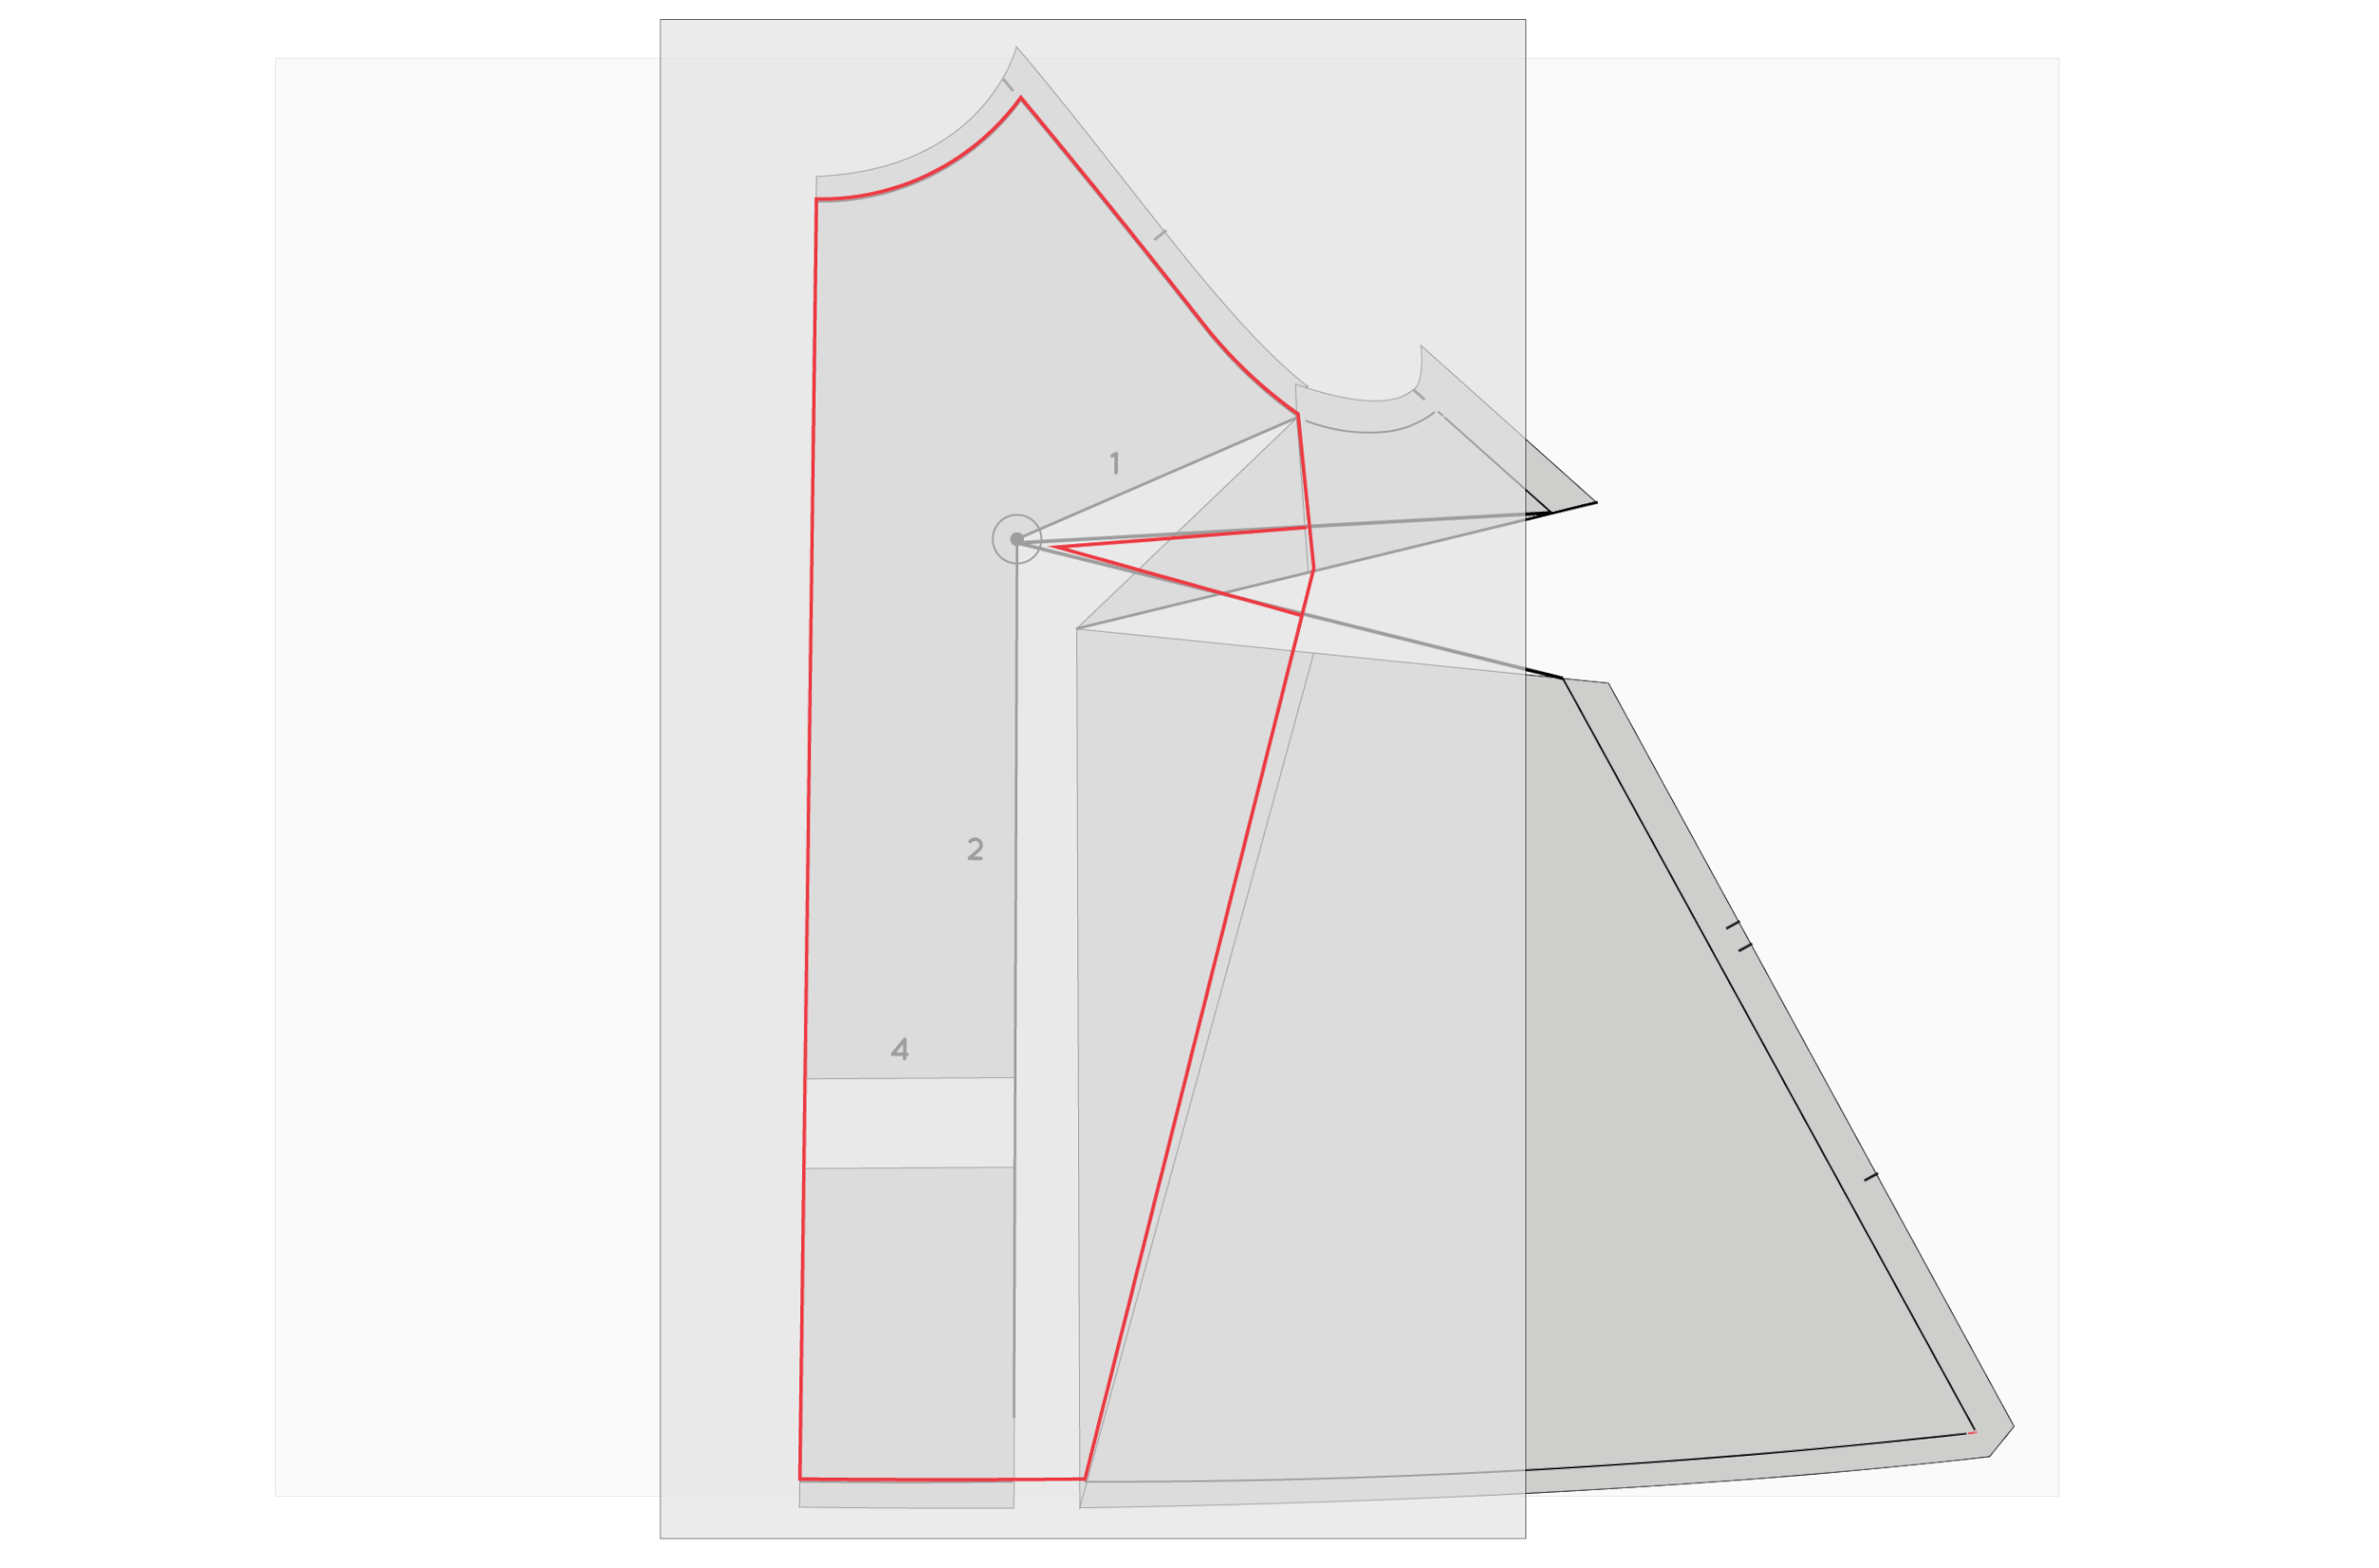
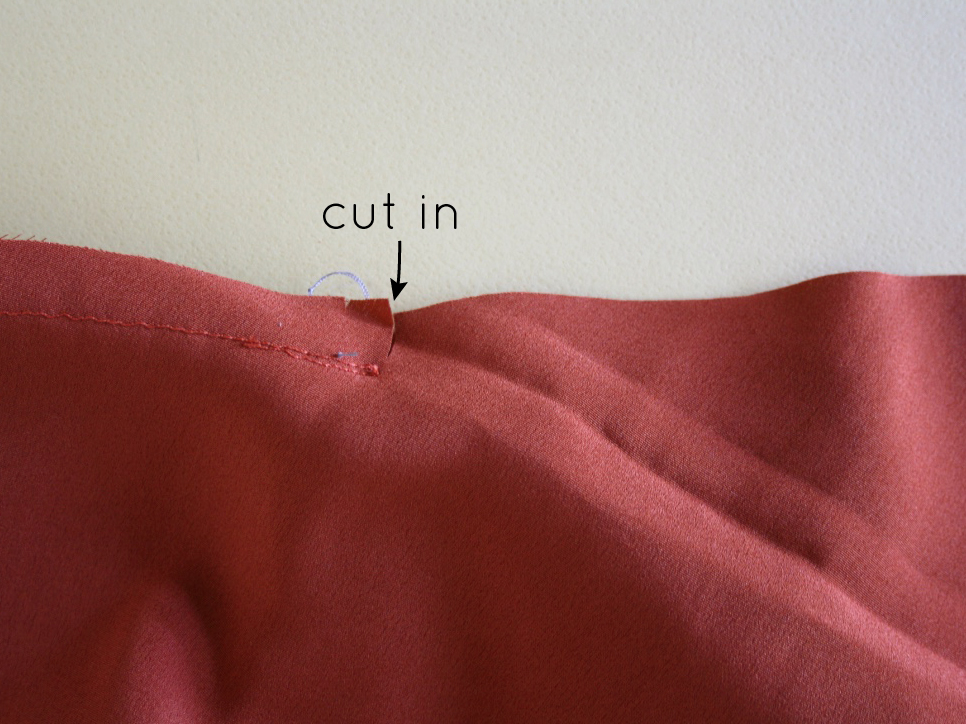
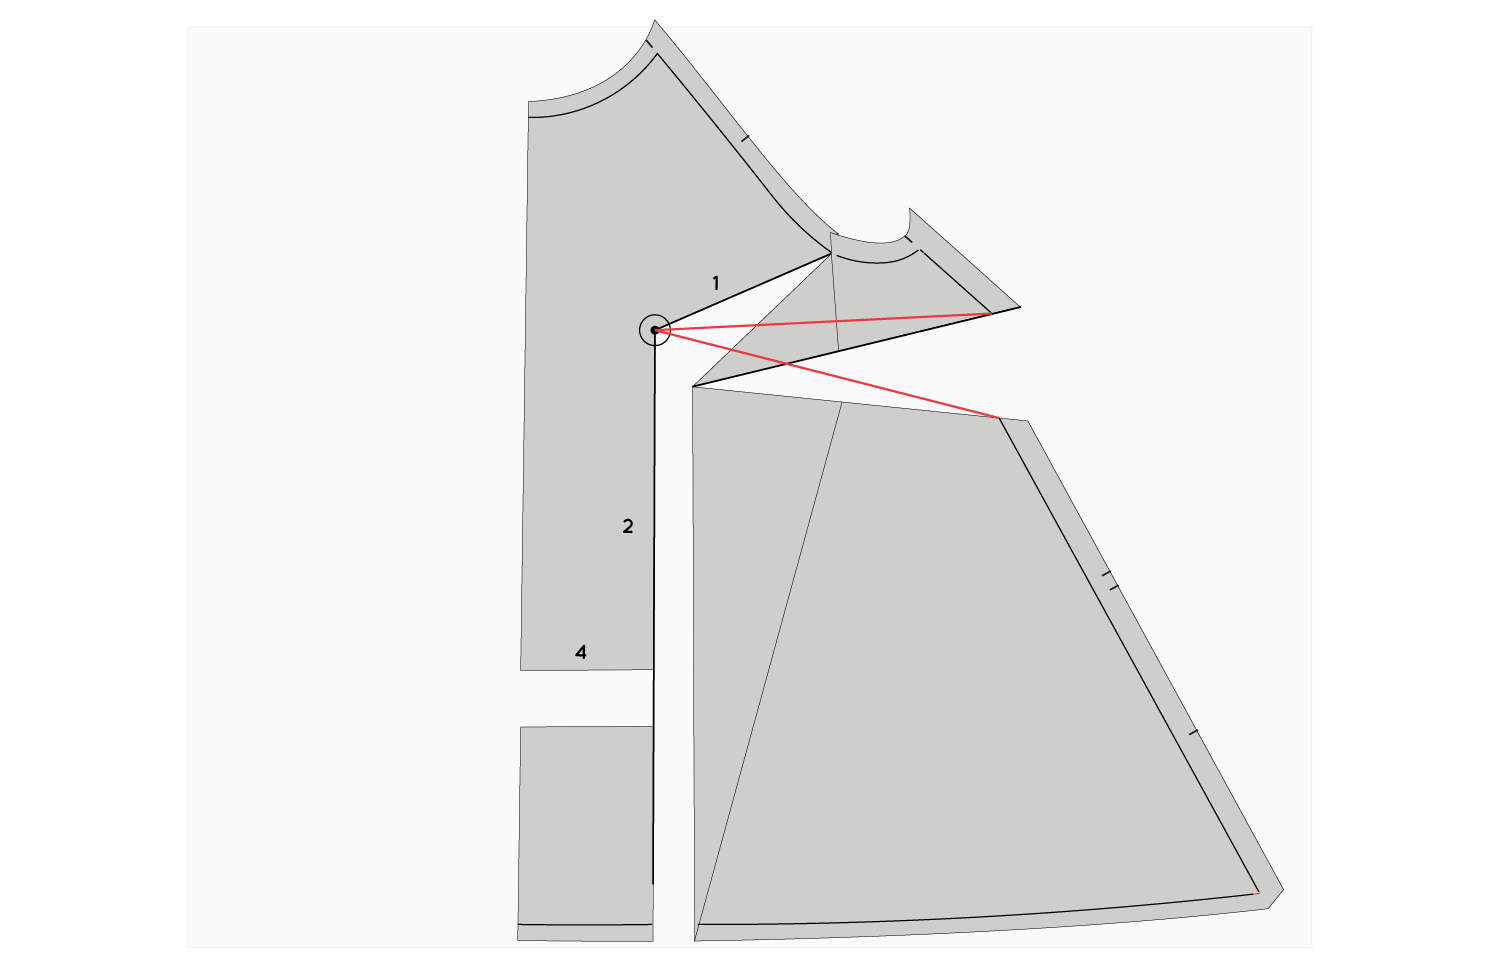
To remove the dart, cut in from the side seam, along the lower dart arm towards the apex point. Stop cutting when you are 1-2mm from the apex point.

Step 3 :
Cut up from the hem of the top, along line 2, towards the apex point. Again, stop cutting 1-2mm from the apex point, to create a small hinge.
Close the dart

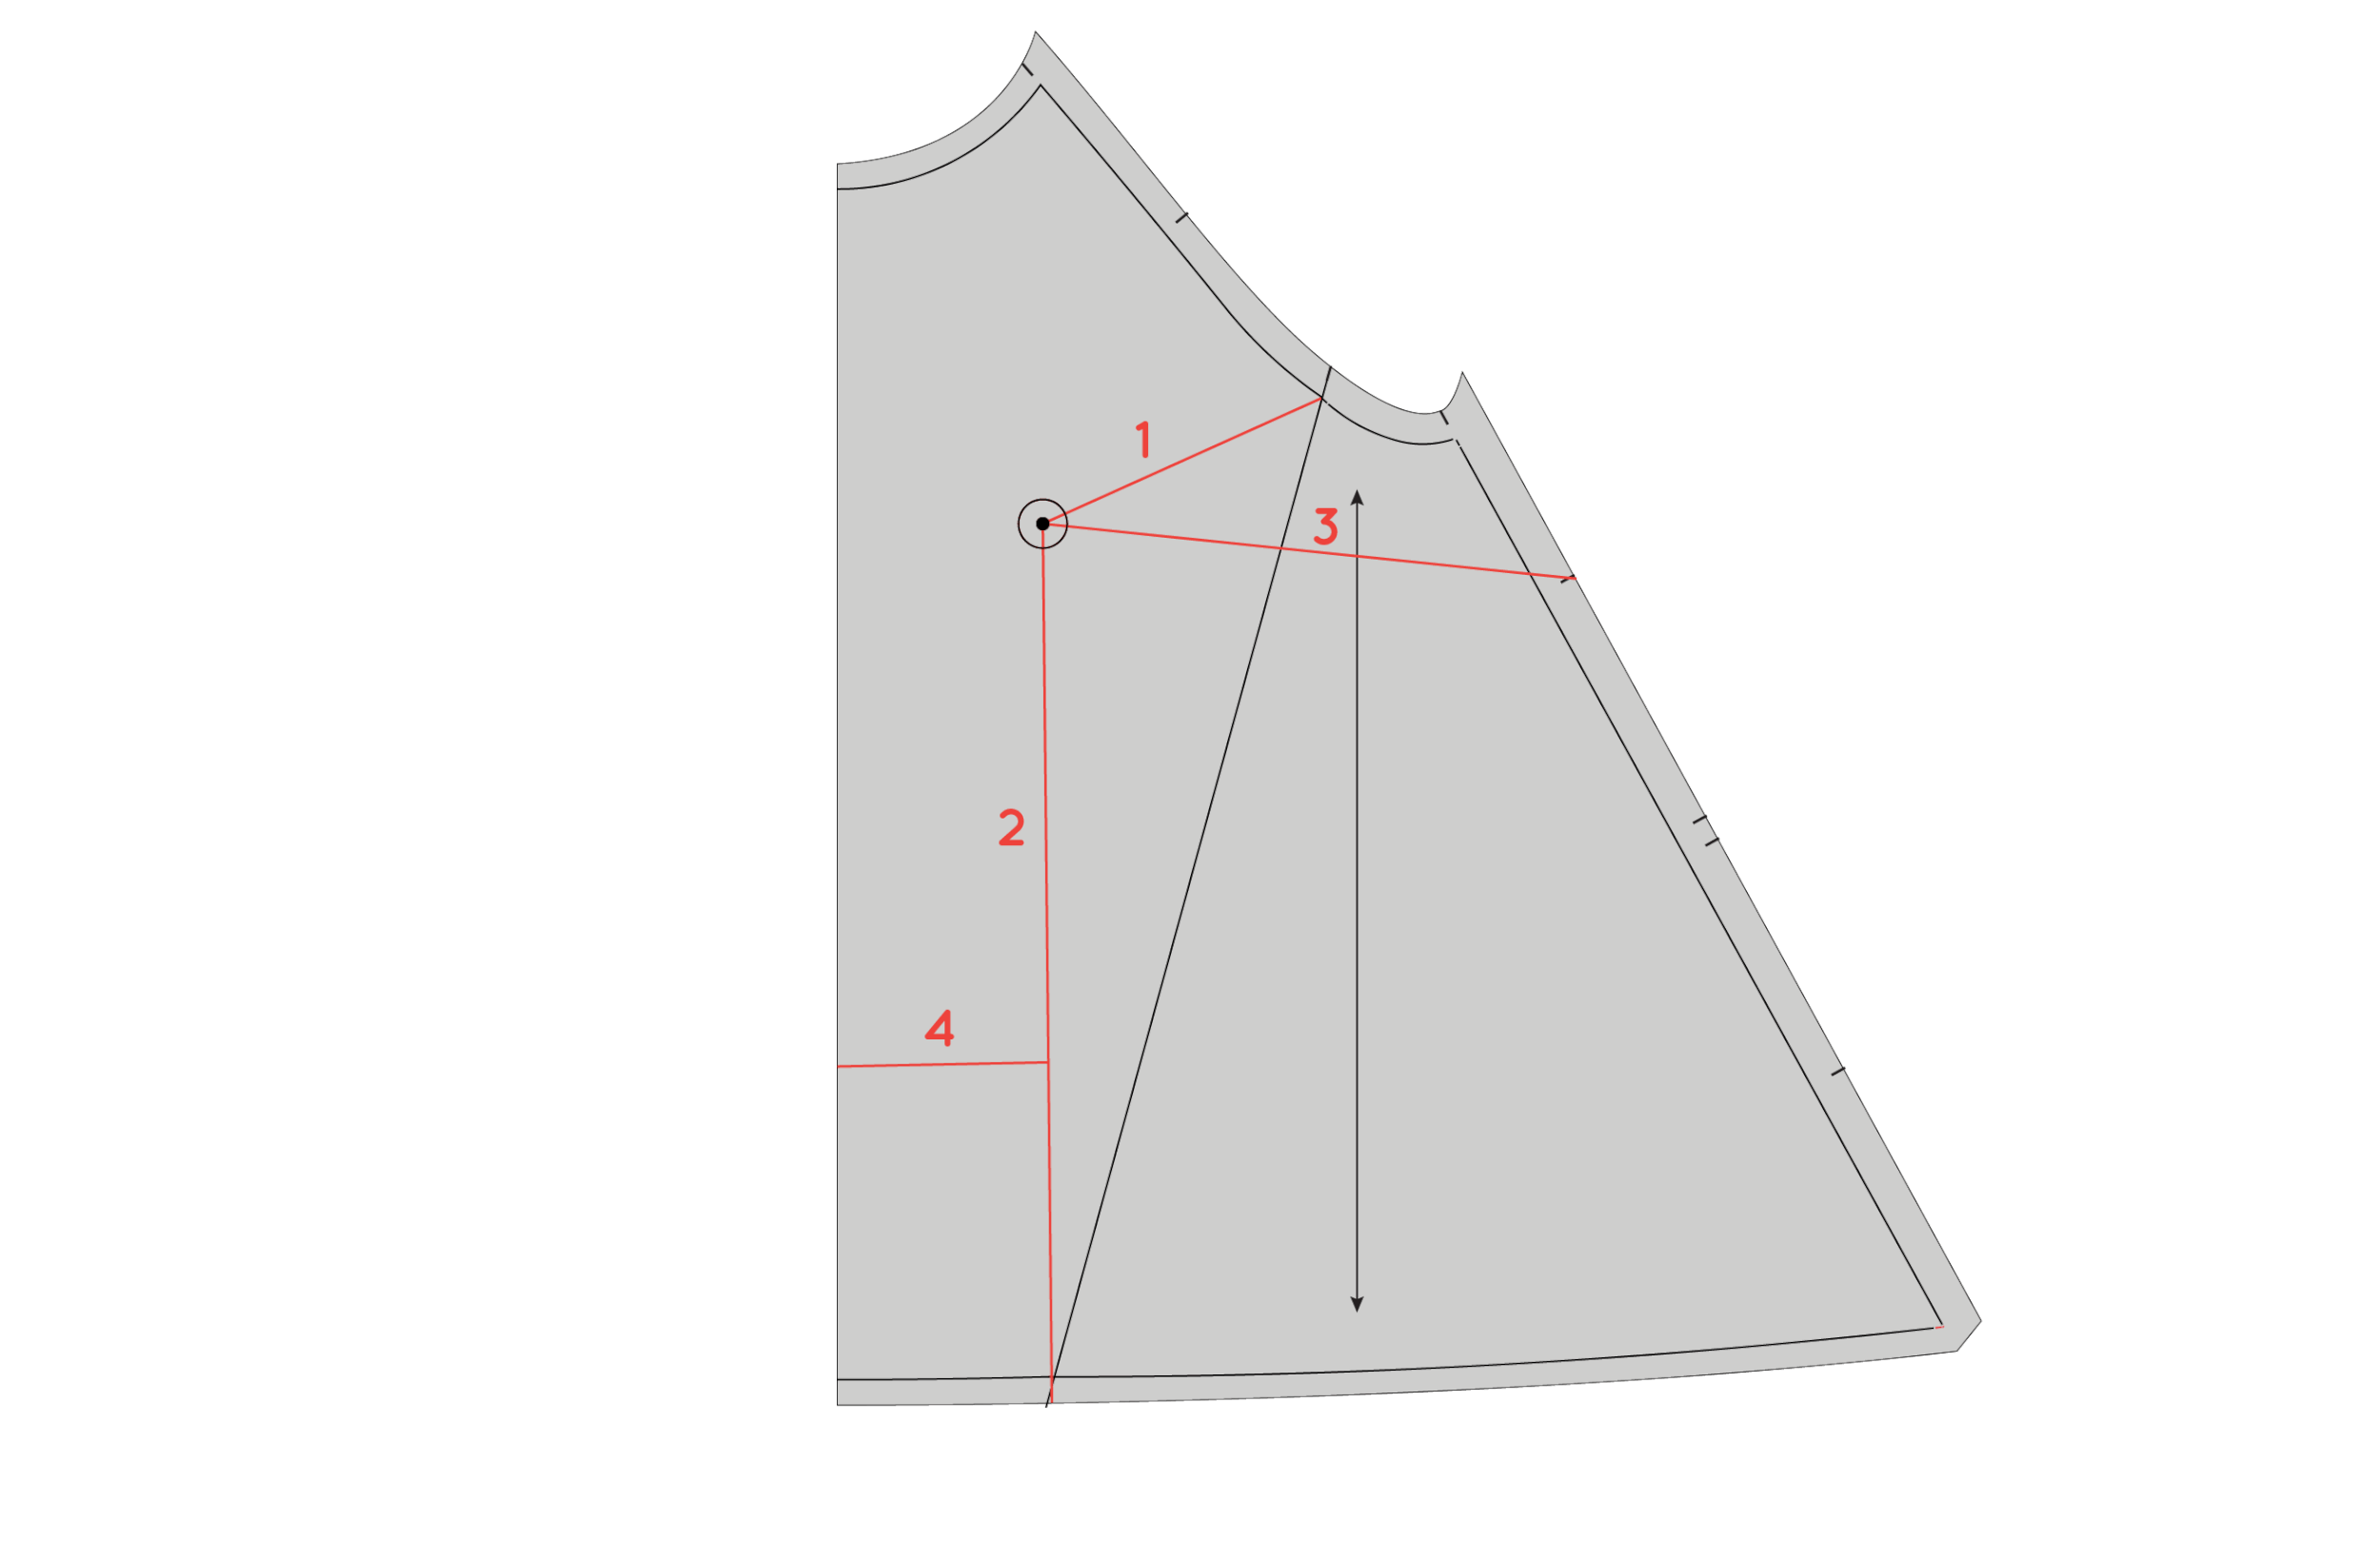
Step 4 :
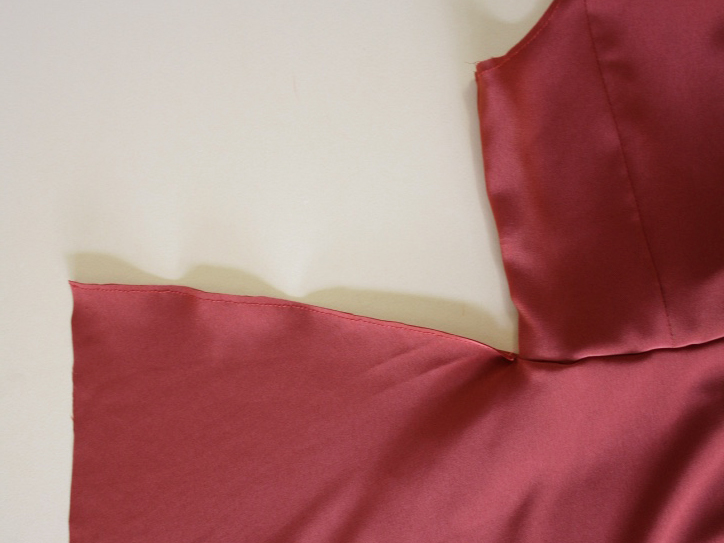
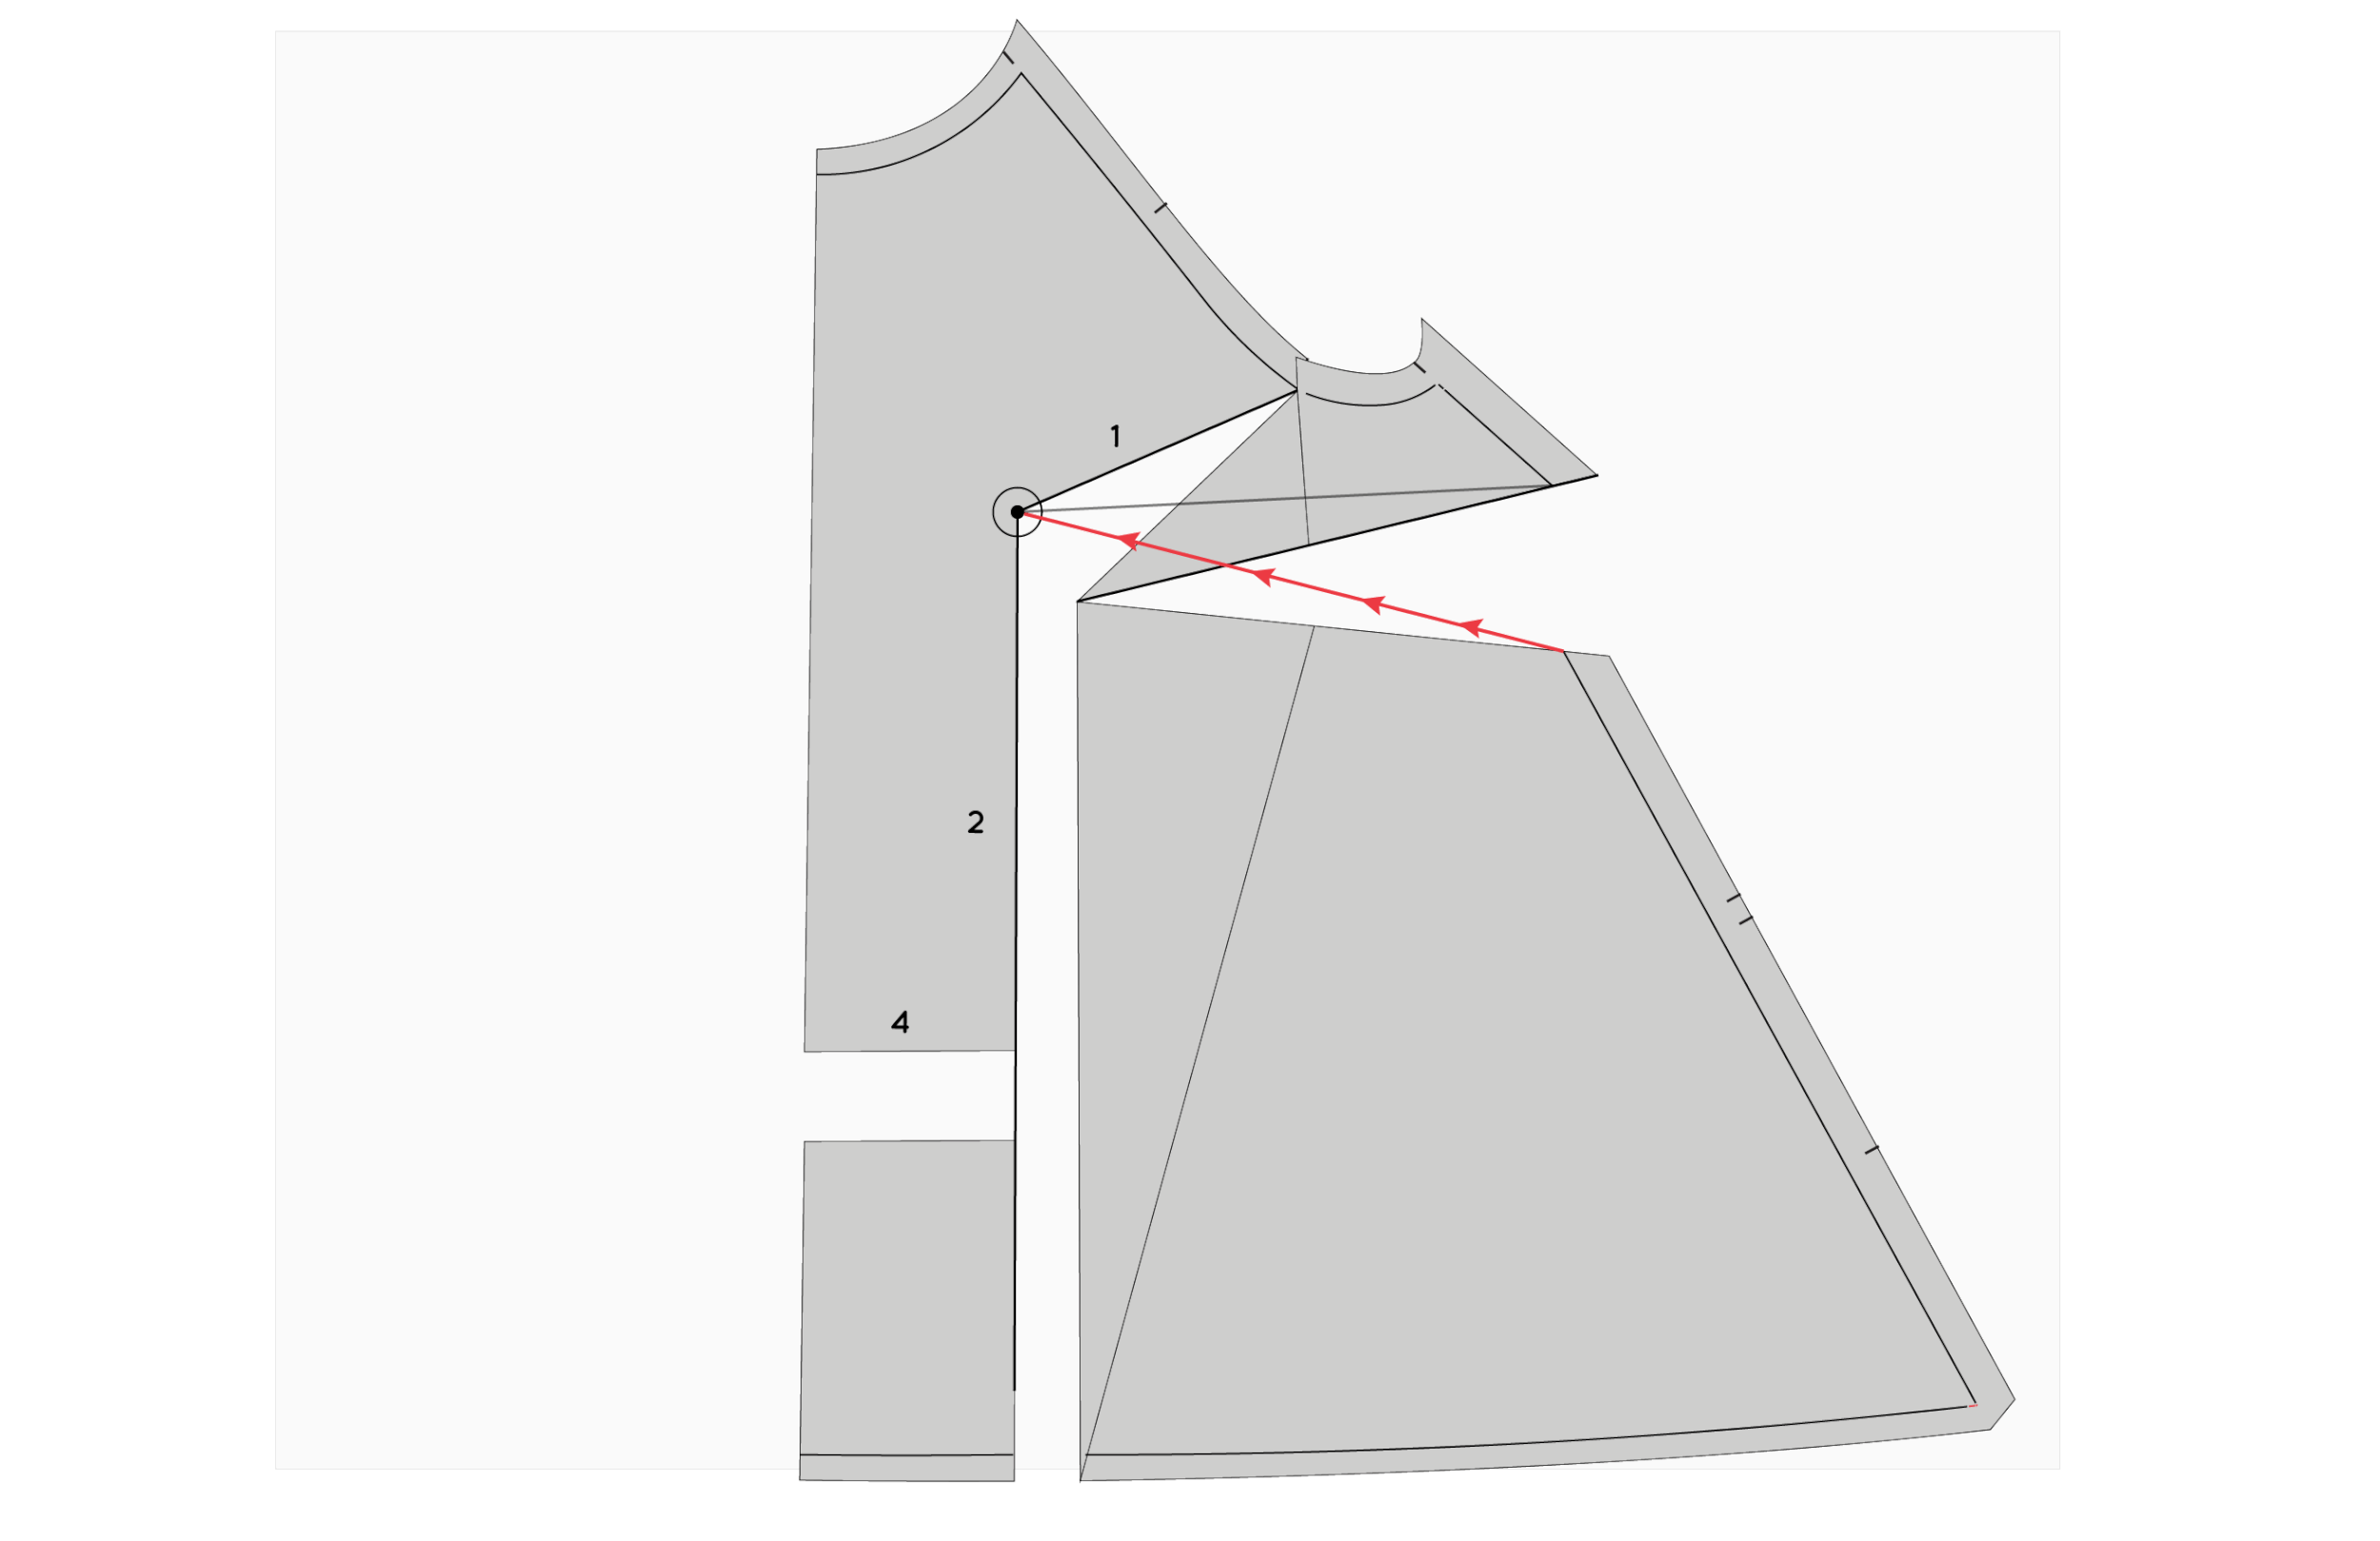
A : Now, swing the side section of the pattern on the little hinge you created, so that the lower dart arm moves towards the upper dart arm.
B : Continue swinging that section of the pattern around, until the lower dart arm meets the upper dart arm. Once the dart arms are aligned, tape in place.
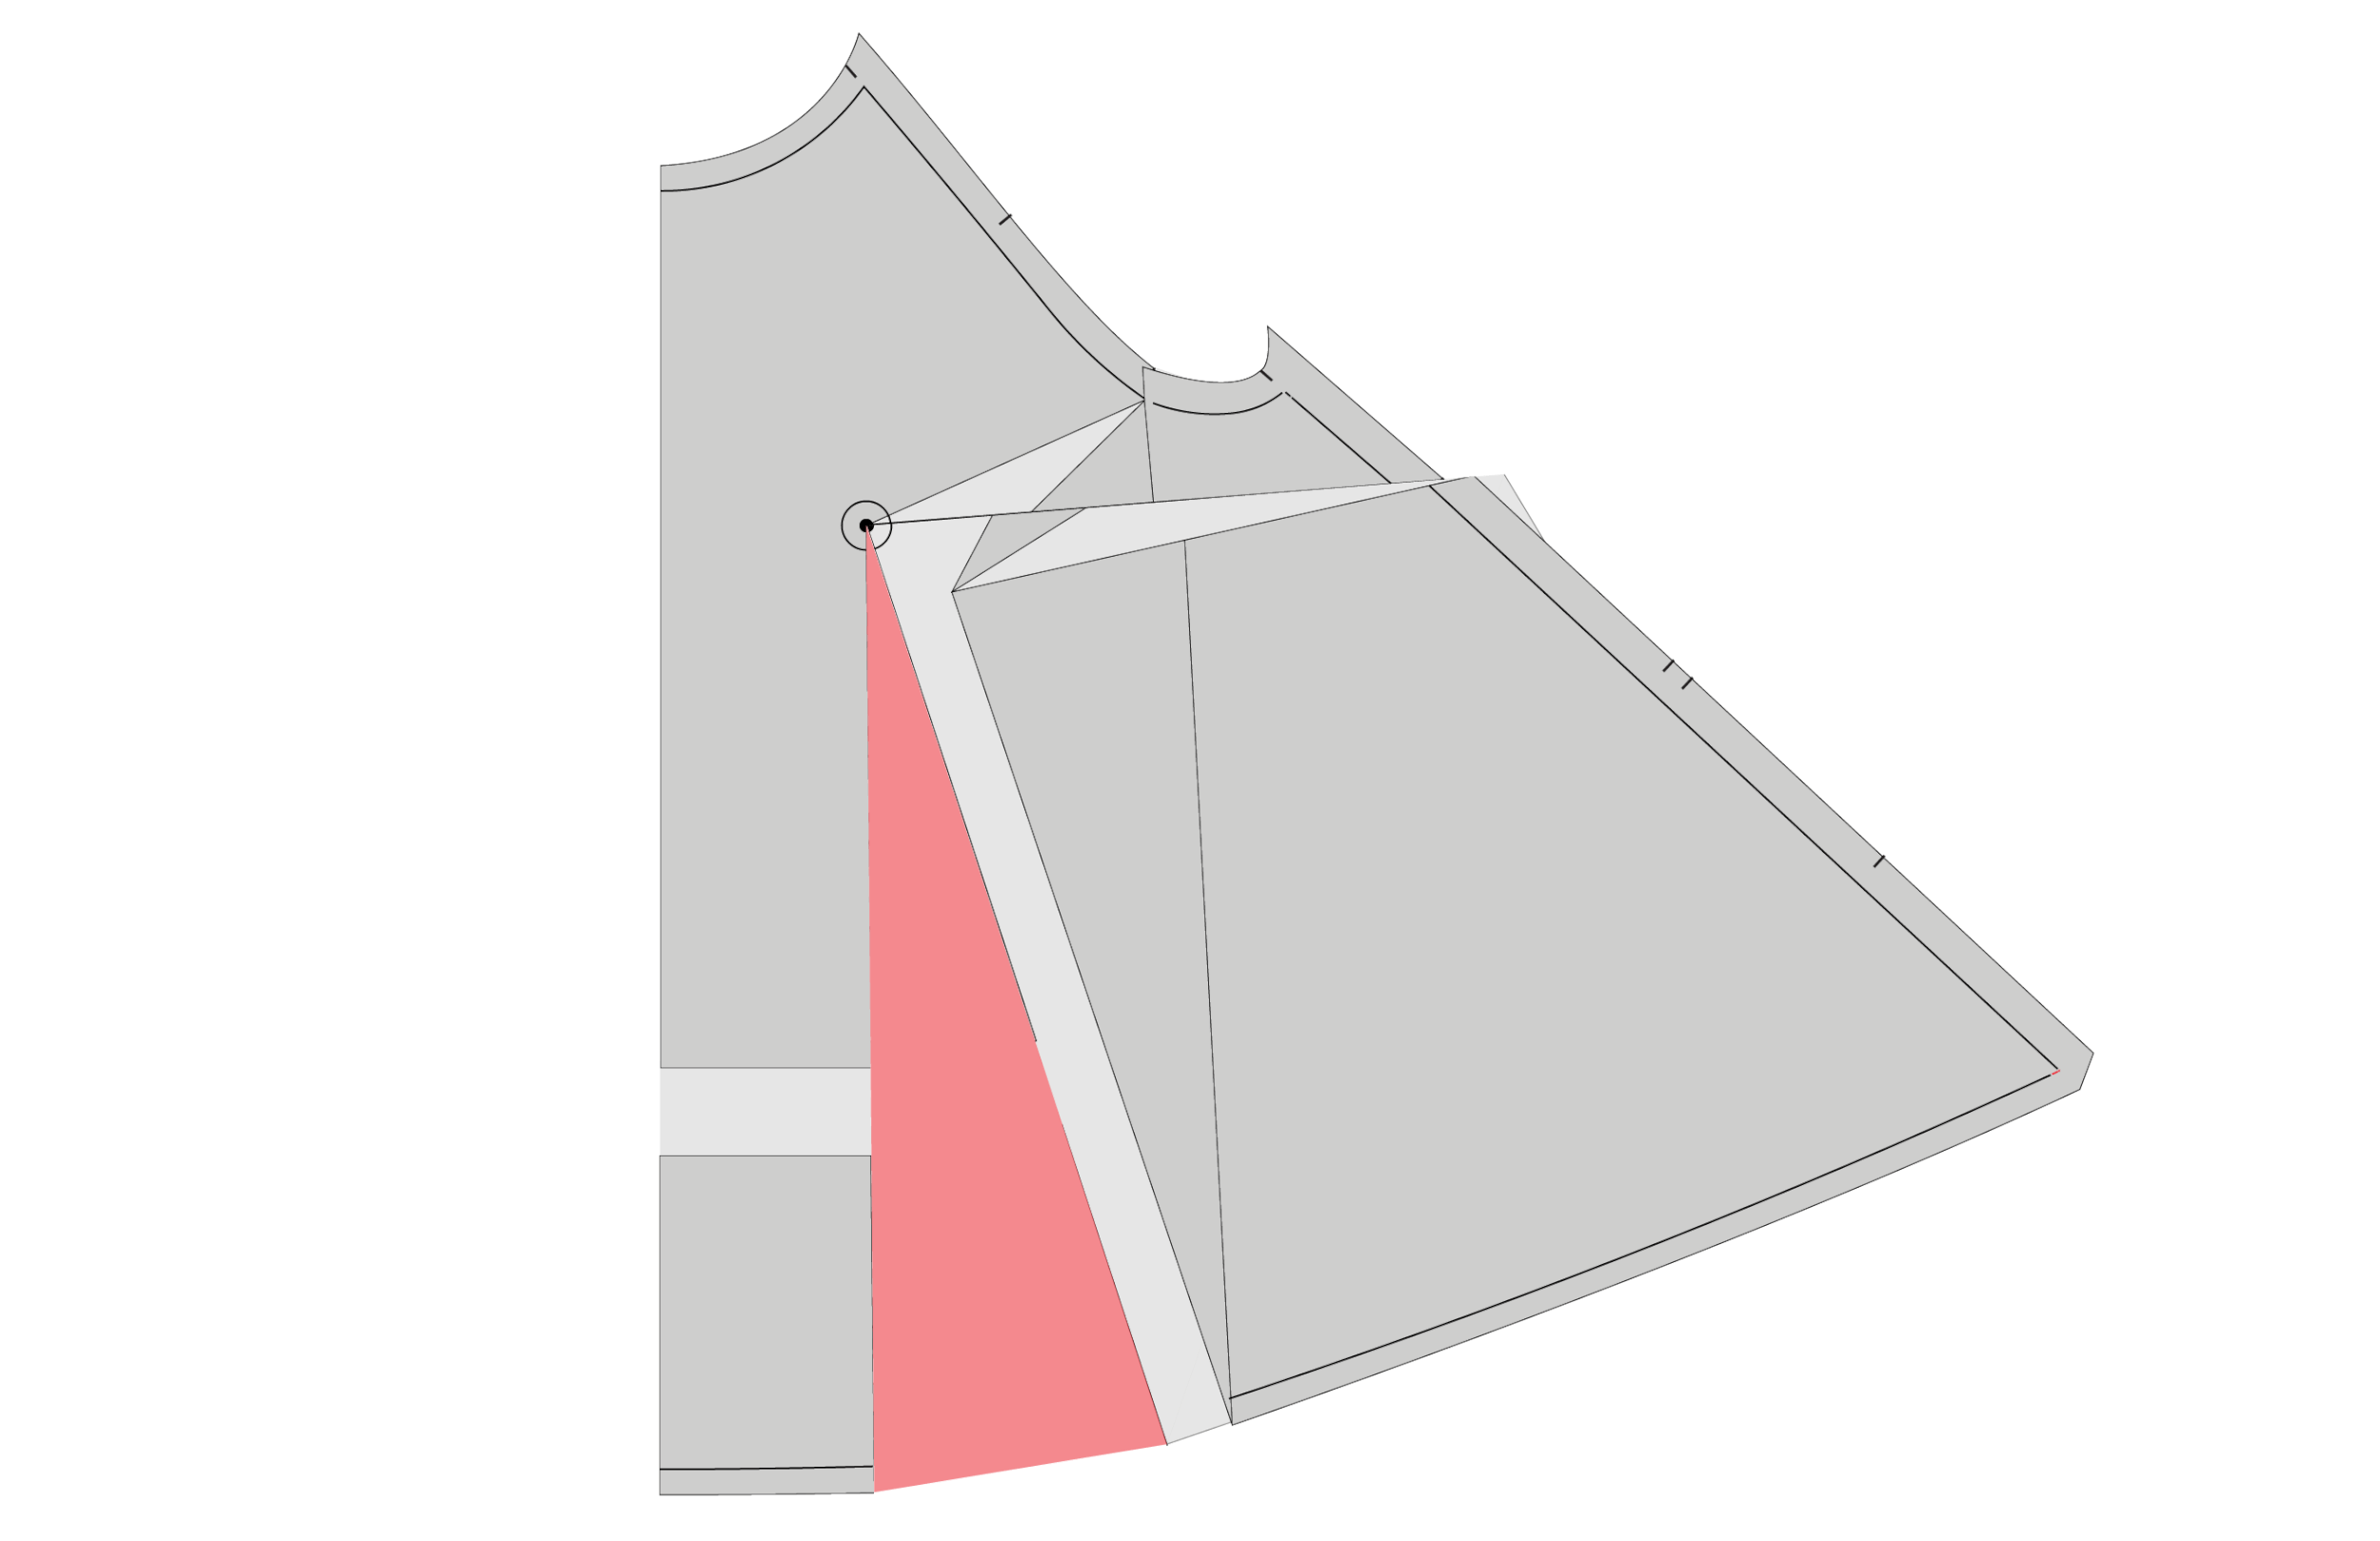
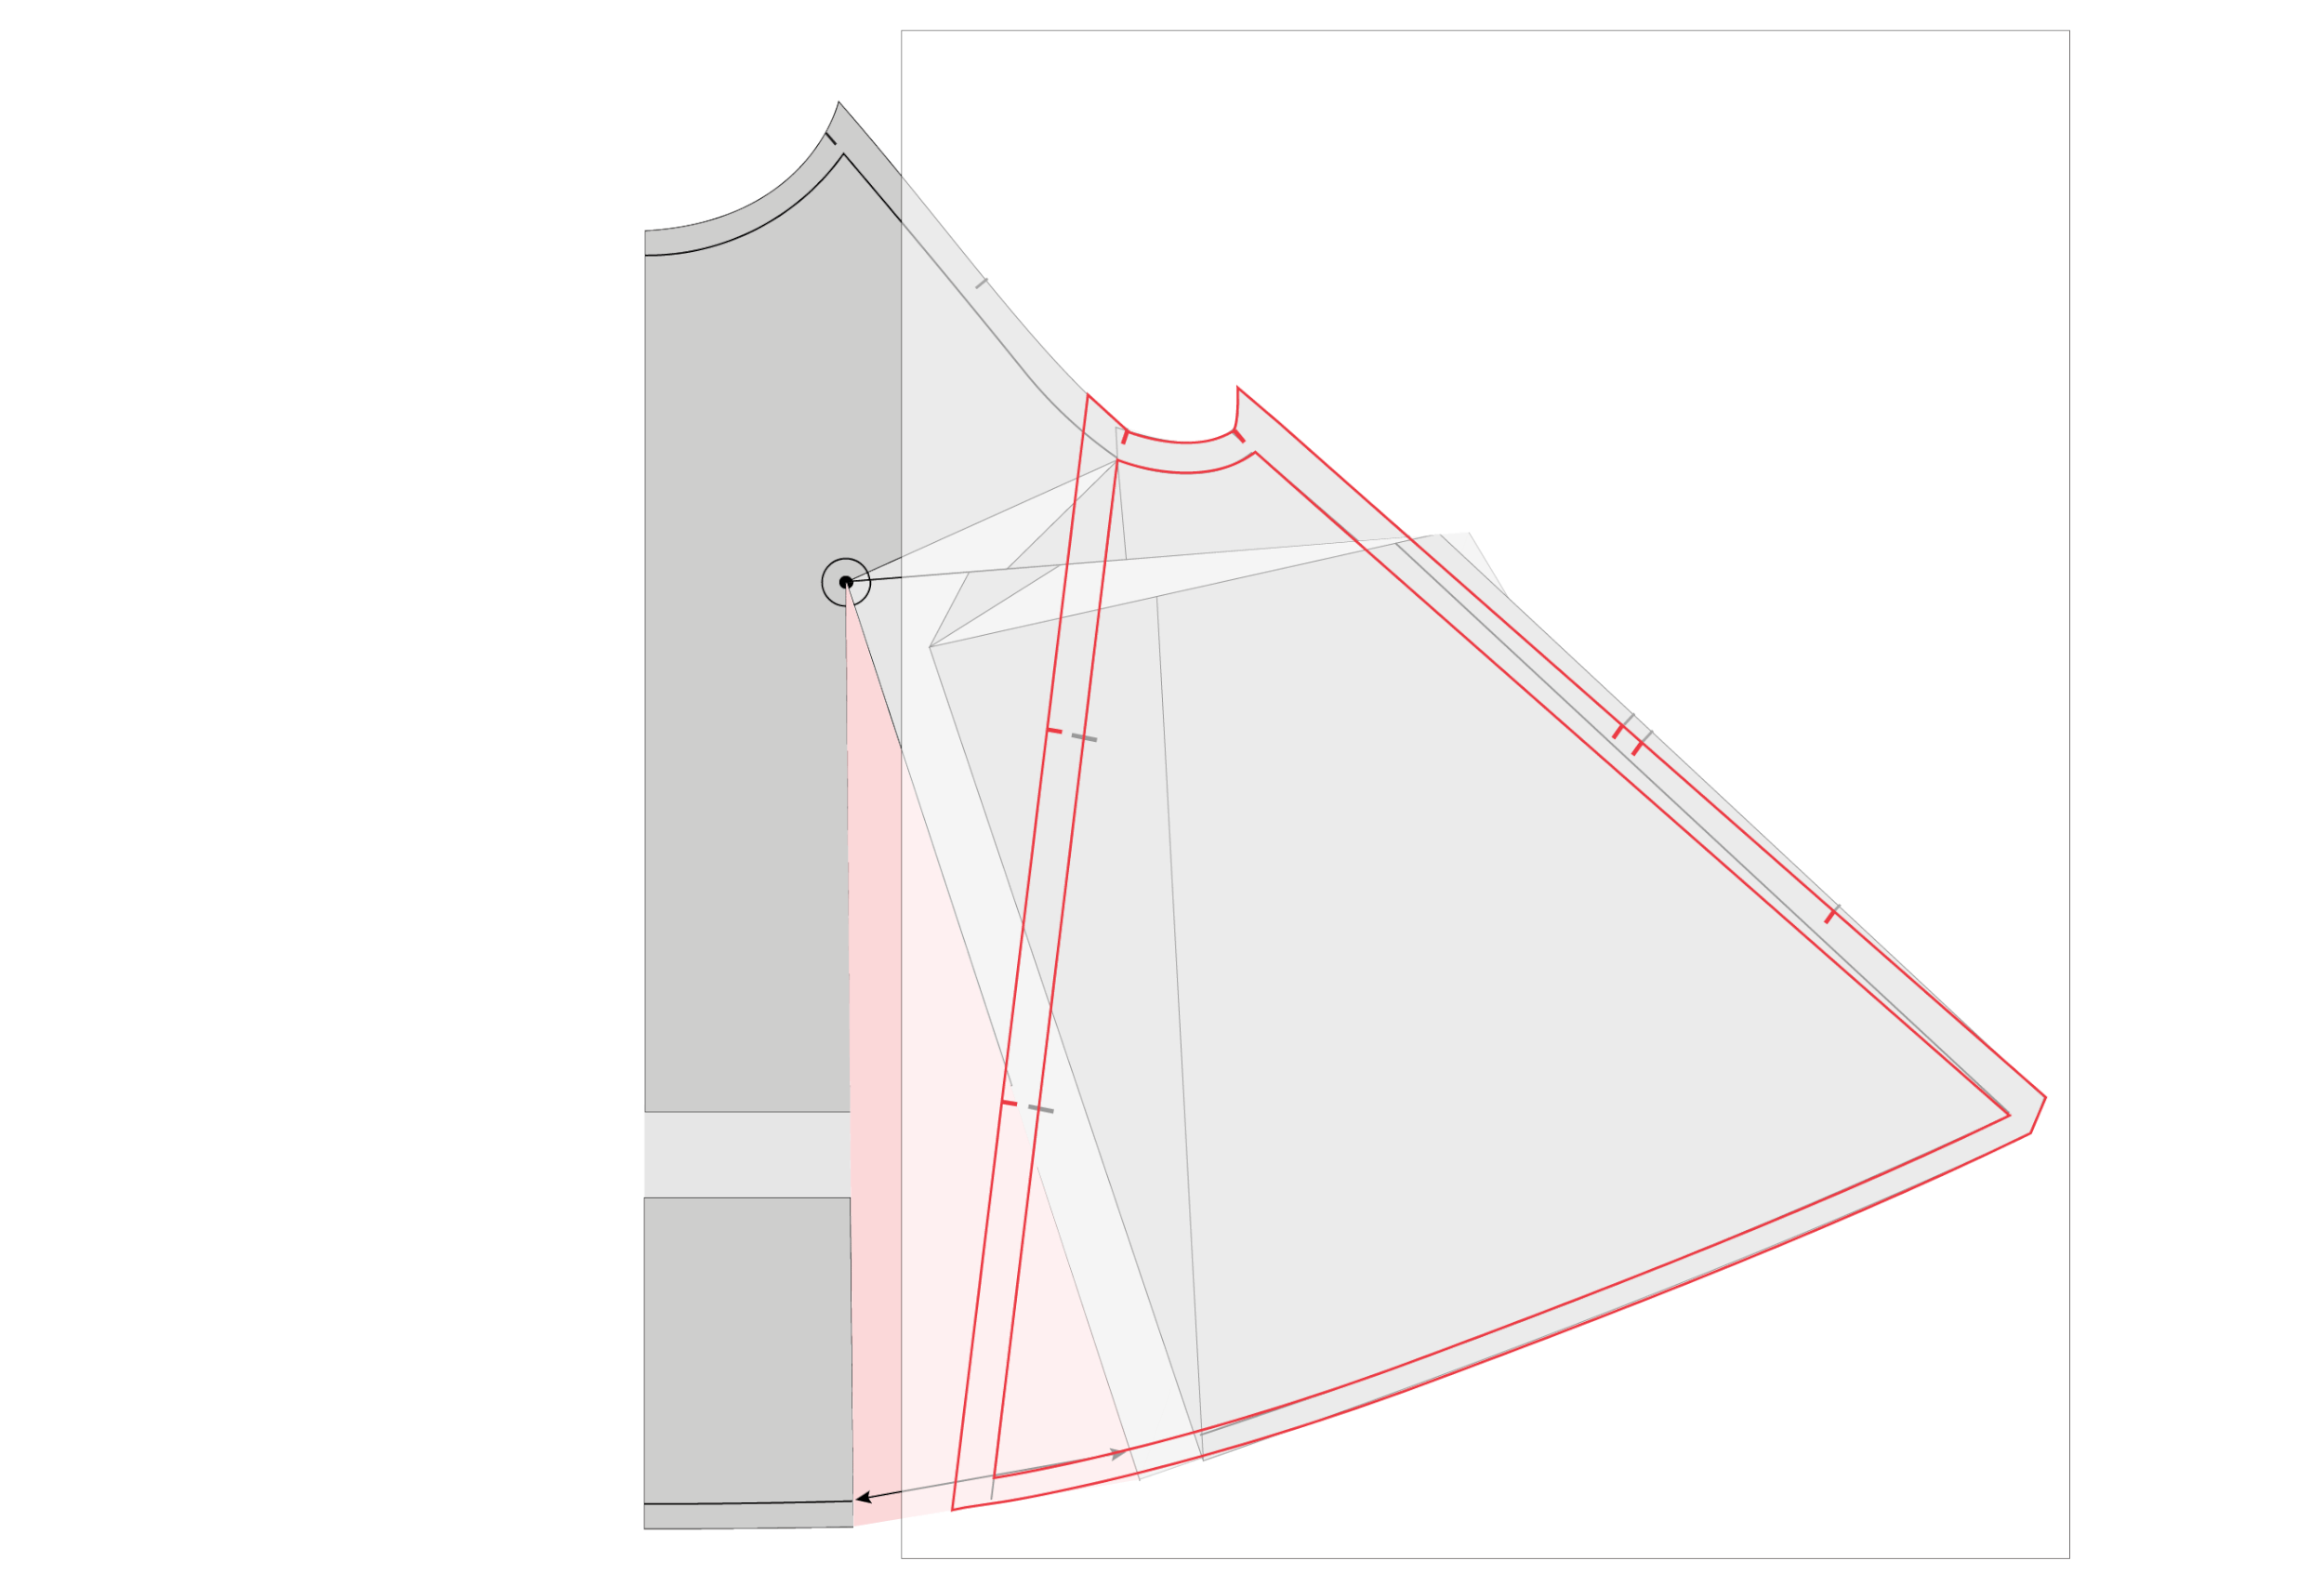
Step 5 :
As you will know, if you have made pattern adjustments before, there is really no such thing as removing a dart. By closing the dart in the side seam, you are opening up a "dart" at the hemline. You will see that indicated in the illustration above. By closing the dart in the side seam, we have made a large dart in the hem.
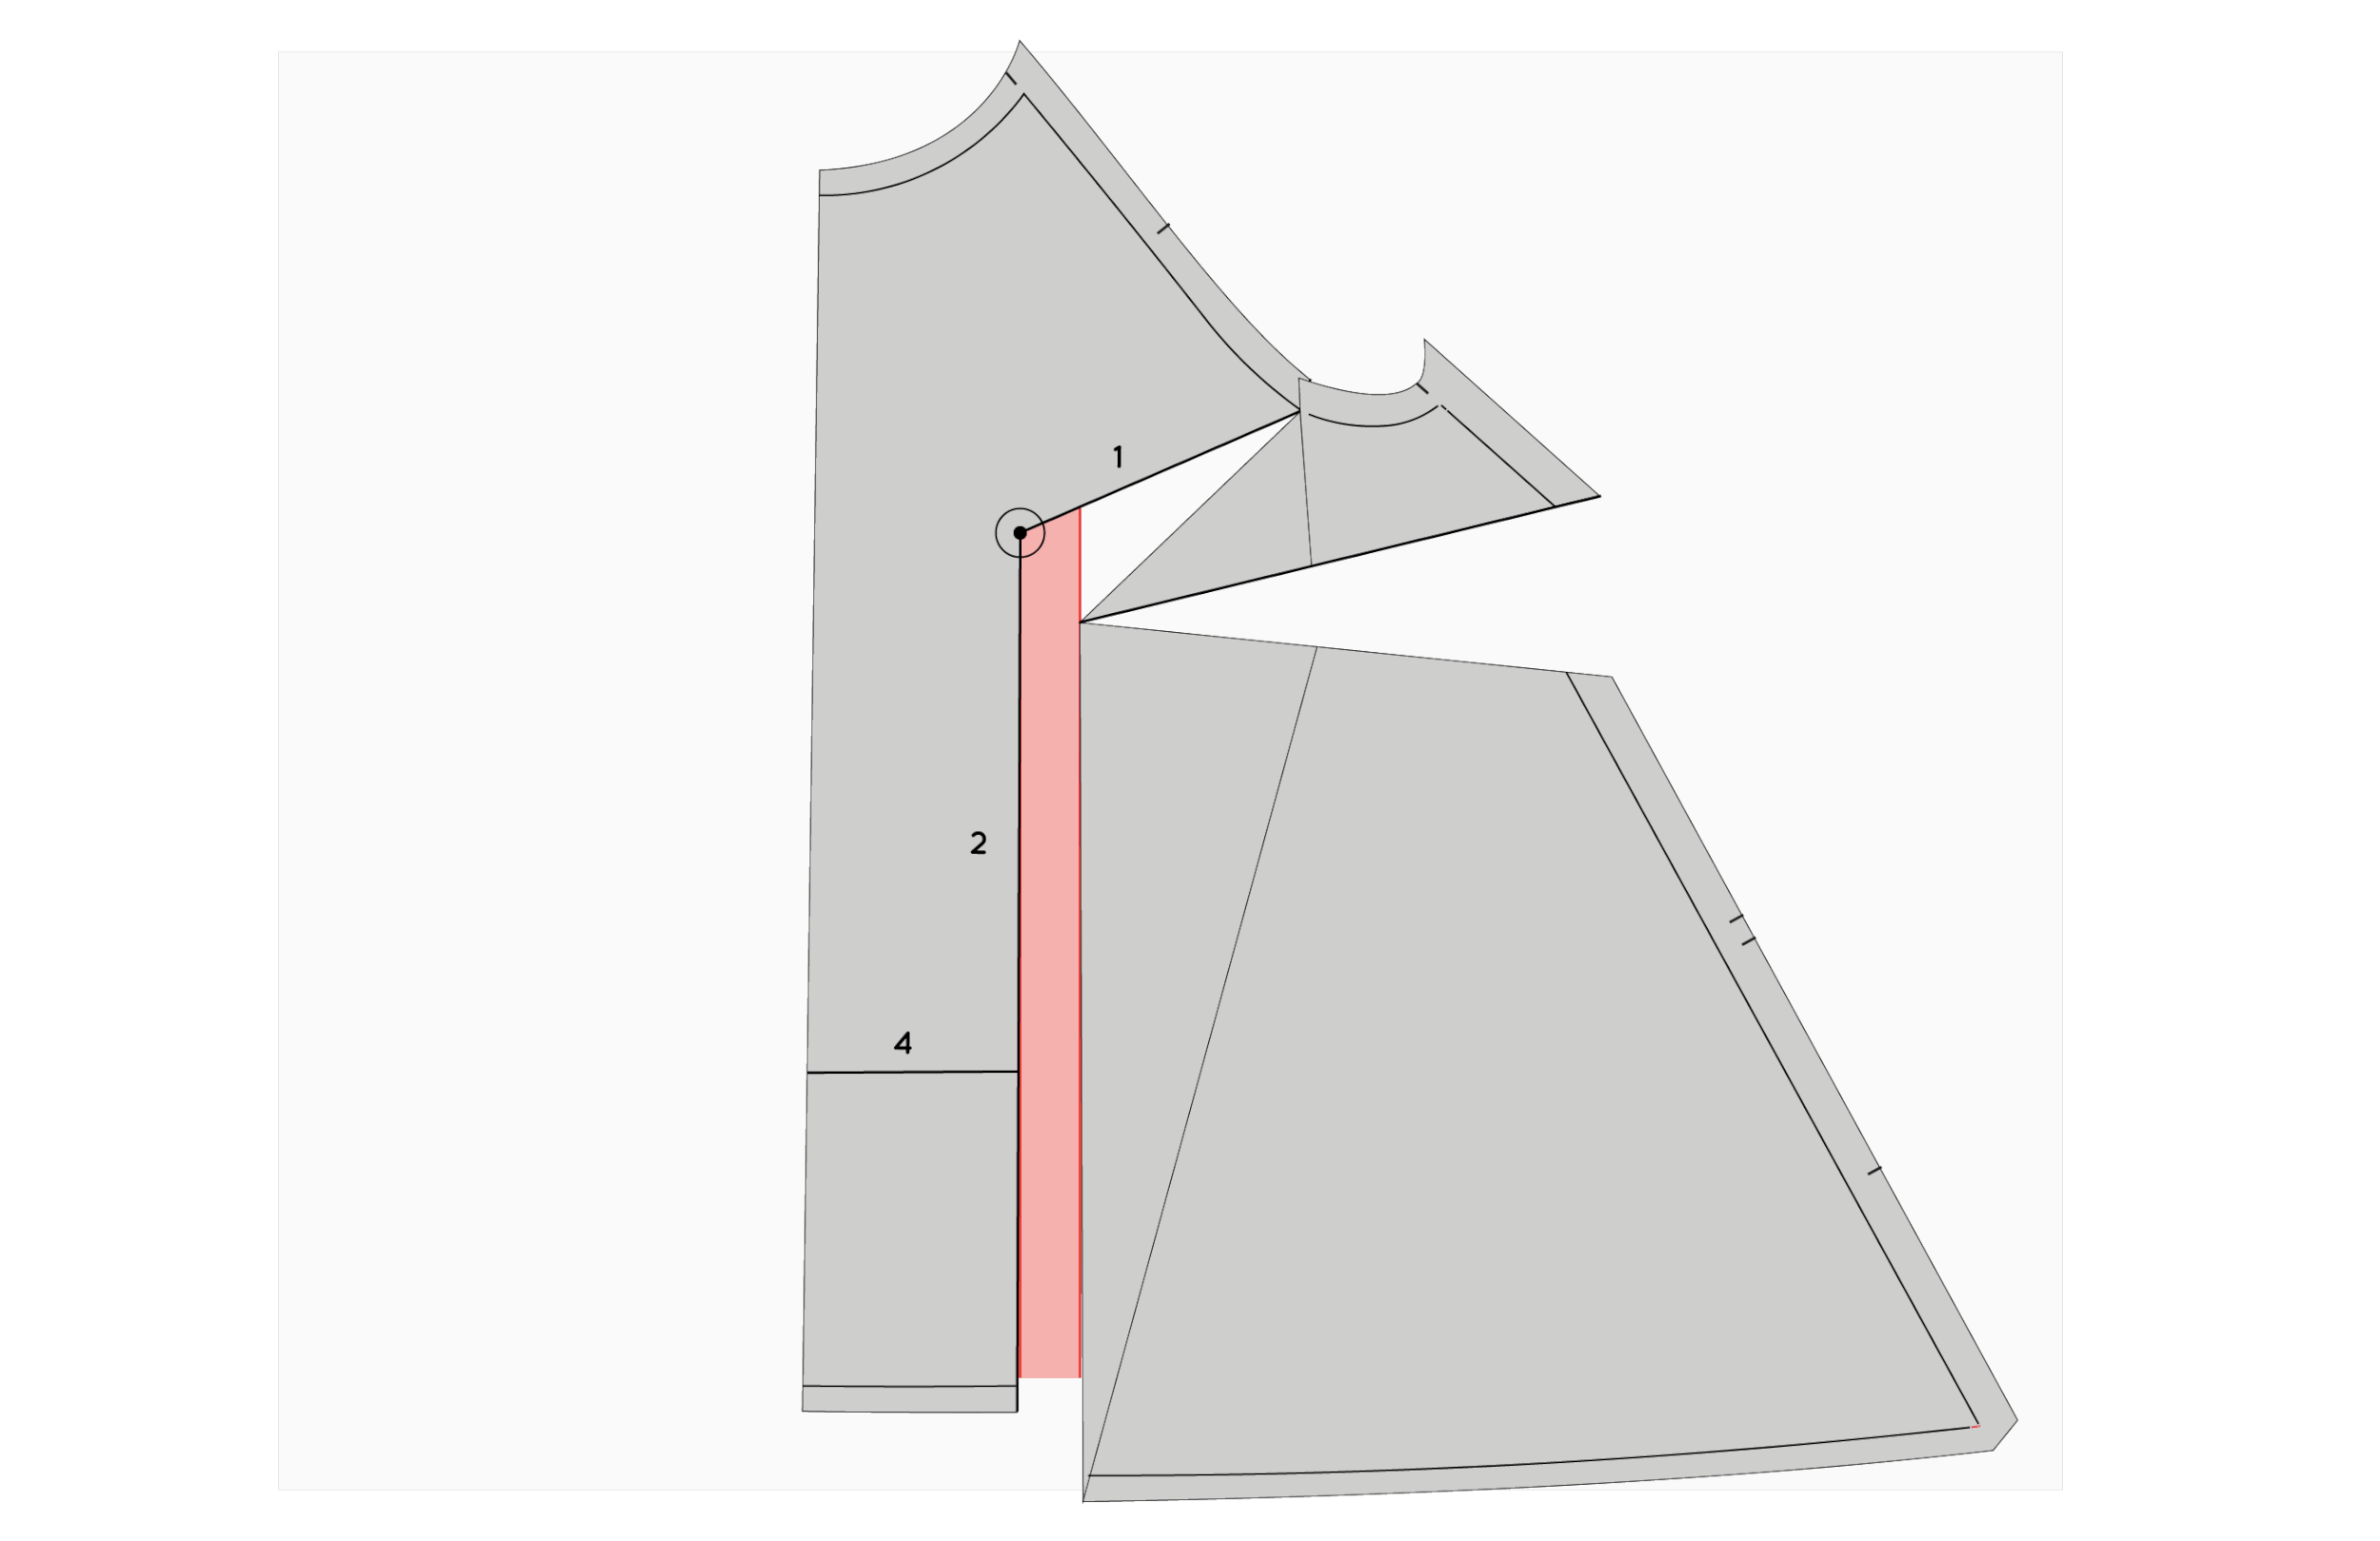
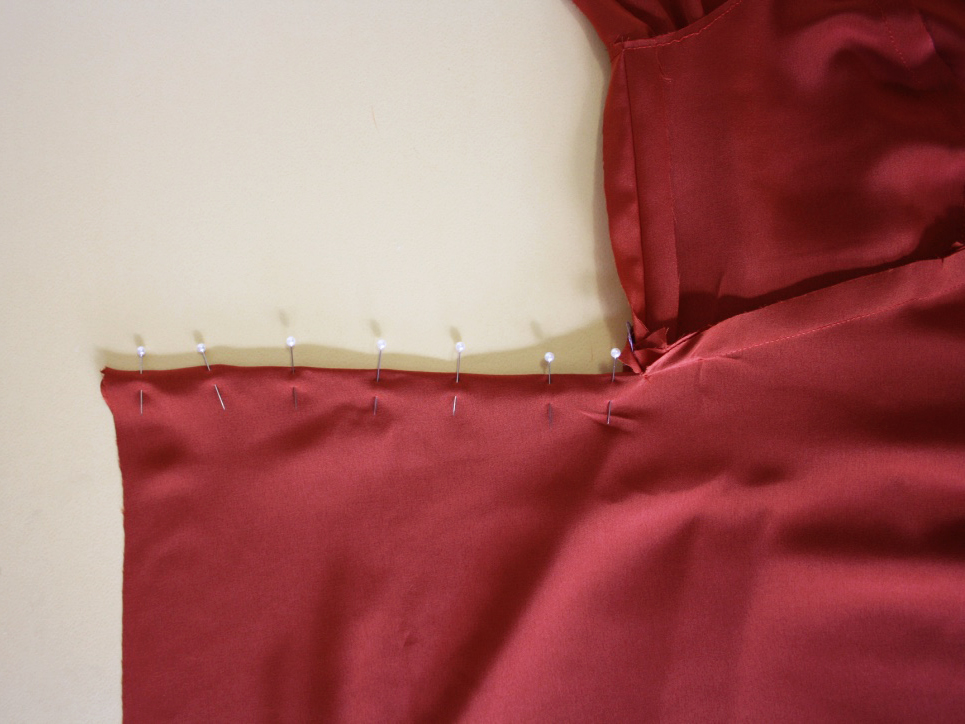
Tape some pattern paper behind the working pattern to fill the gap created in the hemline.
You can choose to leave the top as is - now with the trapeze shape more pronounced or you can choose to remove this extra width from the side seam. If you have chosen to keep the extra fullness, continue working your way through the tutorial.
If you would like to remove the extra fullness from the side seam, skip the following steps and jump to step 14.
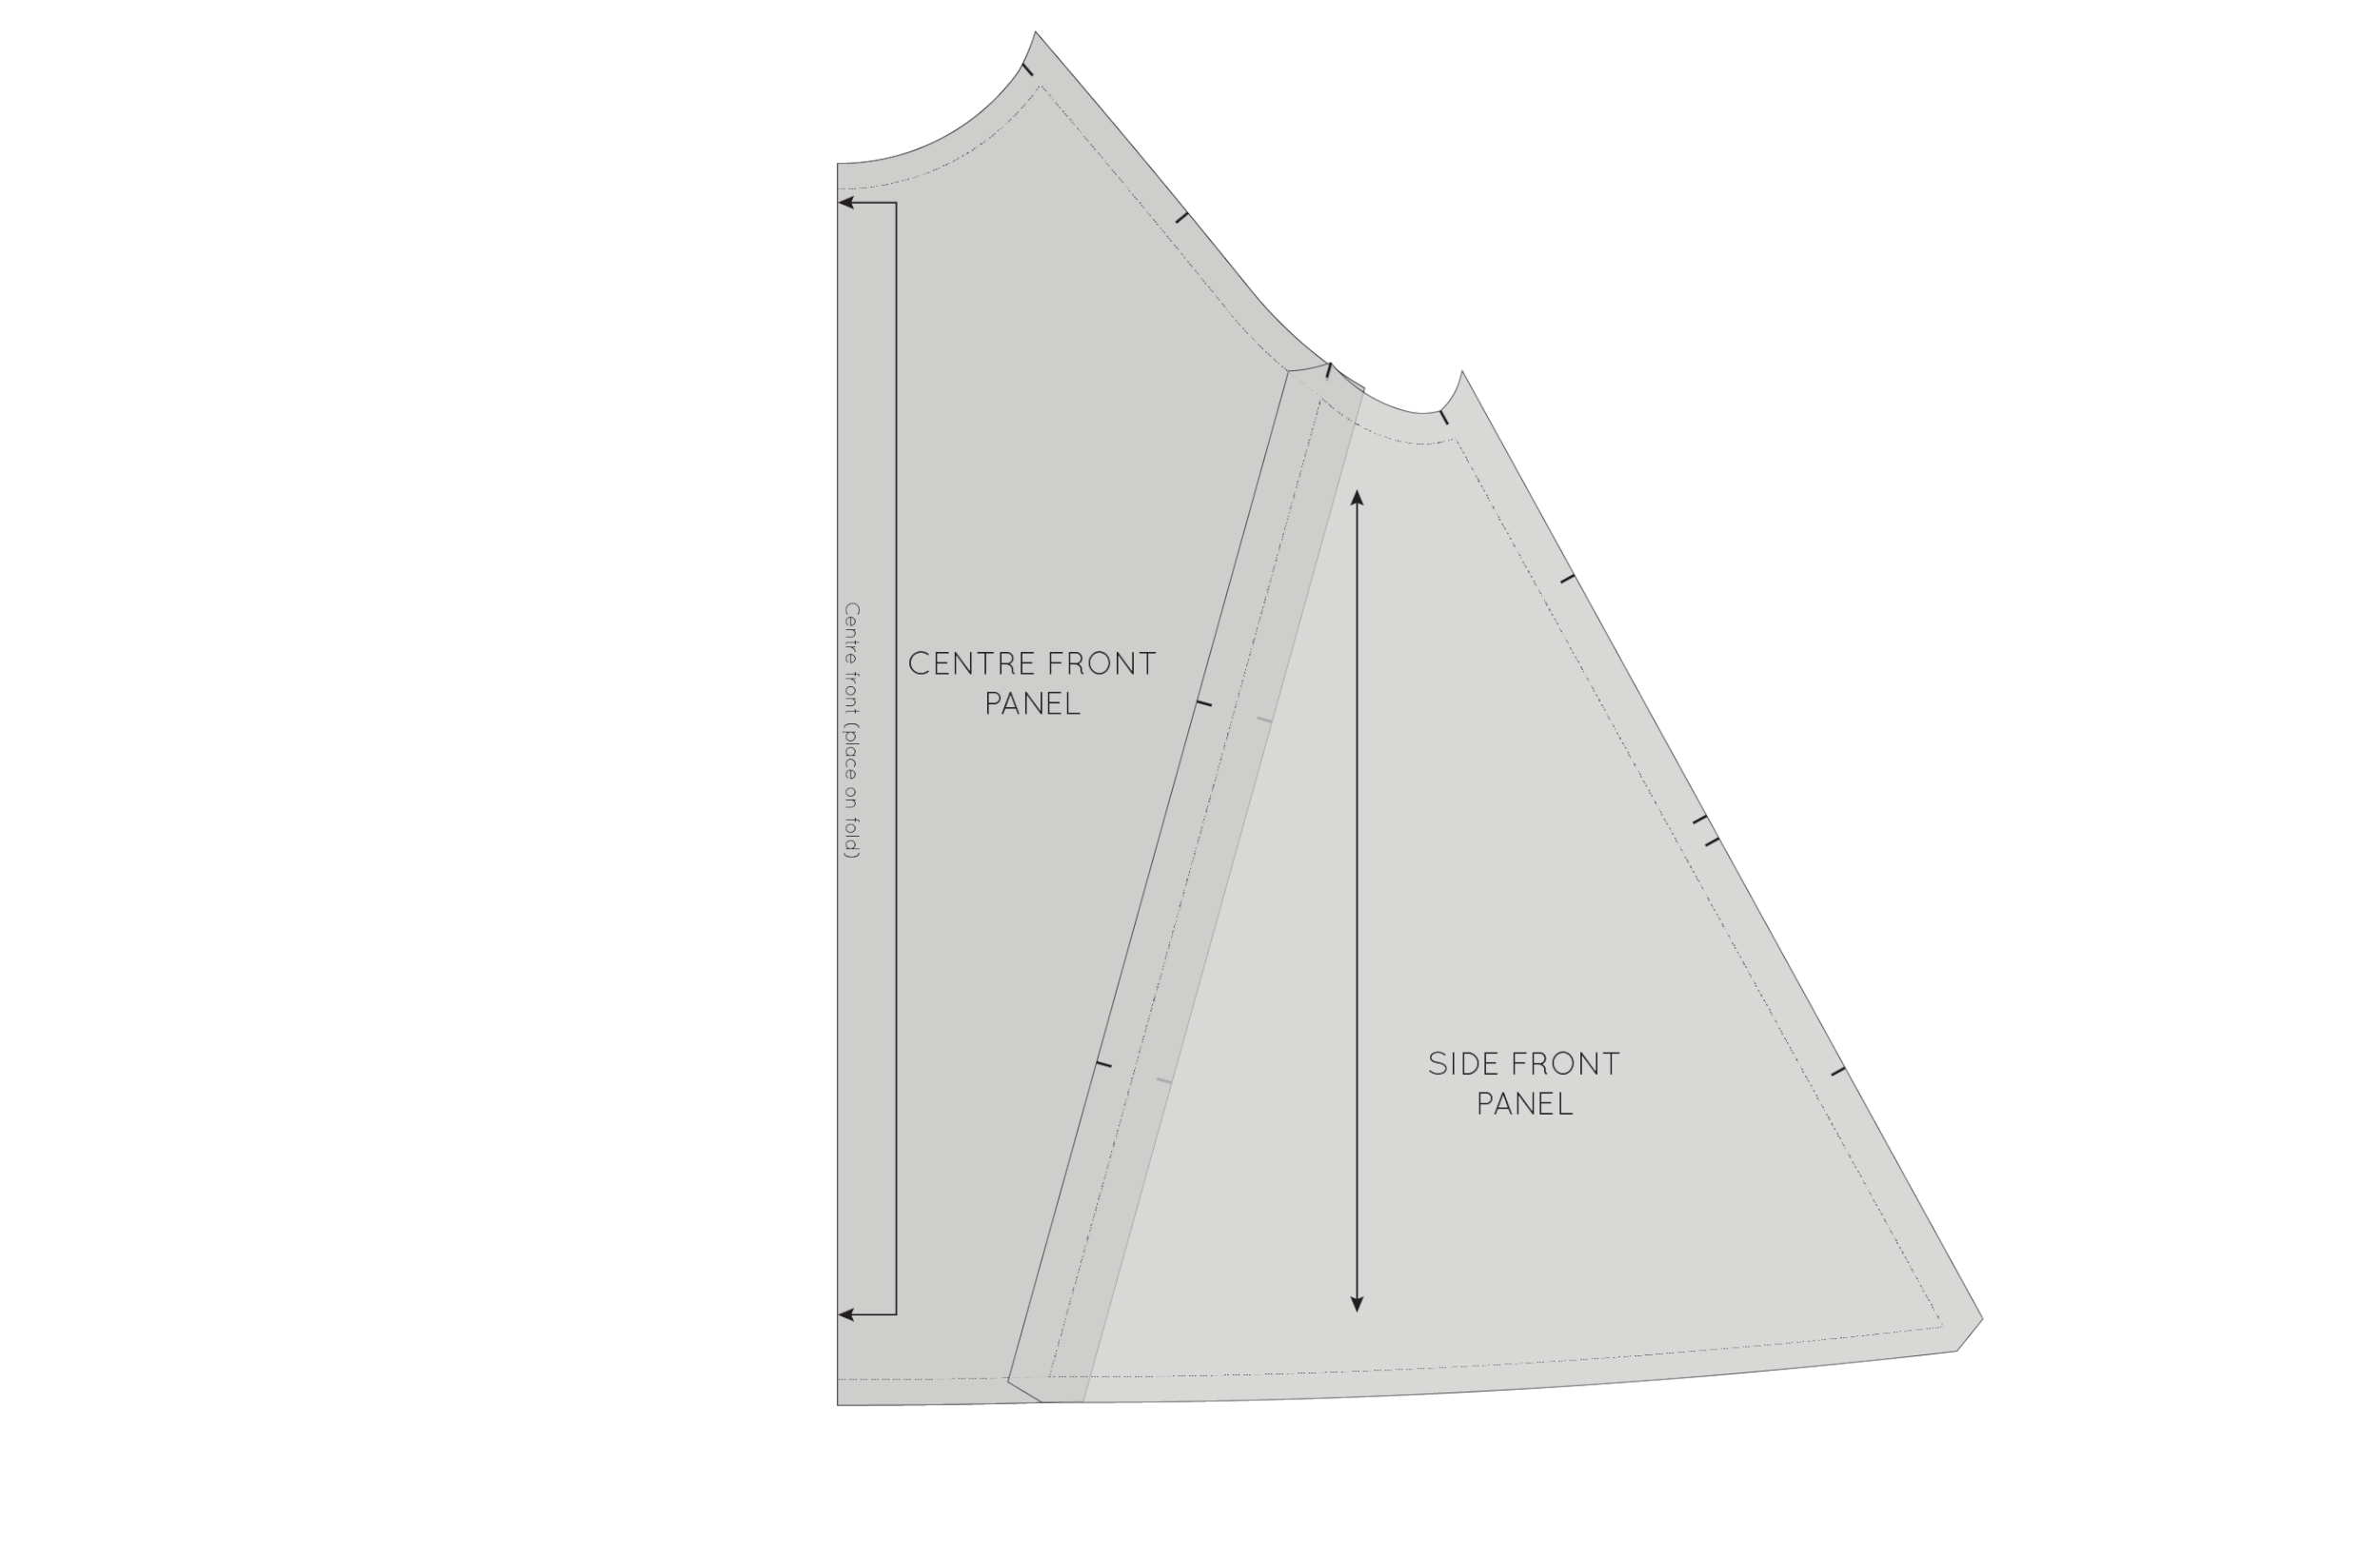
Re-draw the panel line

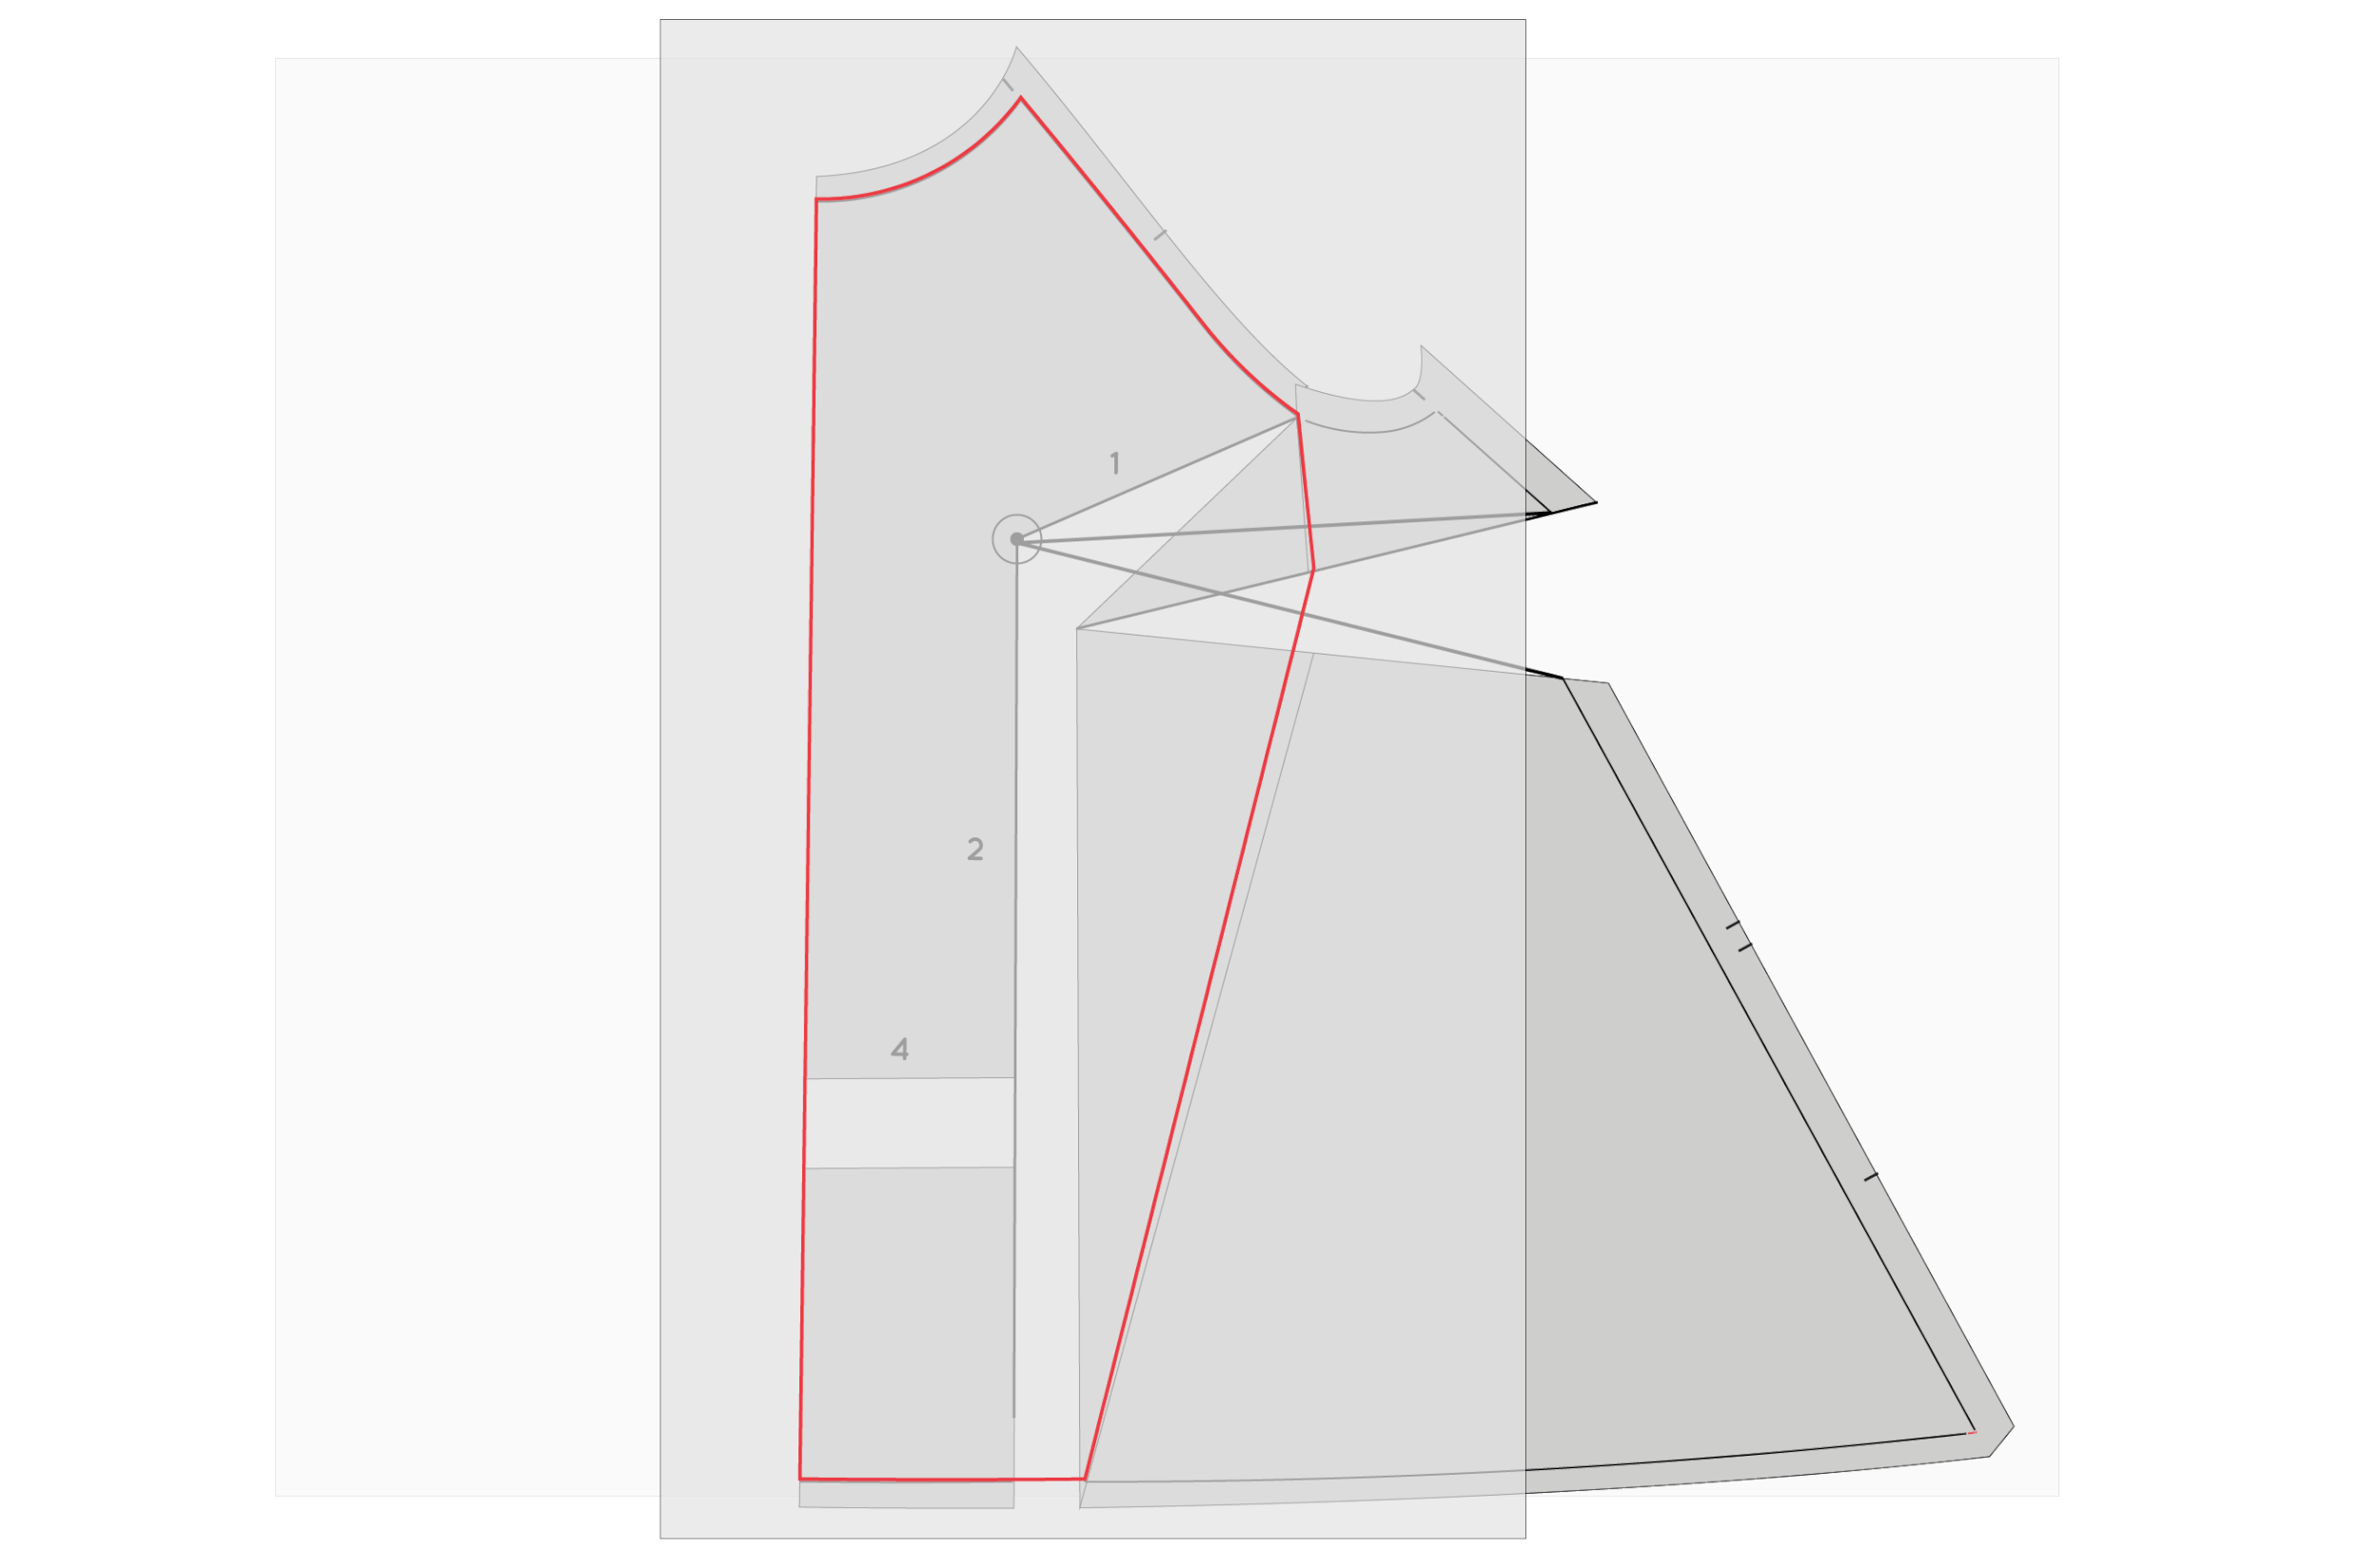
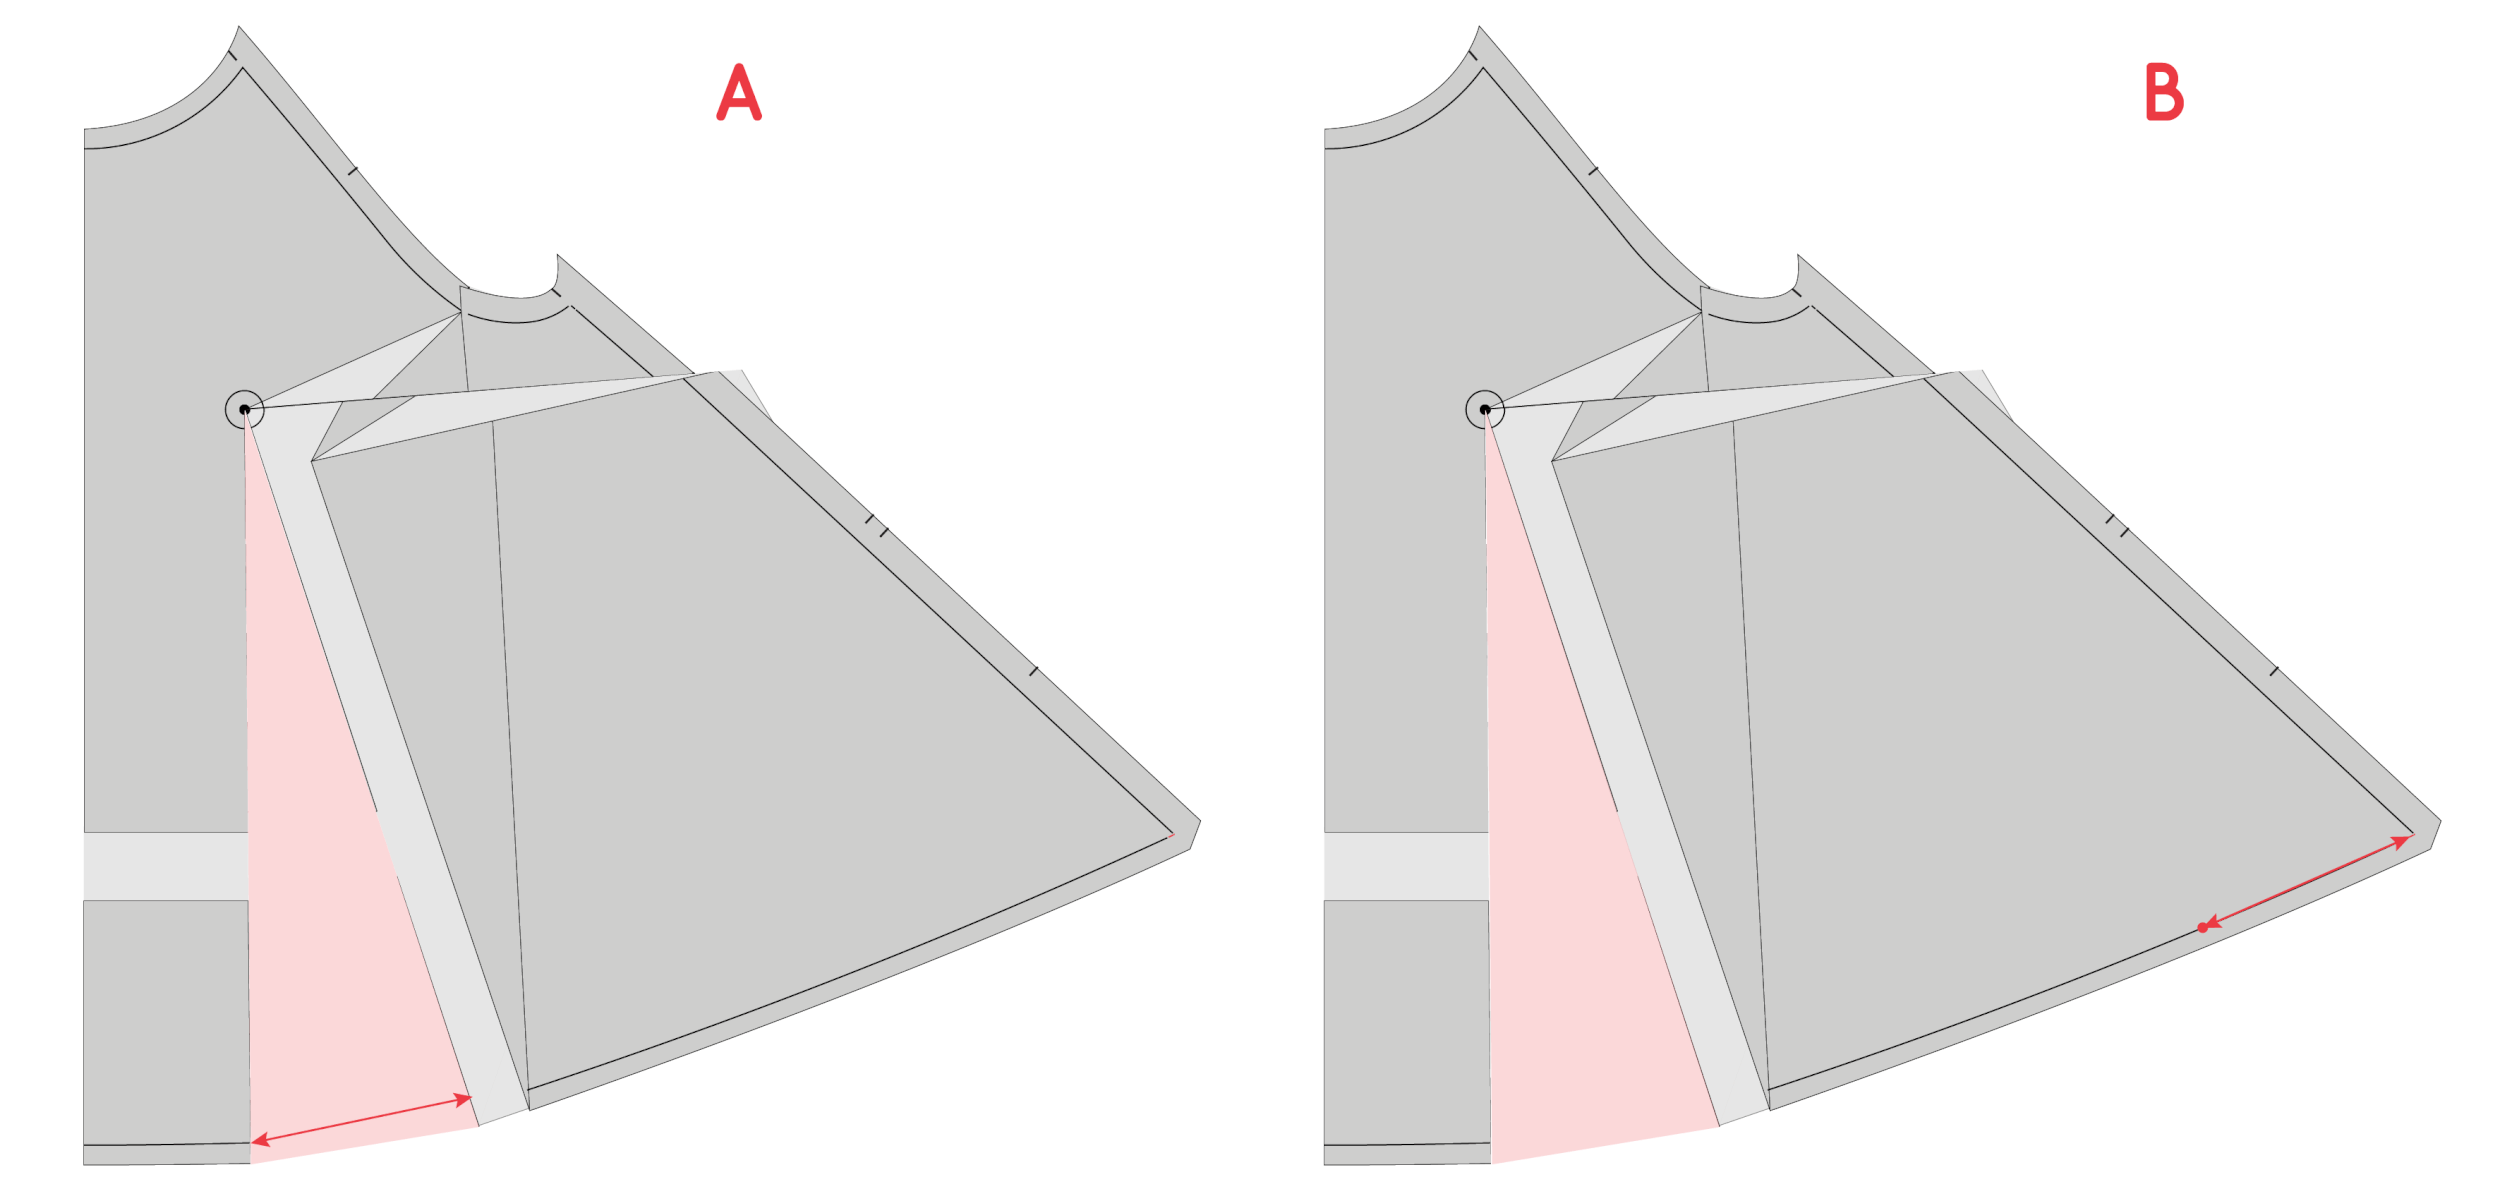
Step 6 :
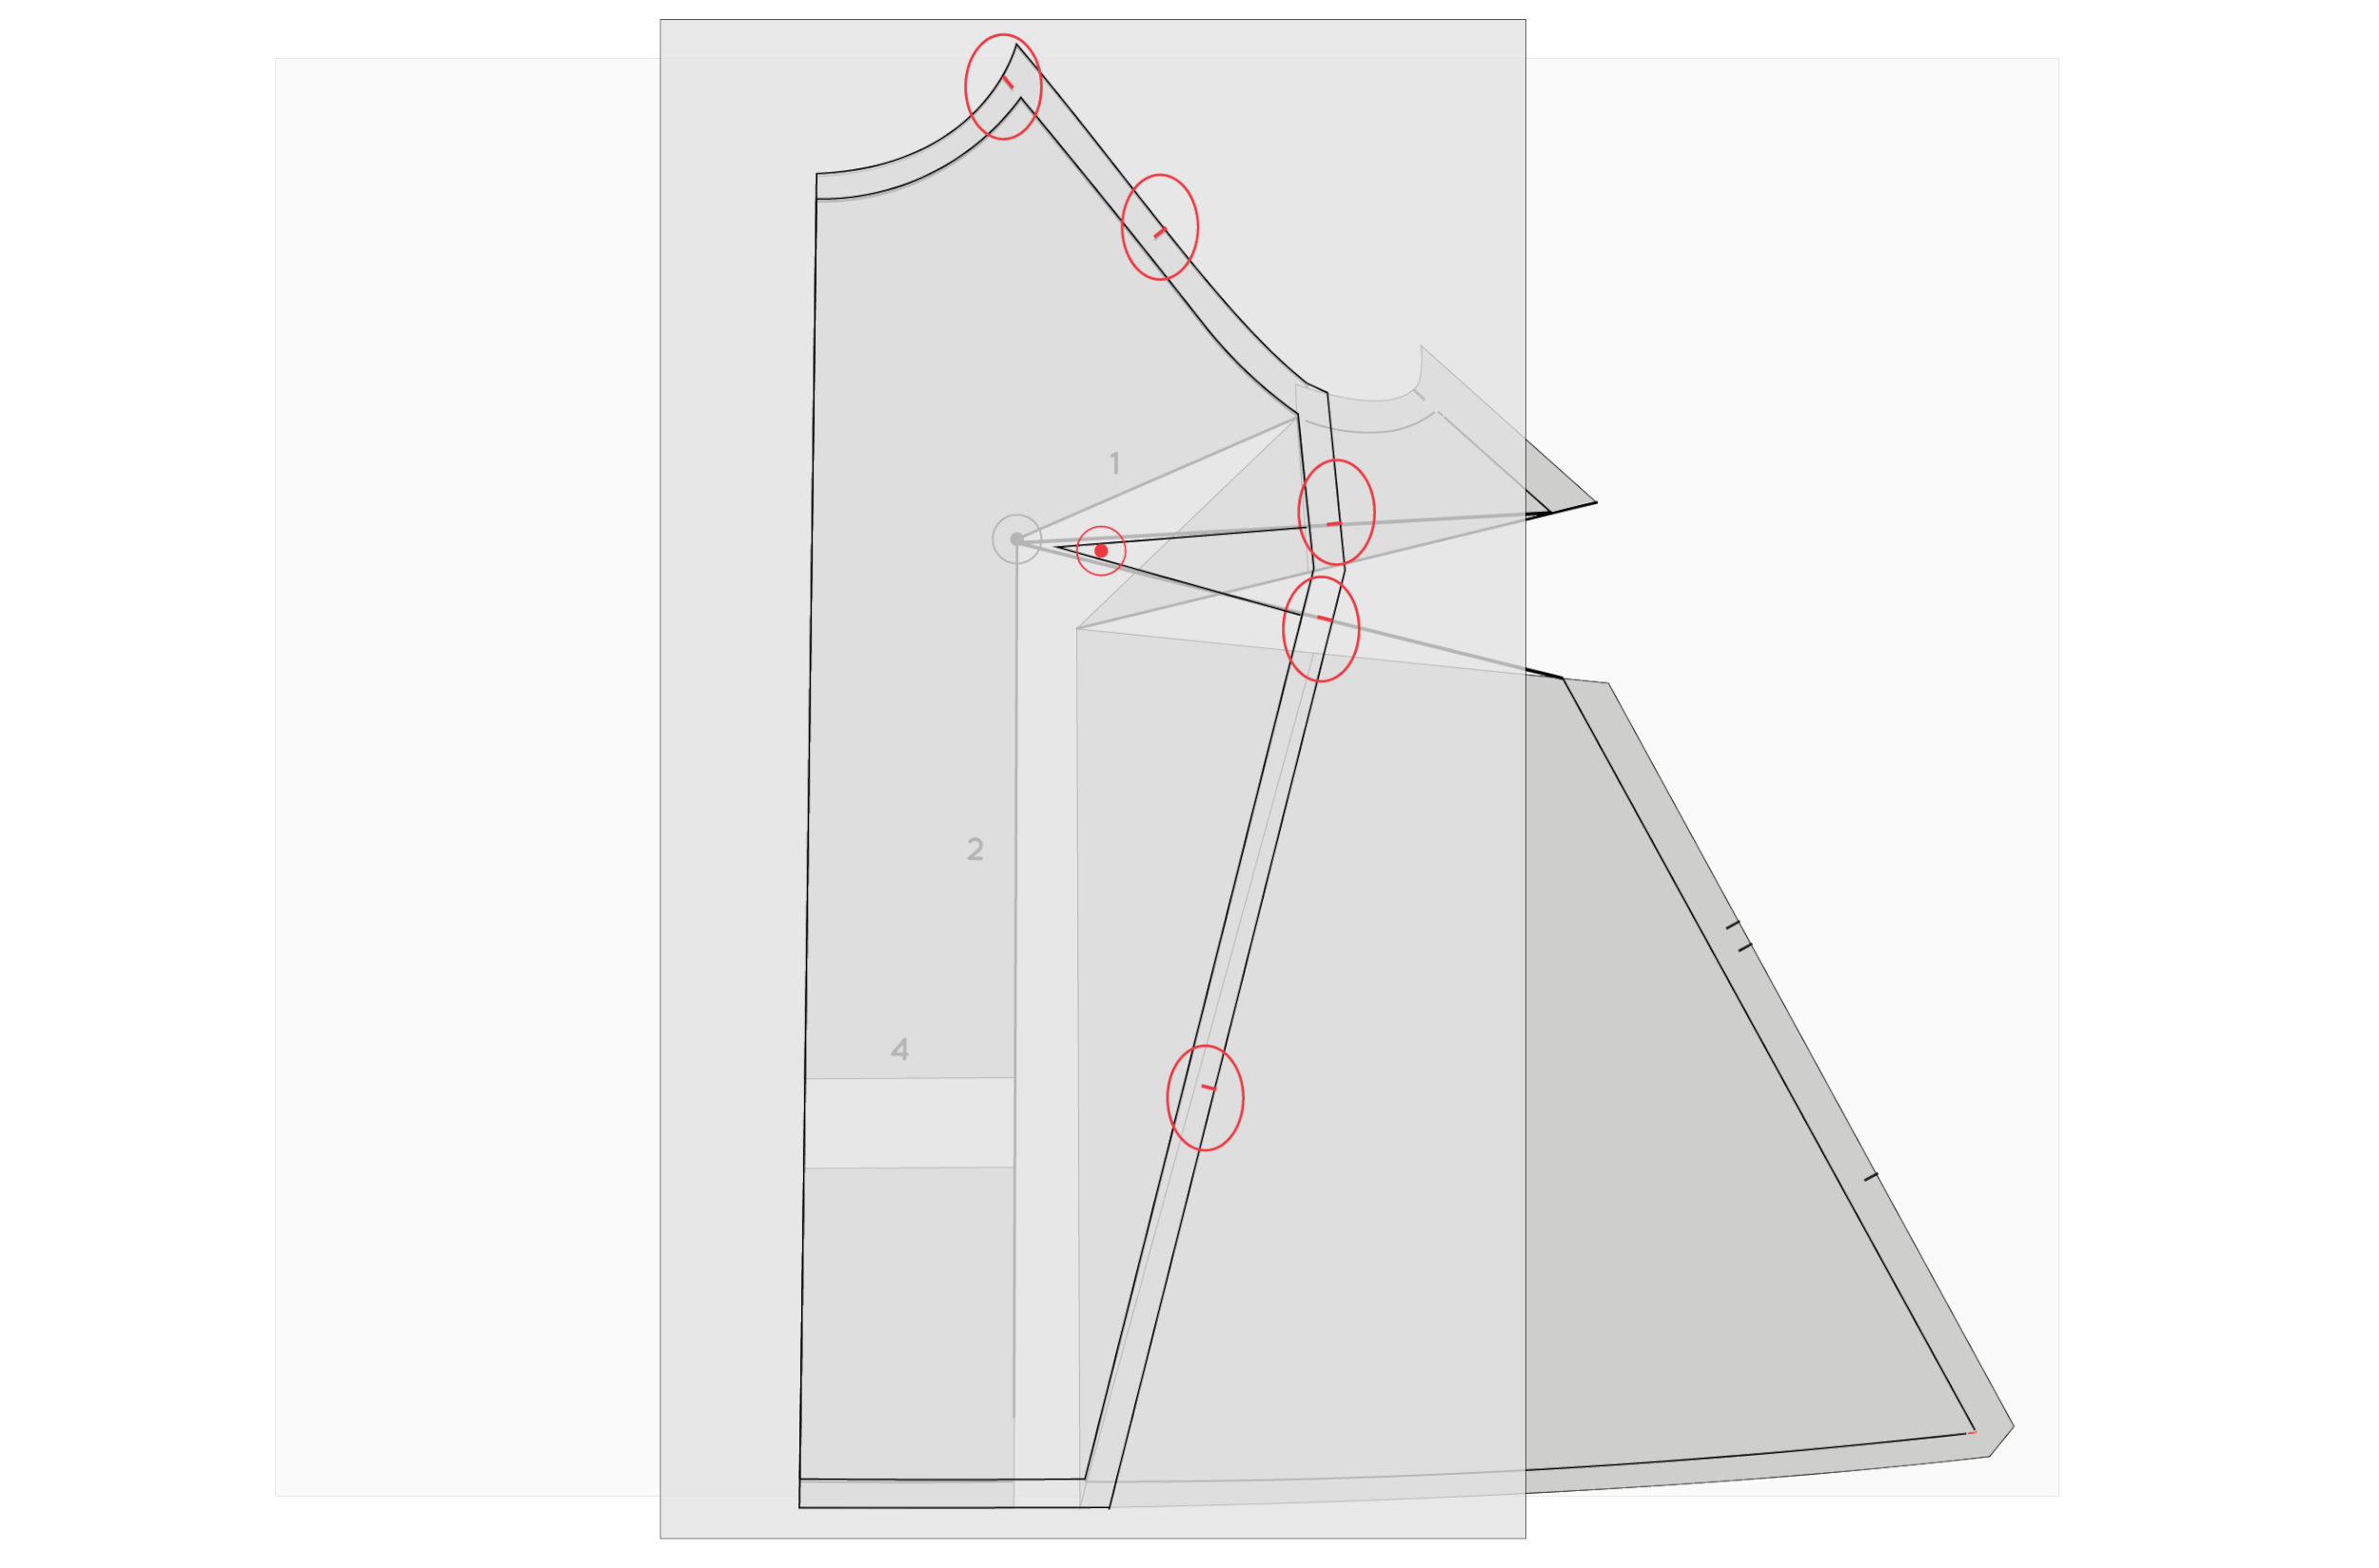
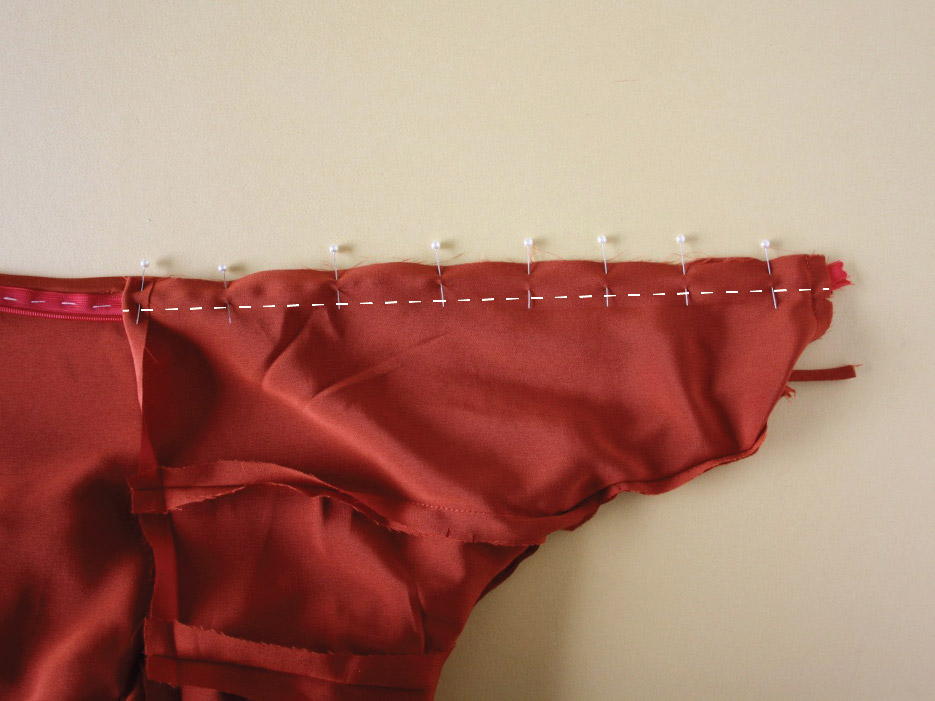
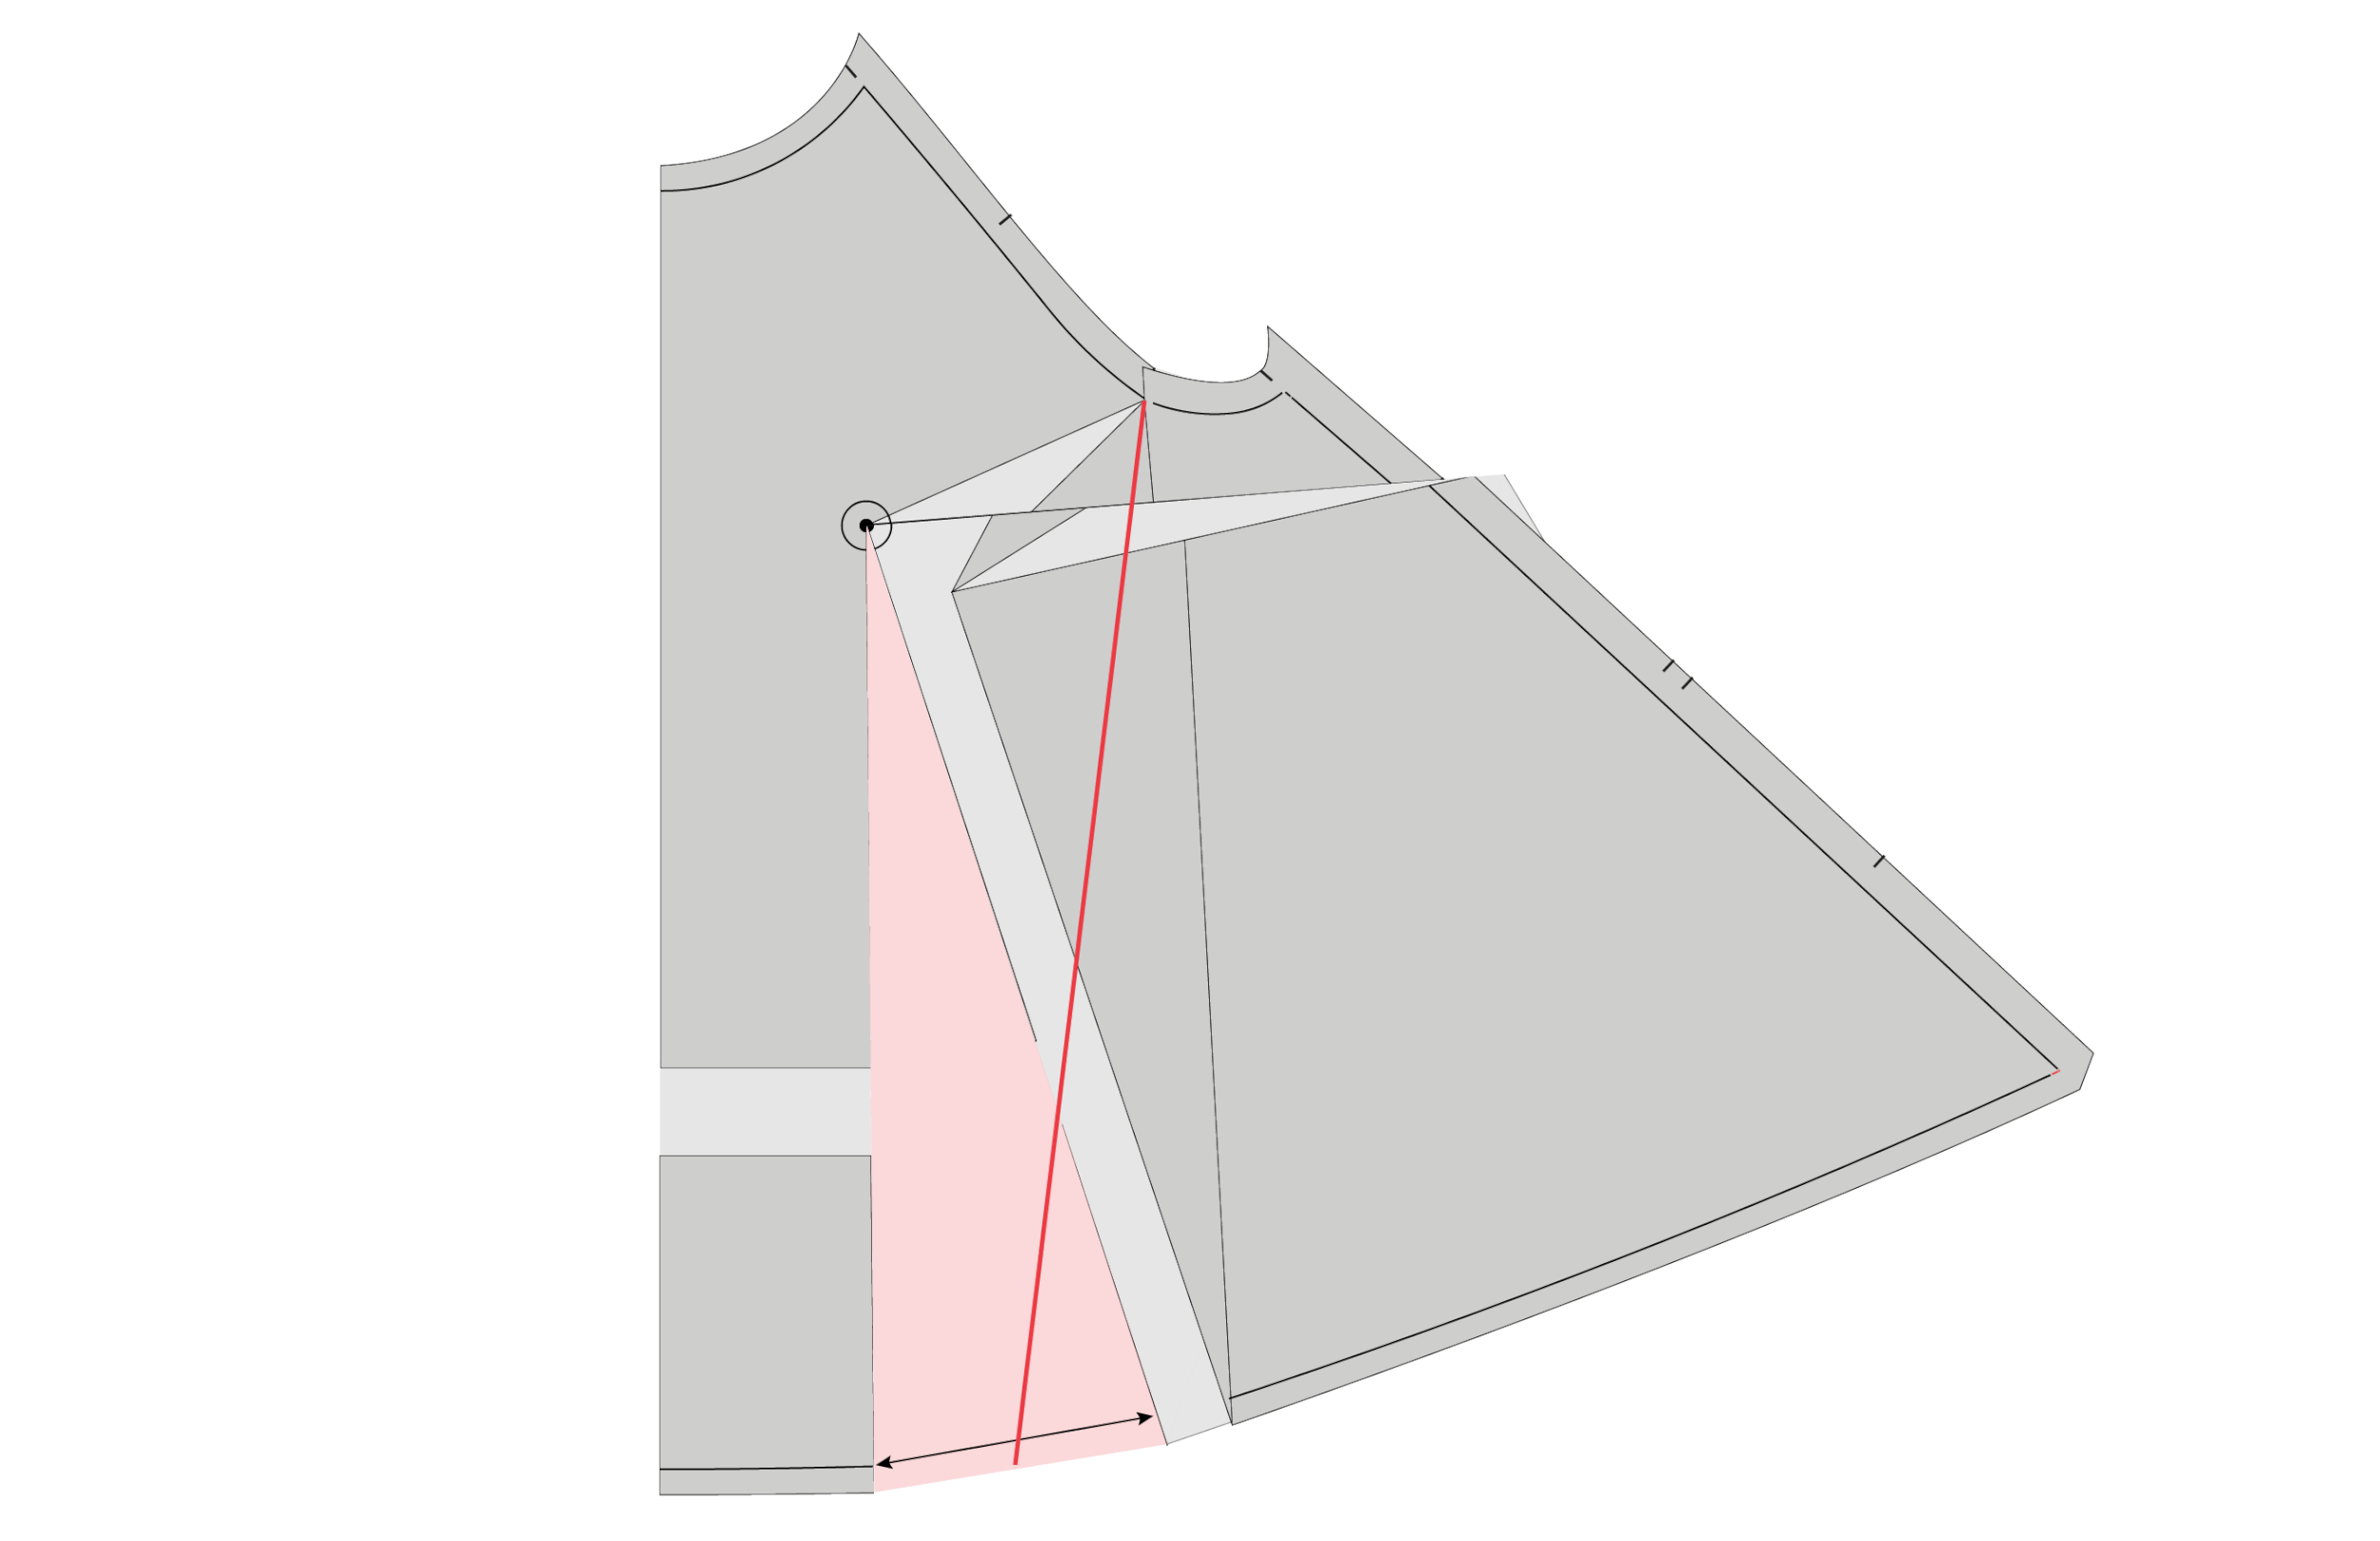
Measure the opening at the hemline (making sure you take the measurement on the stitch line (1cm / 3/8" up form the edge of the pattern) and take note of this measurement.

Step 7 :
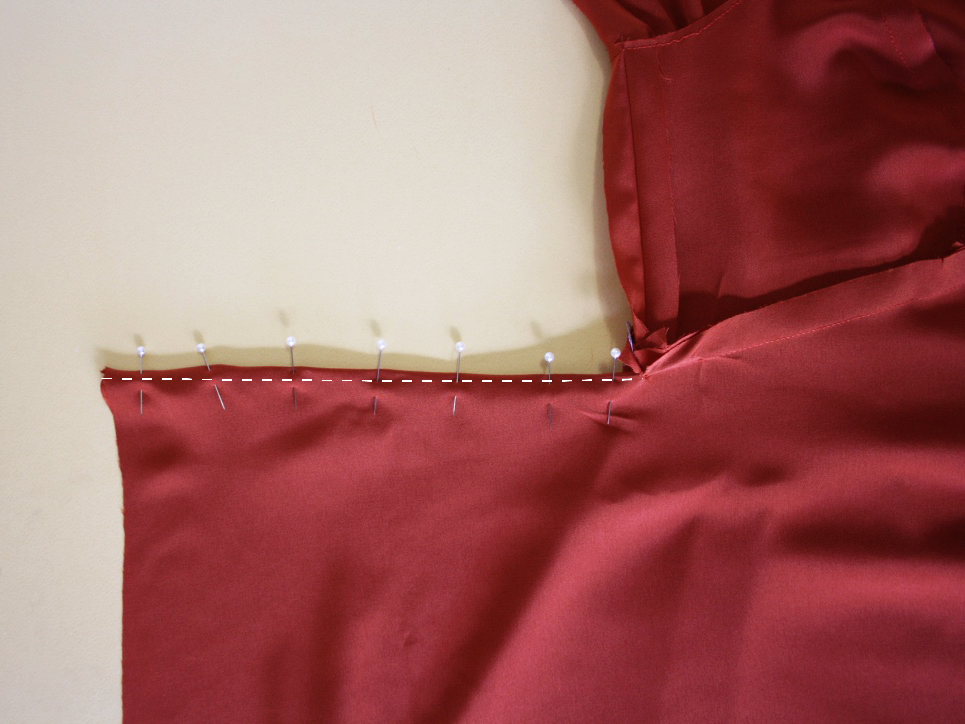
We will distribute the added fullness to either side of the panel line, so you will need to mark a point on the hemline at the centre of the opening.
Step 8 :
Draw a straight line from the point you just marked on the hemline, up to the point where the original panel line intersects the armhole. There you have your new panel line!
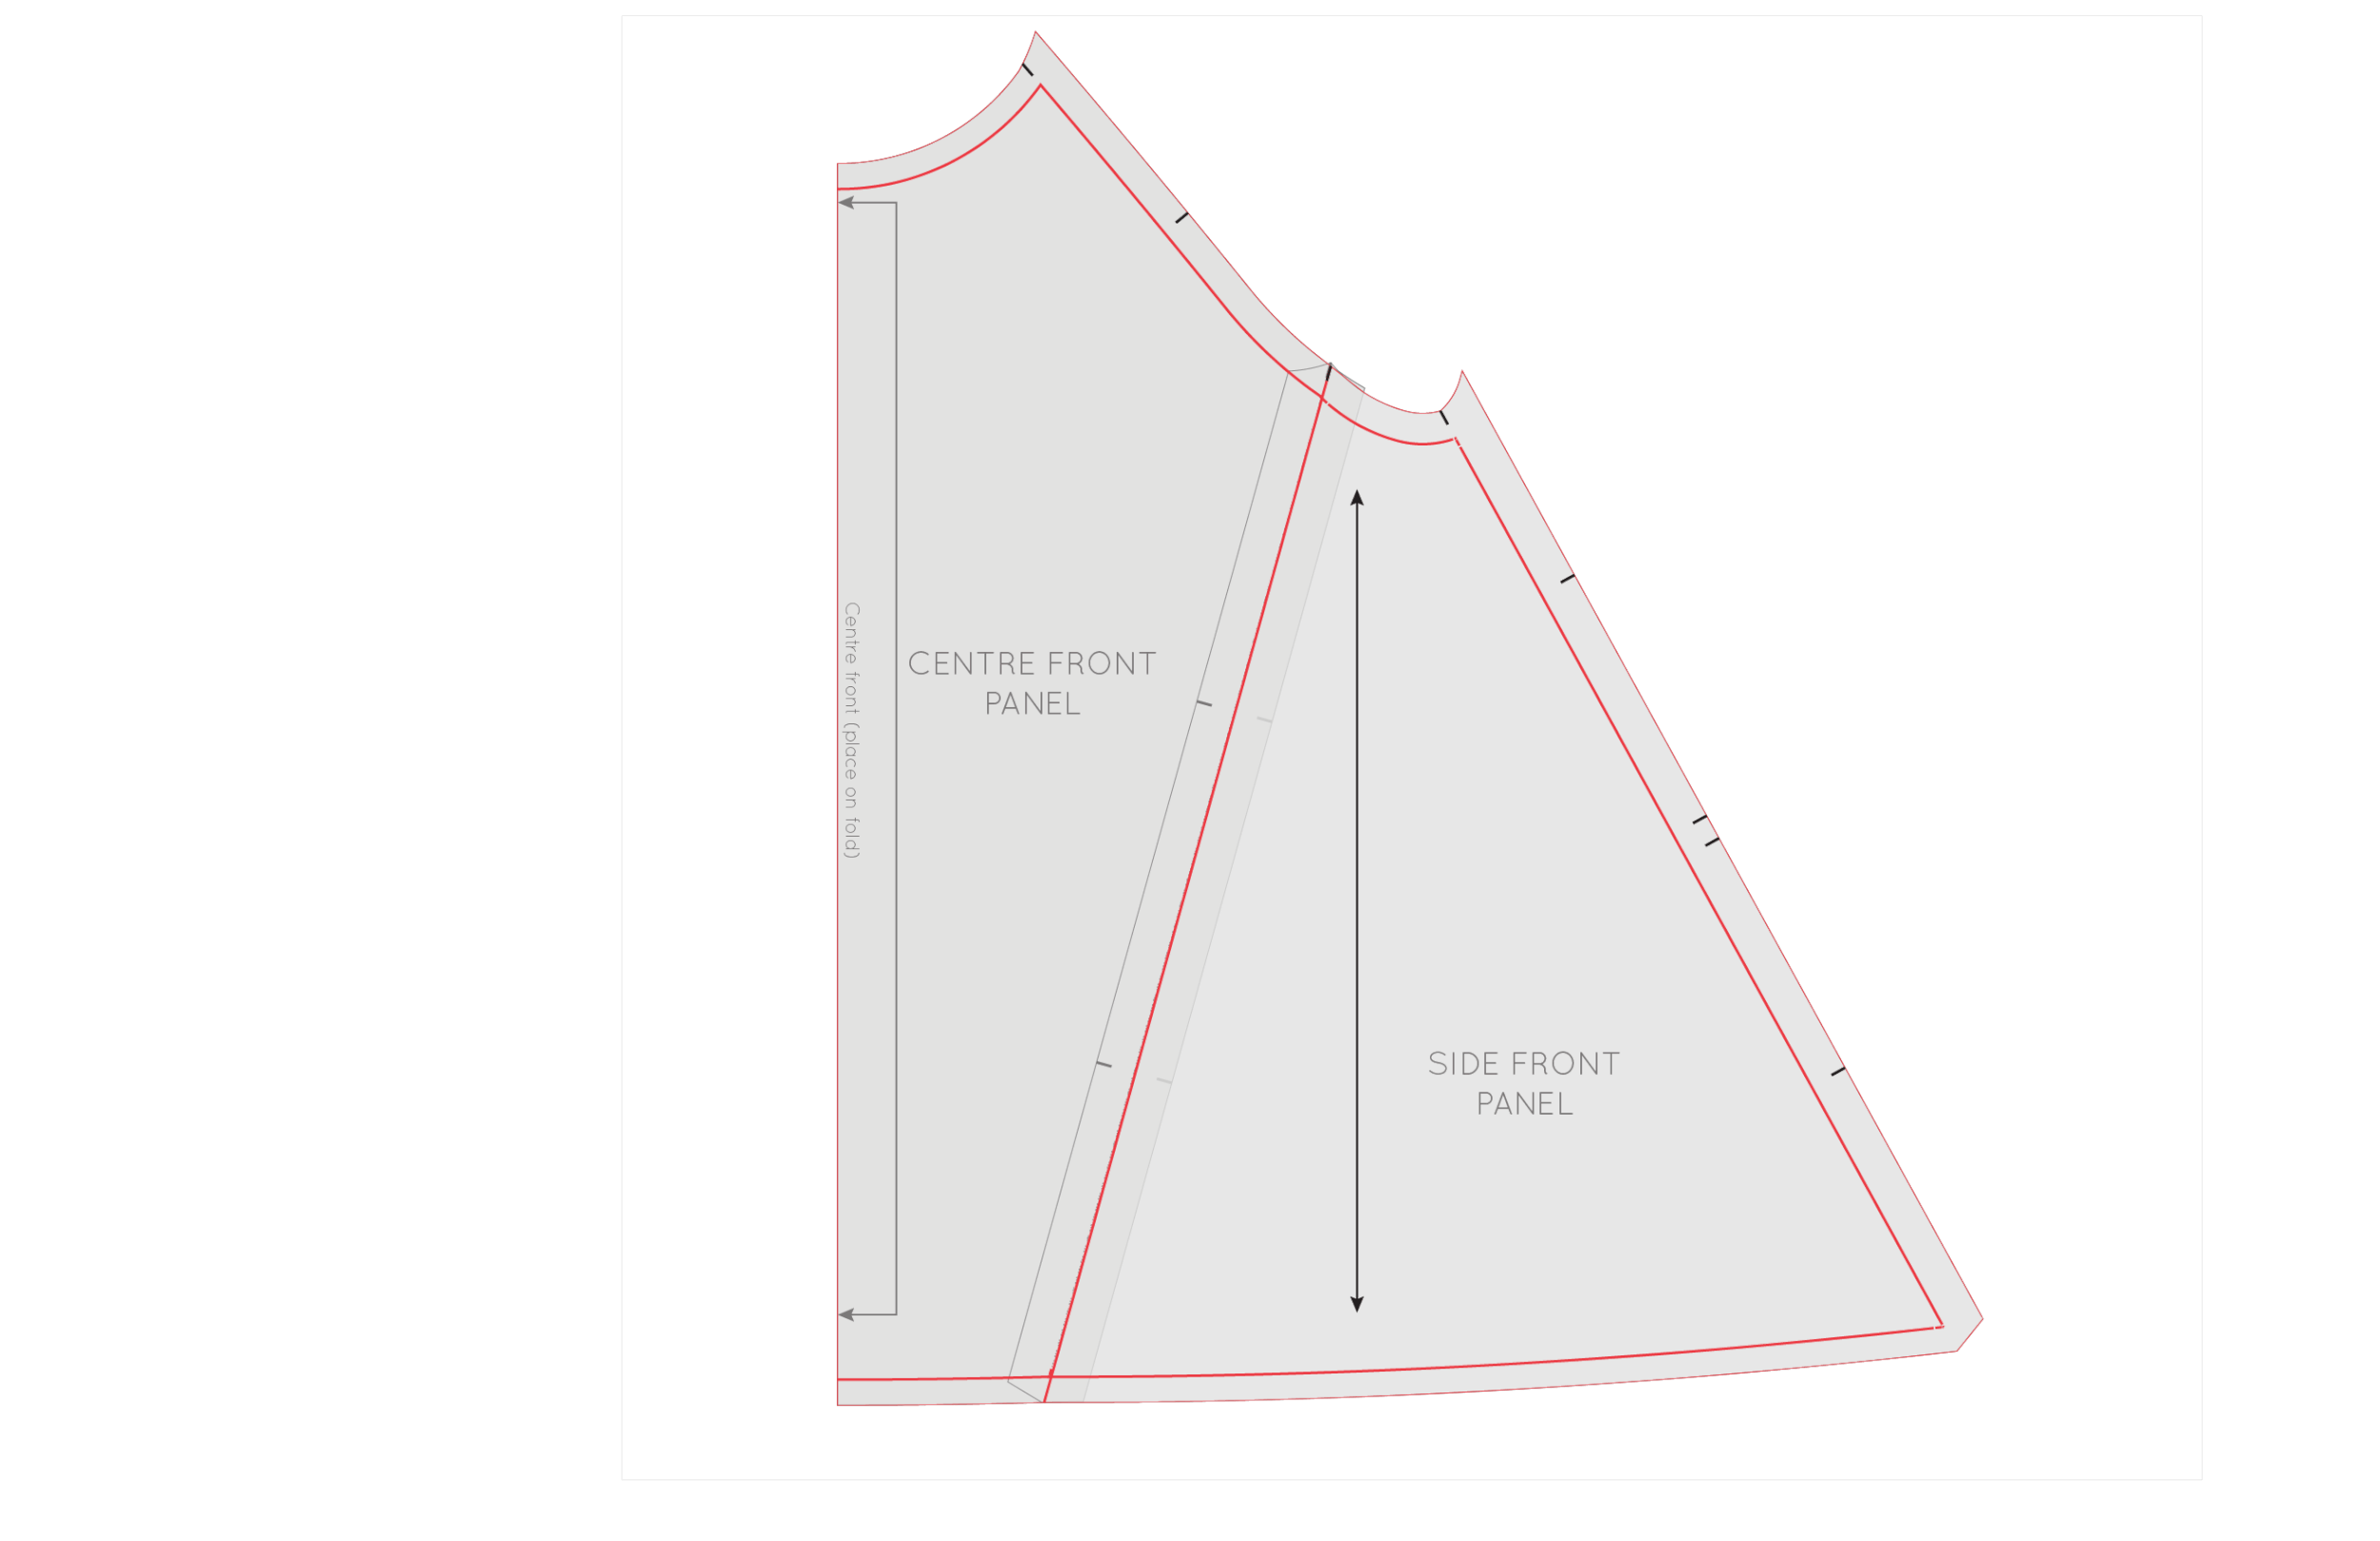
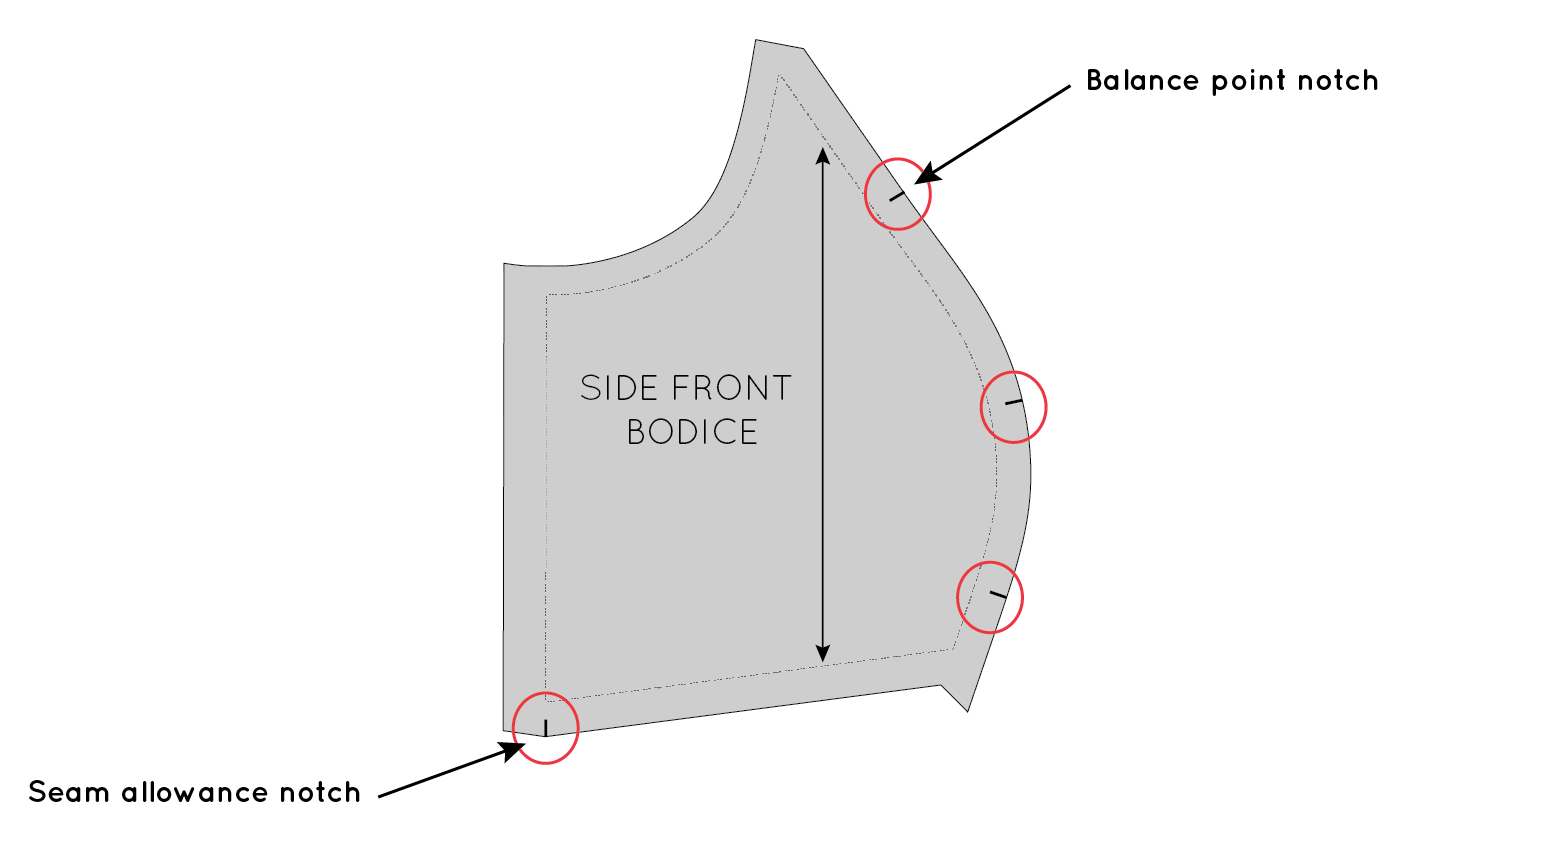
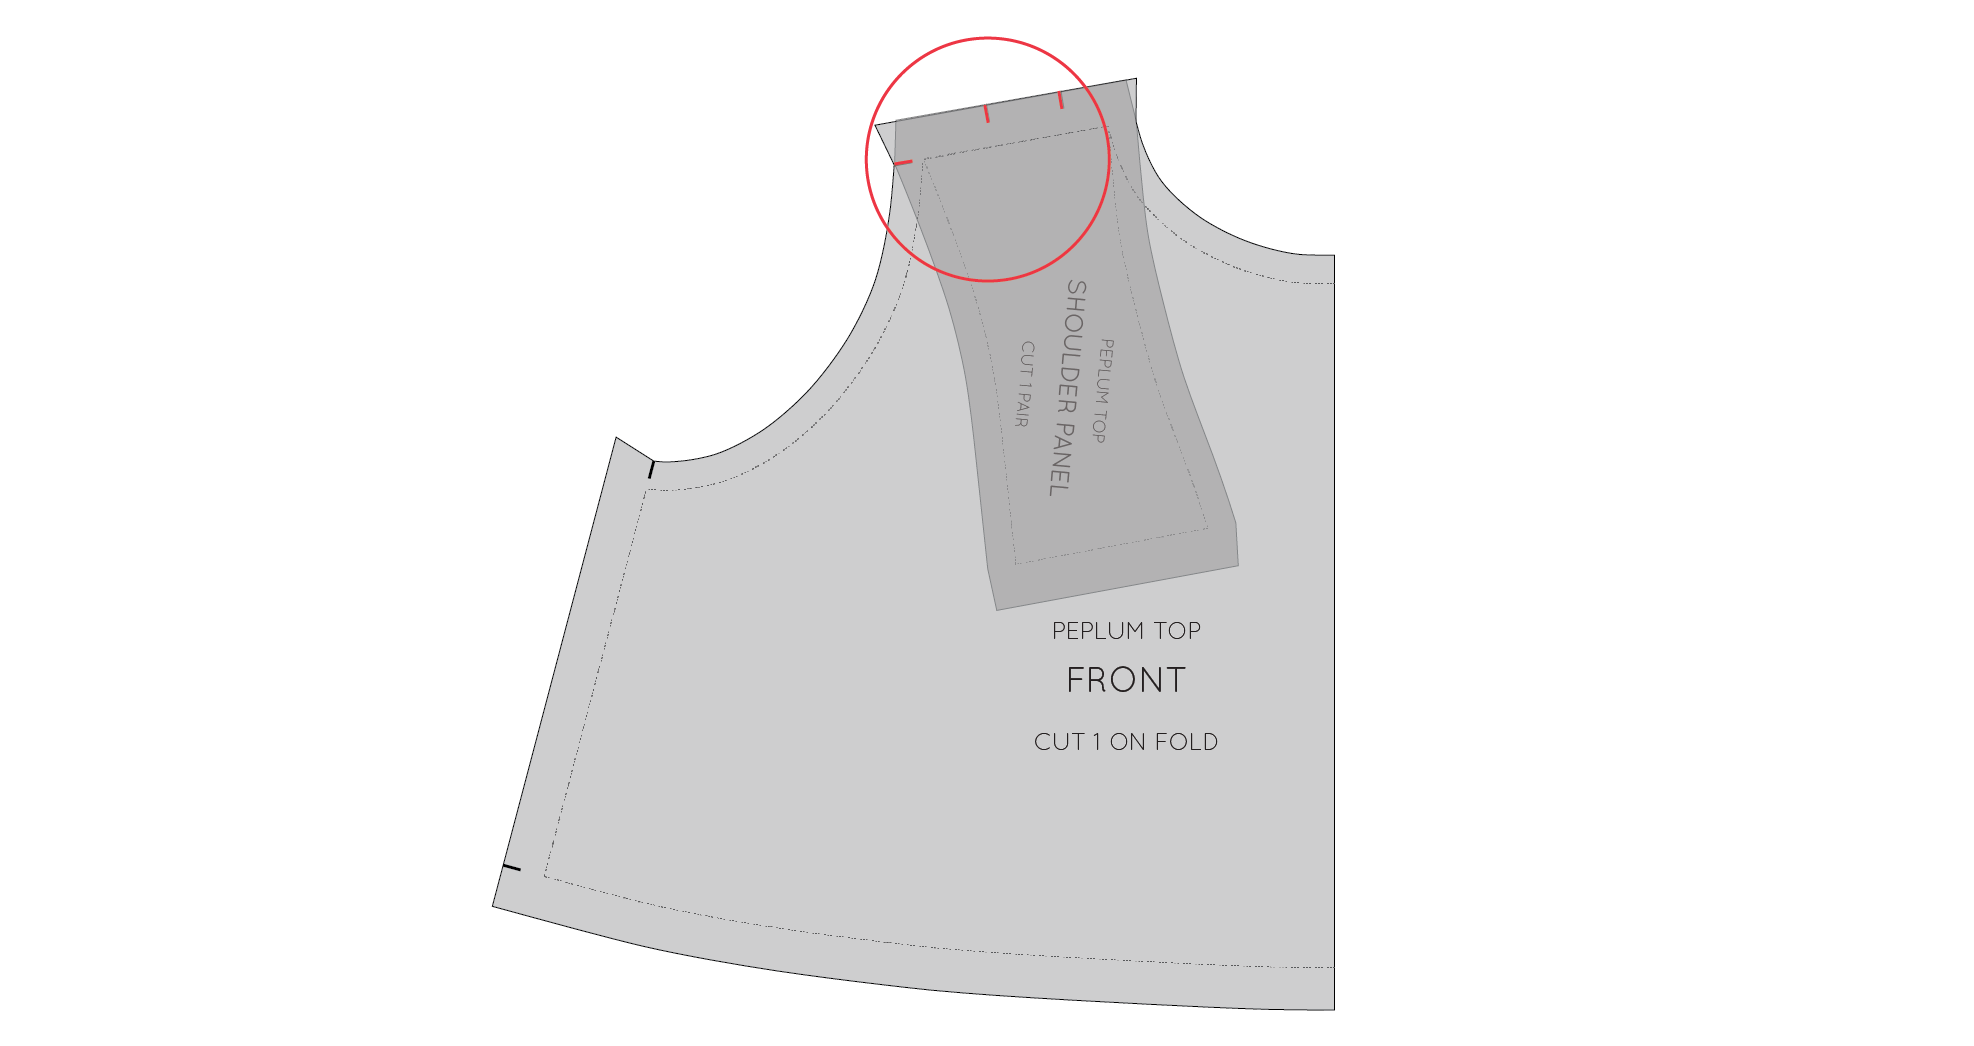
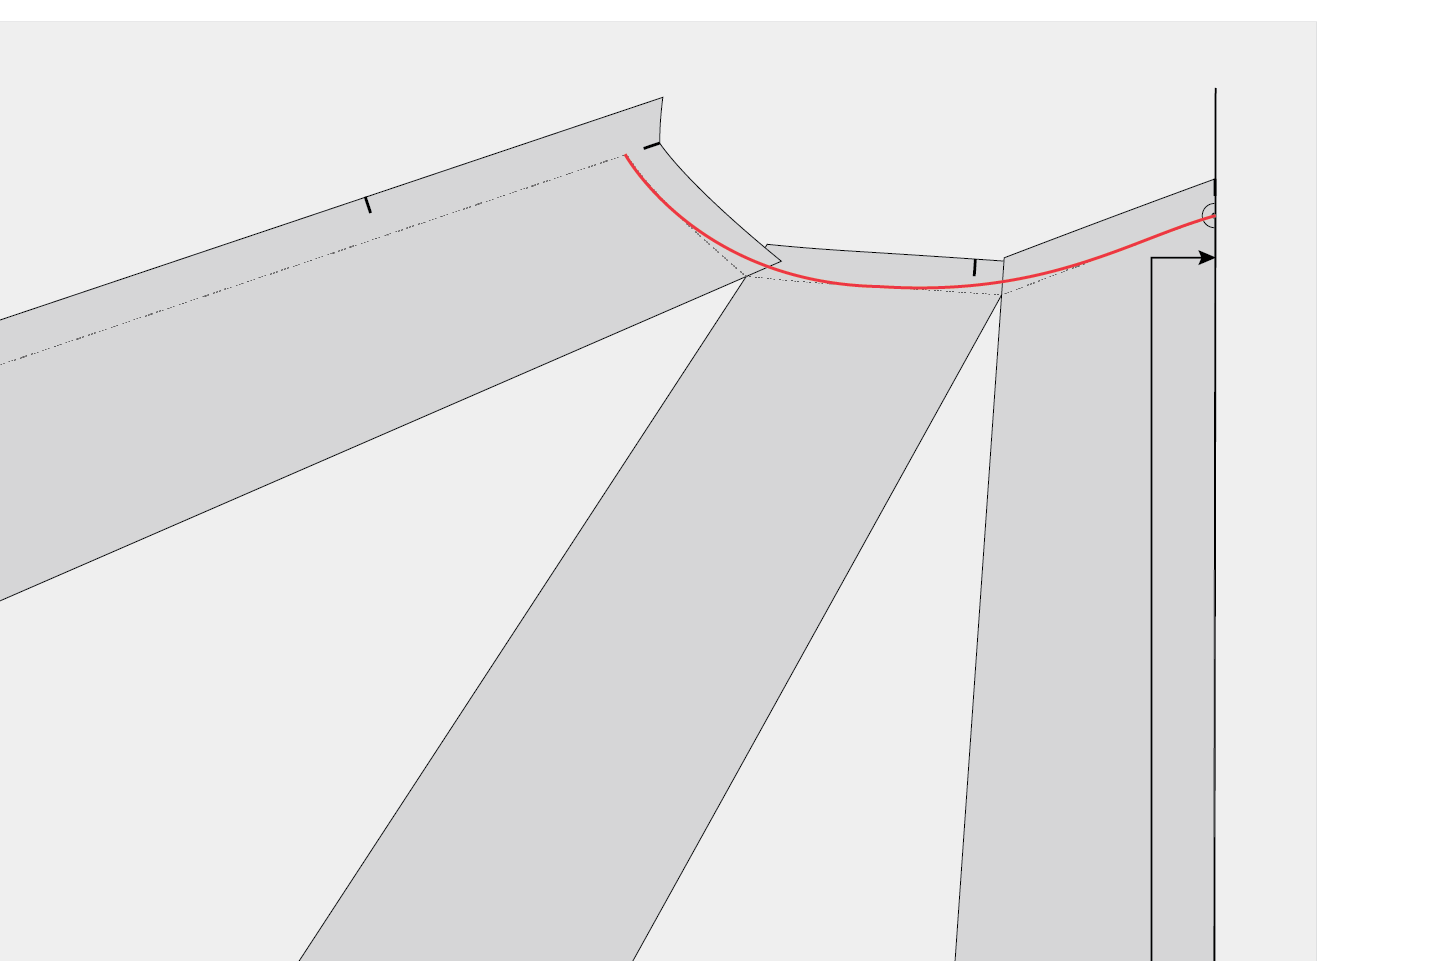
Mark balance points
Balance points are pointers on your pattern that help you put pieces together correctly, as well as help you when you are sewing a very long, or curved seam.
If you have sewn one of my patterns before, you will know I love a balance point! I really love using them as they basically give you a little reinforcement each time that you are assembling your garment correctly. I loved when one of my pattern testers once said "The notches are like little ticks you get all the way through the process to let you know that you're on the right track." That's exactly what I am going for with all the notches!
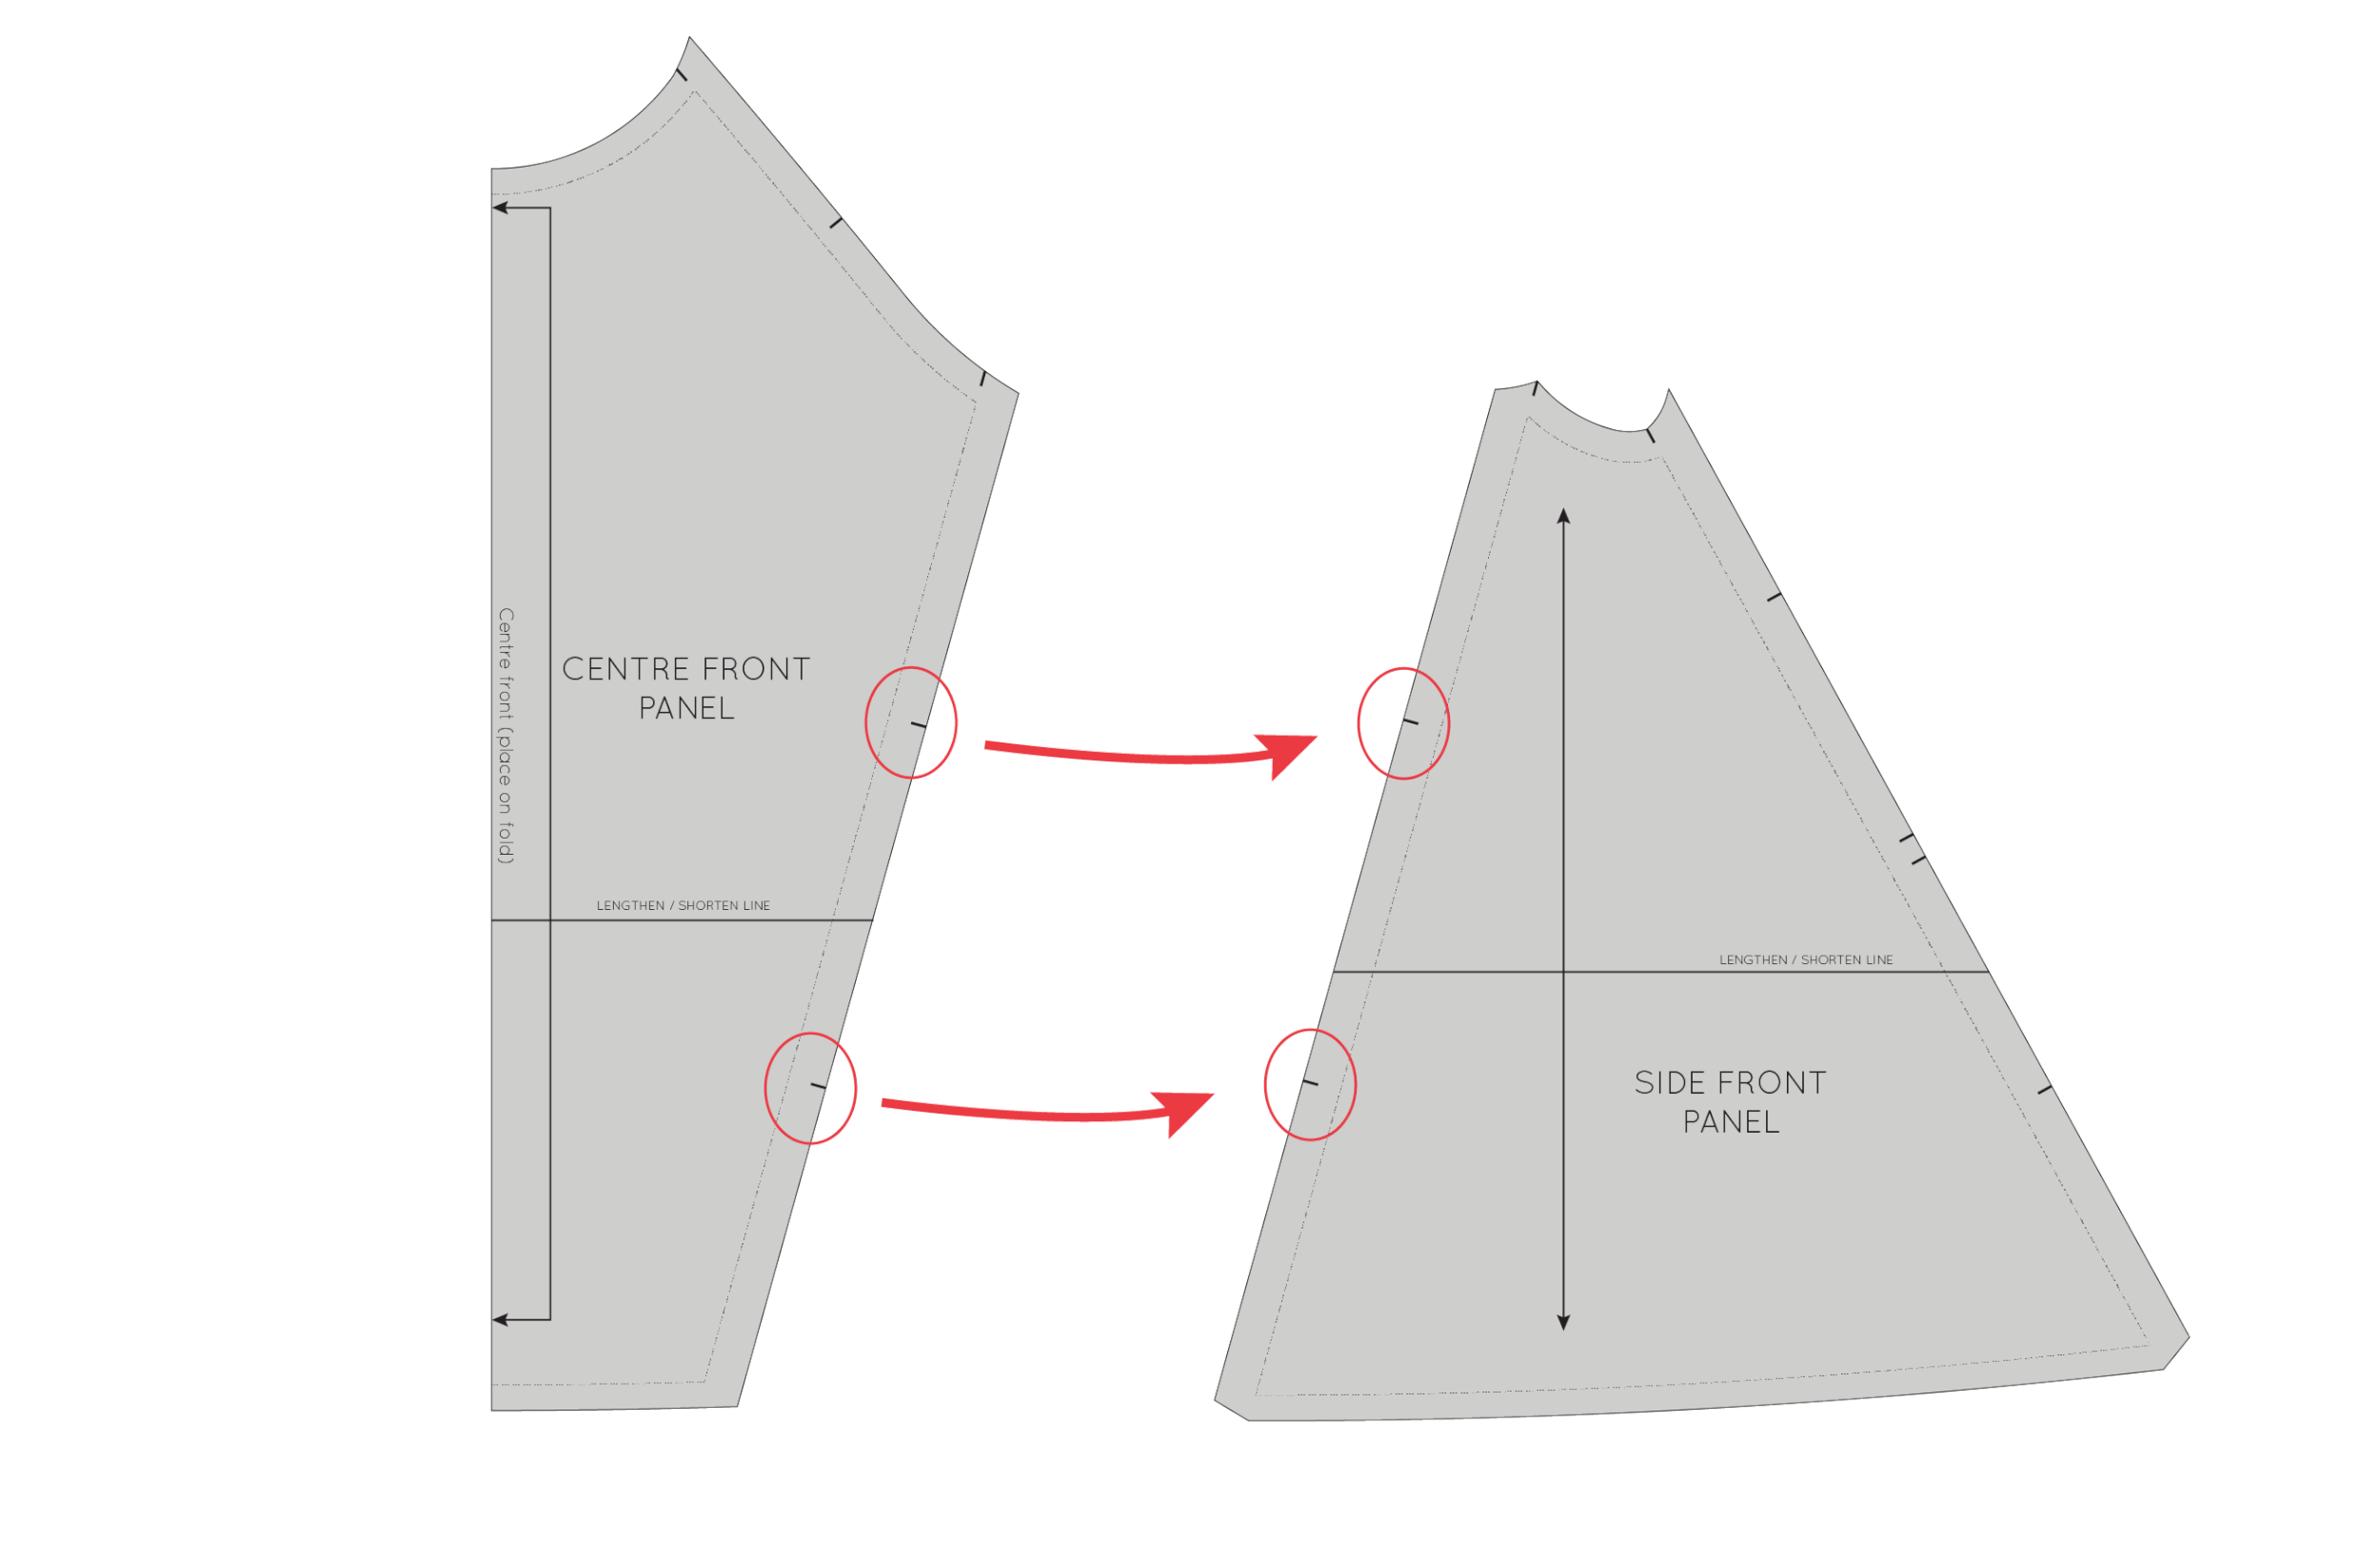
On the Collins Top, you will notice that there are two single notches on the centre front panel line, so that you know which side of the SIDE FRONT PANEL should be sewn to the CENTRE FRONT PANEL. During the process of the adjustments, we lost those two notches. So now it's time to put them back.

Step 9 :
Mark two notches on the panel line. It doesn't really matter where you put them, as these two pieces will be sewn together.
Trace your new pattern pieces
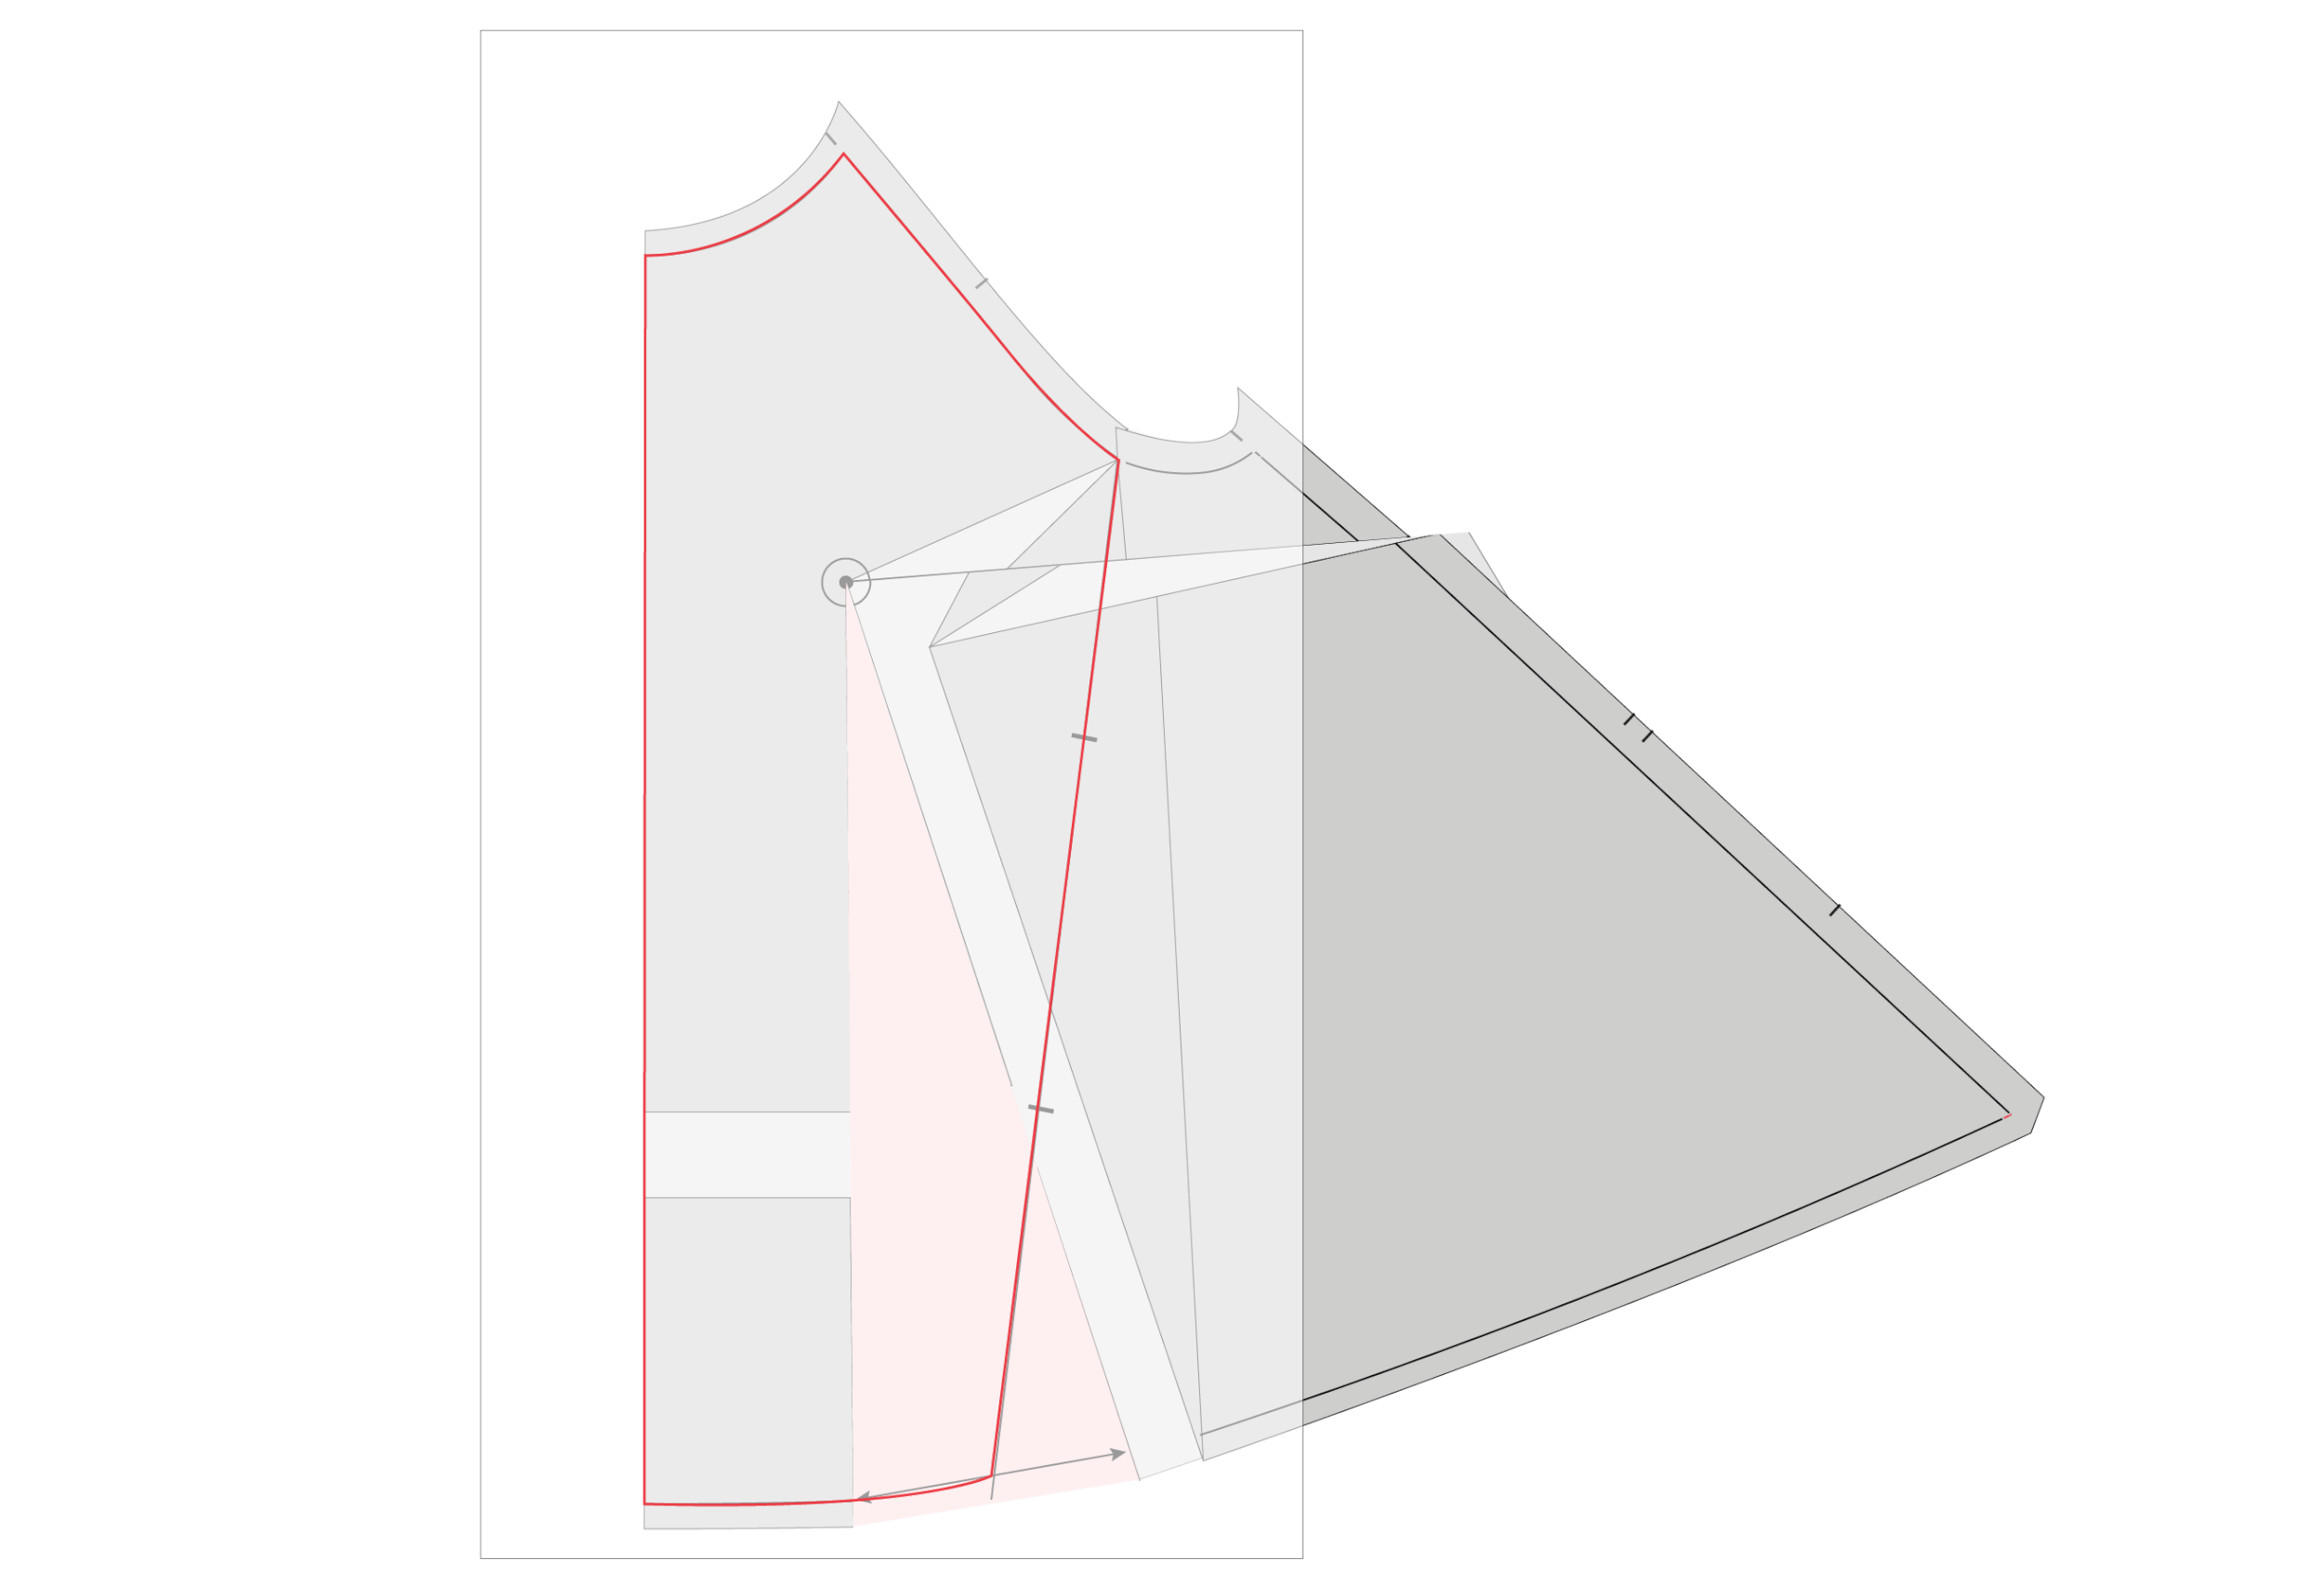
Step 10 :
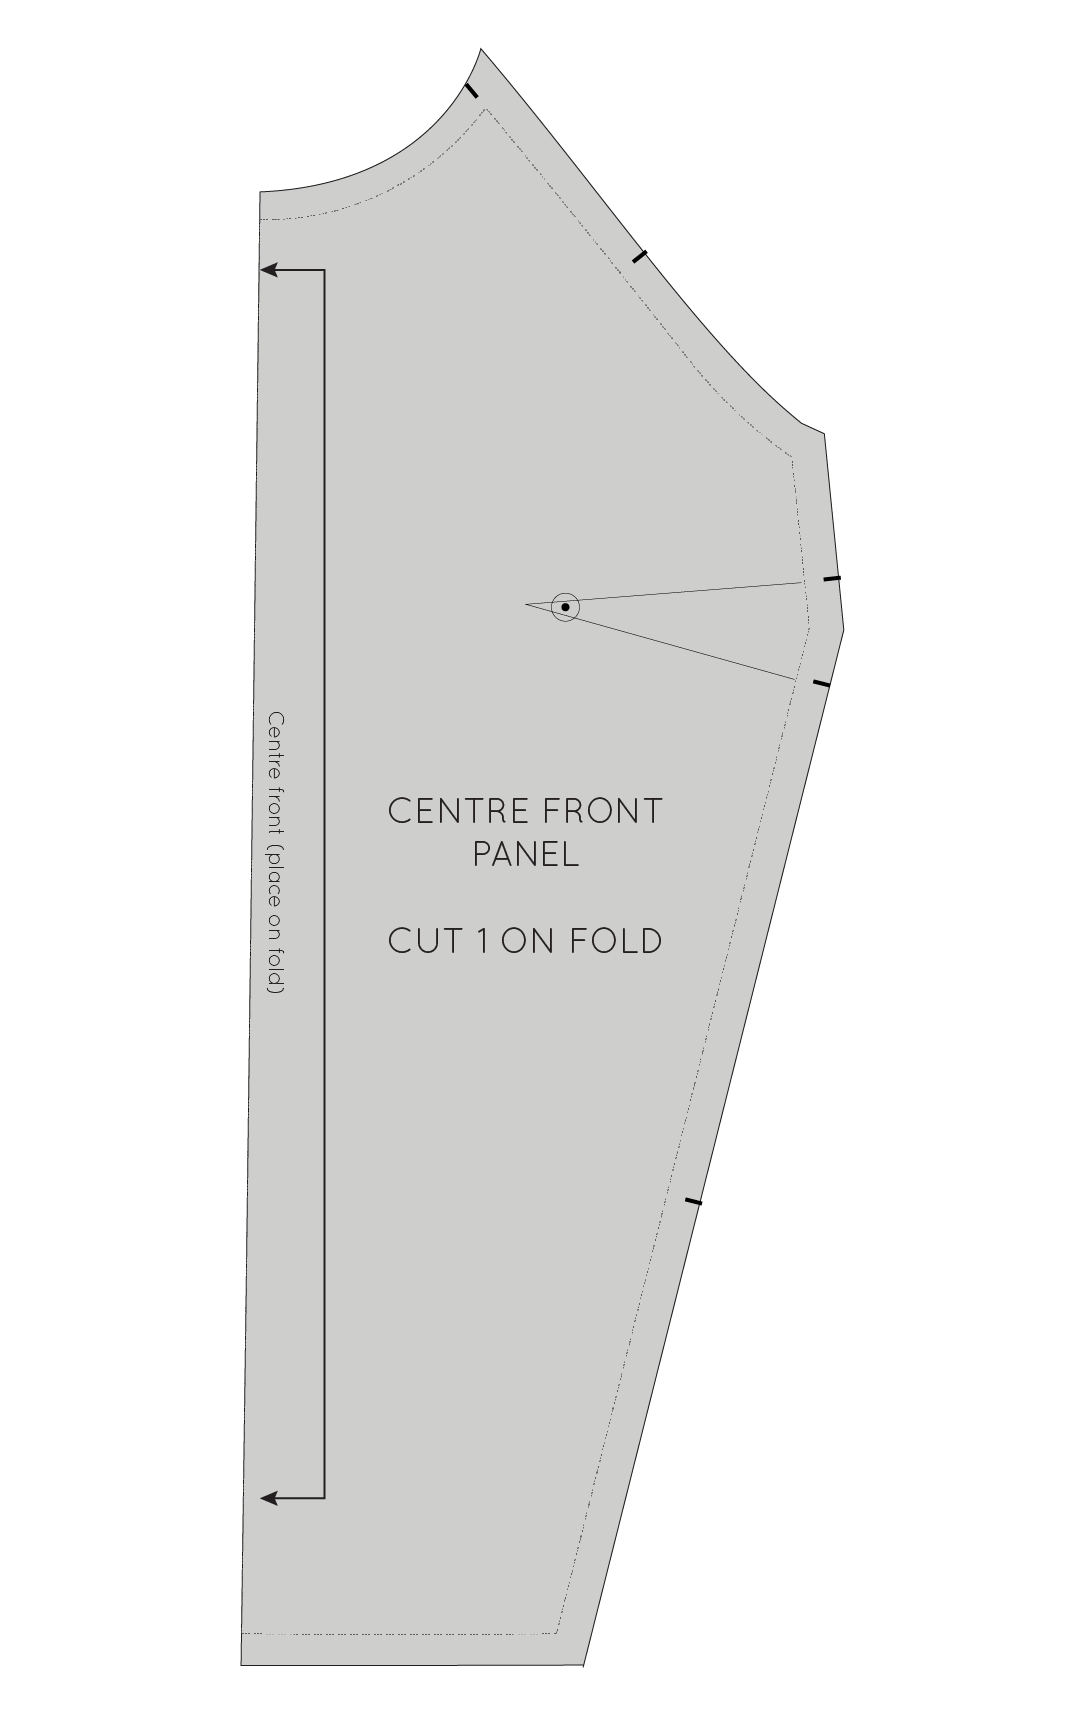
Take a piece of pattern paper and trace your new CENTRE FRONT PANEL piece by tracing around the original neckline, and then down the new panel line. Trace along the centre front line and hemline.
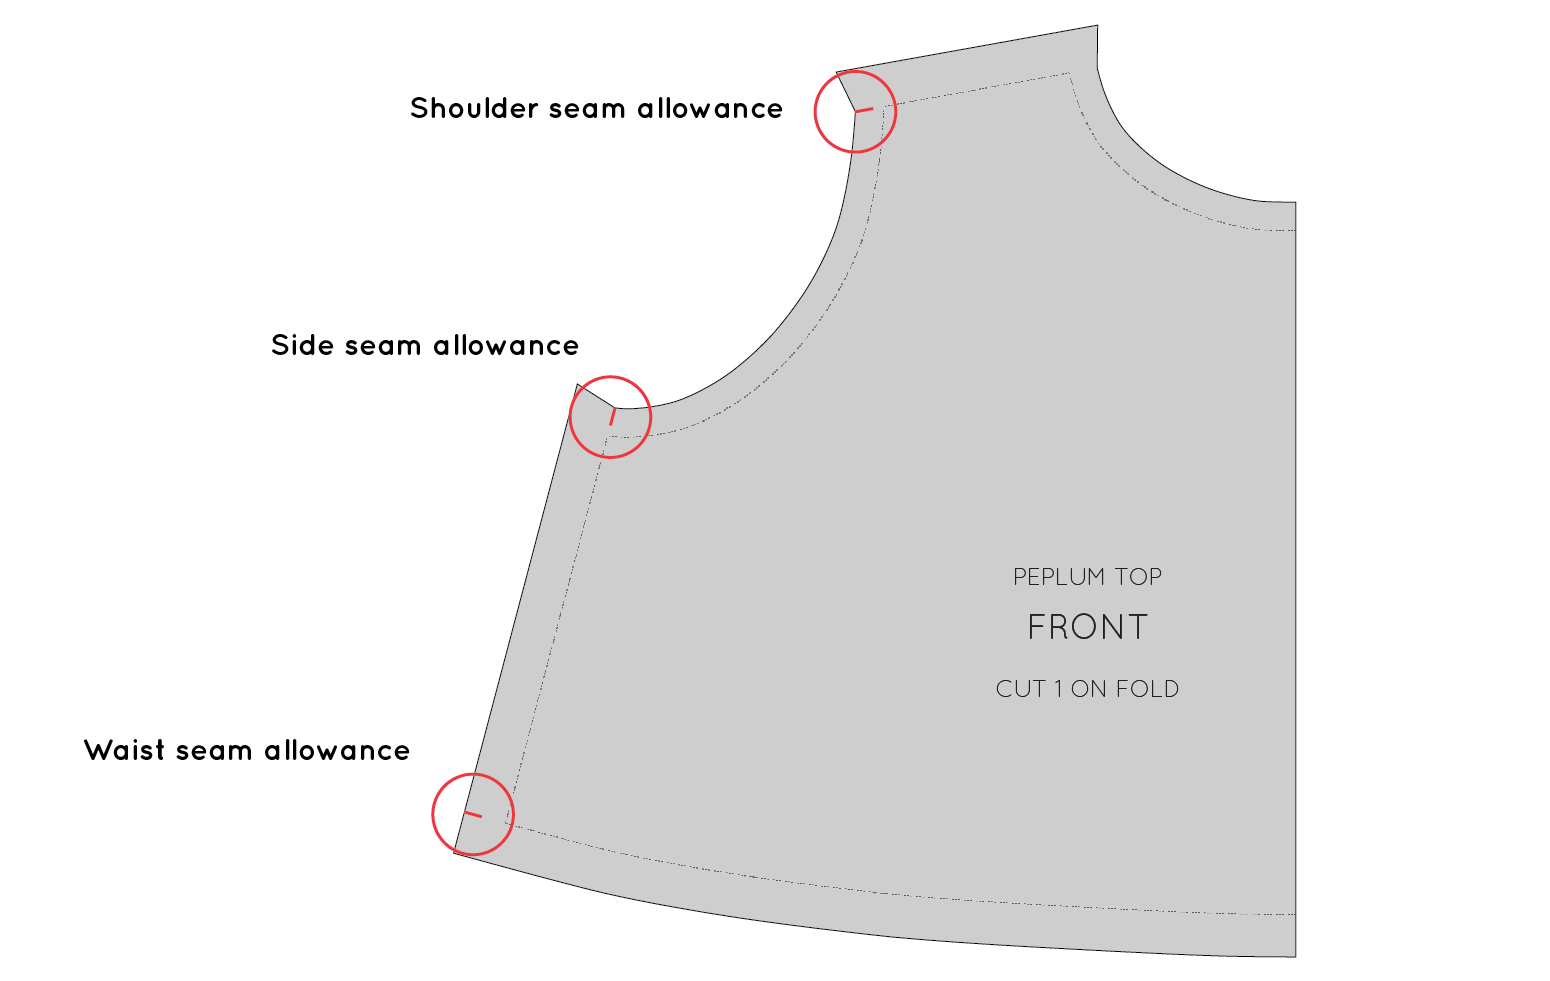
Add seam allowance + notches
Step 11 :
Add seam allowance to your new pattern piece. You can trace the seam allowance from the neckline, armhole and hem and then add 1.5cm (5/8") to the panel line. For more detail on adding seam allowance to a pattern, check out this tutorial.
Transfer the notches onto your new pattern piece, from the working pattern.

Step 12 :
Finalise the pattern piece by adding cutting instructions and grainline.
For more detail about adding cutting instructions to your pattern, take a look at this tutorial.
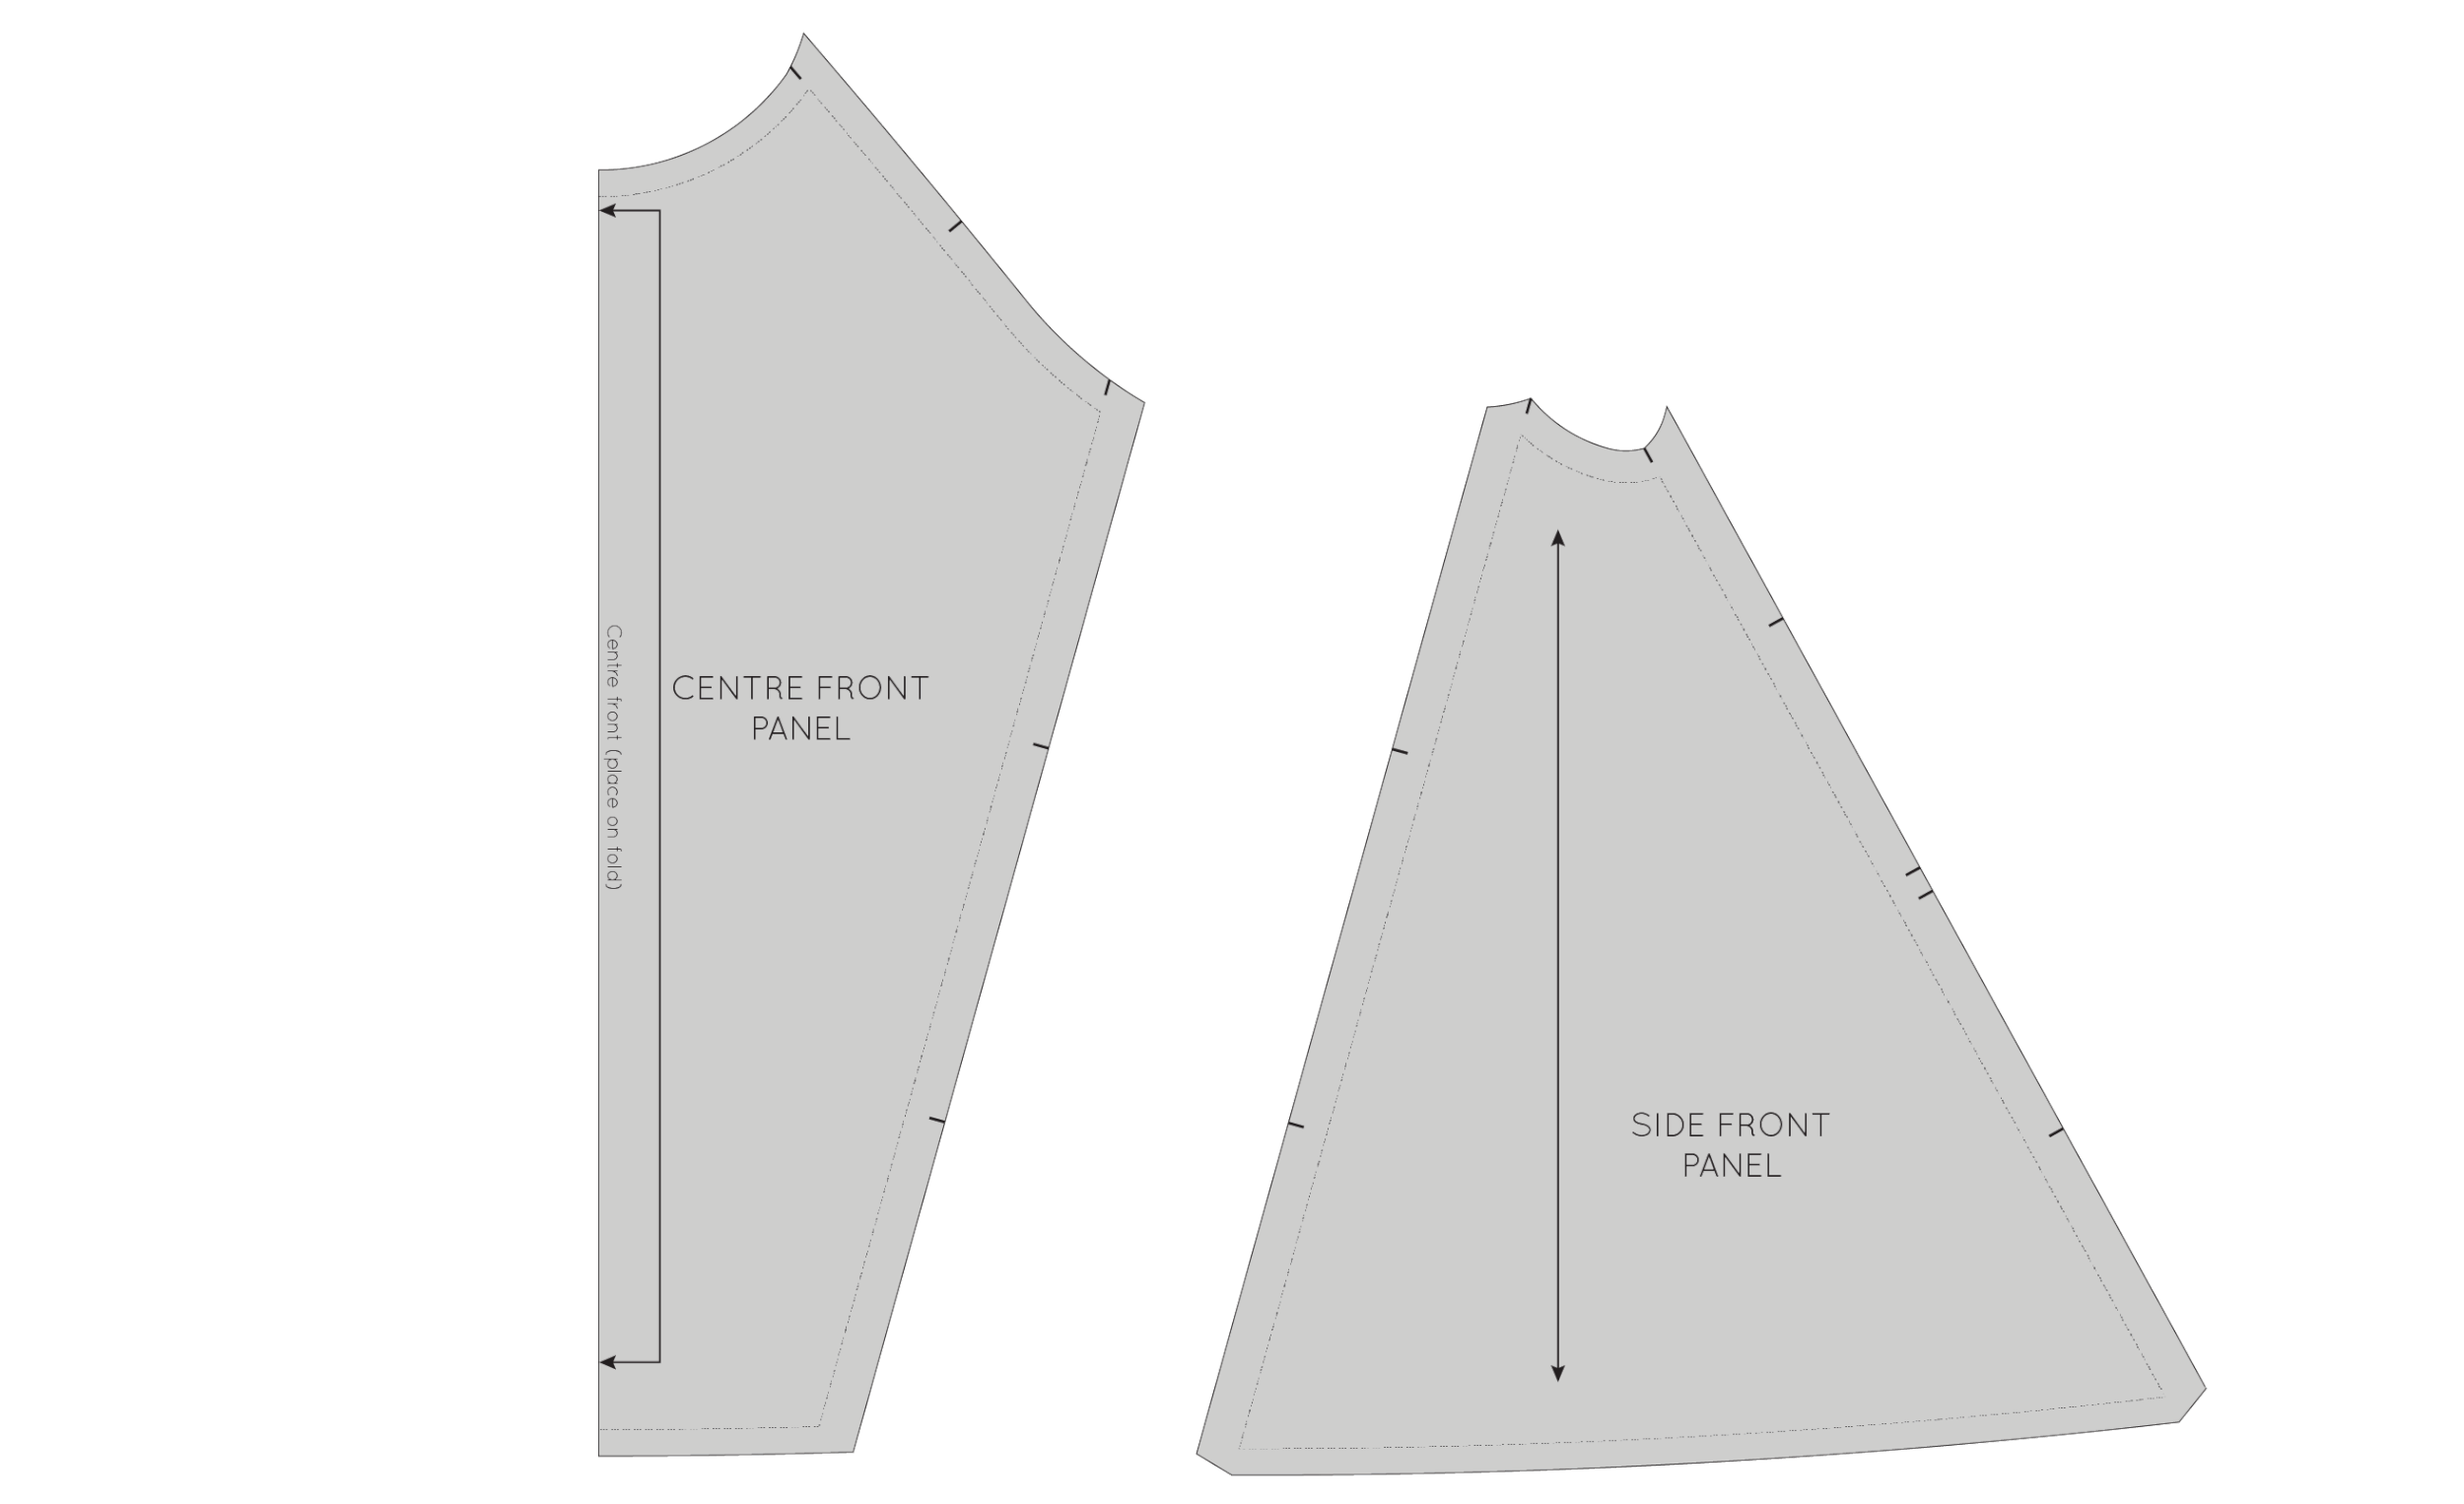
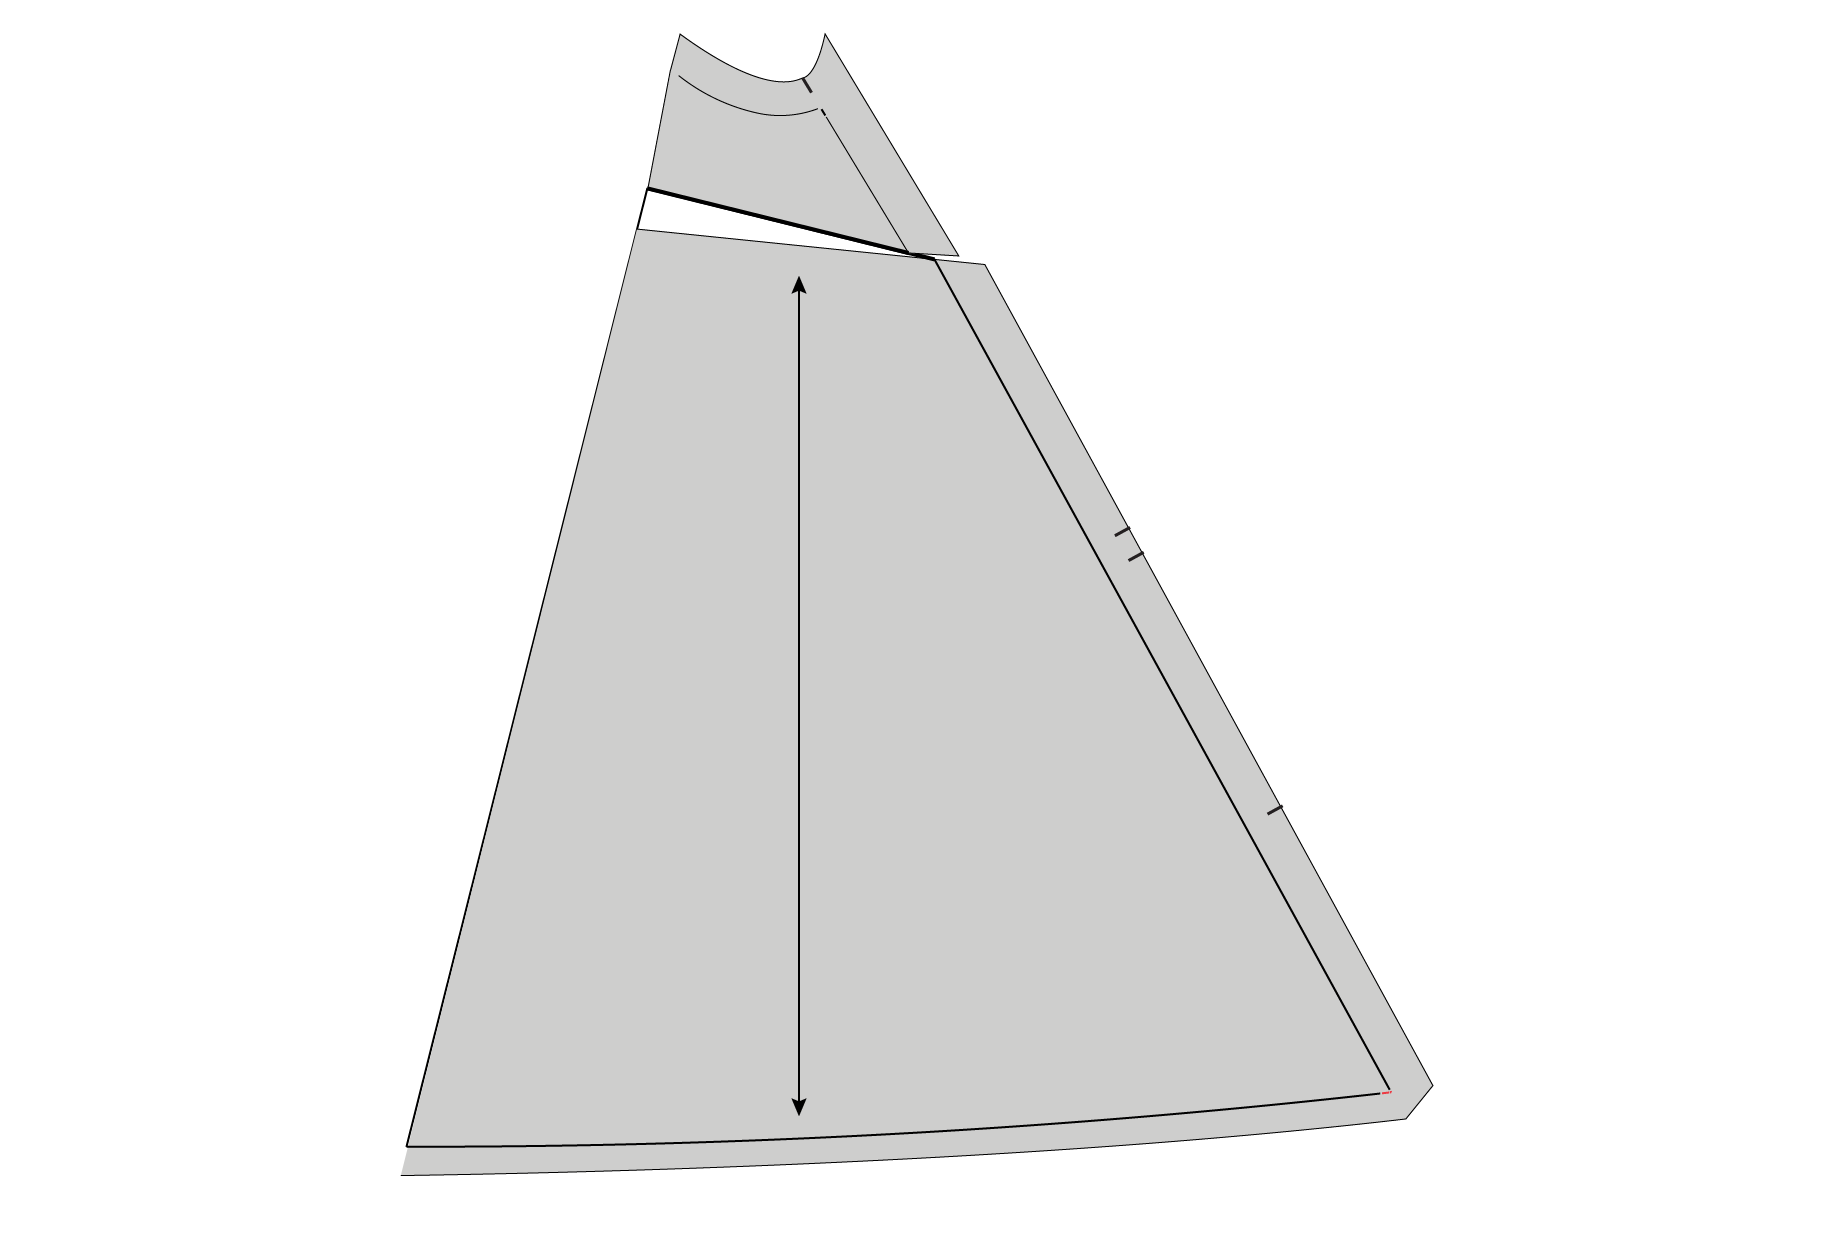
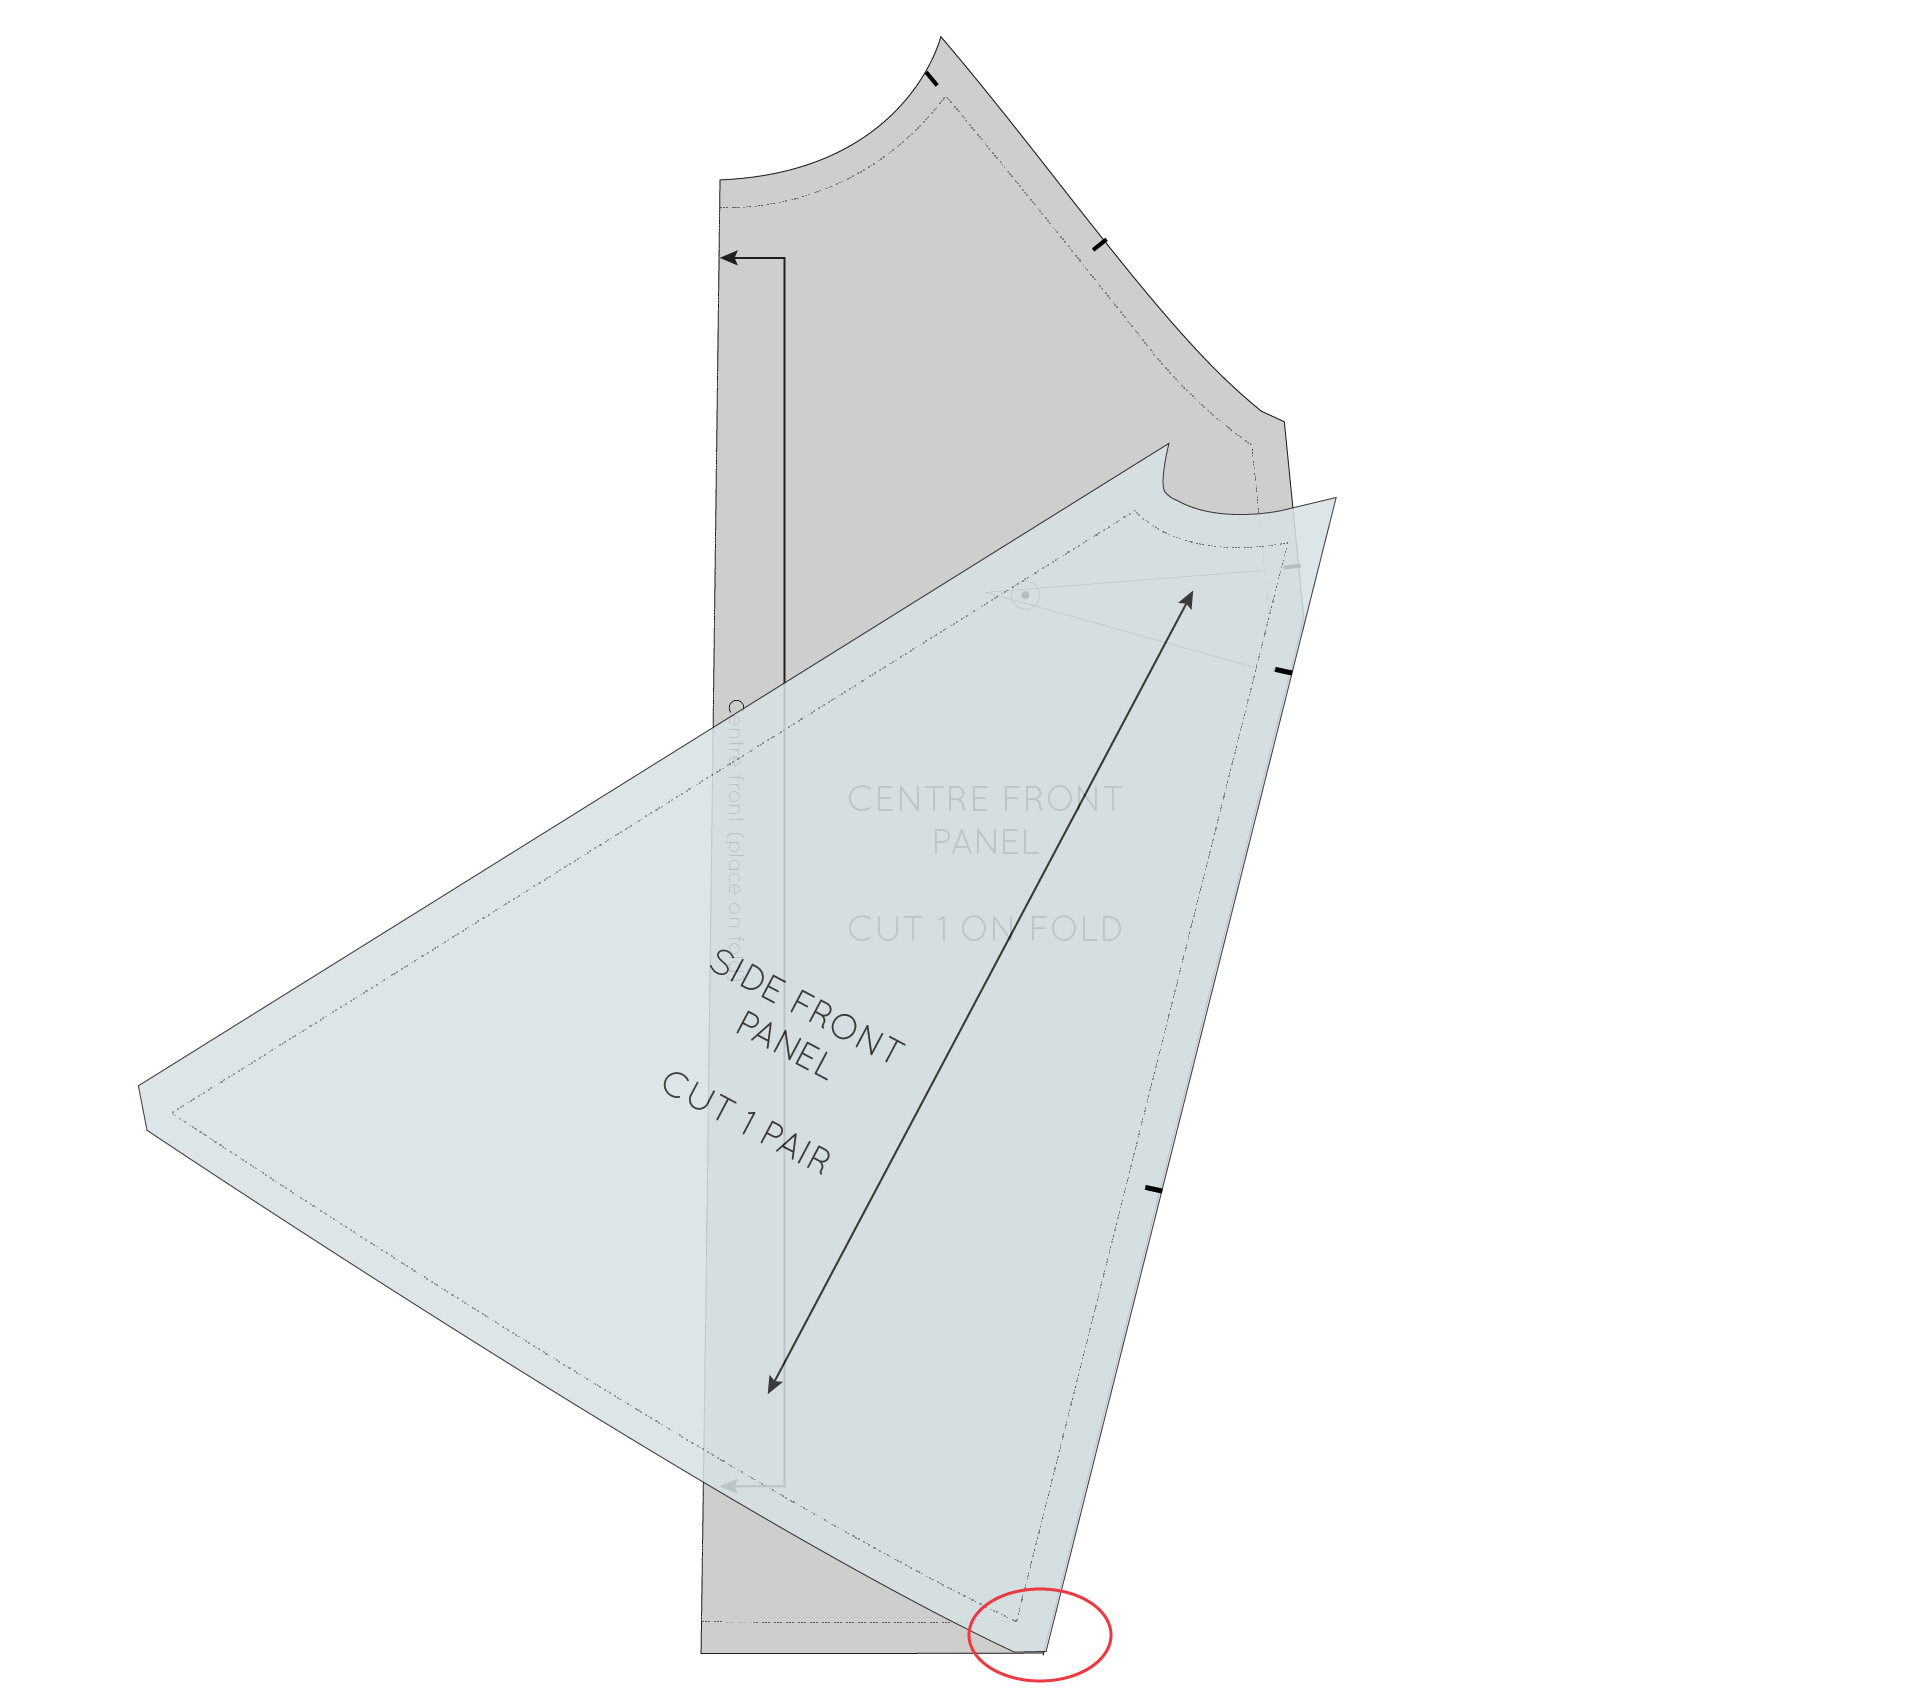
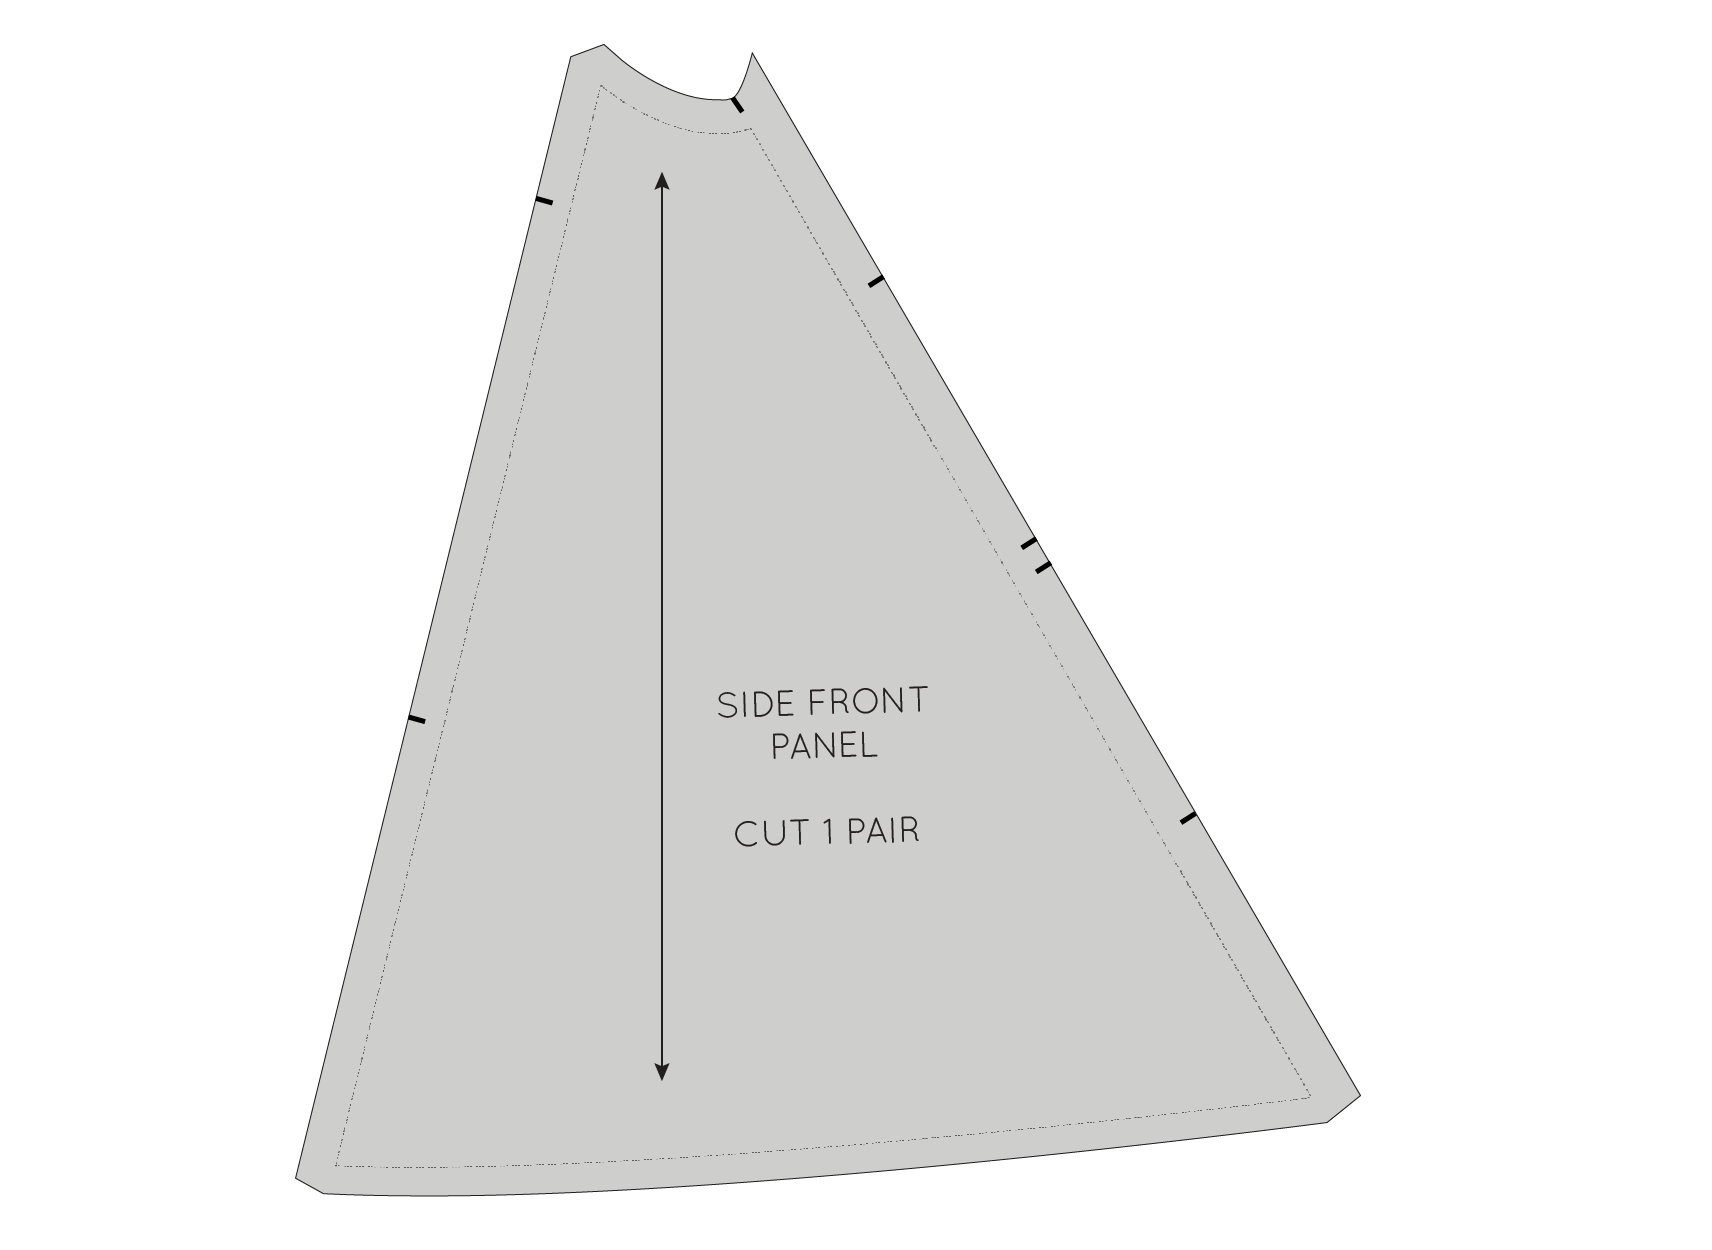
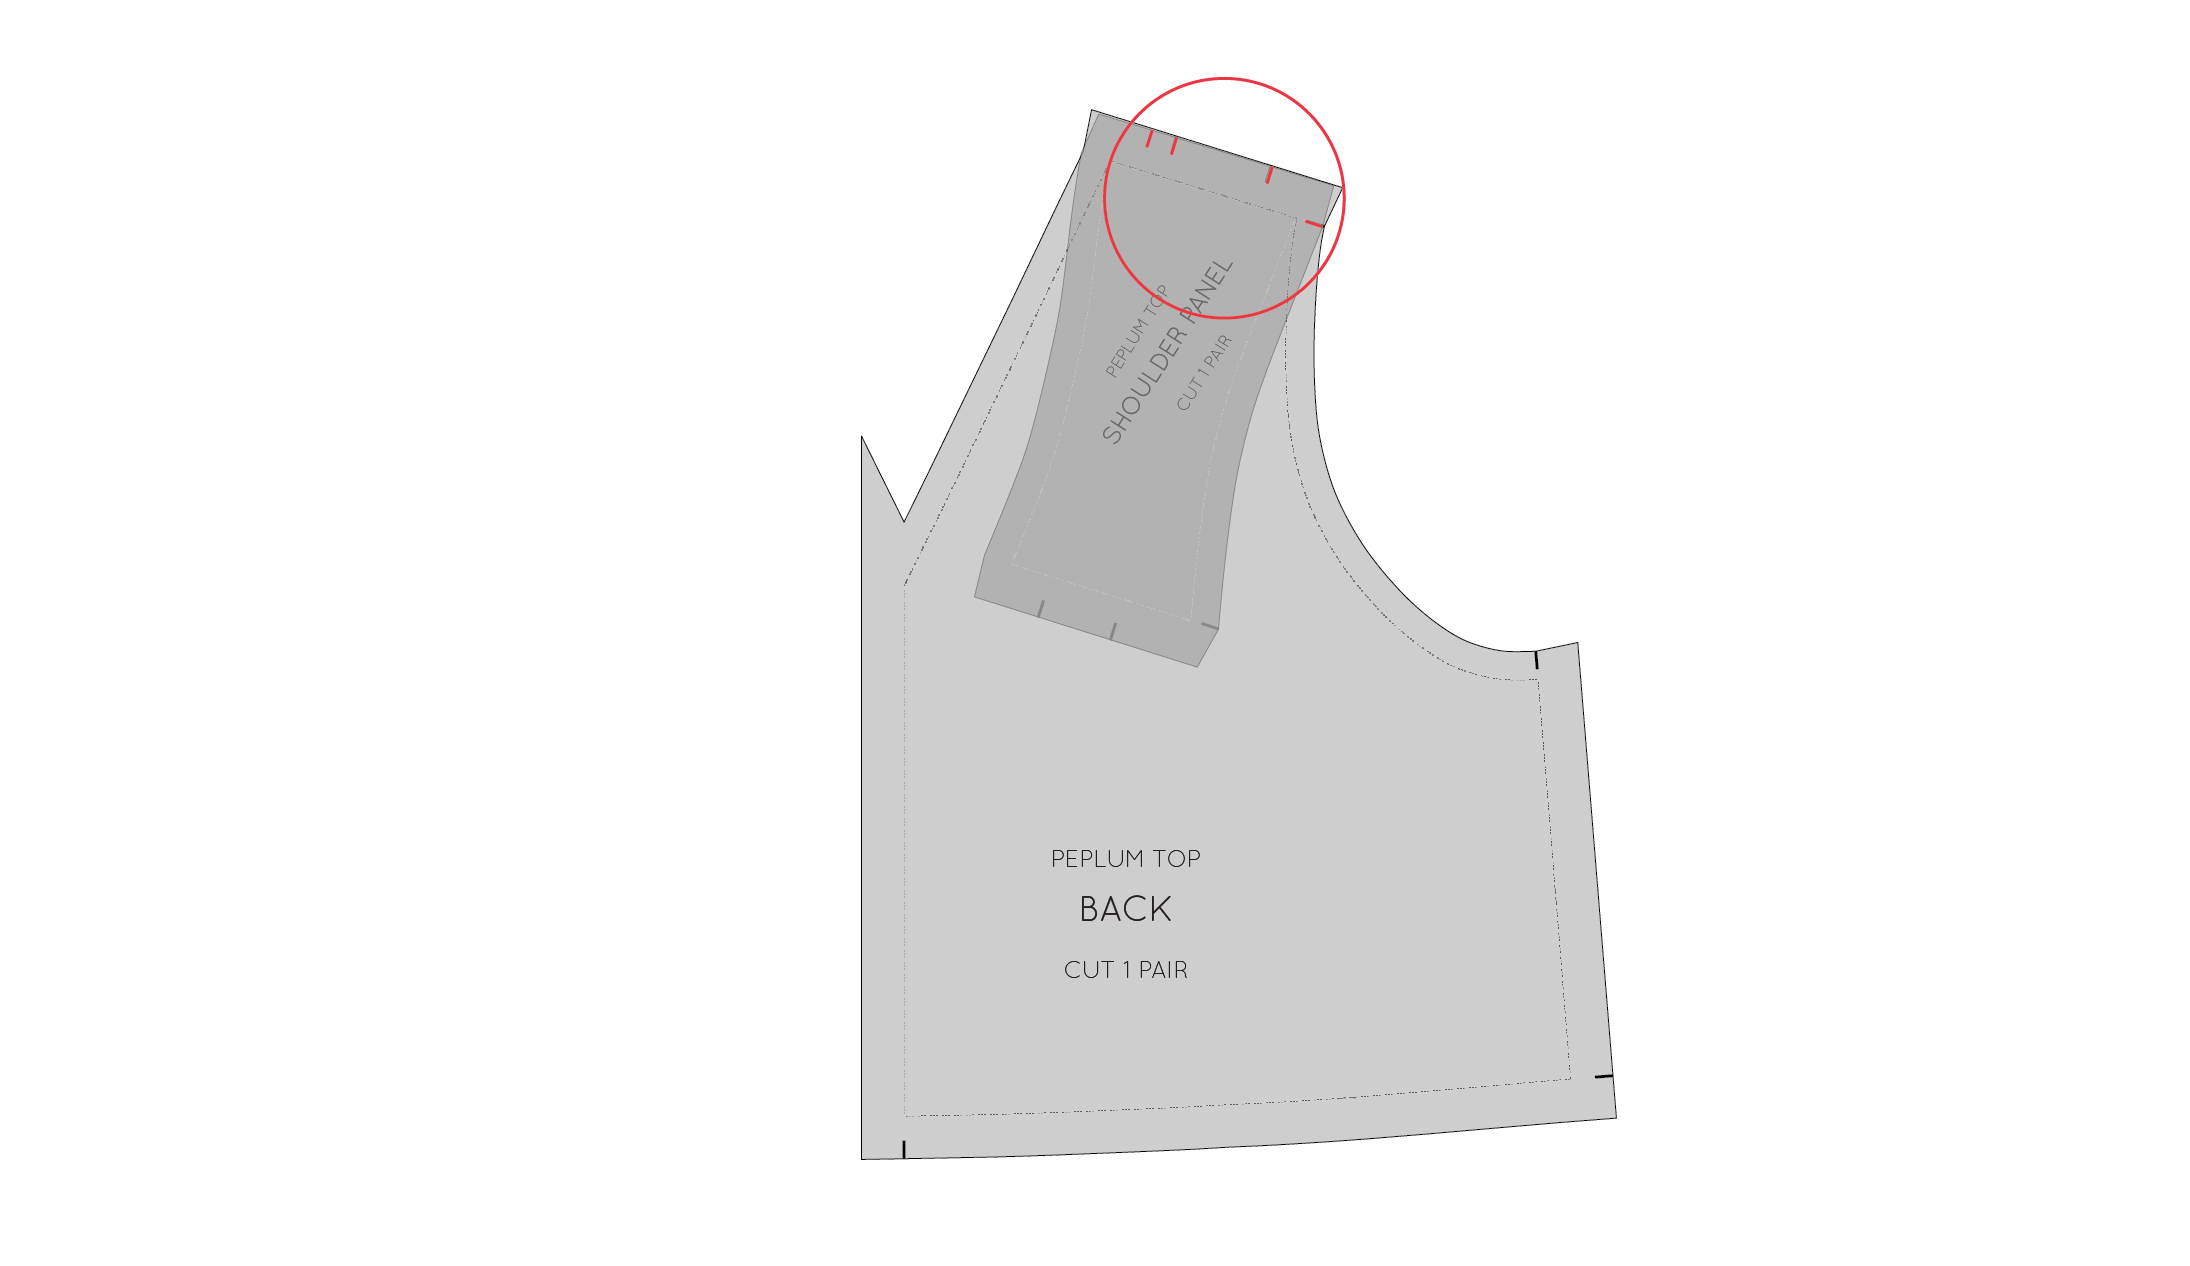
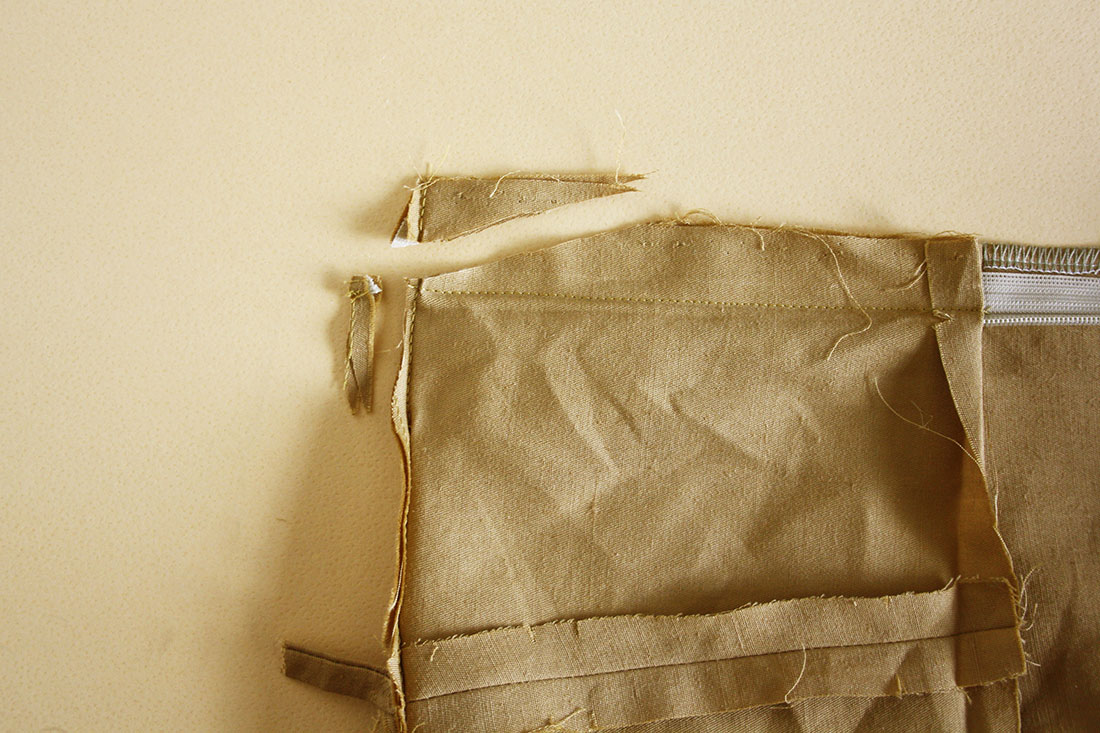
Side front panel
Step 13 :
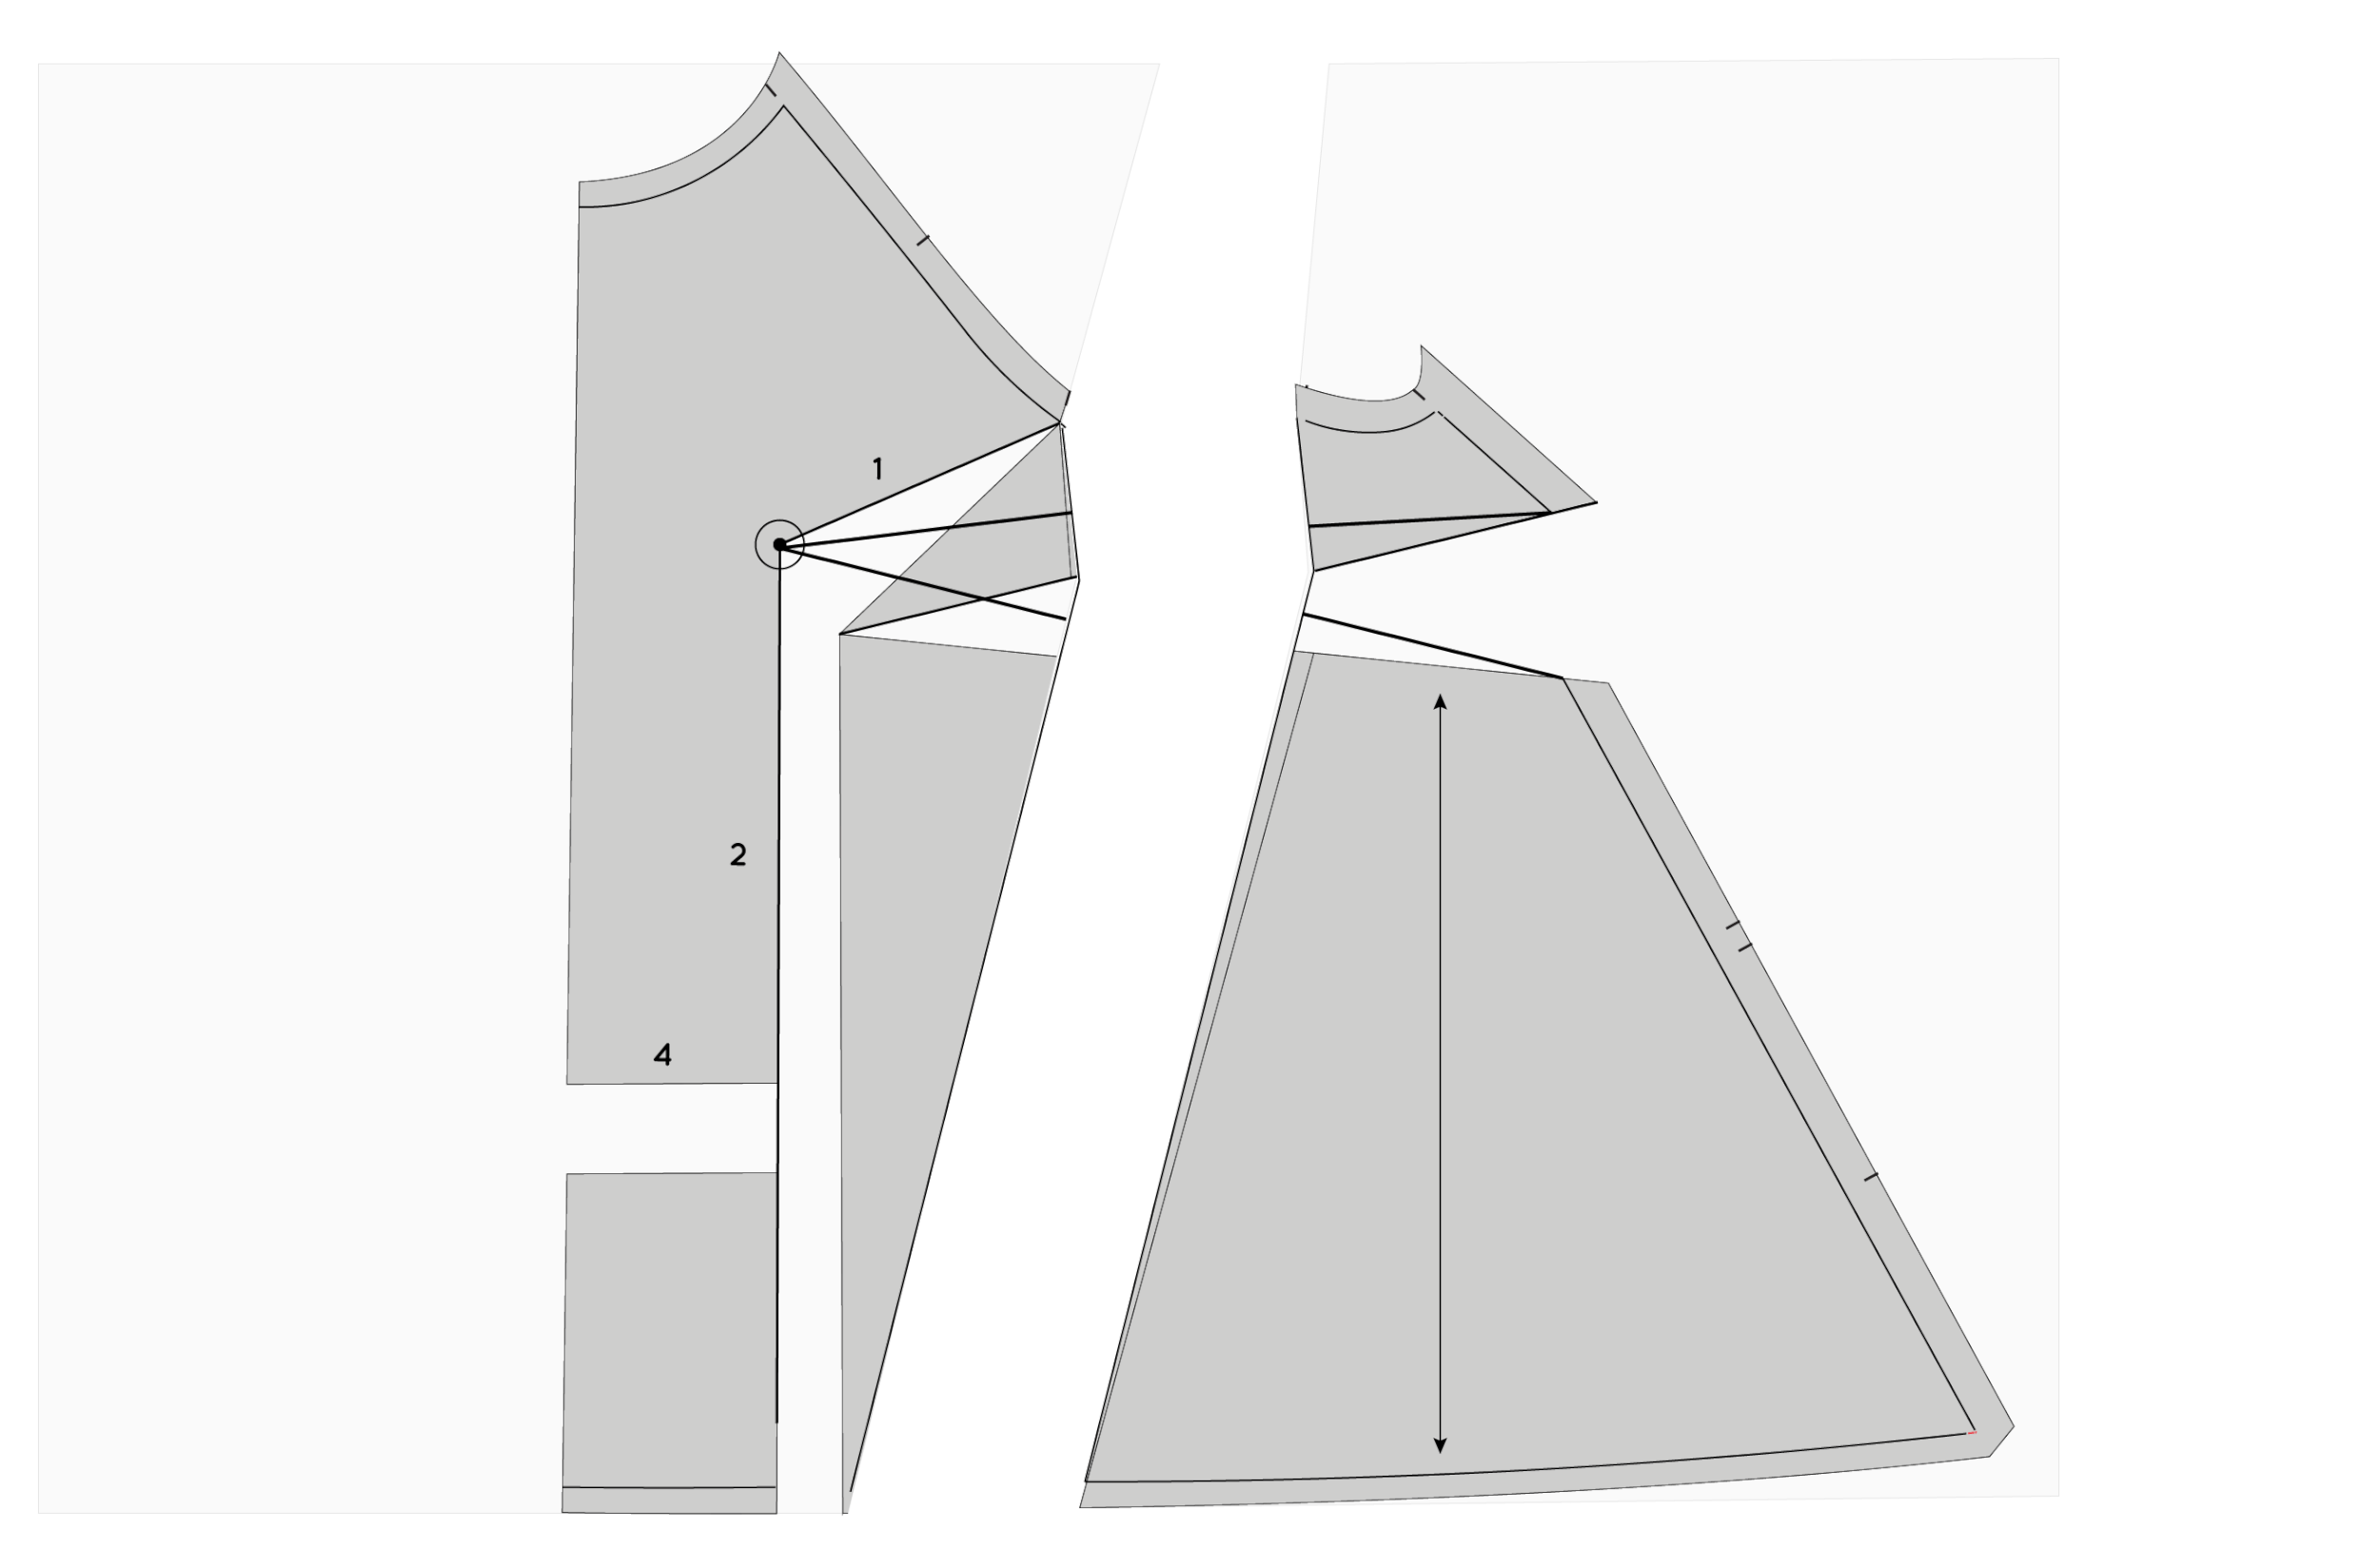
Repeat process for the SIDE FRONT PANEL. You will notice that you will need to redraw the side seam with a straight line. Draw the line from the top of the original seam line to the bottom of the original seam line.
True the seam allowances on your new pattern pieces, and check the SIDE FRONT PANEL and the SIDE BACK PANEL still match together properly at the side seam.
Add grainline and cutting instructions (SIDE FRONT PANEL - CUT 1 PAIR).
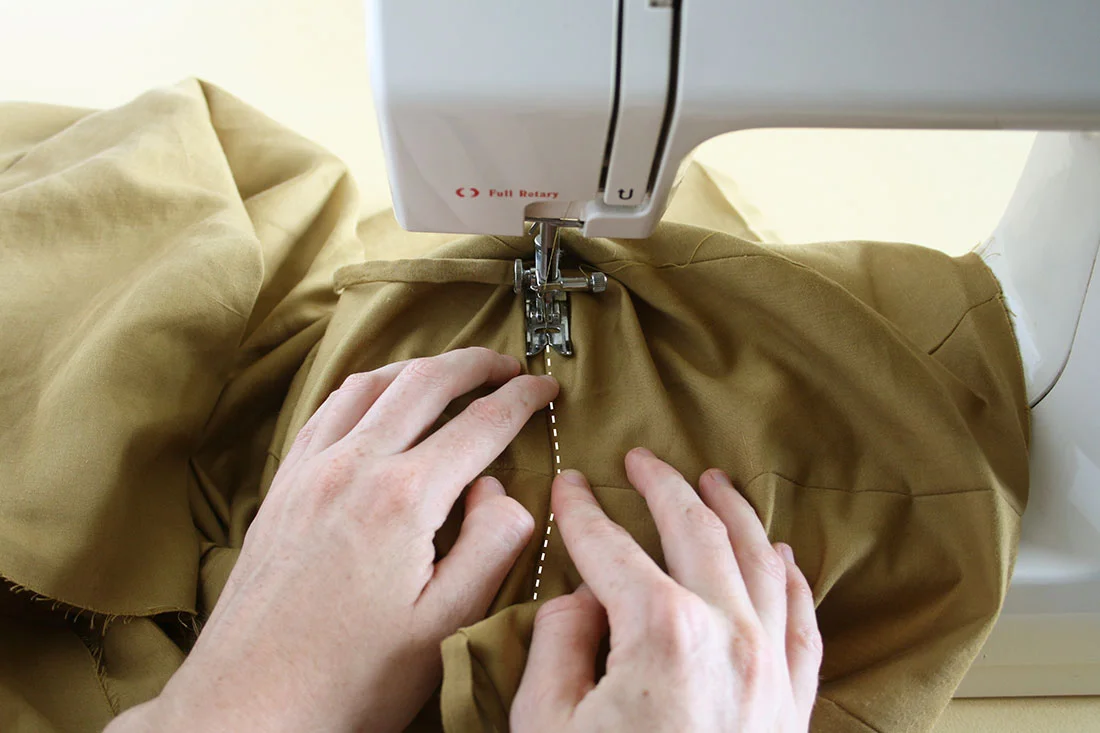
And you're ready to start sewing!
Remove fullness from the hem
If you would prefer to remove the extra fullness from the hemline of your Collins Top after your Full Bust Adjustment, then this part of the tutorial is for you!
Step 14 :
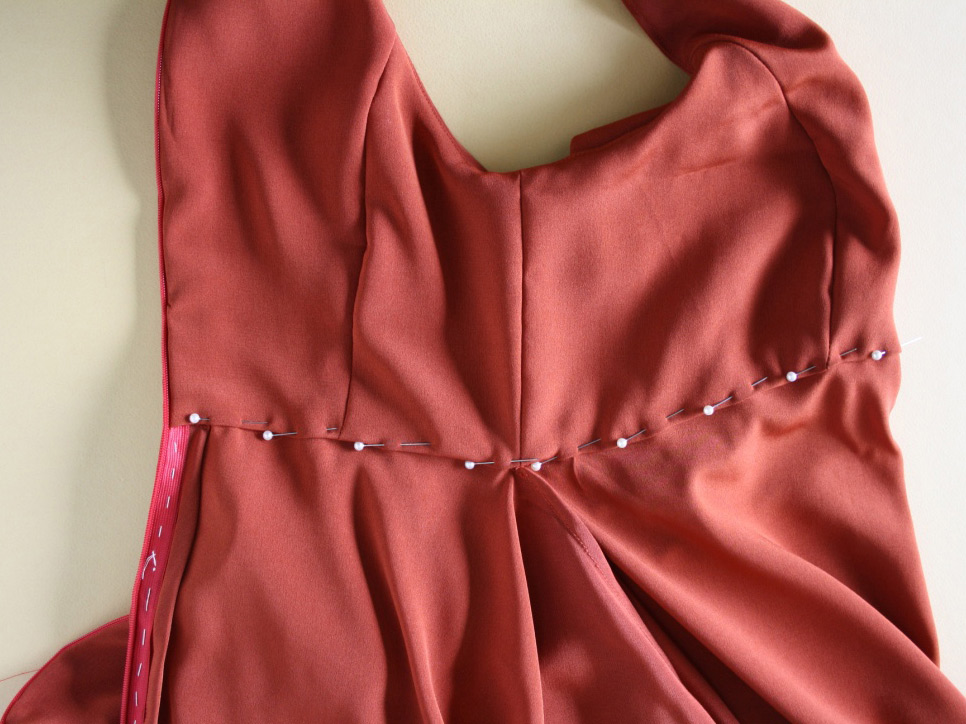
A : On the stitch line, measure the length of the opening at the hem. Take note of this measurement.
B : Measuring in from the side seam, mark a point the distance found in step A. For example, if the opening is 10cm, mark a point 10cm in from the side seam on the stitch line.
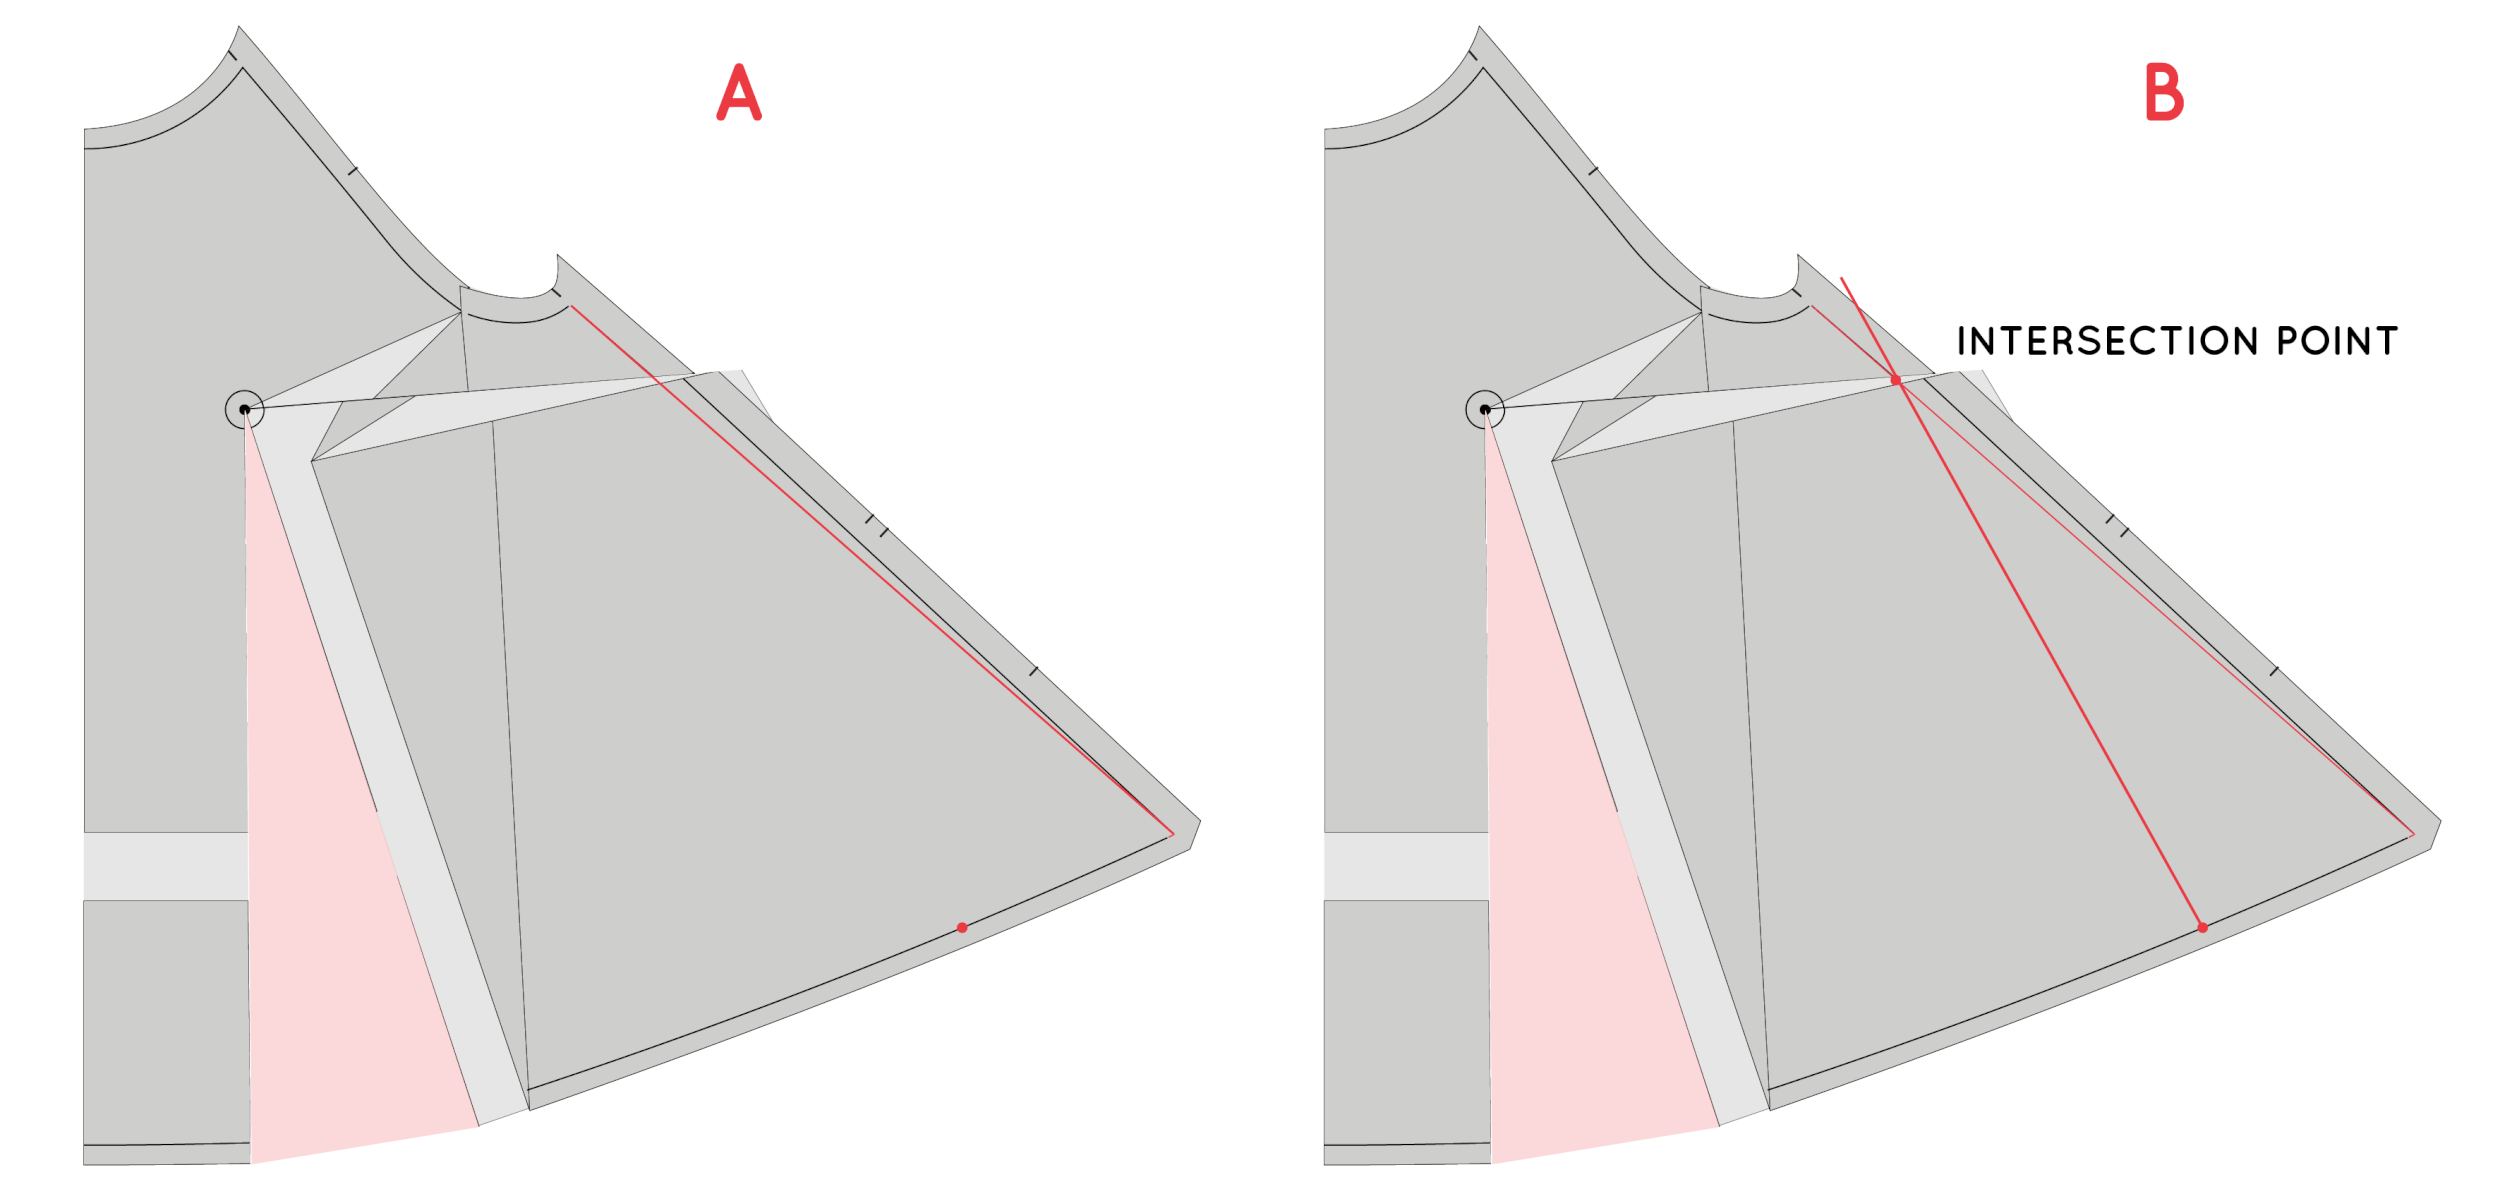
Step 15 :
A : Re-draw the side seam by joining the top of the original side seam to the bottom with a straight line.
B : Now draw a straight line from the point marked on the hemline (in step 14B) to the point on the line you just marked, at the point where you closed out the dart. Extend the line a few centimetres (1" or so) beyond the intersection point. This line will become your new side seam.
Note : If we simply drew a stright line between the top of the side seam and the new point on the hem, we would lose too much width across the bust from the side seam.

Step 16 :
You will notice that the new side seam deviates from the original side seam a little bit at the top. We need to check how much has been added so we can add that same amount to the front sleeve piece. Take a ruler or tape measure and measure from the original side seam to the new side seam, on the stitch line. In the example, the new side seam is 1.9cm away from the original side seam at the underarm point. This means I need to add 1.9cm to the sleeve piece as well.
To complete the front and side pattern pieces, draw in your panel line and then trace off the pieces. You can find out how to do this by scrolling back up to steps 6 - 13.
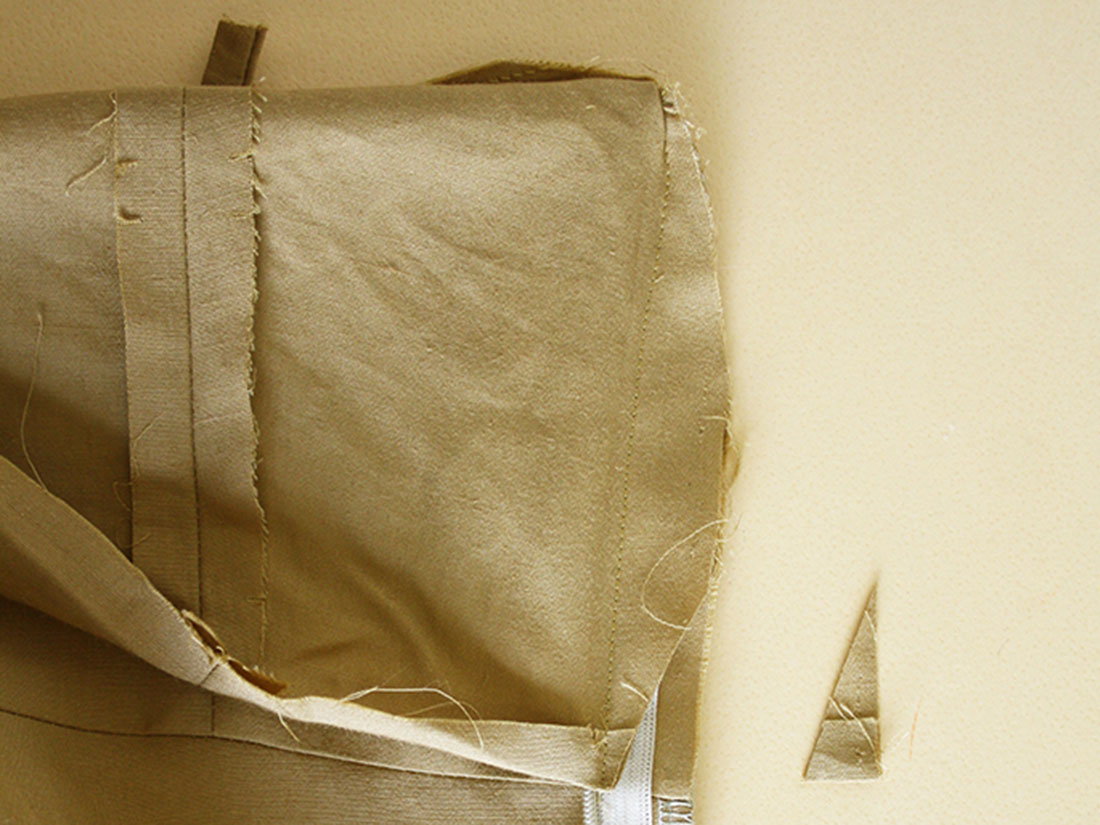
Making the adjustment to the sleeve piece.

Step 17 :
A : Trace a copy of the FRONT SLEEVE pattern.
B : Draw a diagonal line down from the underarm point on the stitch line down to the hem.
C : Cut down the line from the top towards the hem. Stop when you get 1-2mm from the stitch line at the hem. Cut up from the hem towards the point where you stopped cutting. Leave a 1-2mm hinge in place.
D : Swing open the pattern with the hinge, opening up the sleeve curve by the amount you need to add to the pattern (this is the same technique you learned earlier in this tutorial). For example, 1.9cm was added to my side front panel (step 16), so I will open up this piece by 1.9cm.
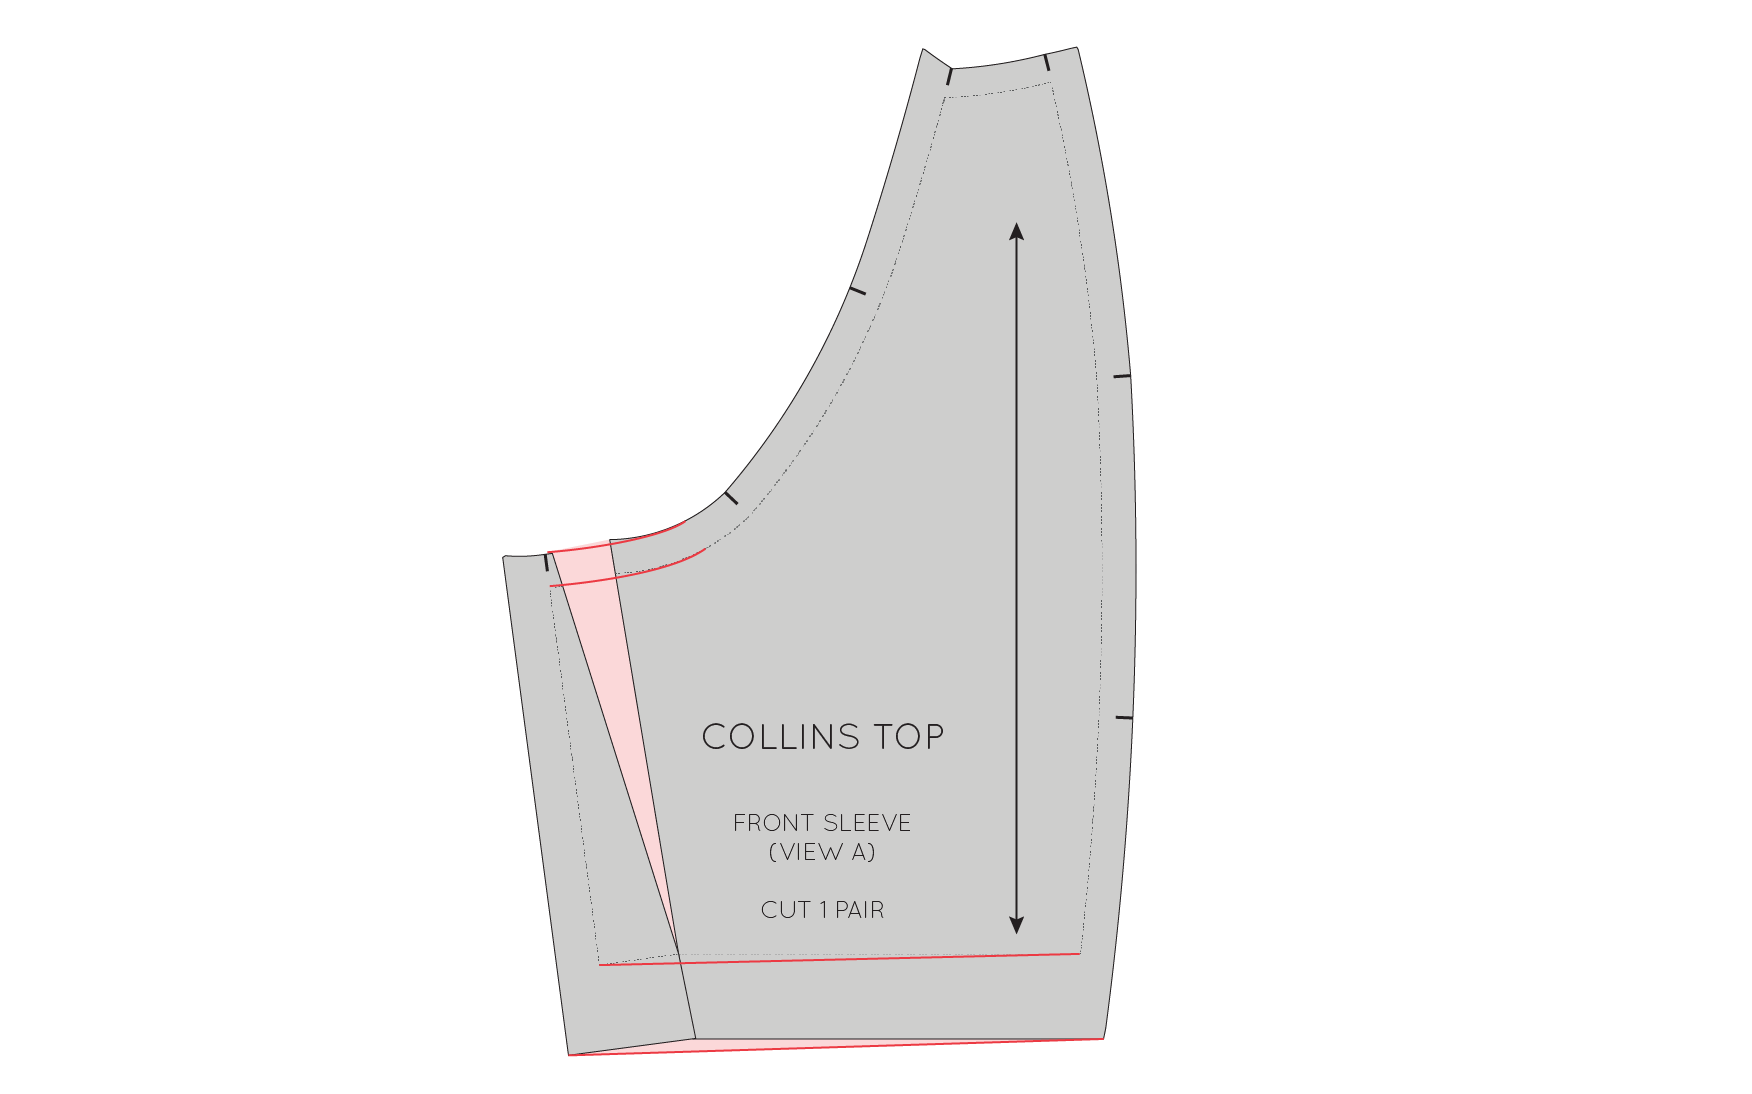
Step 19 :
Take some scraps of pattern paper and fill in the gaps on your pattern piece. Redraw the armhole curve (and seam allowance) and the hem line (and seam allowance). There you have it. Your sleeve piece will now fit into the armhole on your top.
If you are making View B of the Collins Top (sleeveless version), tomorrow I'll be going through how to make adjustments to your front facing to fit with your newly adjusted bodice.